In the beginning of October, while reversing the Miata I ended up not looking properly and hit the rear of the car onto my truck’s bumper leading to the passenger side tail light breaking as shown in Figure 1. I felt like a fool and quickly took a picture of it, parked the car back in the garage and went about ordering a replacement on eBay. I found one from one of the sellers for $75 and ordered it. Today I replaced it correctly and this post shows how to go about replacing a tail light on a 1999 NB Miata.
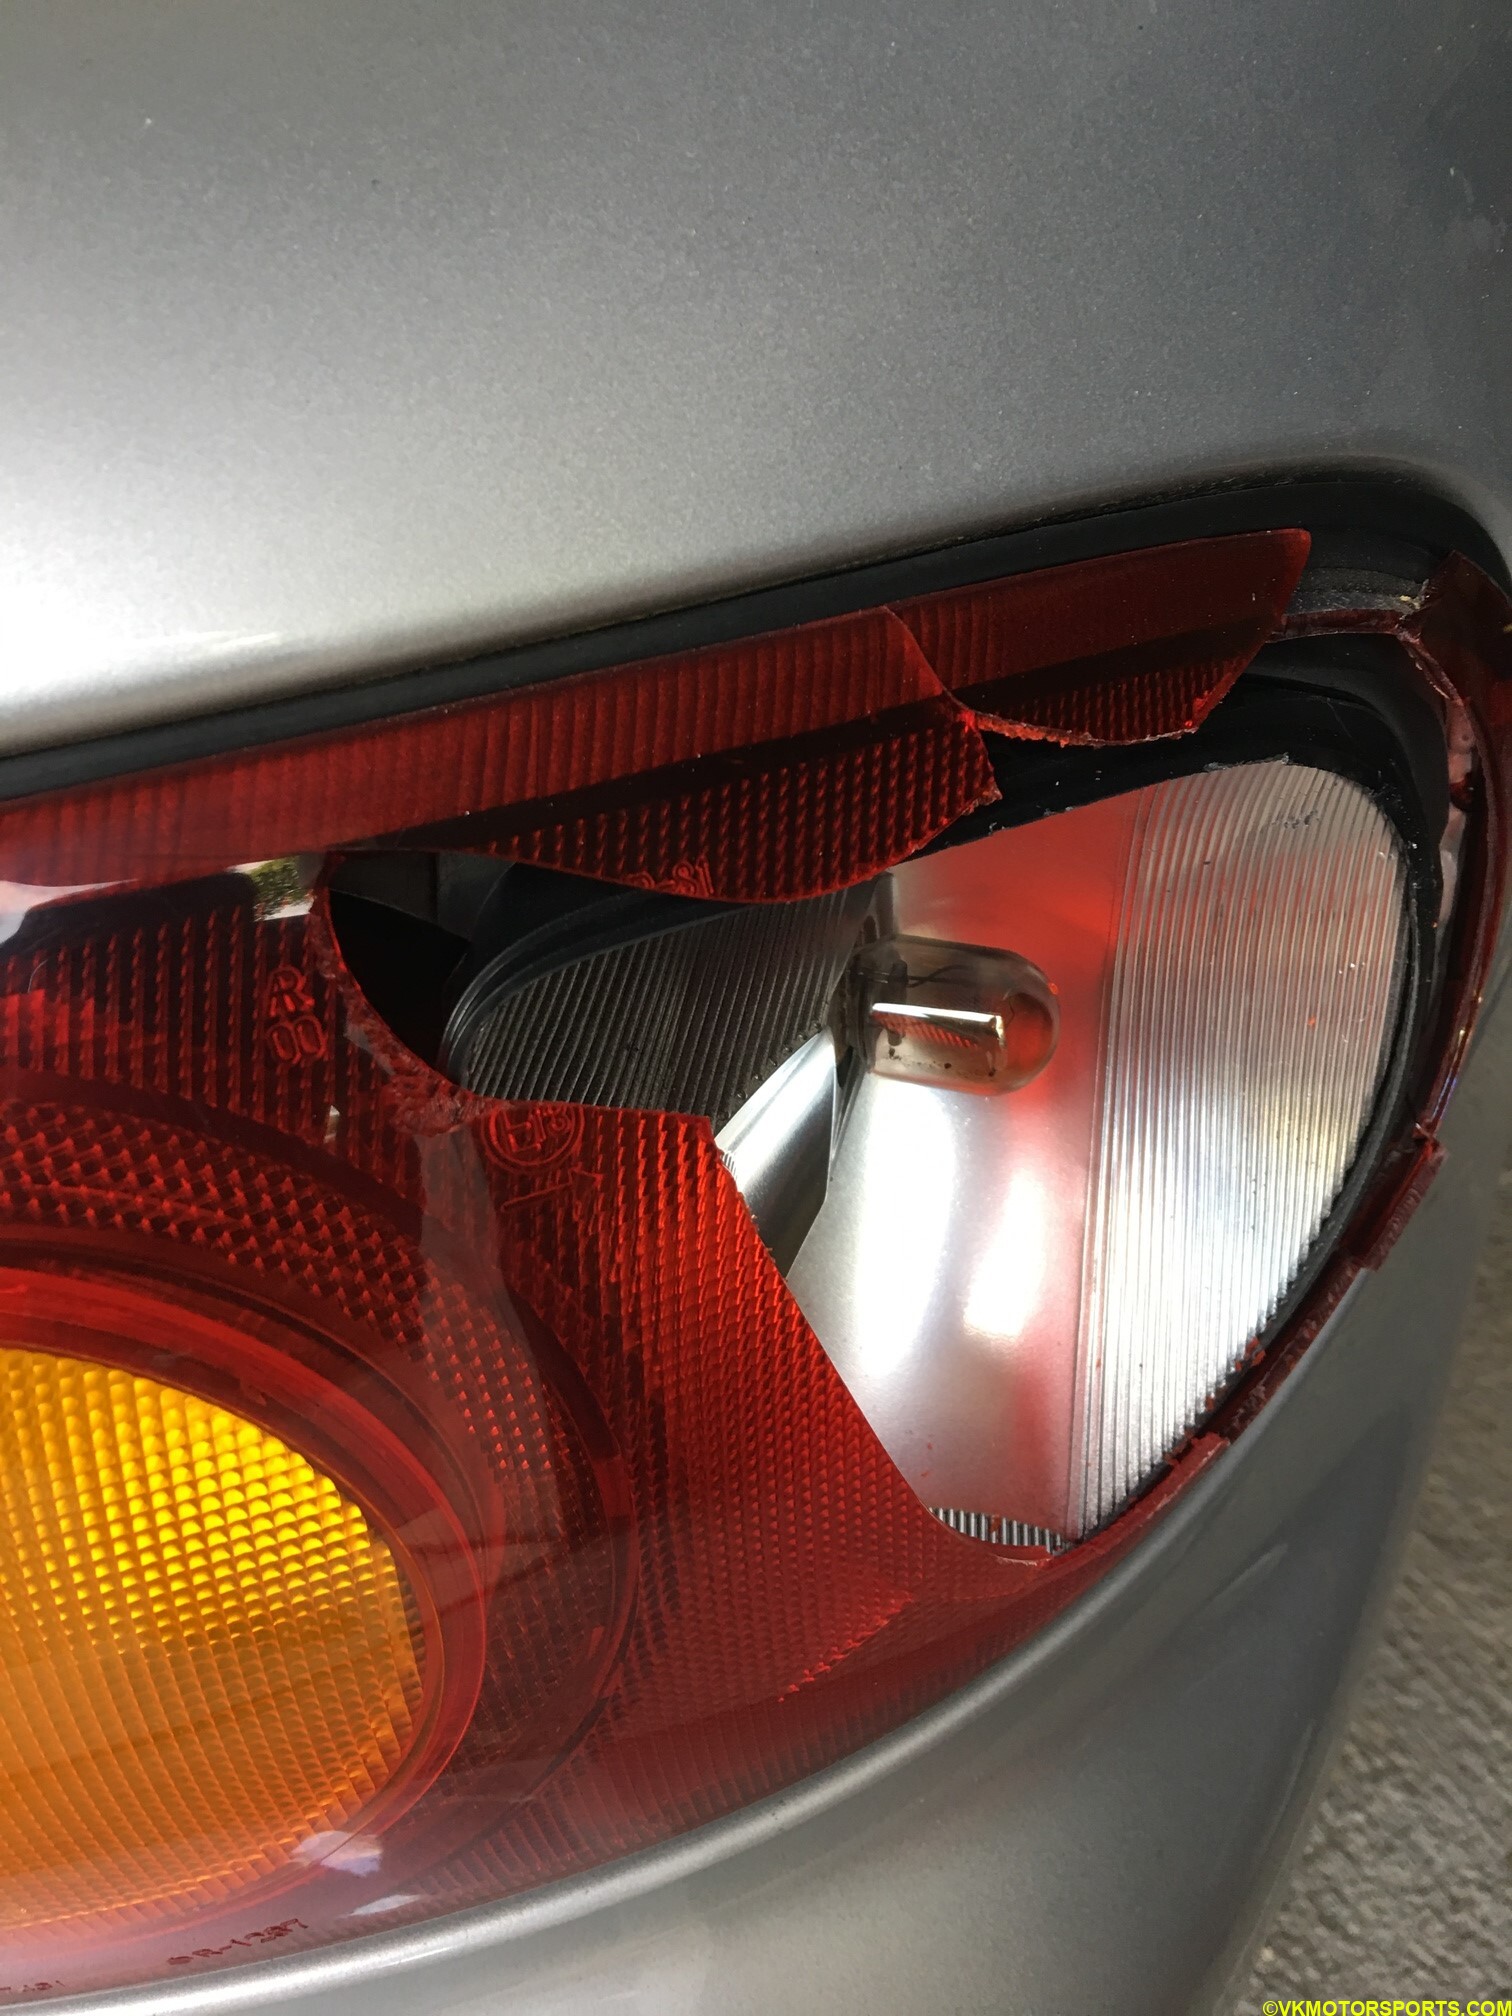 Figure 1. The broken tail light
Step 1: Disconnect the battery first as shown in Figure 2.
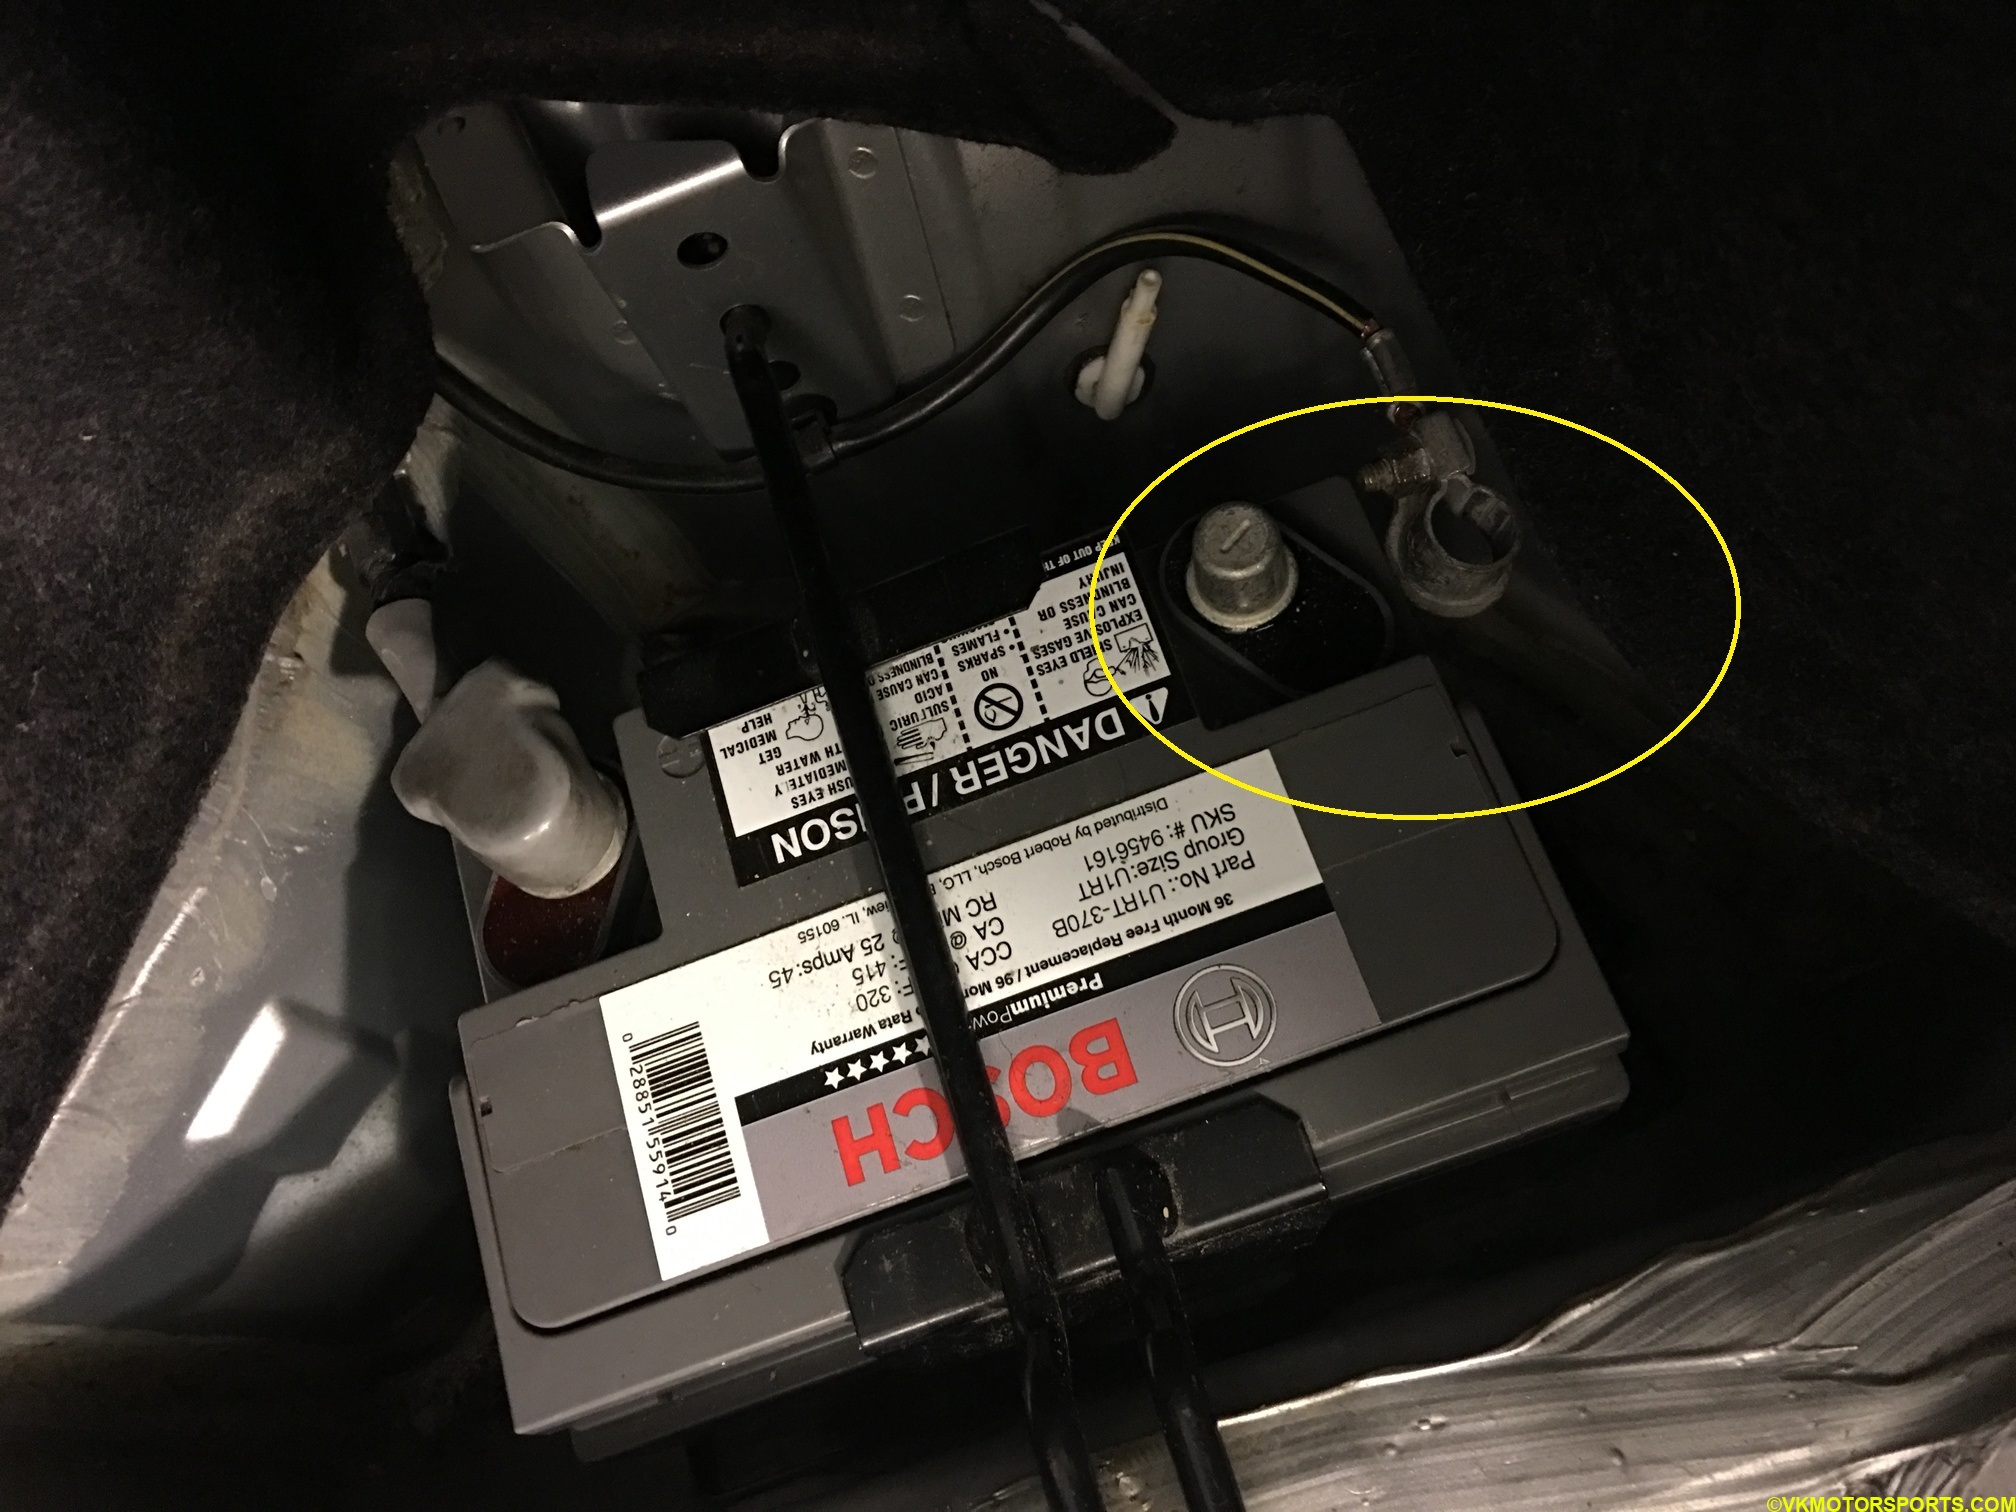 Figure 2. Disconnect the battery first
Step 2: Remove the driver-side toolbox holder in the trunk as shown by the yellow arrow in Figure 3. You should be able to just lift it out with your hands and your trunk should look similar to Figure 4.
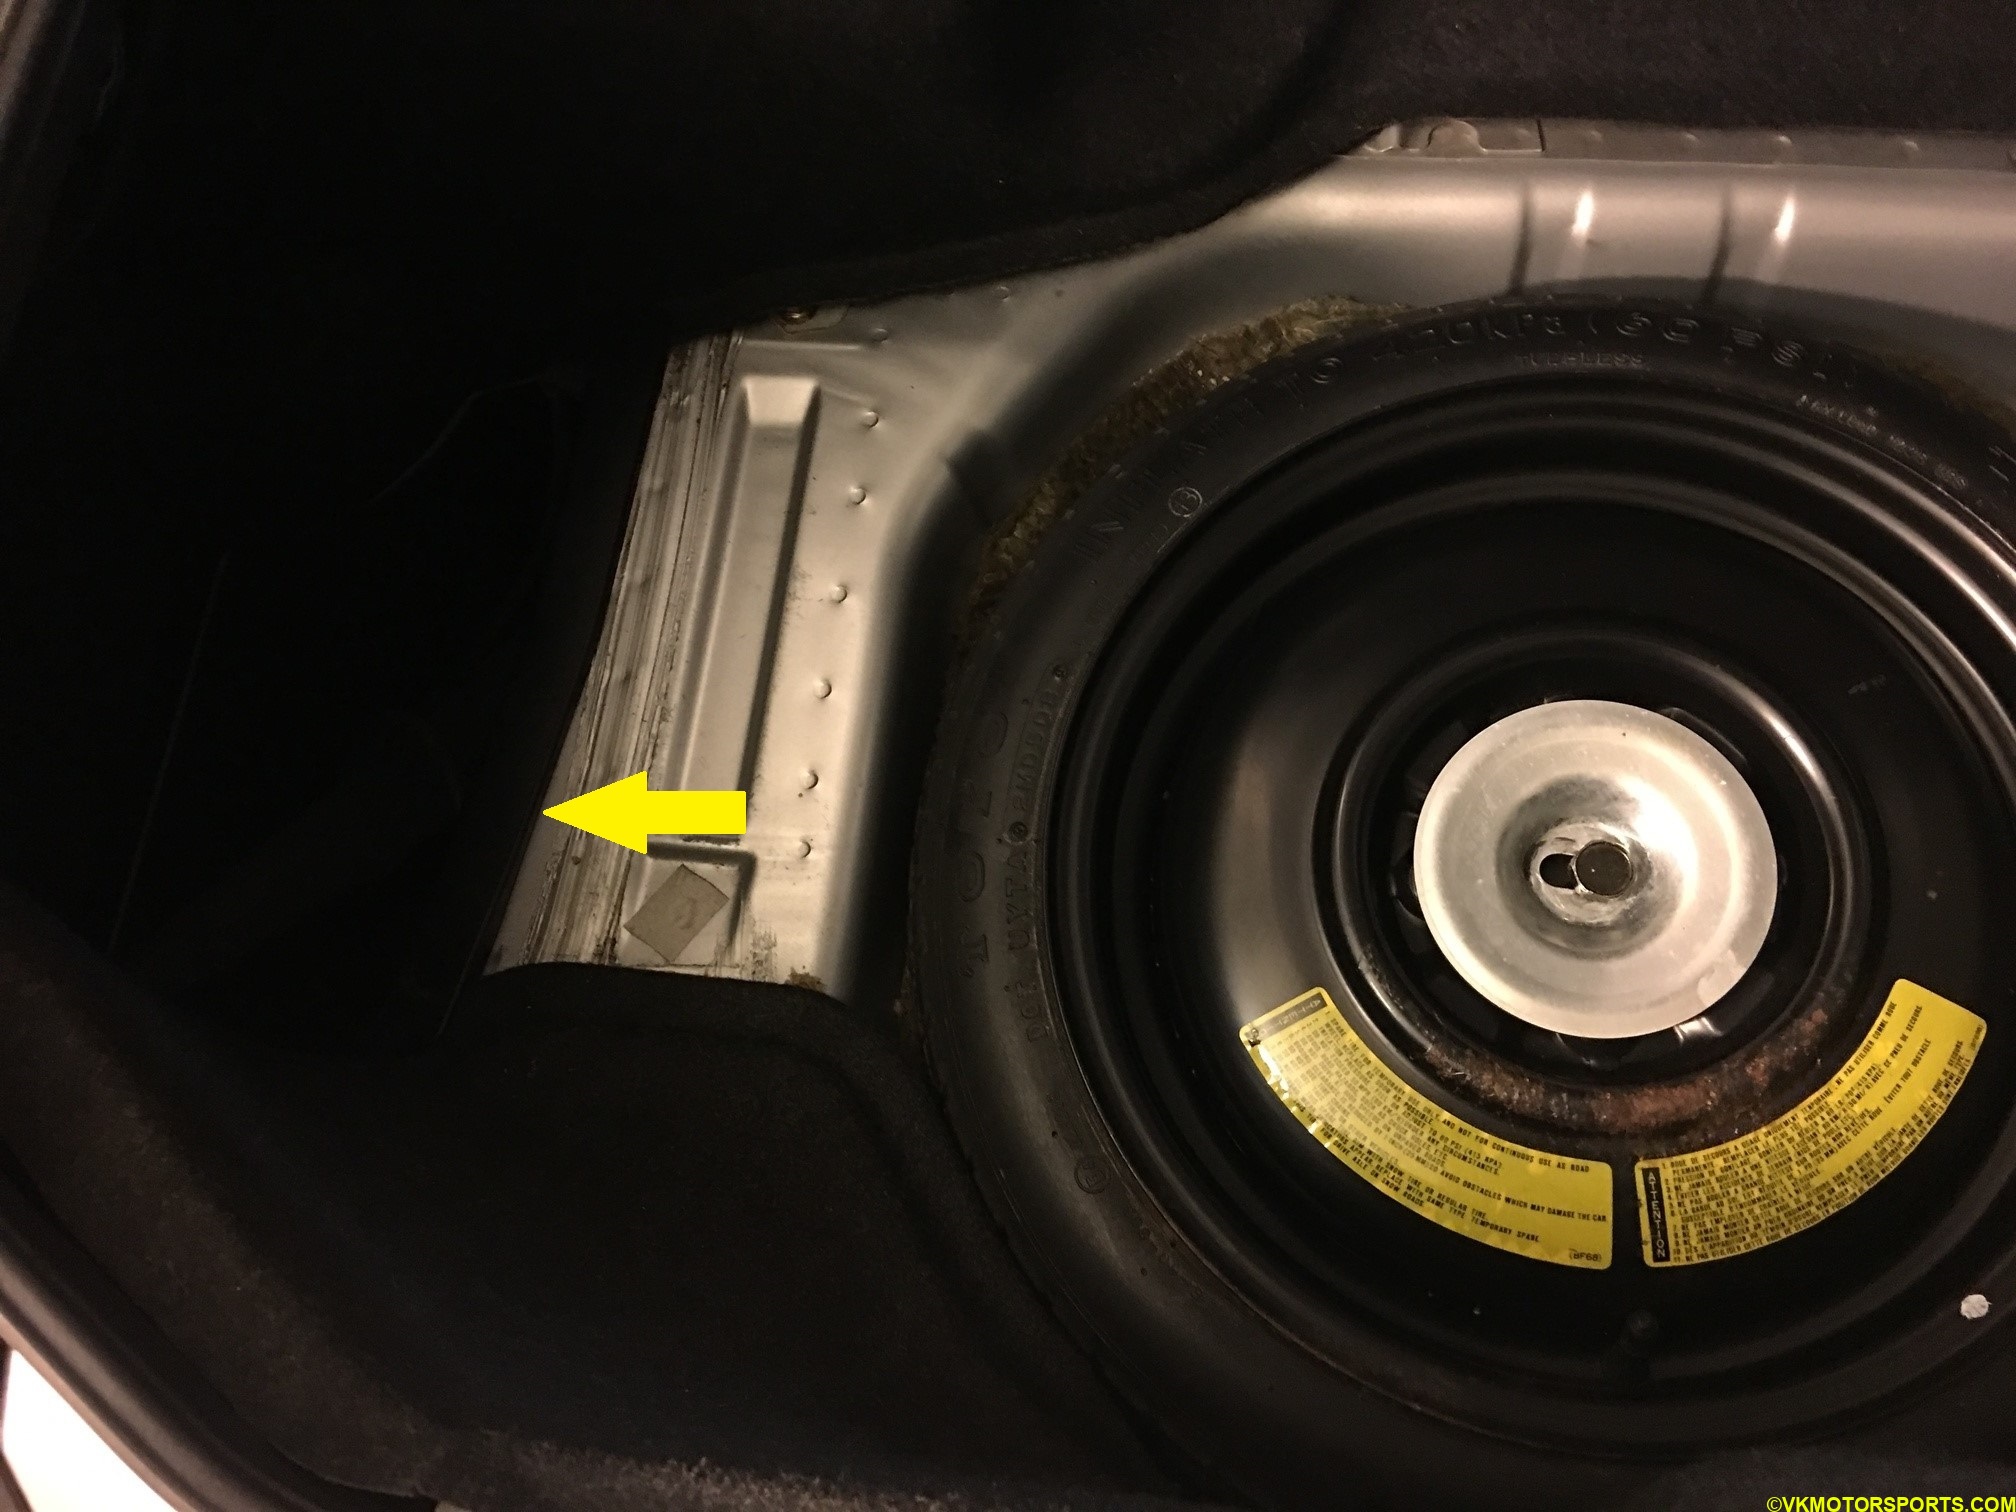 Figure 3. Driver-side toolbox
 Figure 4. Driver-side toolbox removed
Step 3: We need to take out the carpet-like trim (Figure 5) so that we can access the tail-light bolts (Figures 10 and 11). The trim does not need to be removed fully but it helps to do so (Figure 6). The trim is held by the screws in Figure 7 which can be extracted out by a flat-head screwdriver.
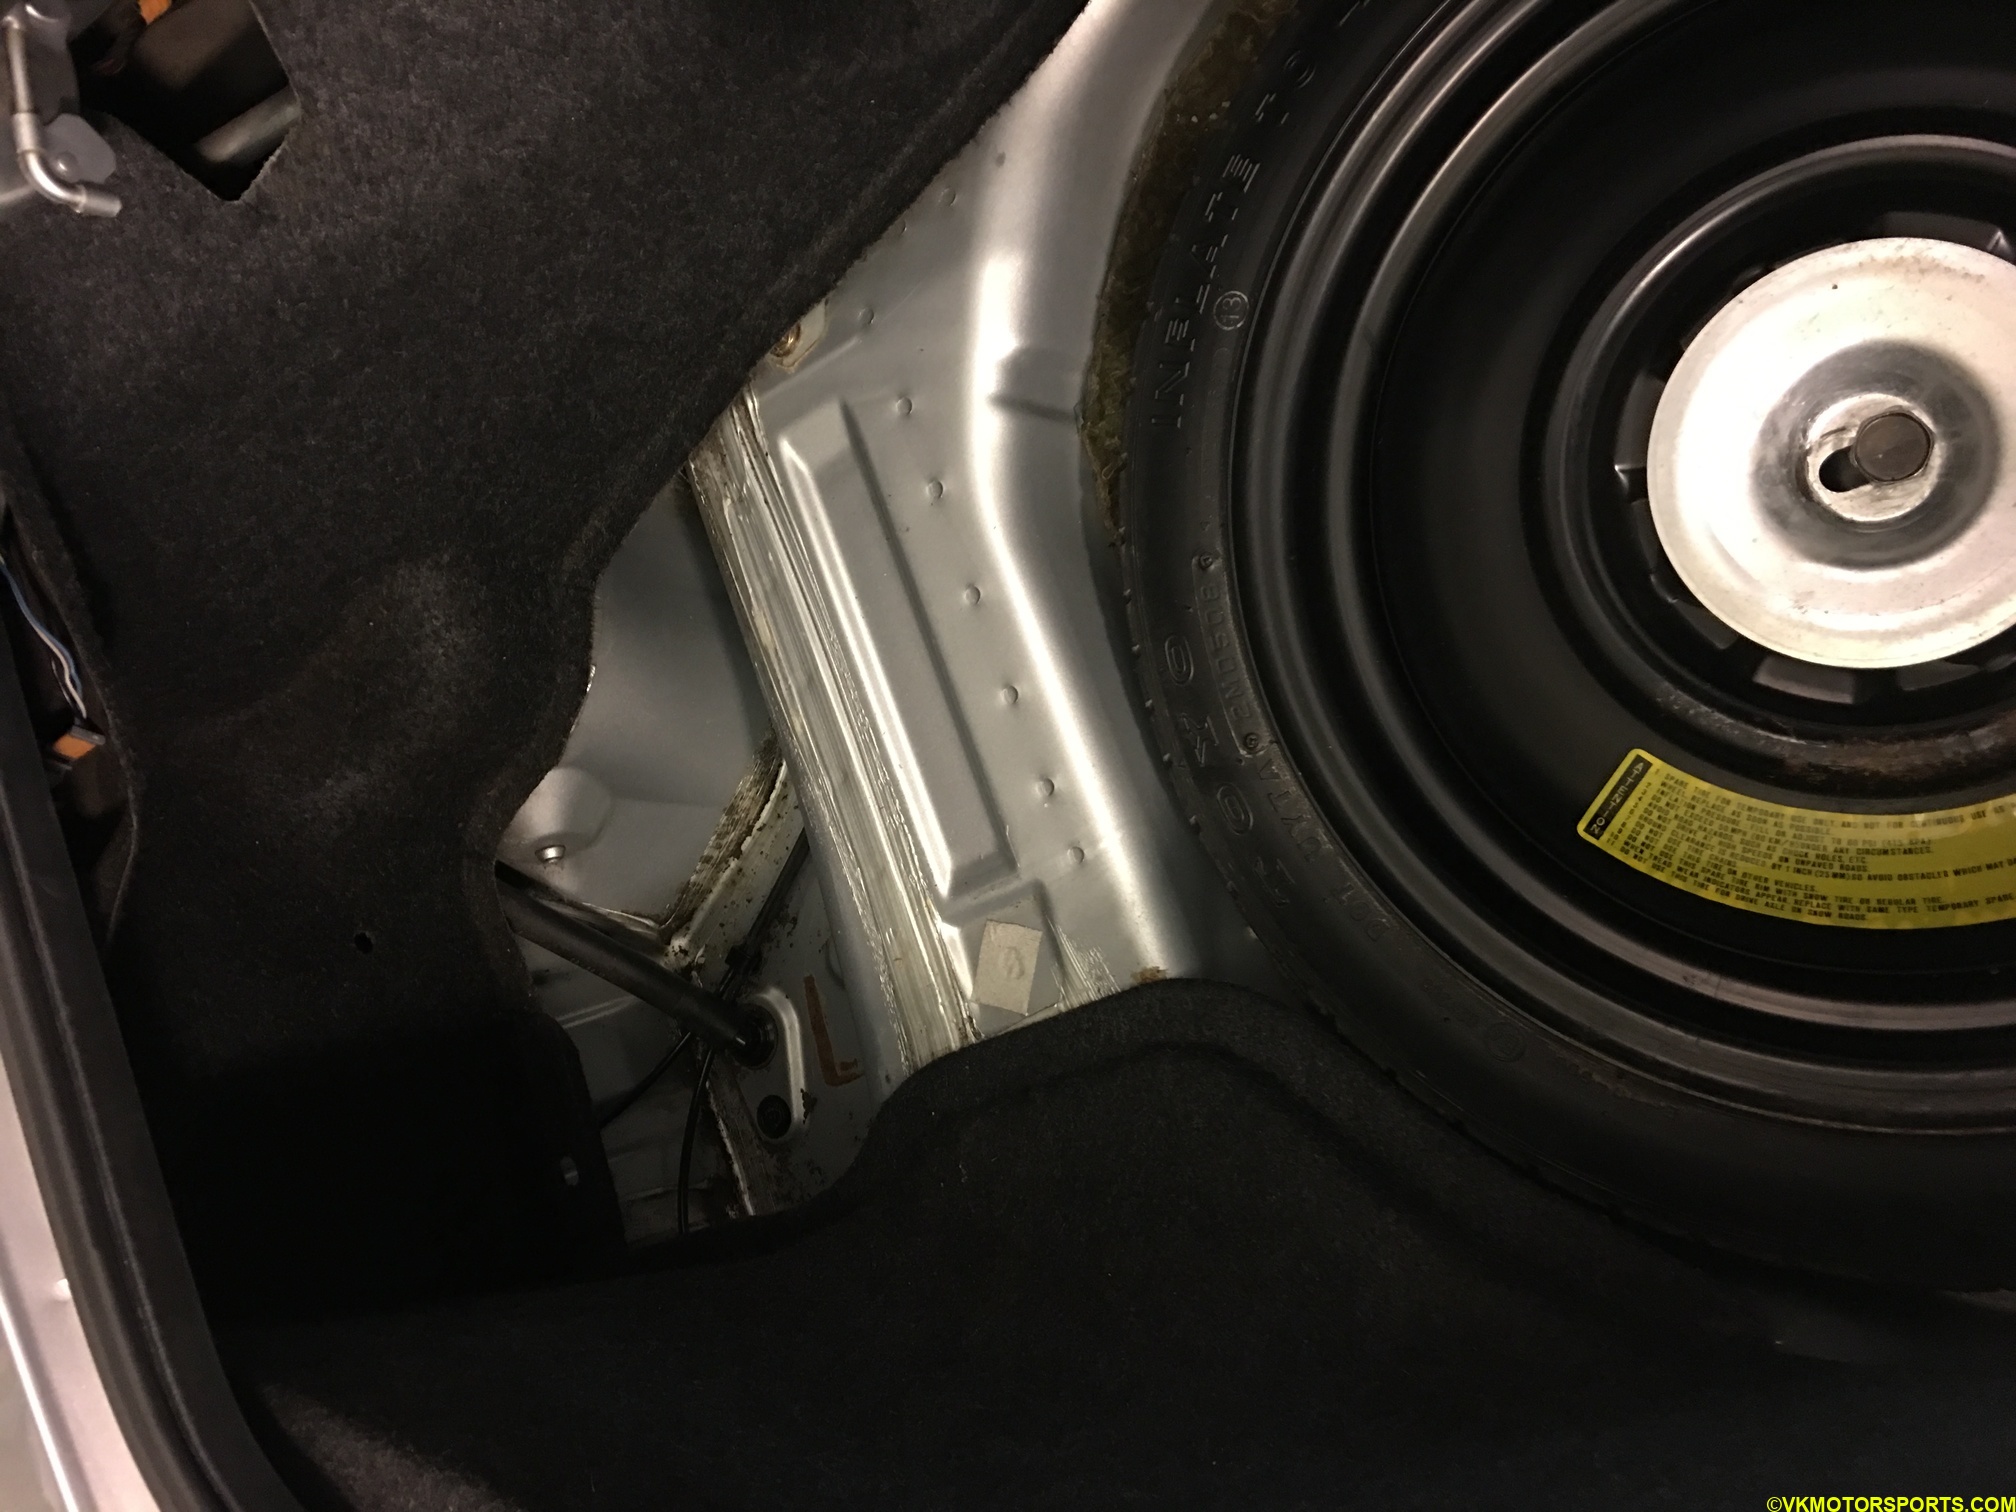 Figure 5. Trunk trim carpet to be removed
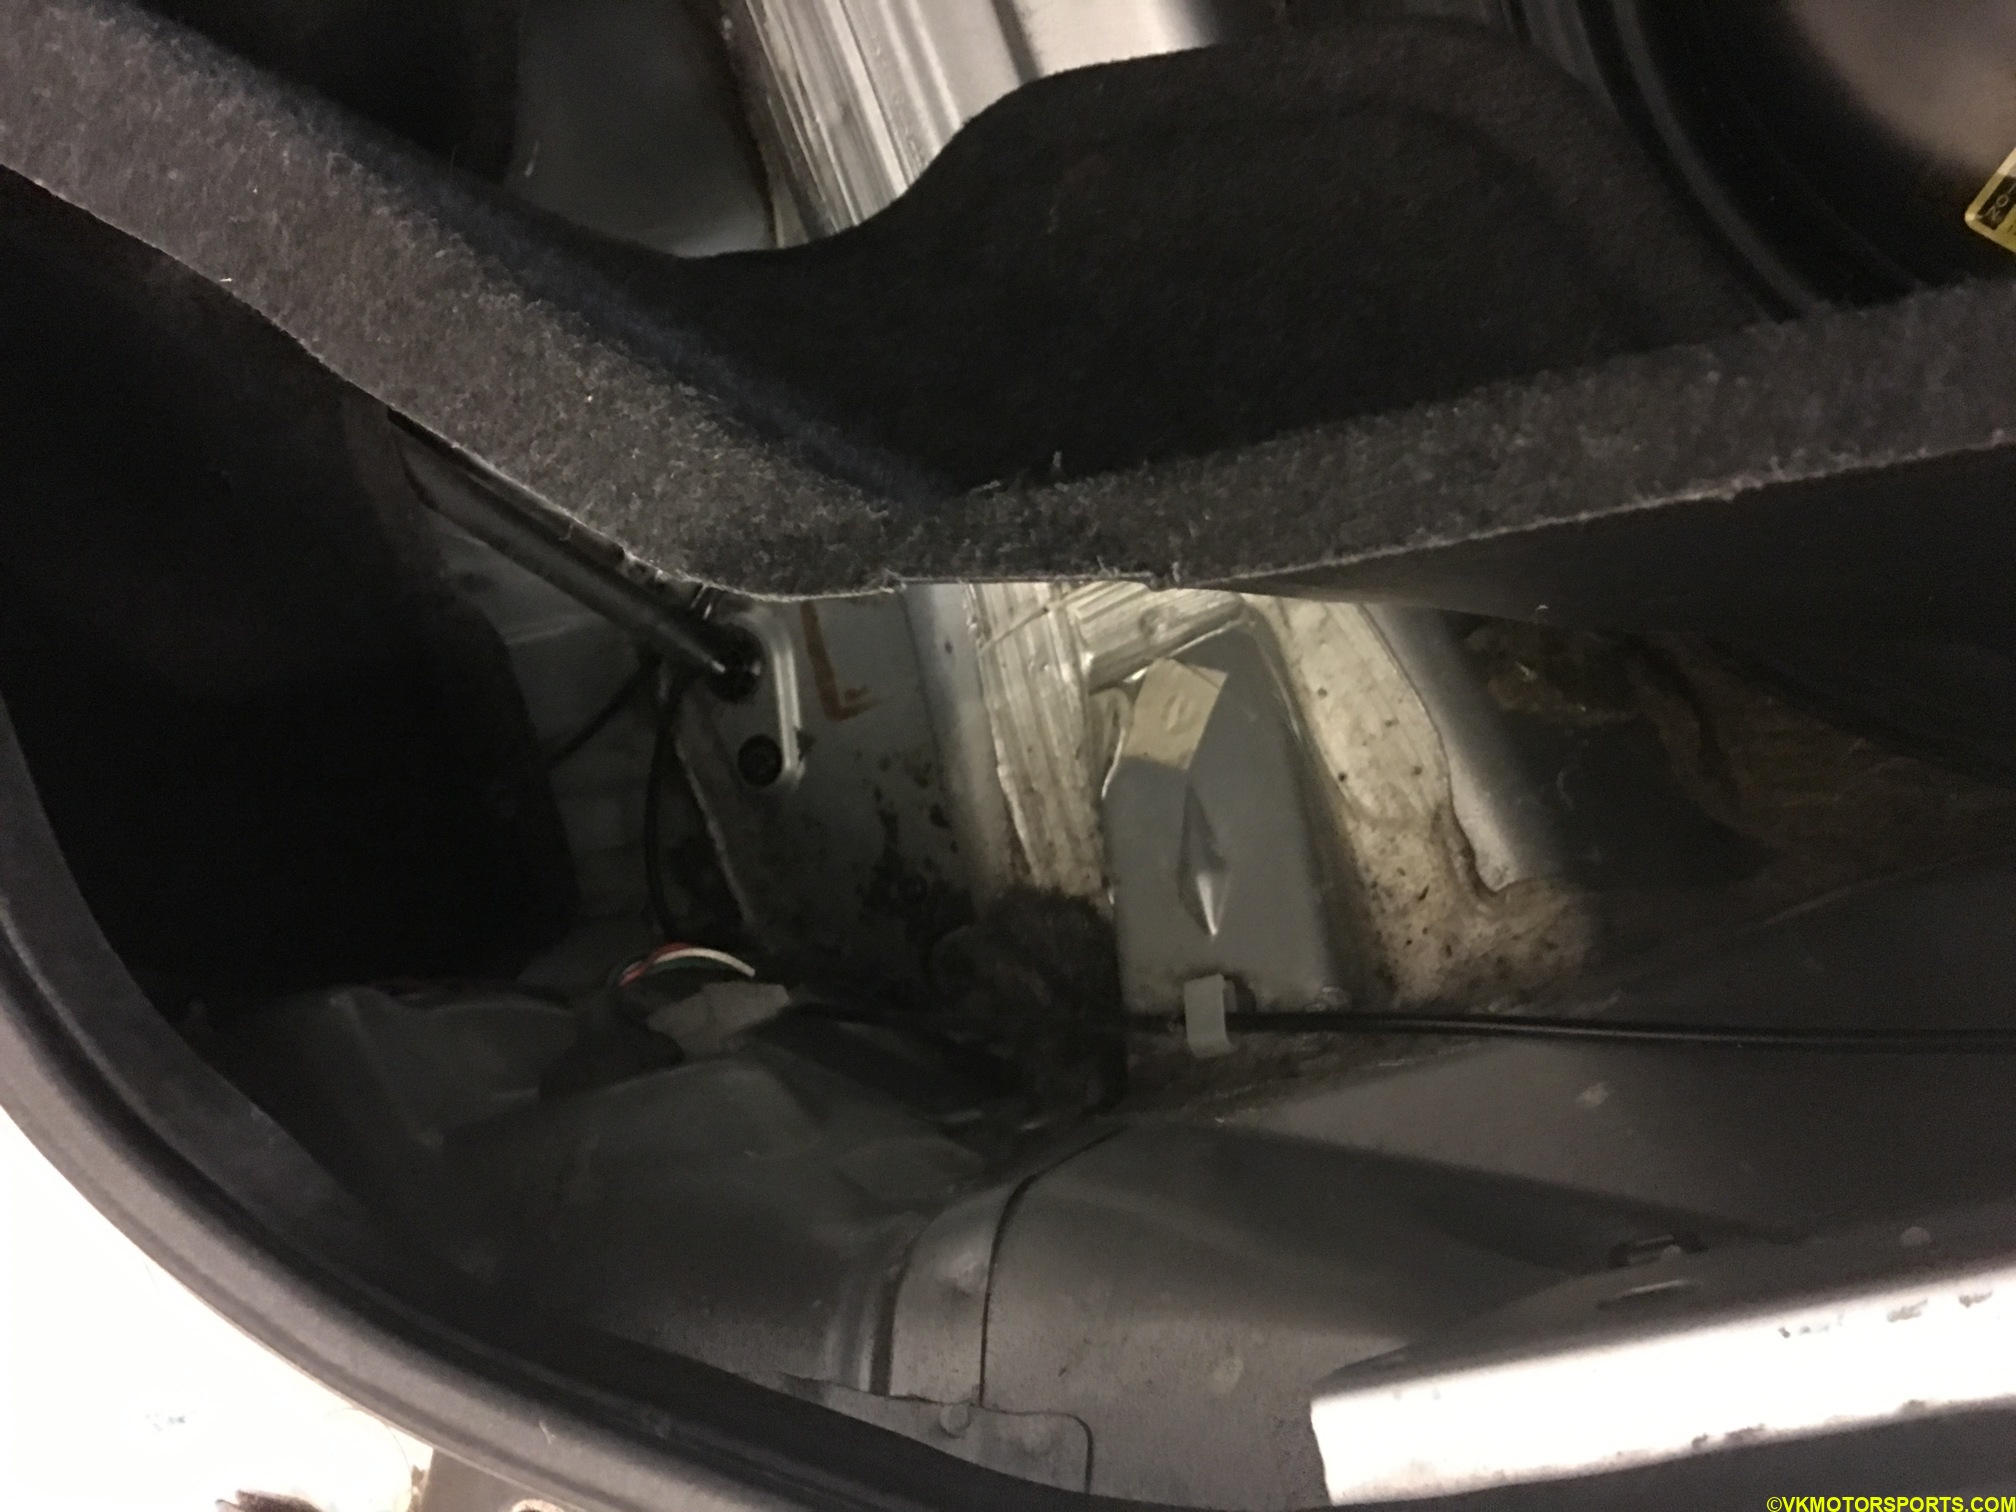 Figure 6. Trunk trim thas has been detached from the body
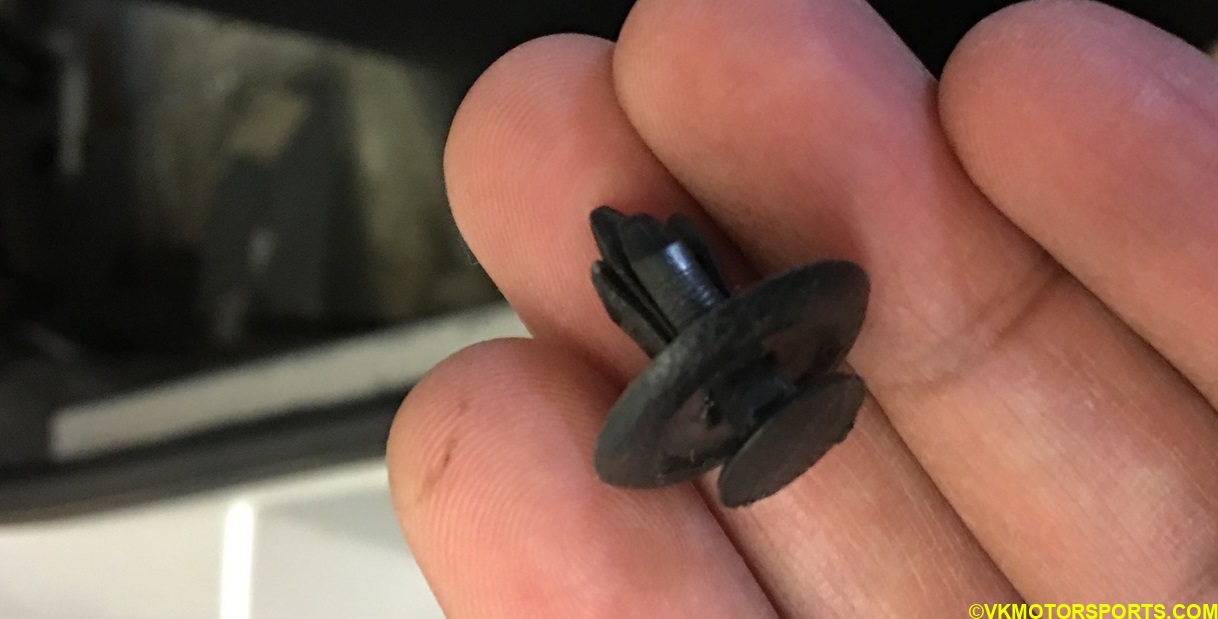 Figure 7. Trunk trim screws
Step 4: We now disconnect the tail light connector from the electrical system as shown in Figures 8 and 9.
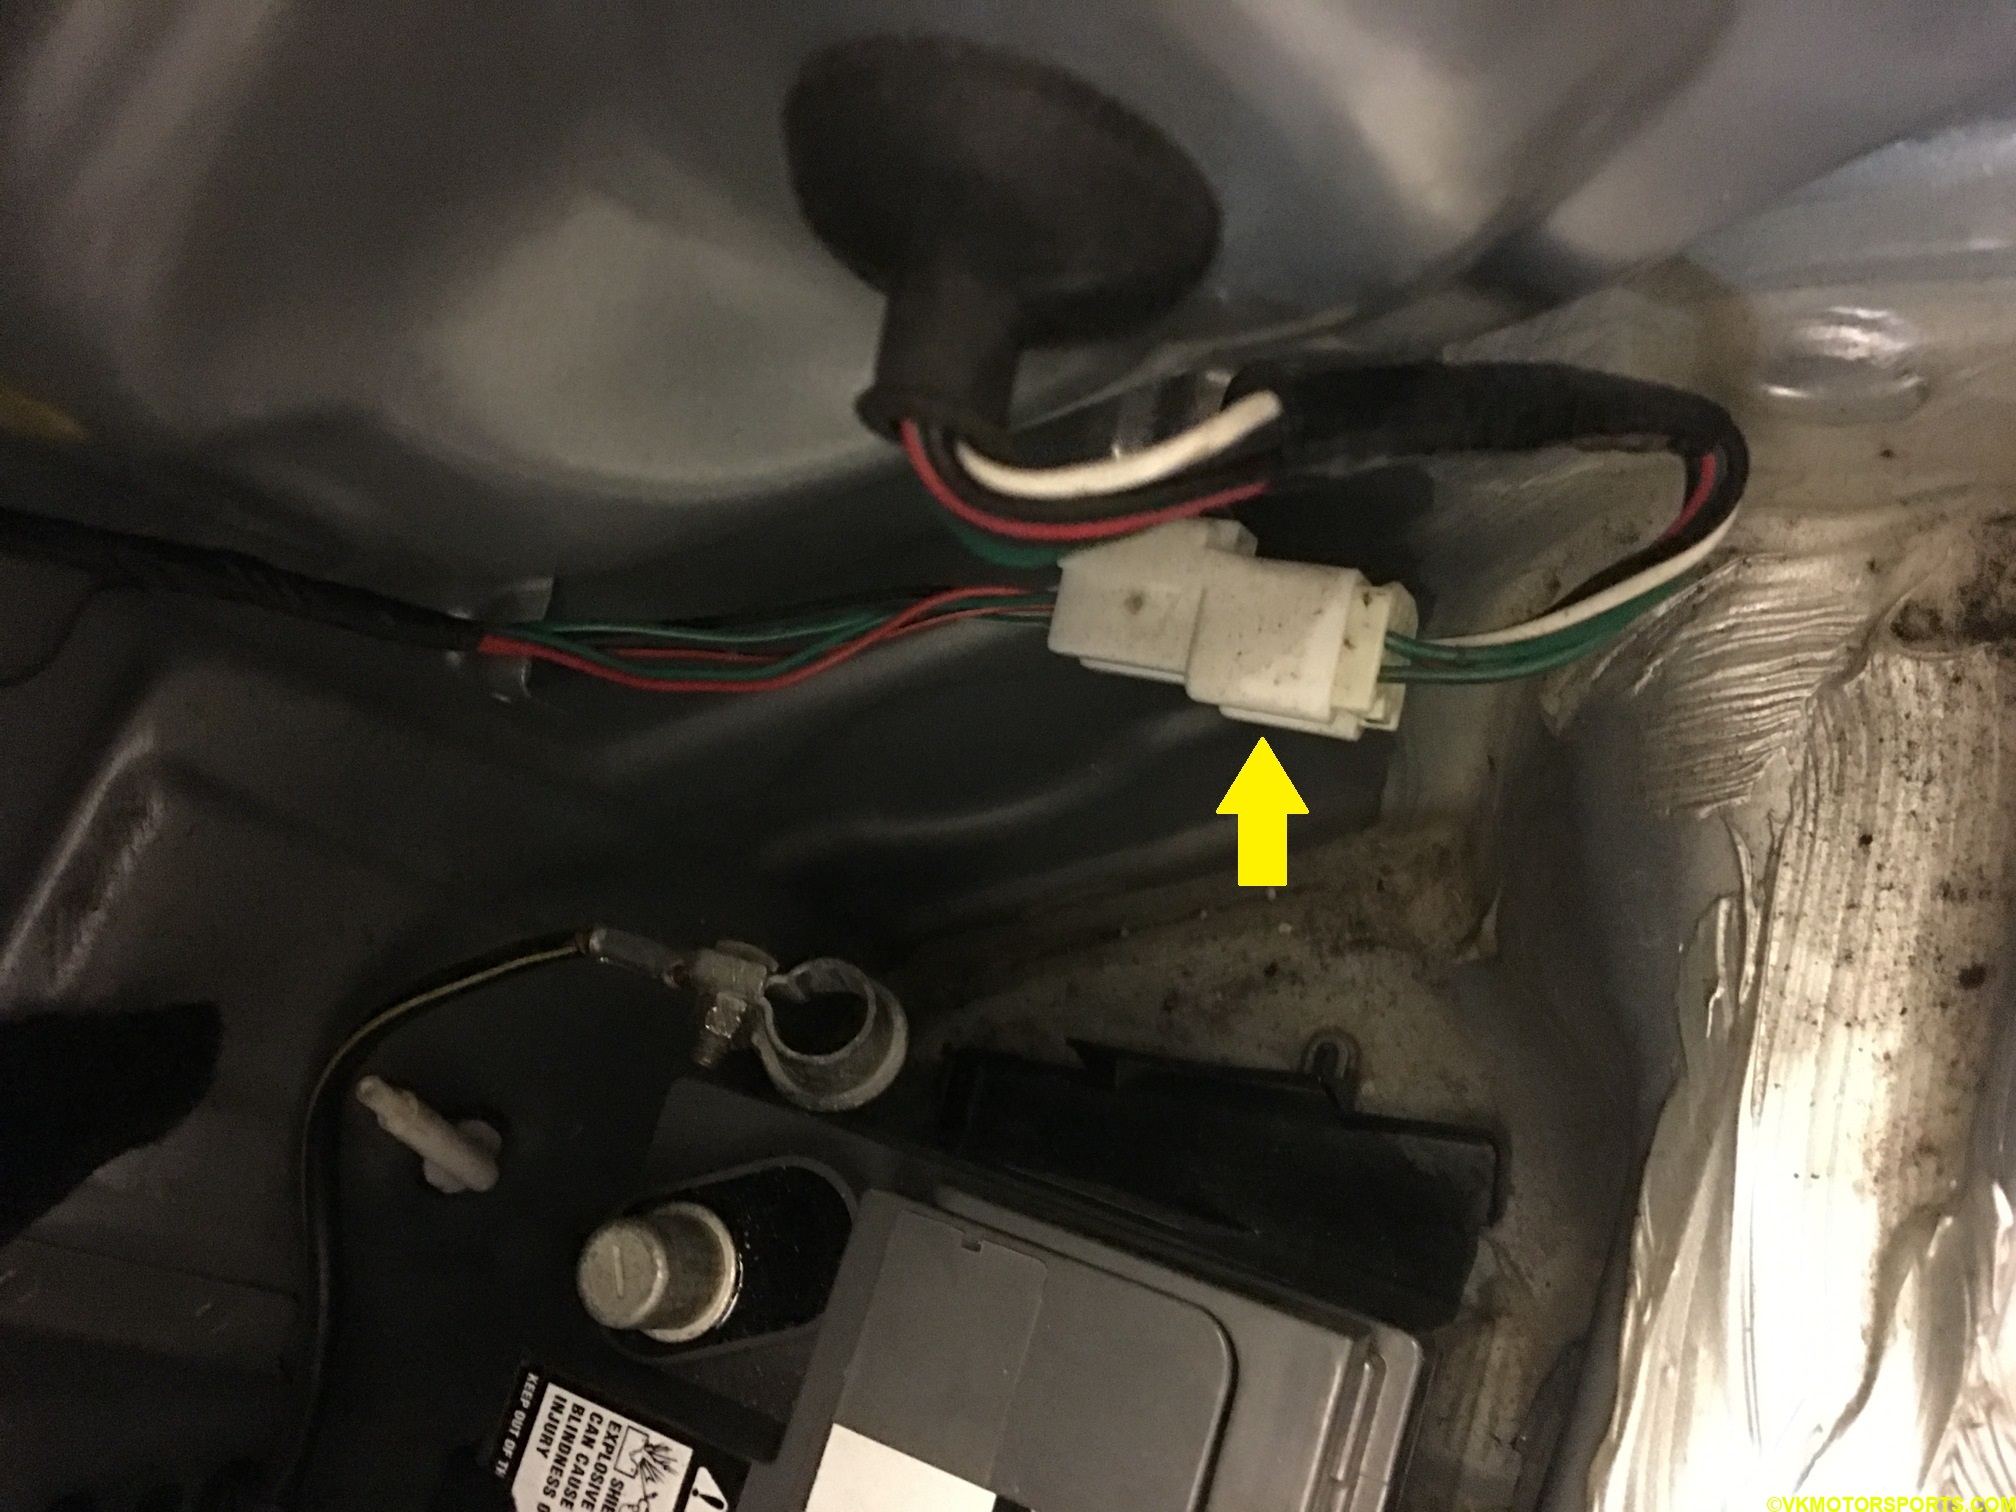 Figure 8. The tail light electrical connector that needs to be disconnected
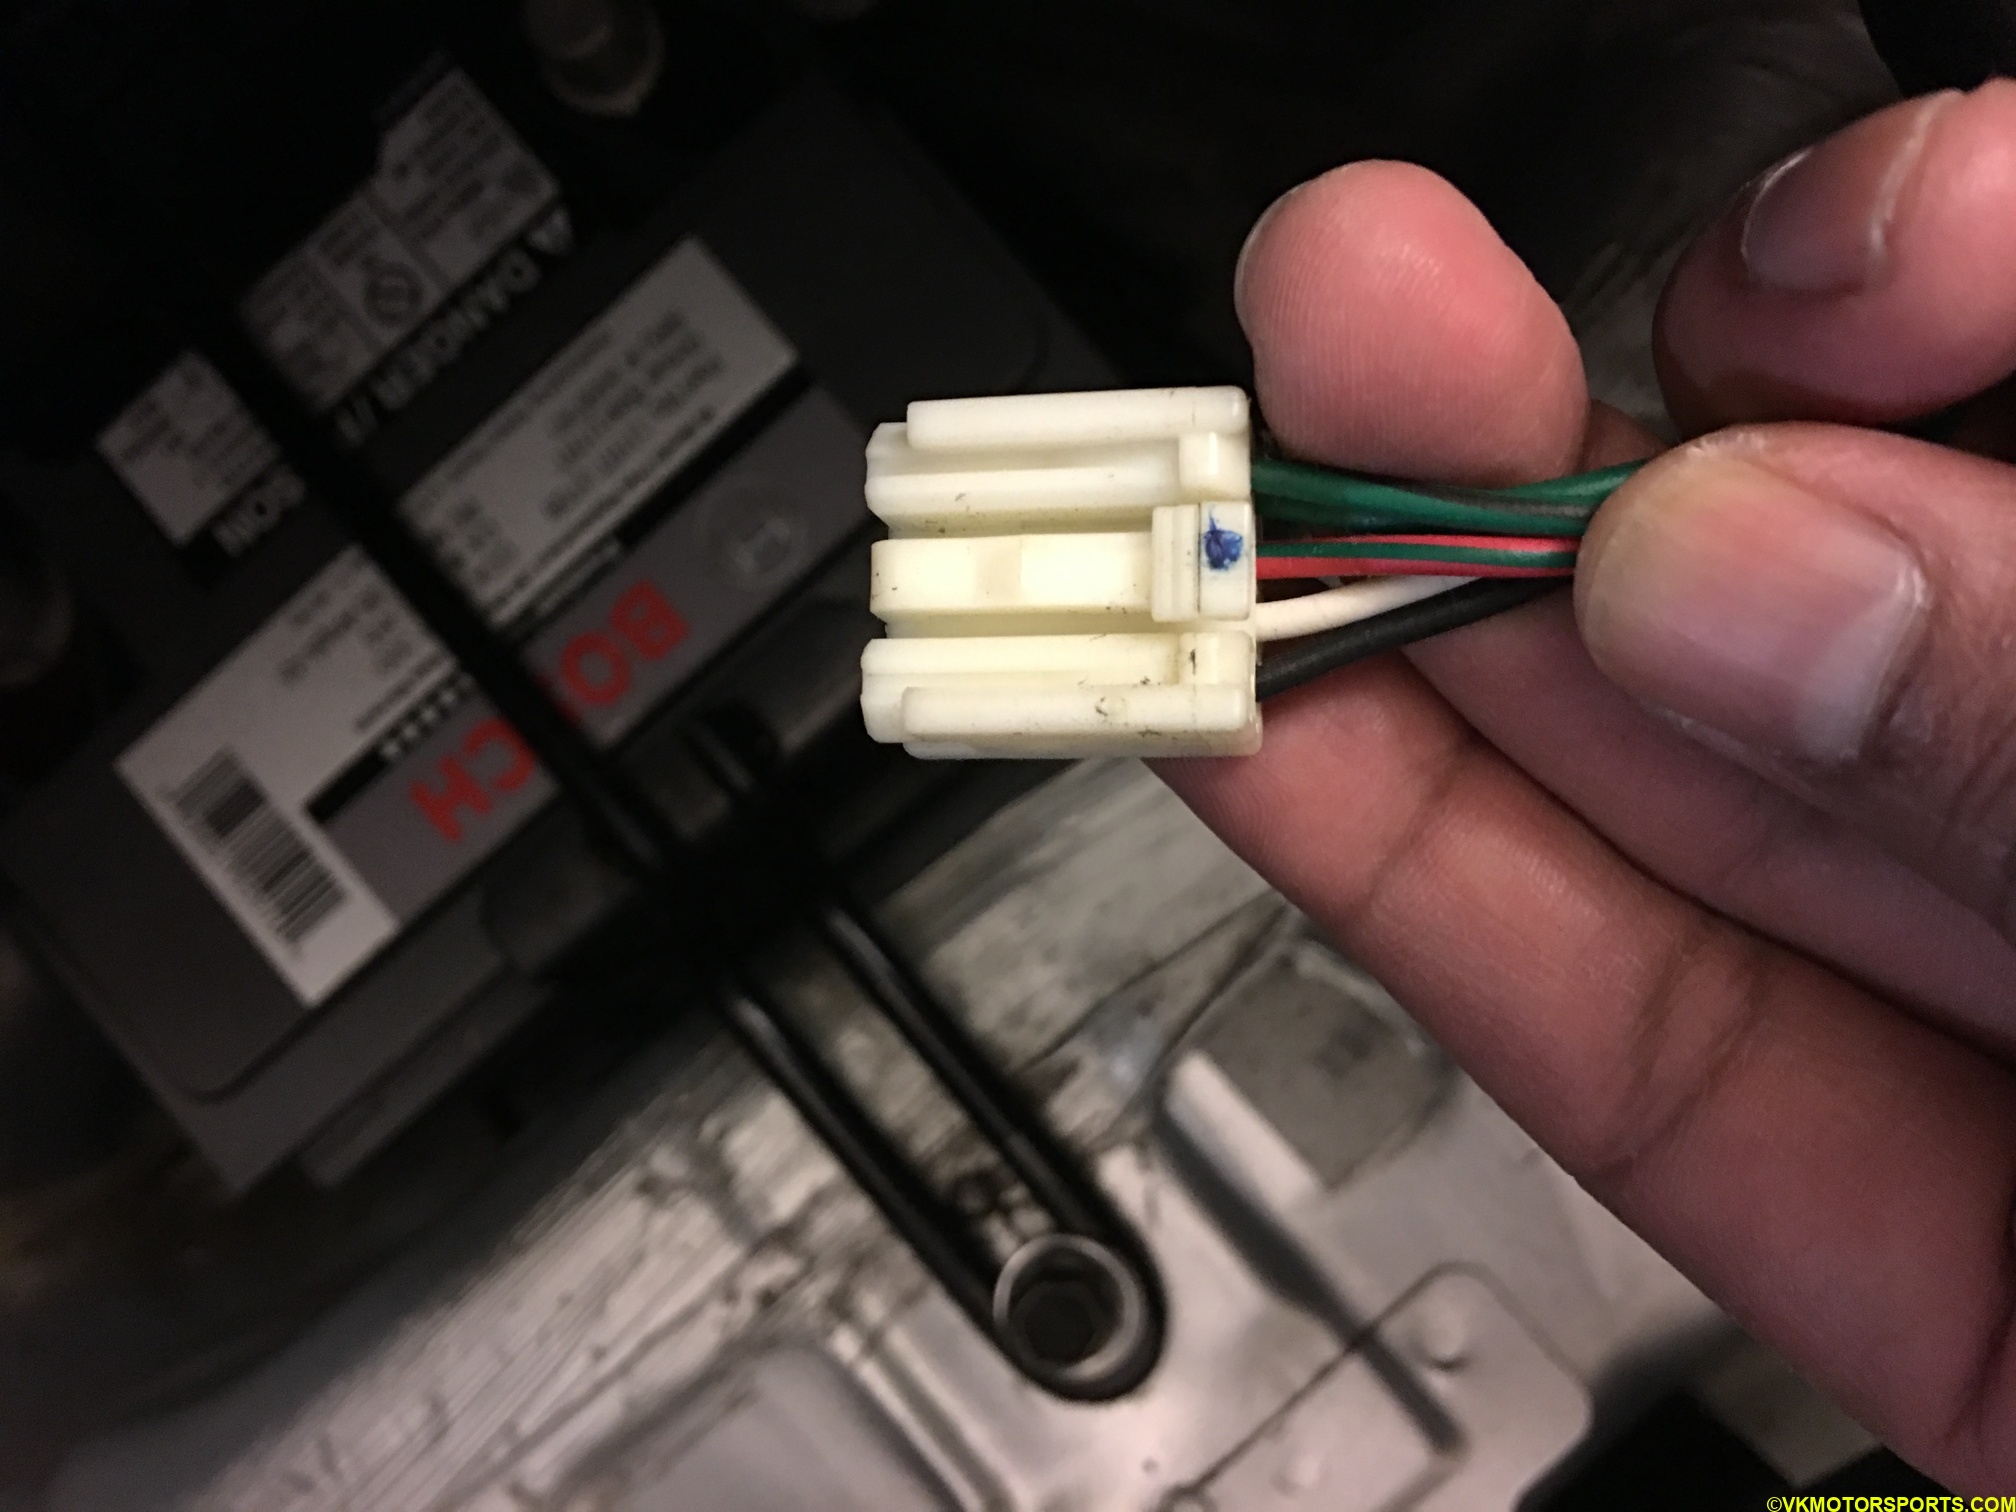 Figure 9. The disconnected tail light connector
Step 5: Look at these bolts holding the light to the body in Figures 10 and 11. We need to remove these bolts next using a #10 wrench. We also need to remove the external screw as seen in Figure 12 before we can pull the light out.
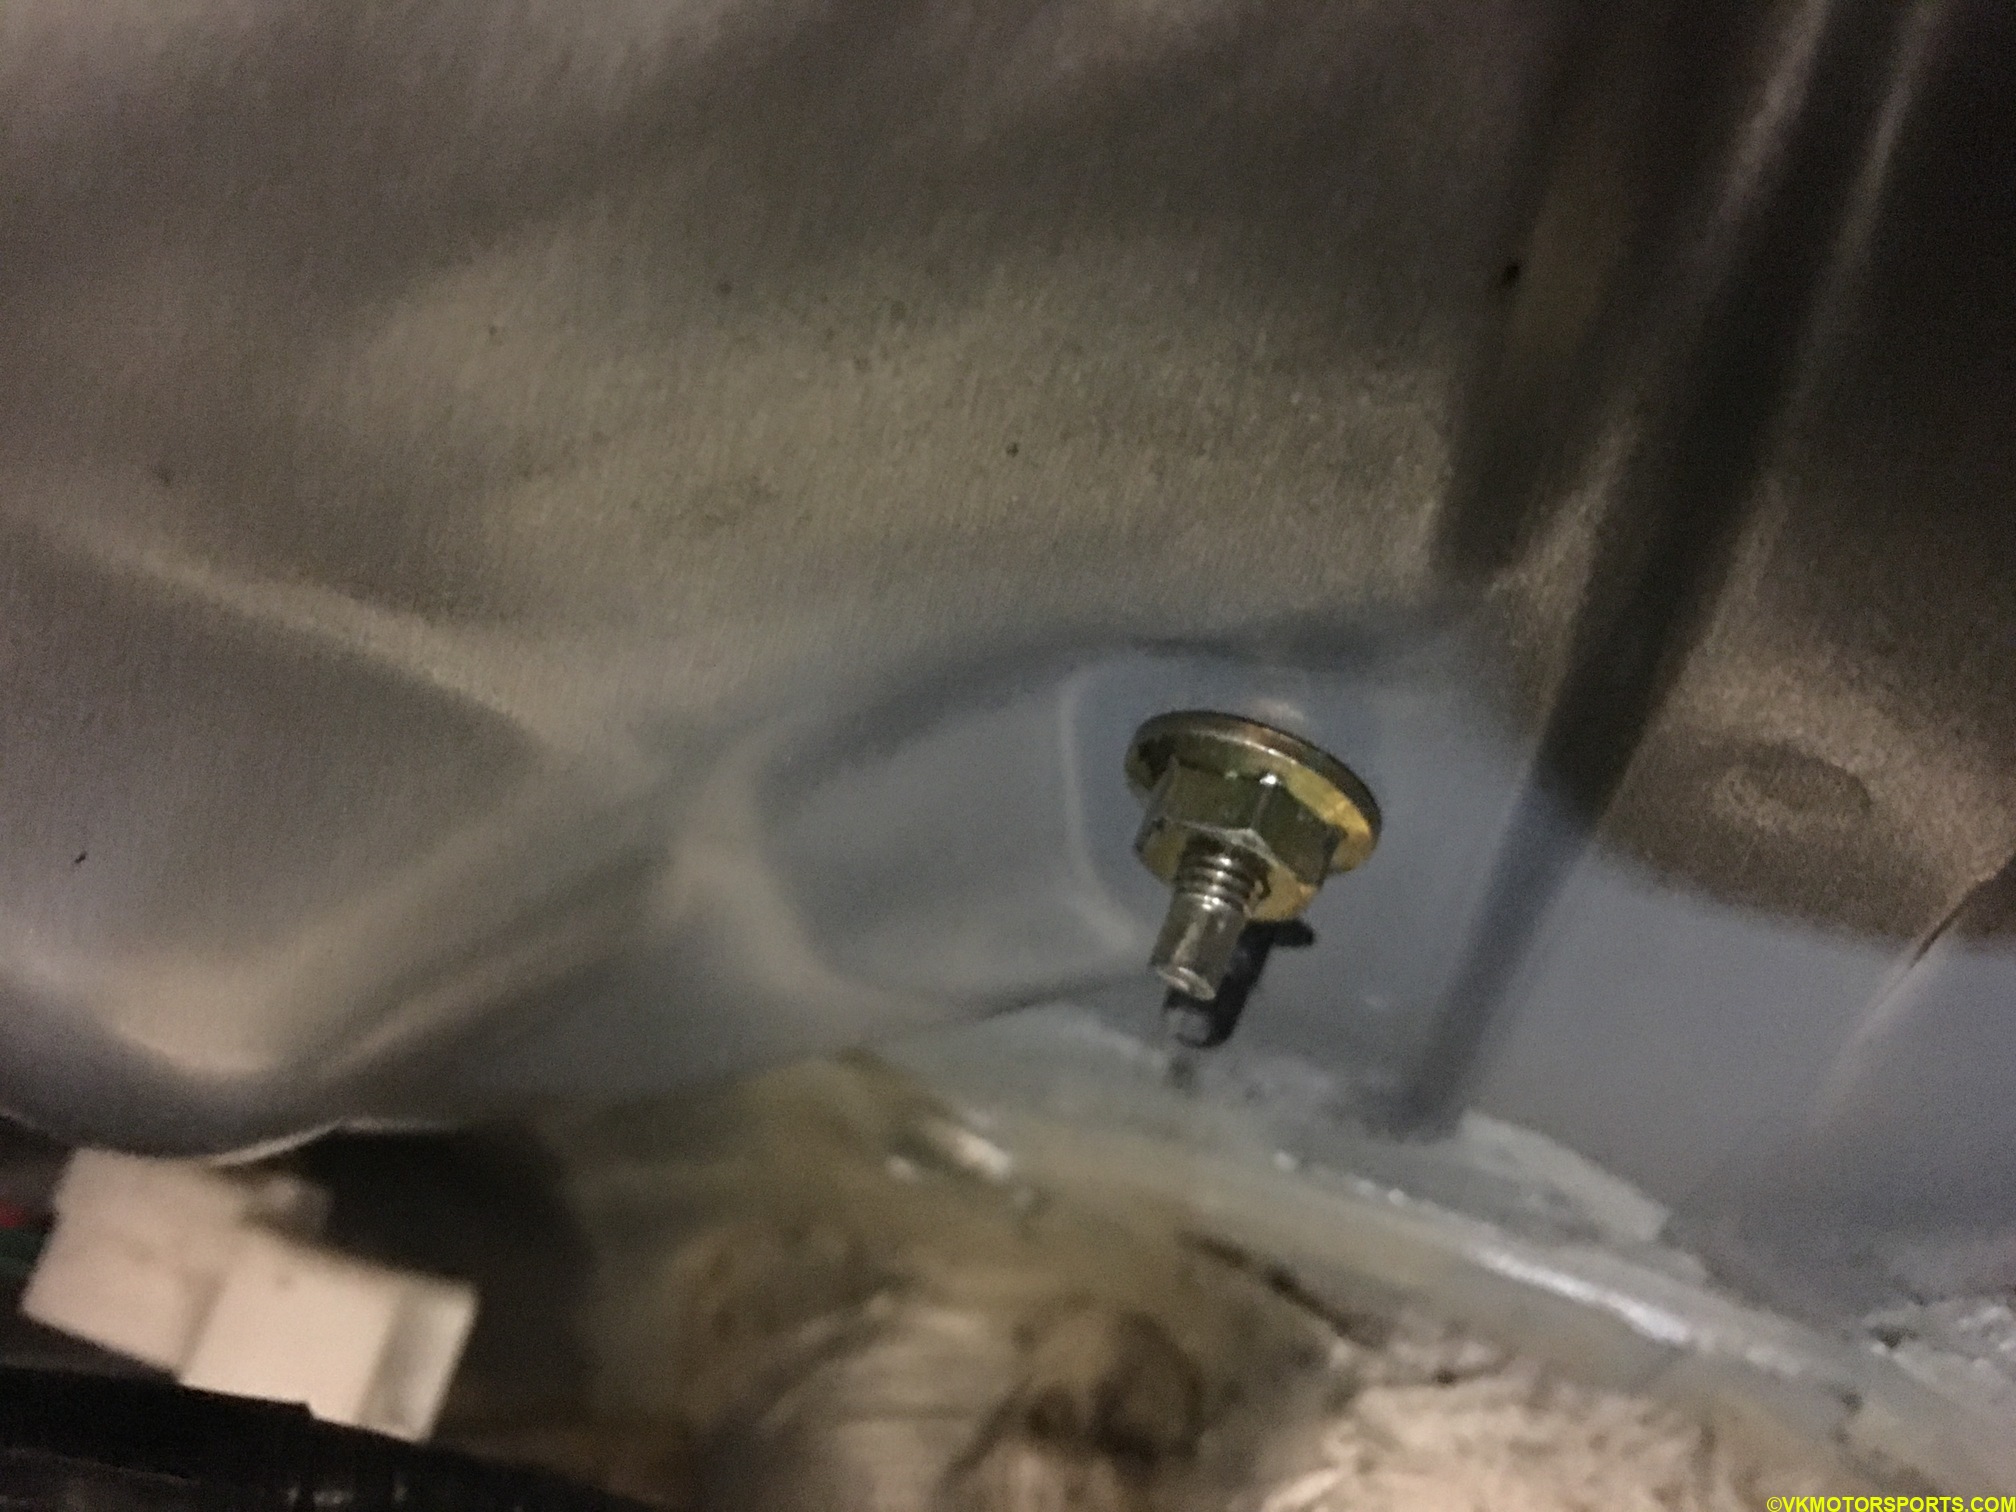 Figure 10. Bolt 1 that needs to be removed
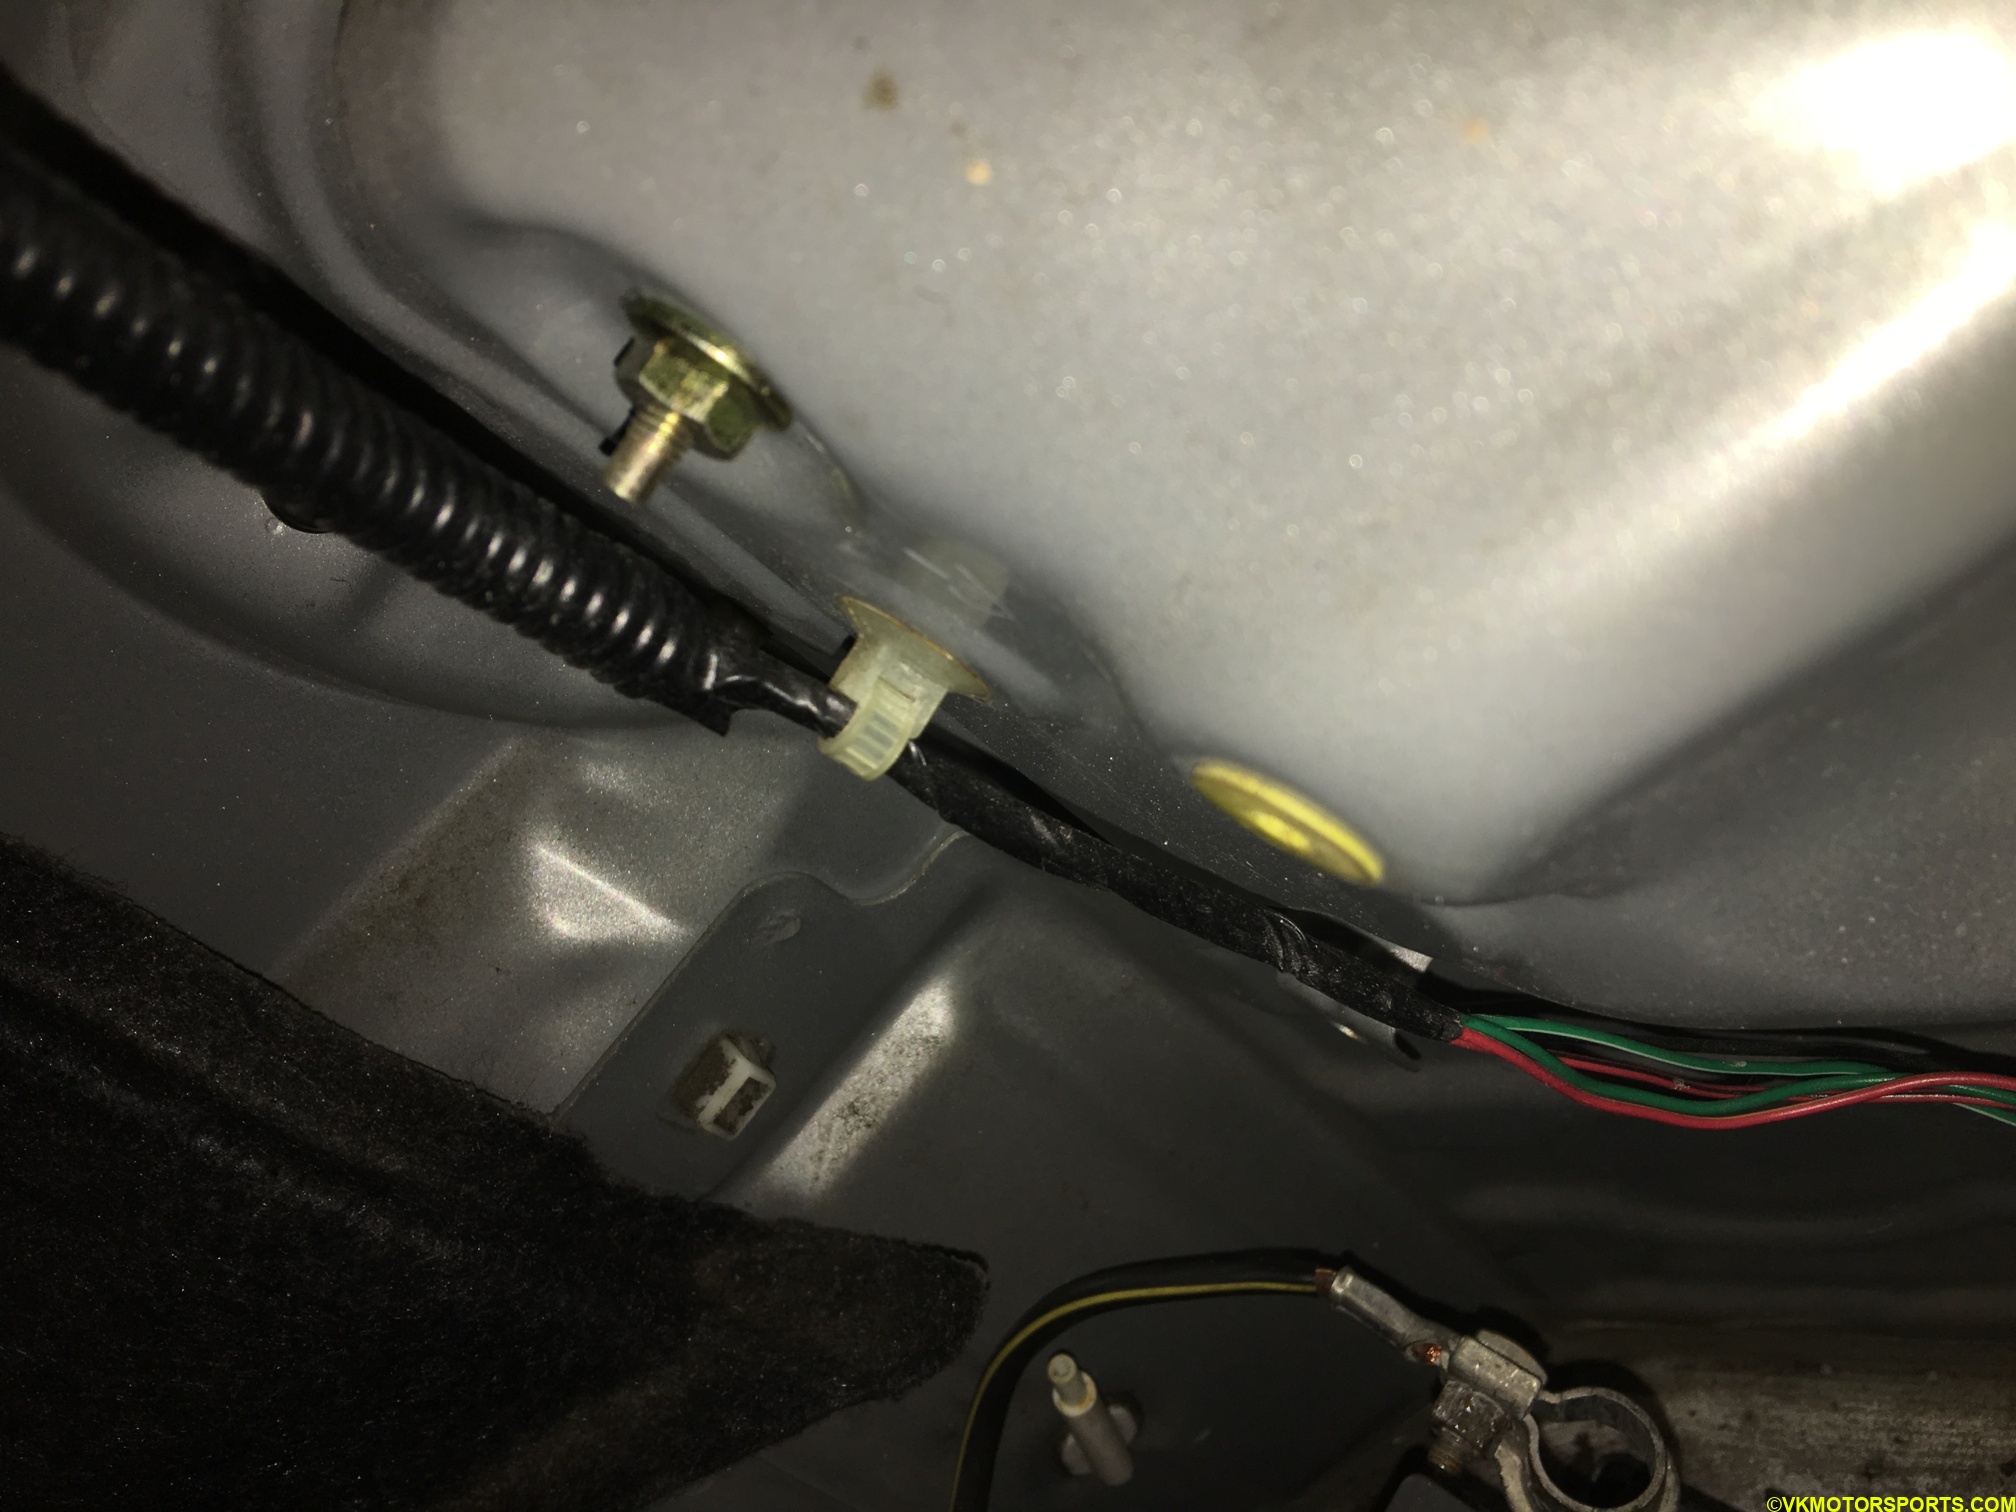 Figure 11. Bolt 2 that needs to be removed
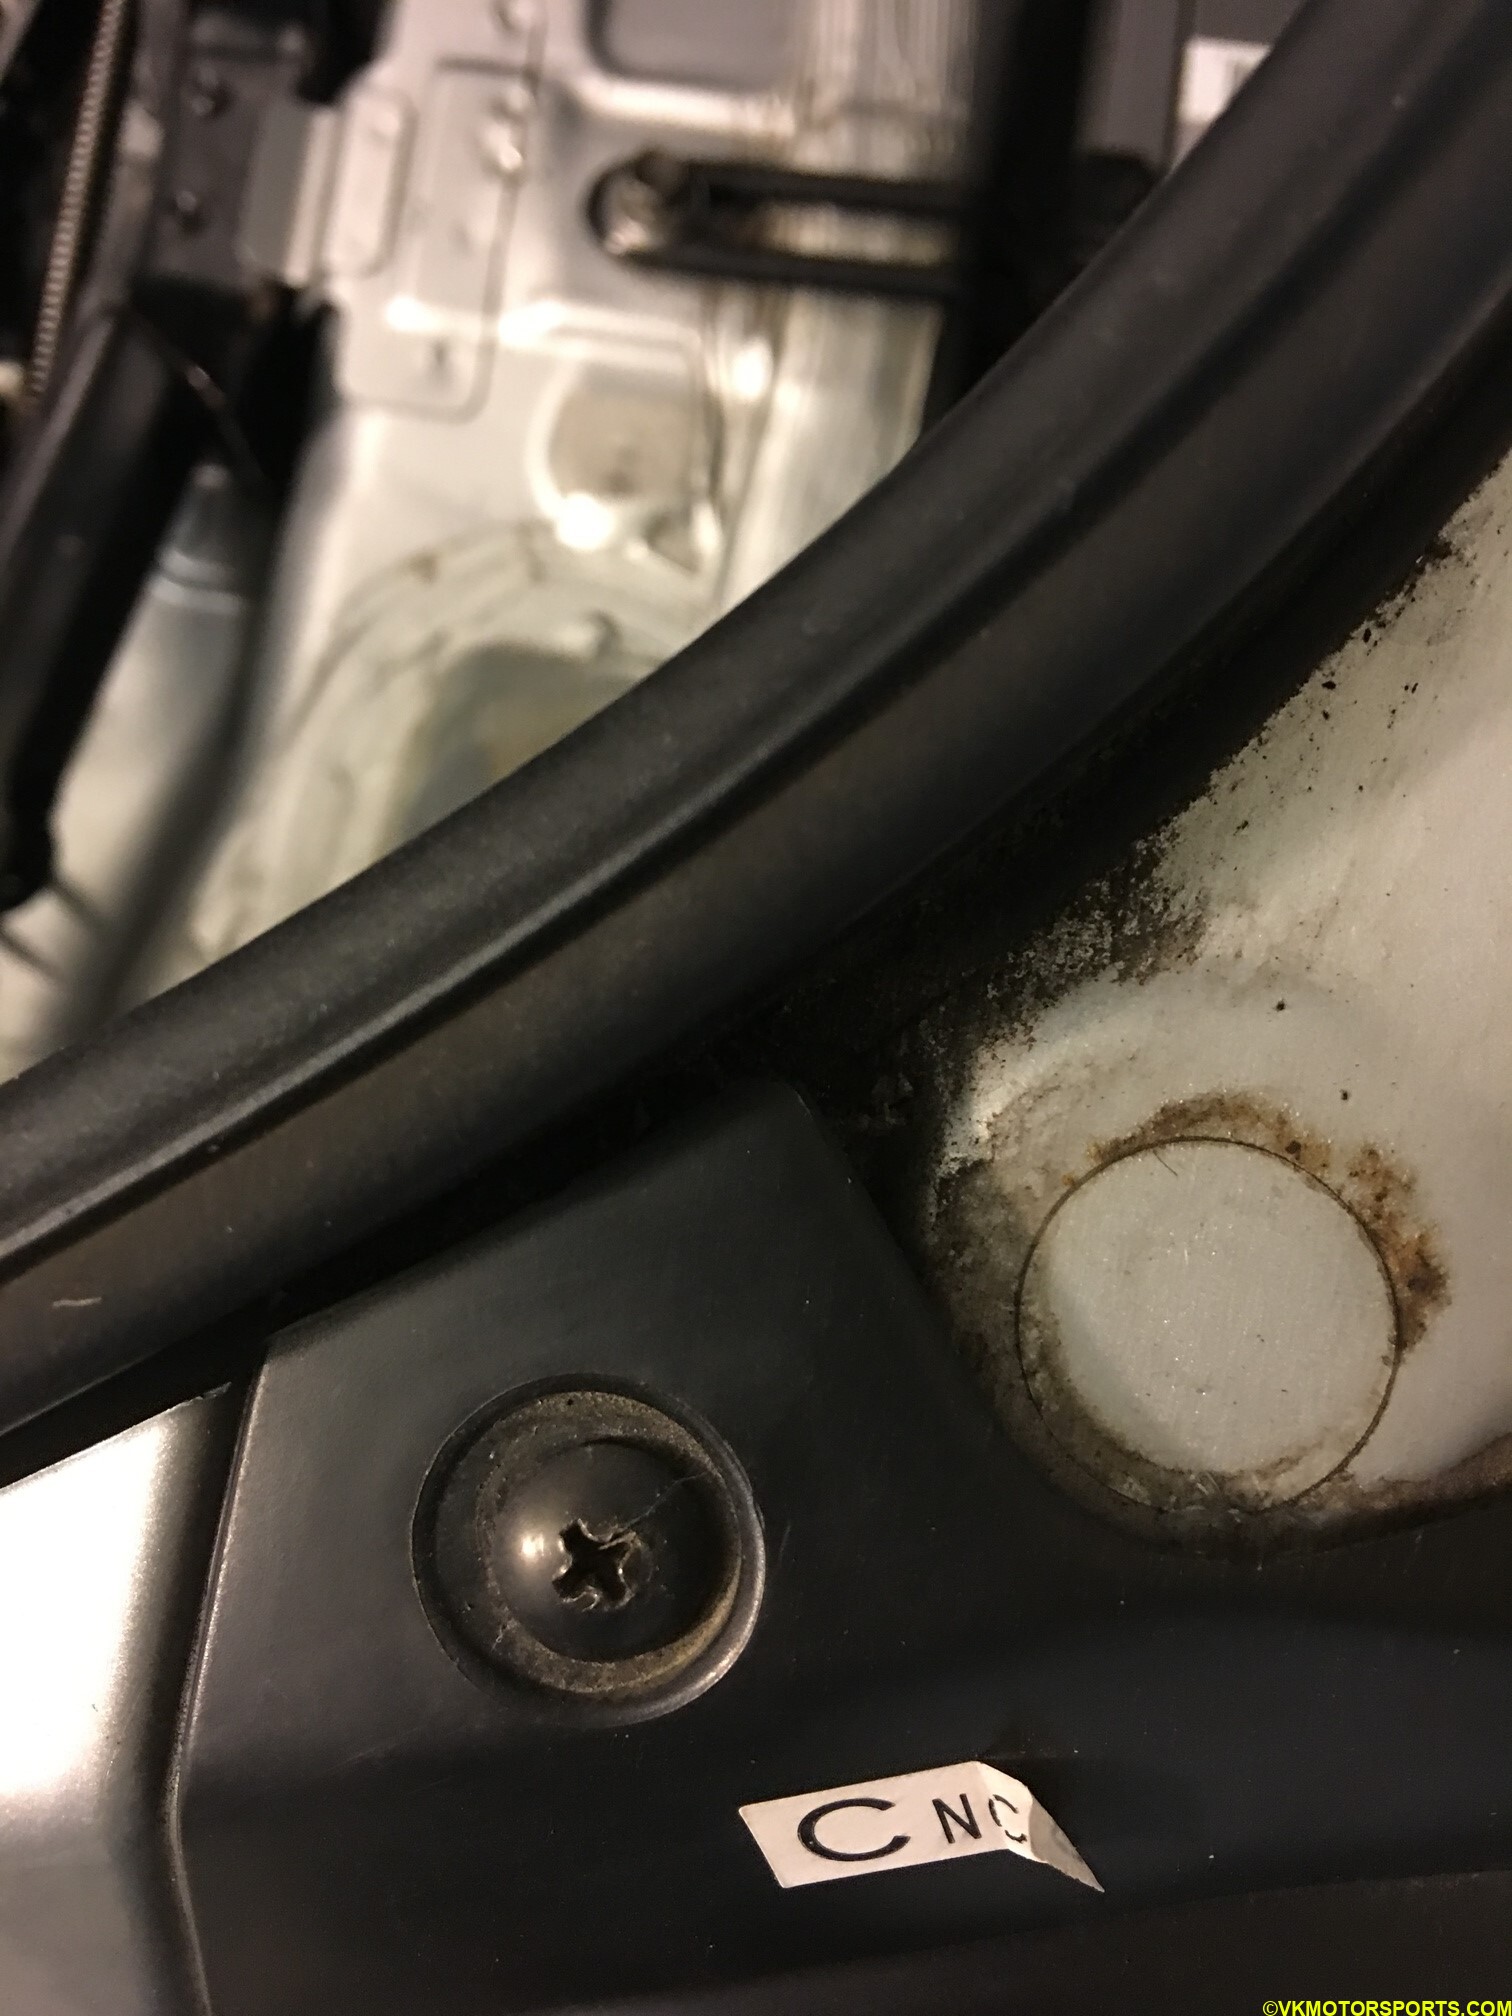 Figure 12. External screw that needs to be removed
Step 6: Pull the tail light out using your hand by slowly lifting the black trim, shown by the red arrow in Figure 13, and the whole light comes out as you can see in Figure 14, completely held to the car body with the electrical wiring.
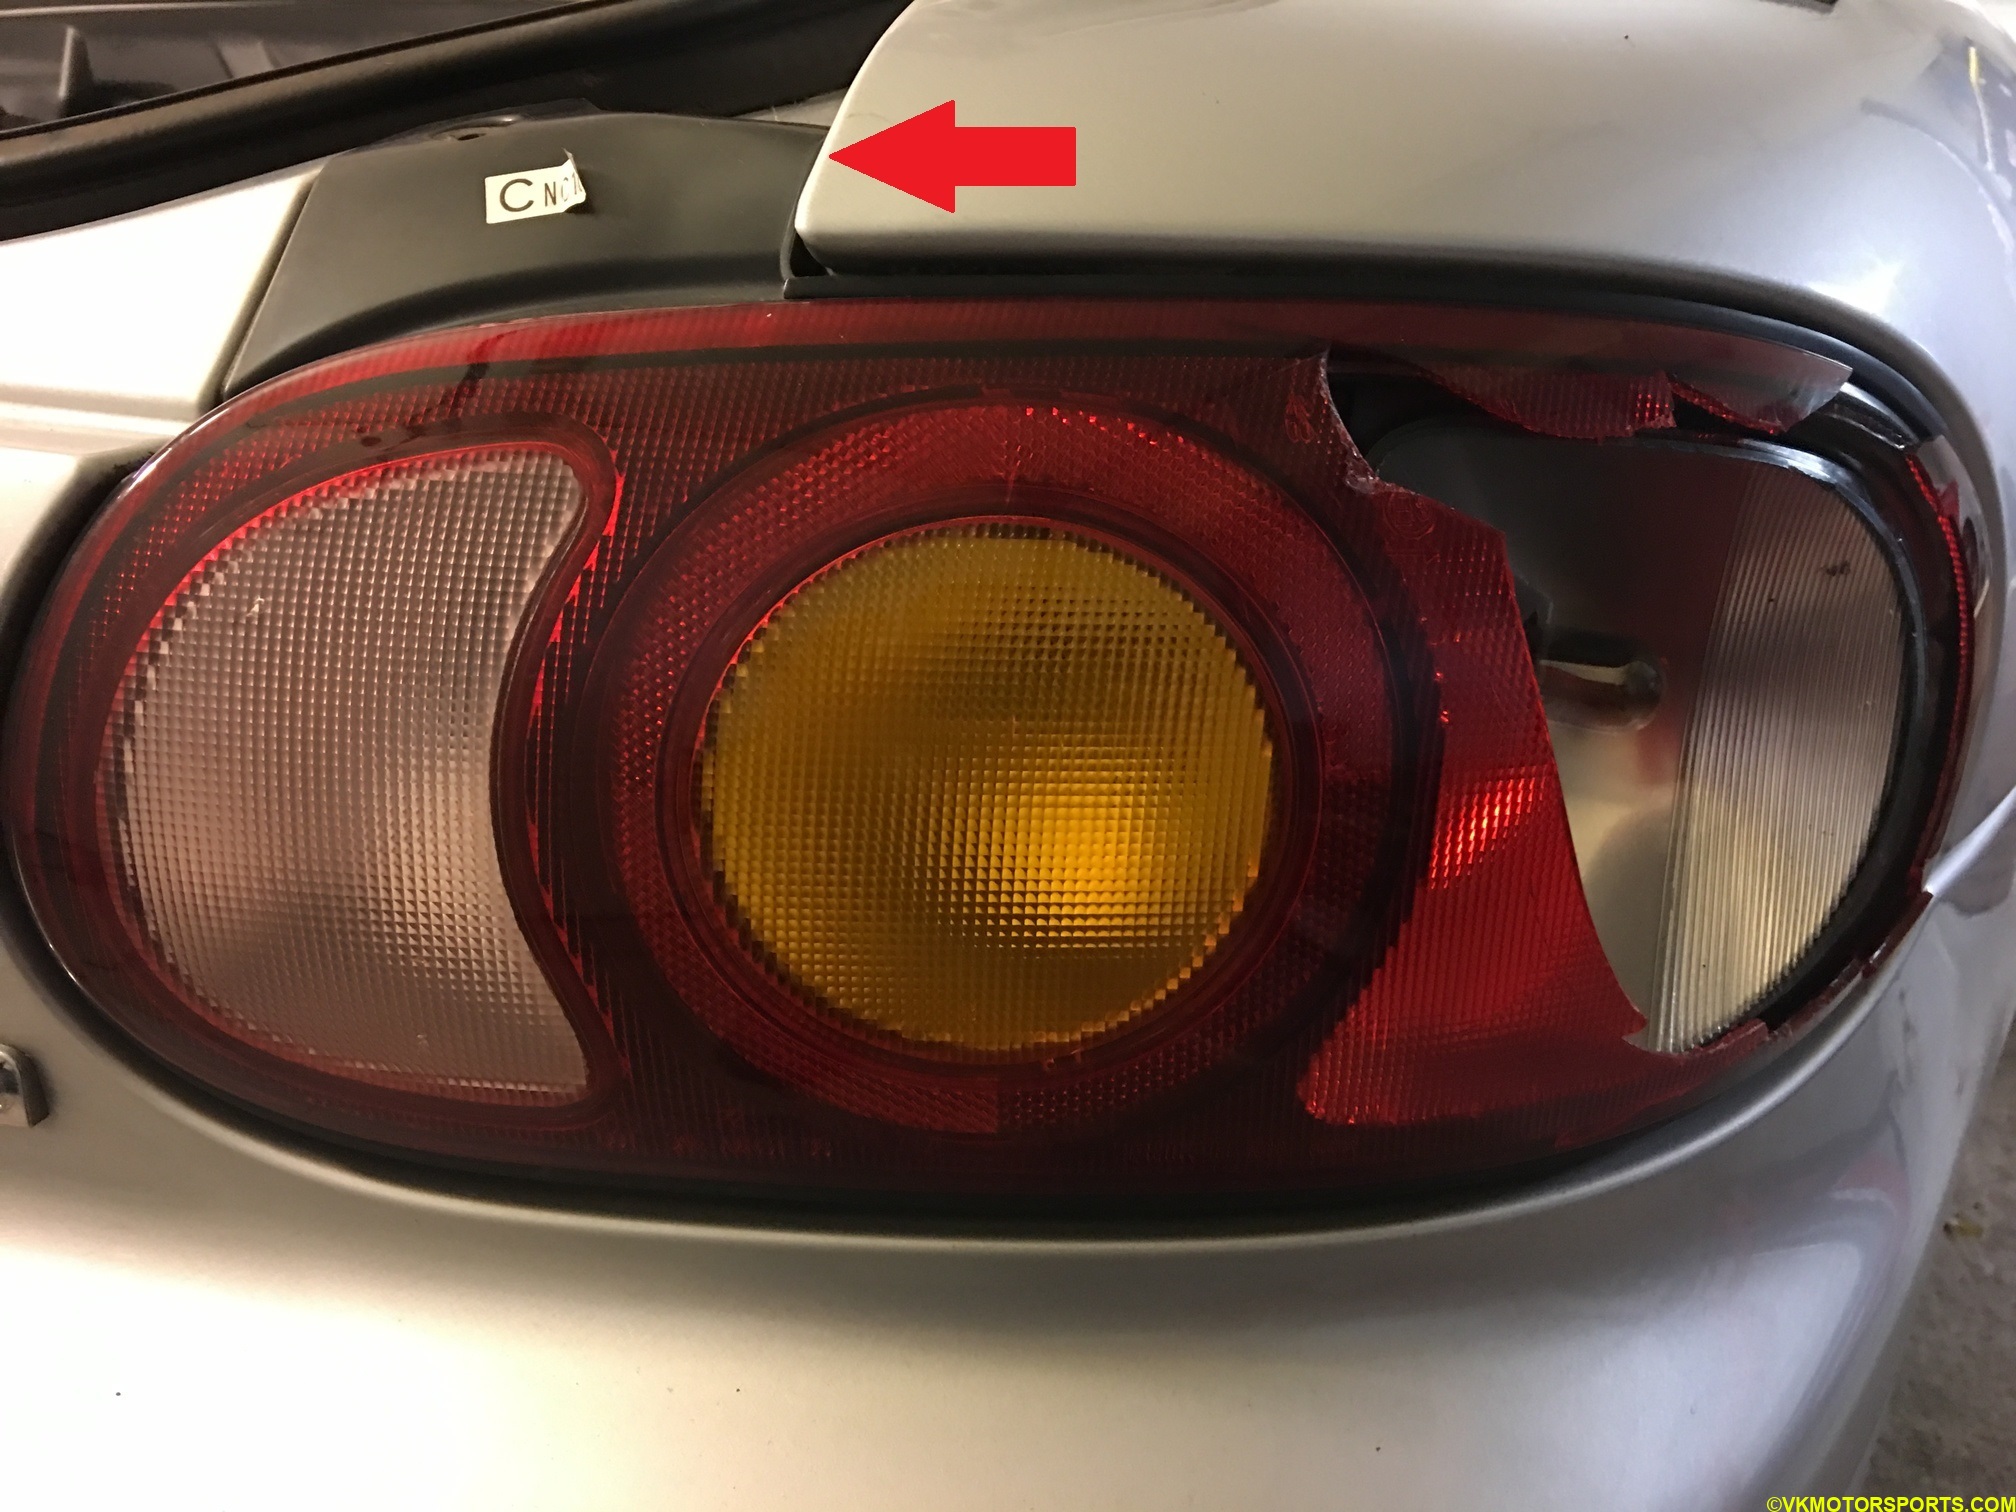 Figure 13. Pull the tail light from the point where the red arrow is shown
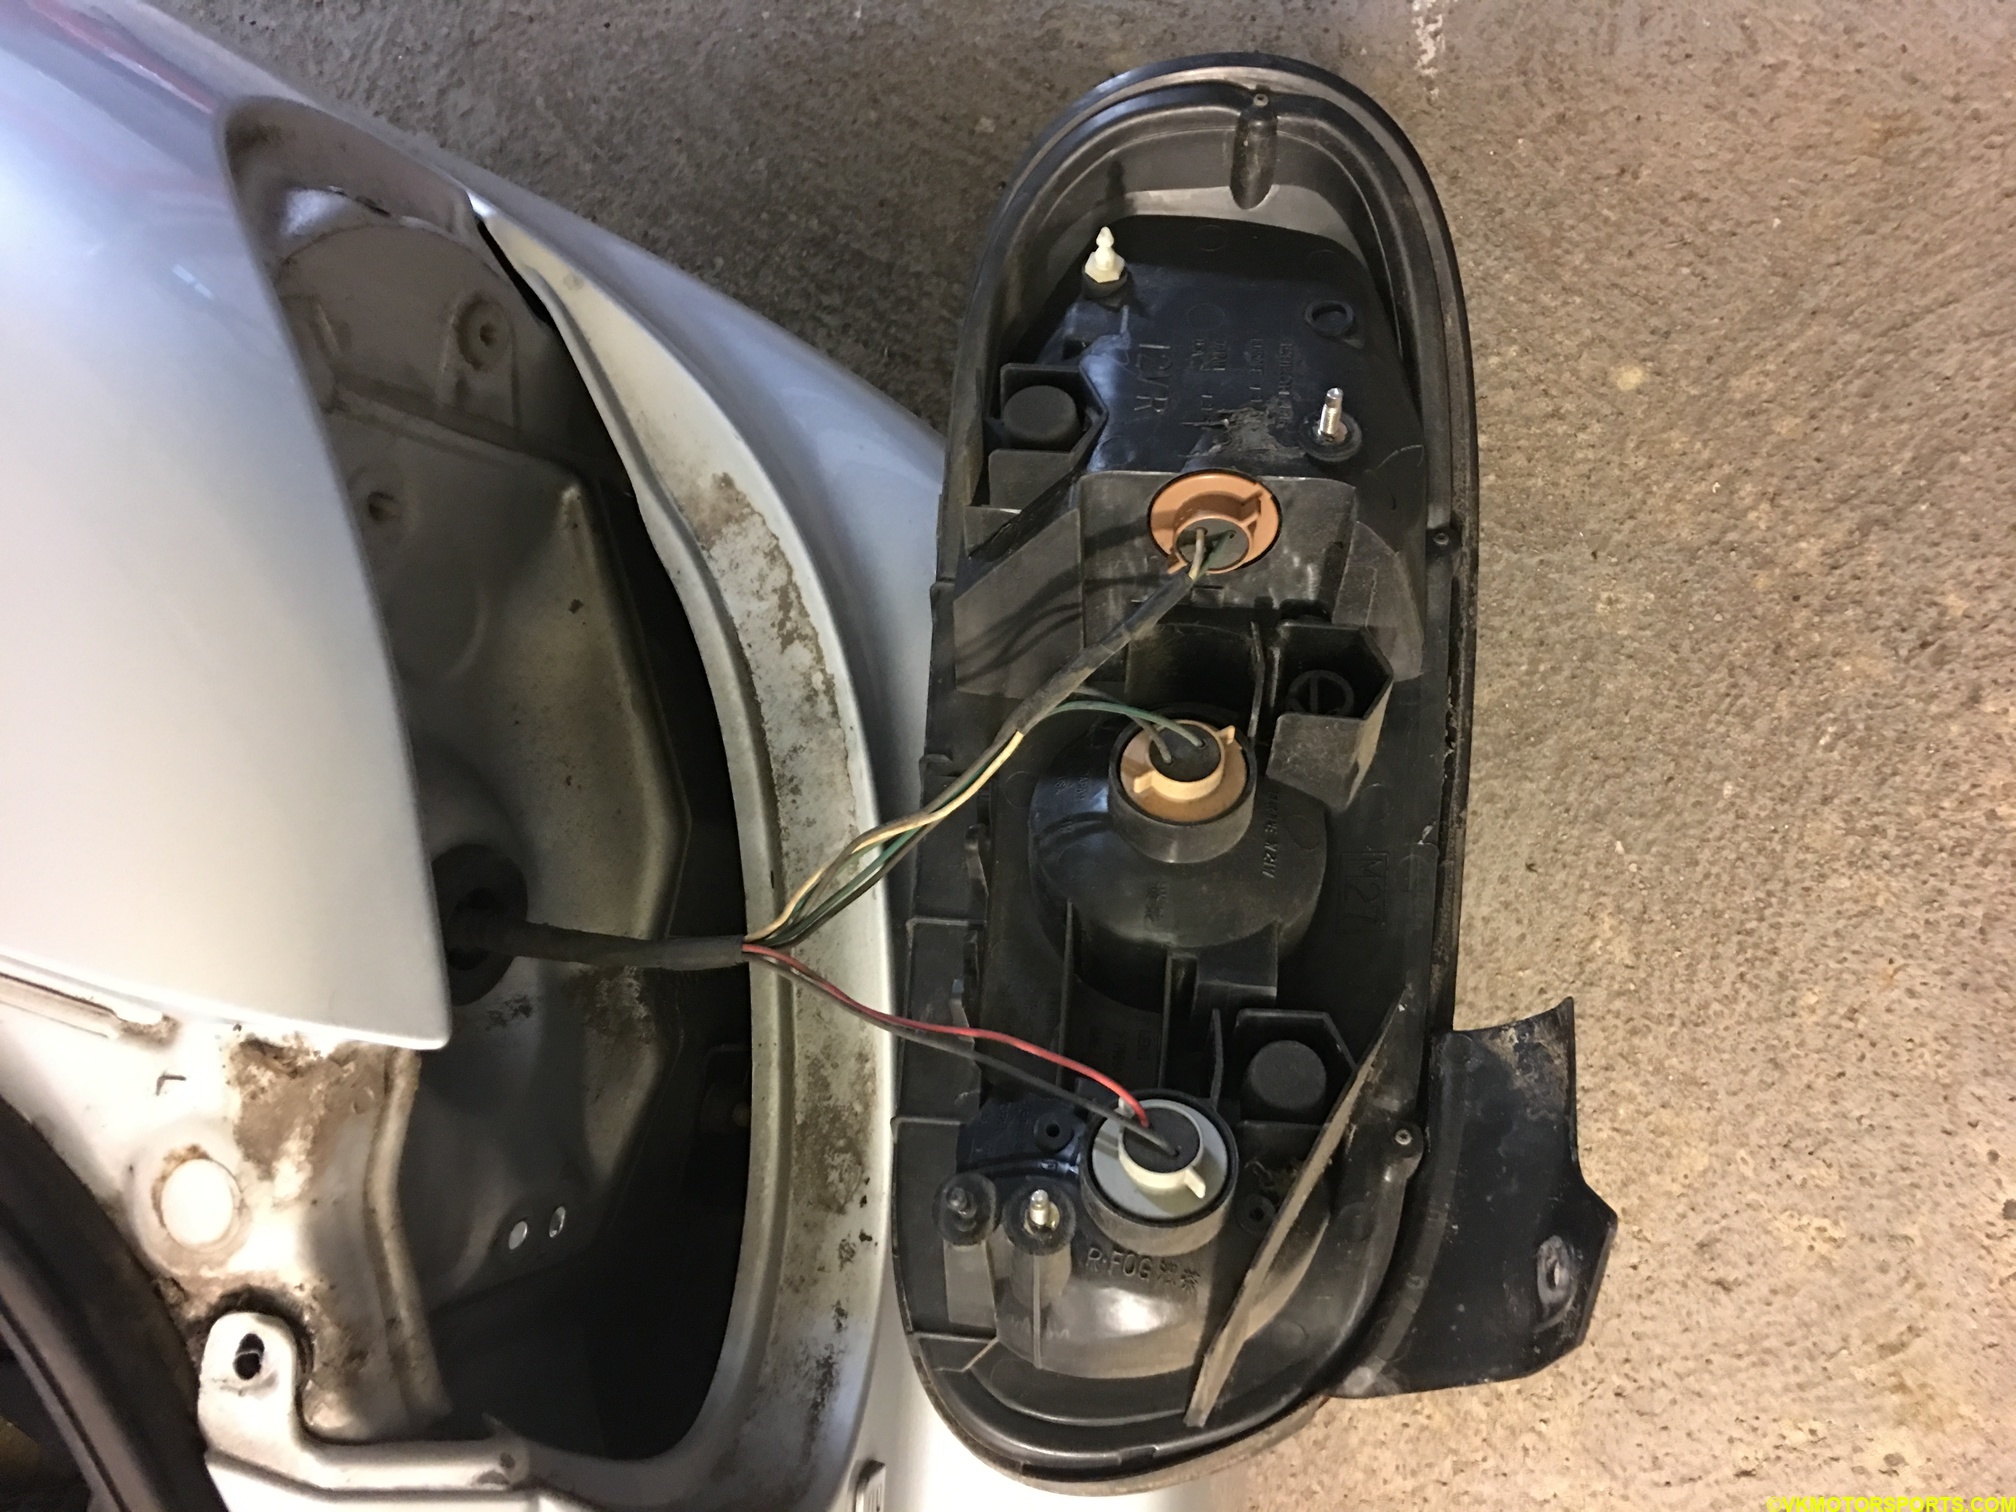 Figure 14. The tail light now hangs completely held to the body of the car
Step 7: A rubber seal, shown in Figure 15 holds the tail light to the body and that’s how the electrical wiring stays inside while the fixture stays outside. We need to push this seal from the inside out so that the tail light can be extracted out fully as seen in Figure 16.
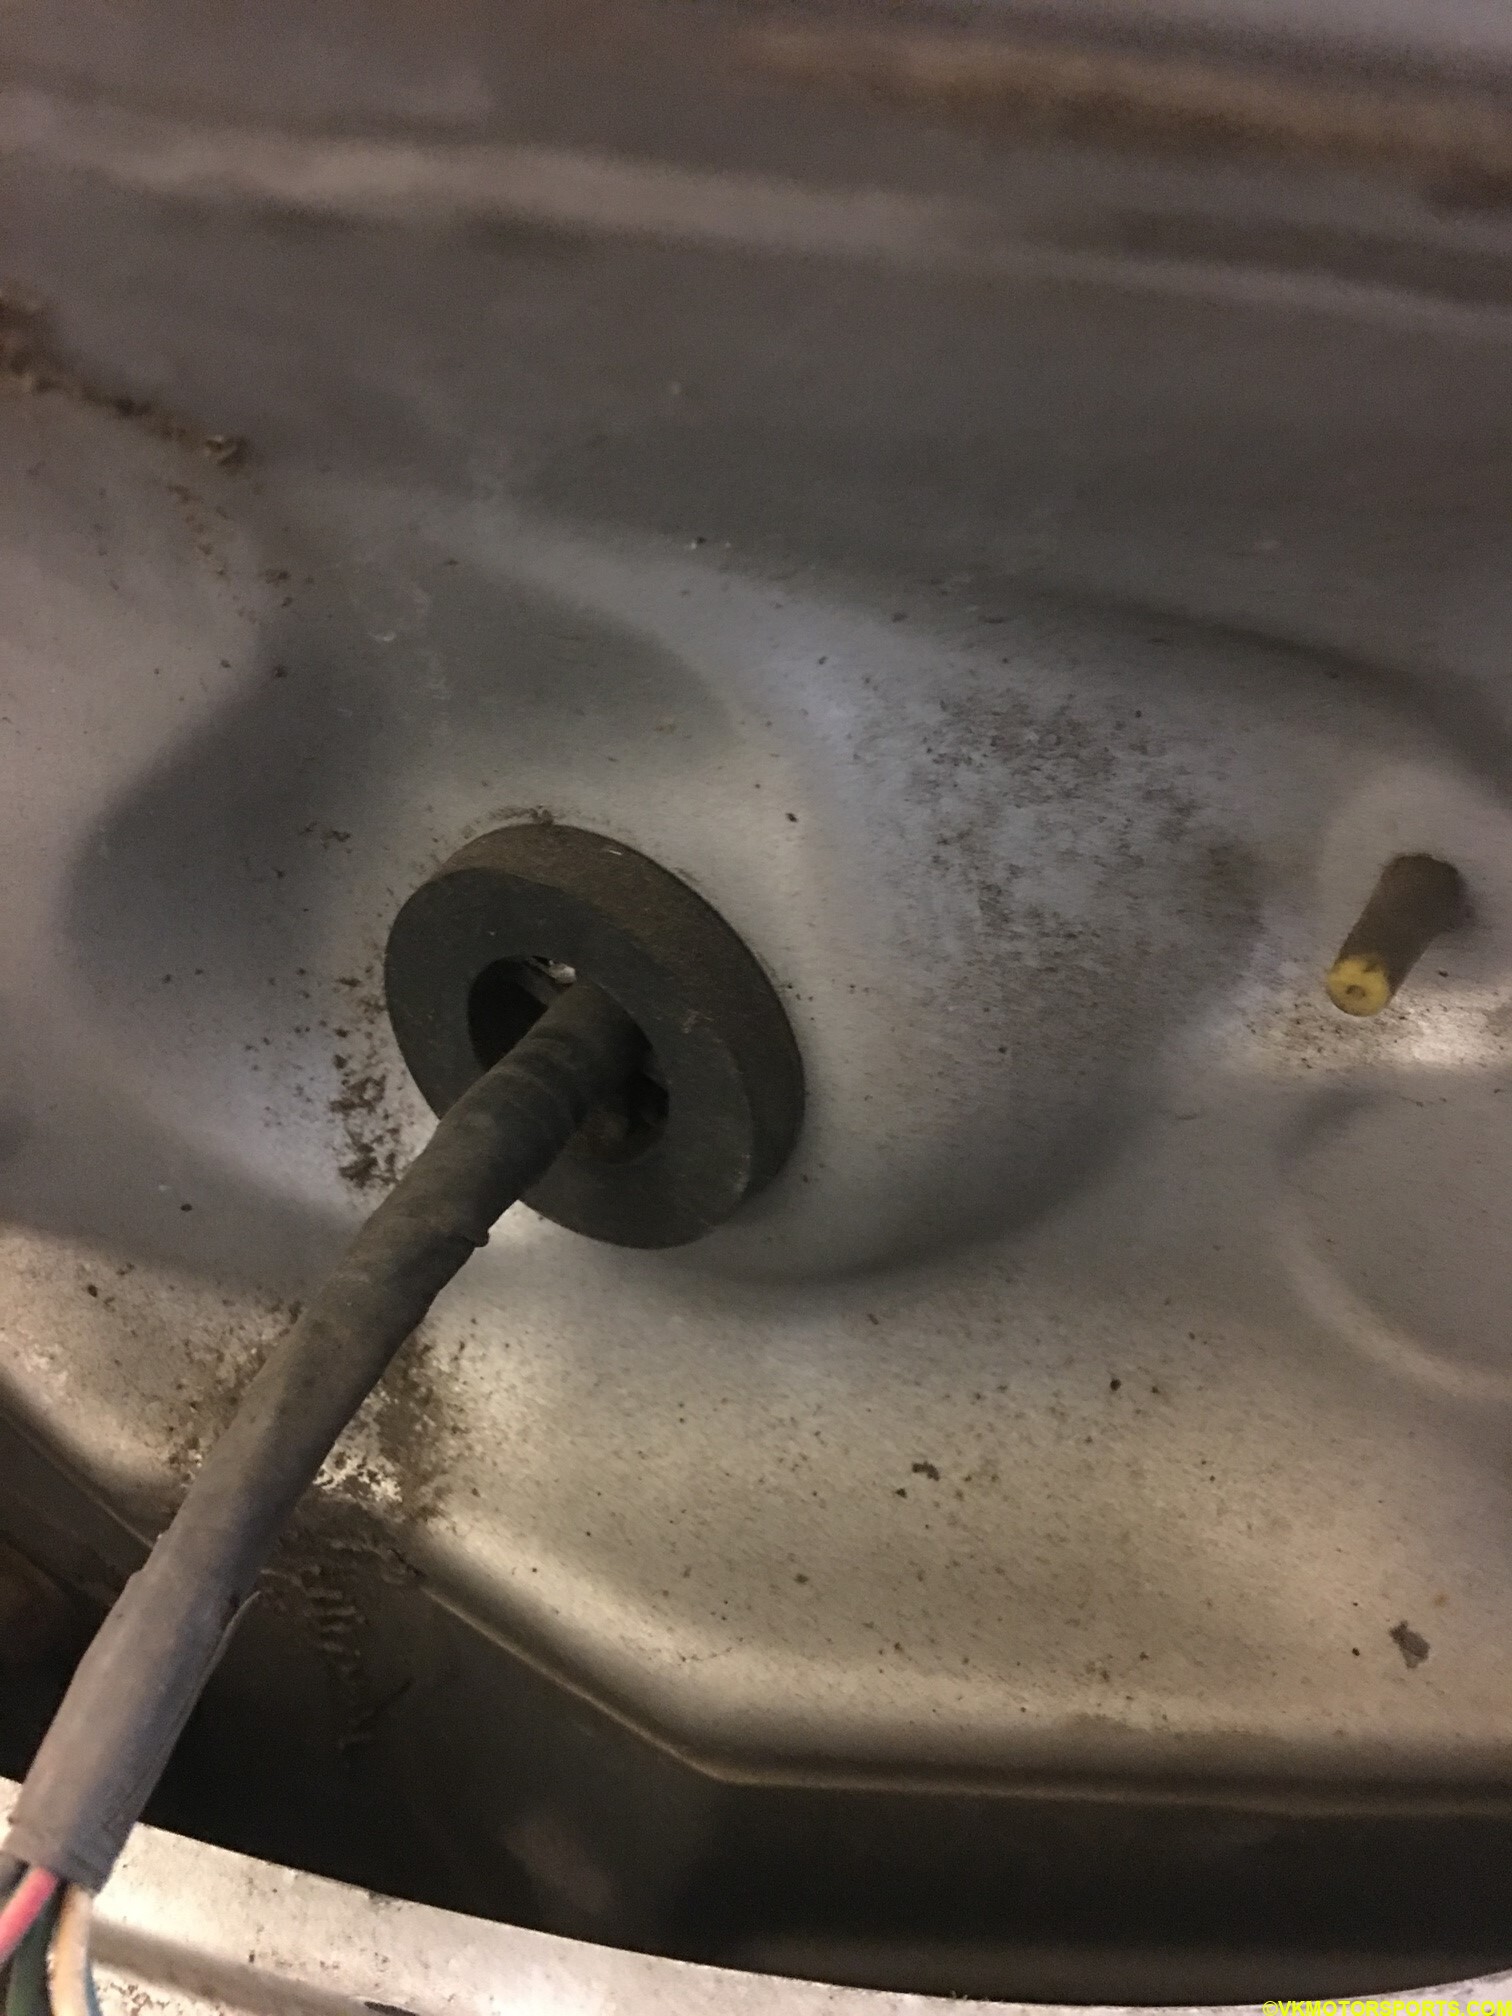 Figure 15. The seal that holds the light to the body
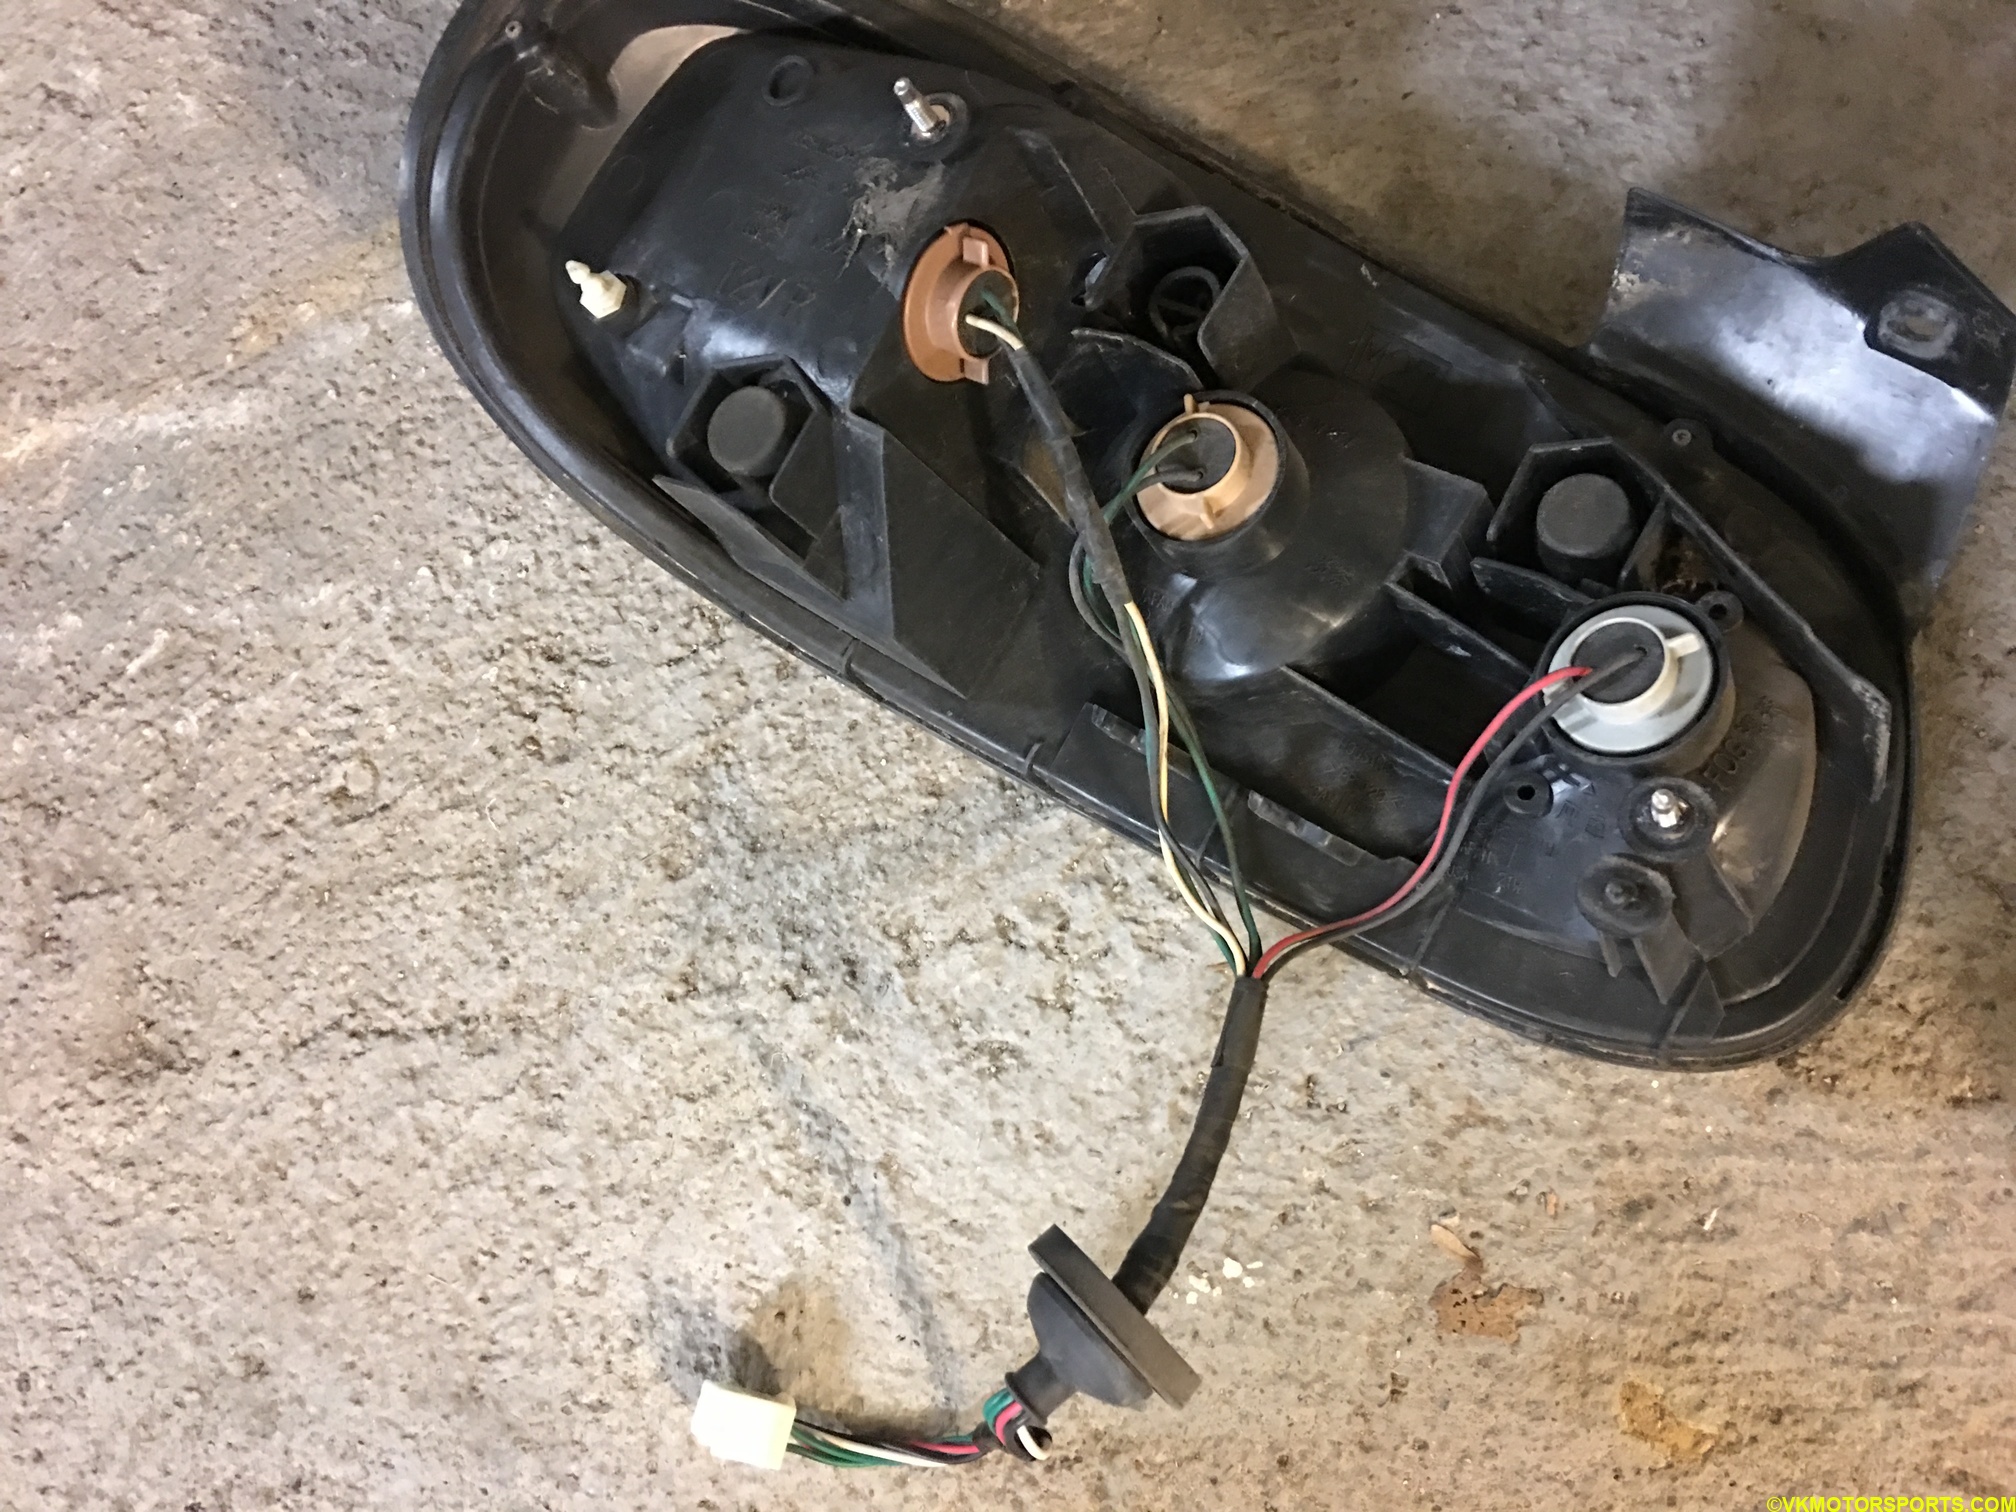 Figure 16. The tail light is now out
Step 8: Now we need to install the new tail light (Figure 17). Make sure that the back-end of the new tail light is the same as that of the old one, as you can see in Figure 18.
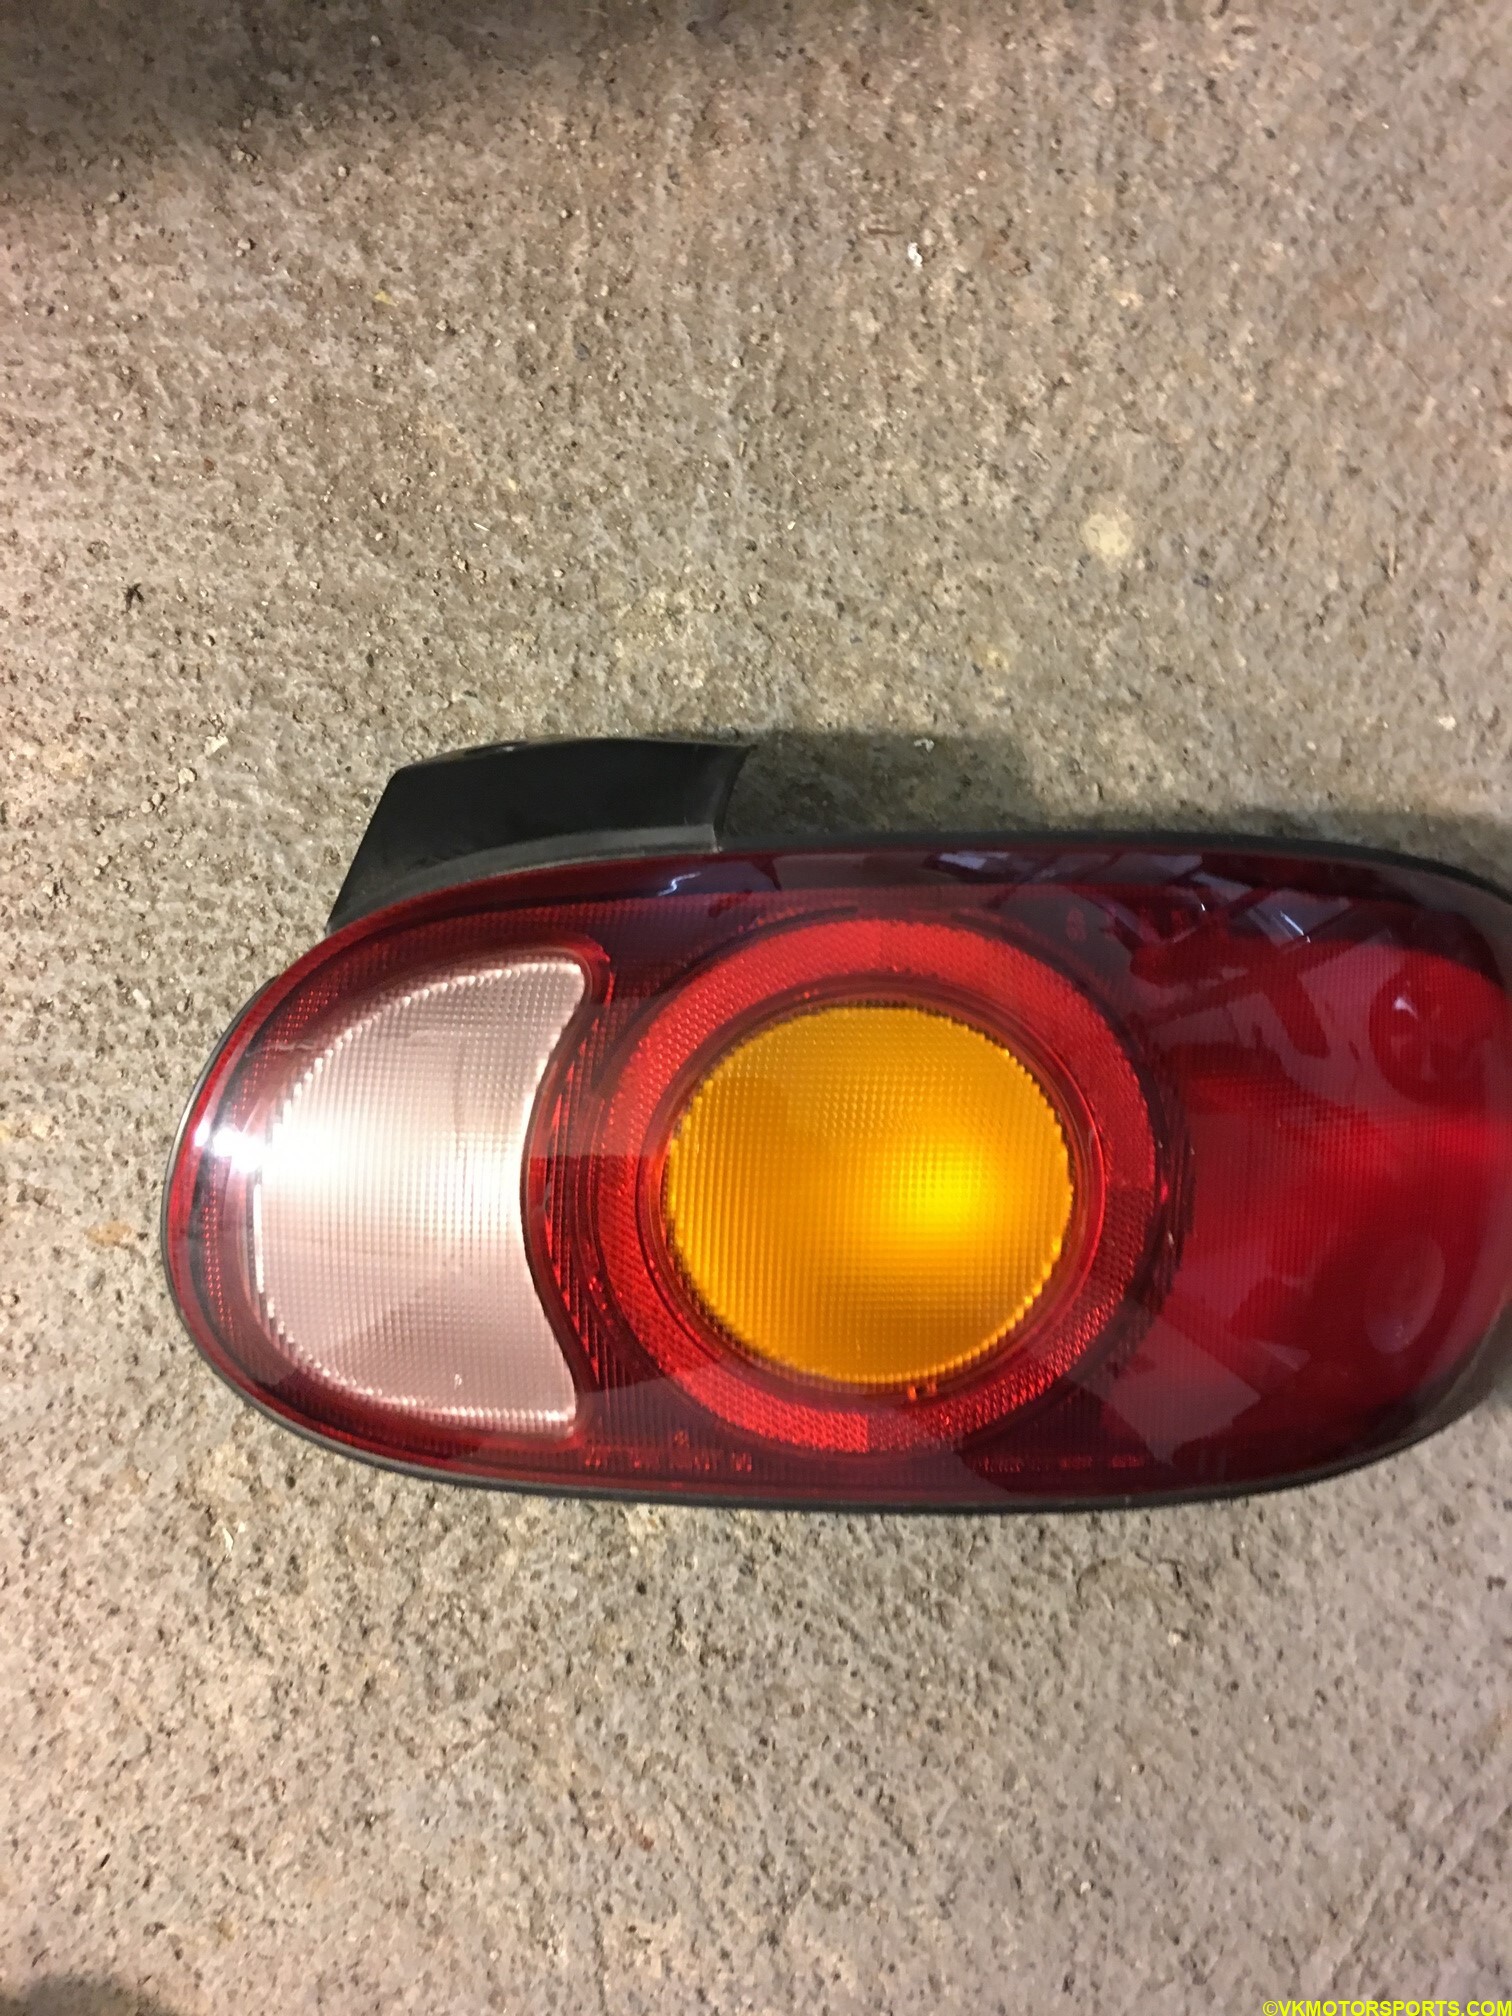 Figure 17. The new tail light
 Figure 18. Comparing the old and new tail light back-end
Step 9: Push the new tail light’s seal through the hole and place the tail light in the same position as it was earlier. The wire should go through the hole and the seal should be fully sealed as seen in Figure 15. The tail light should again be hanging as in Figure 14.
Step 10: Place the tail light back in position like in Figure 13 and screw it back in. The screw is the same one as in Figure 12.
Step 11: Re-install the bolts that are shown in Figures 10 and 11.
Step 12: Connect the electrical connector back so that it looks like Figure 8.
Step 13: Re-install the trunk trim using the trunk trim screws.
Step 14: Place the toolbox back in position and reconnect the battery.
Step 15: Start the car and turn on the indicators and check if the connection works by testing the indicators.
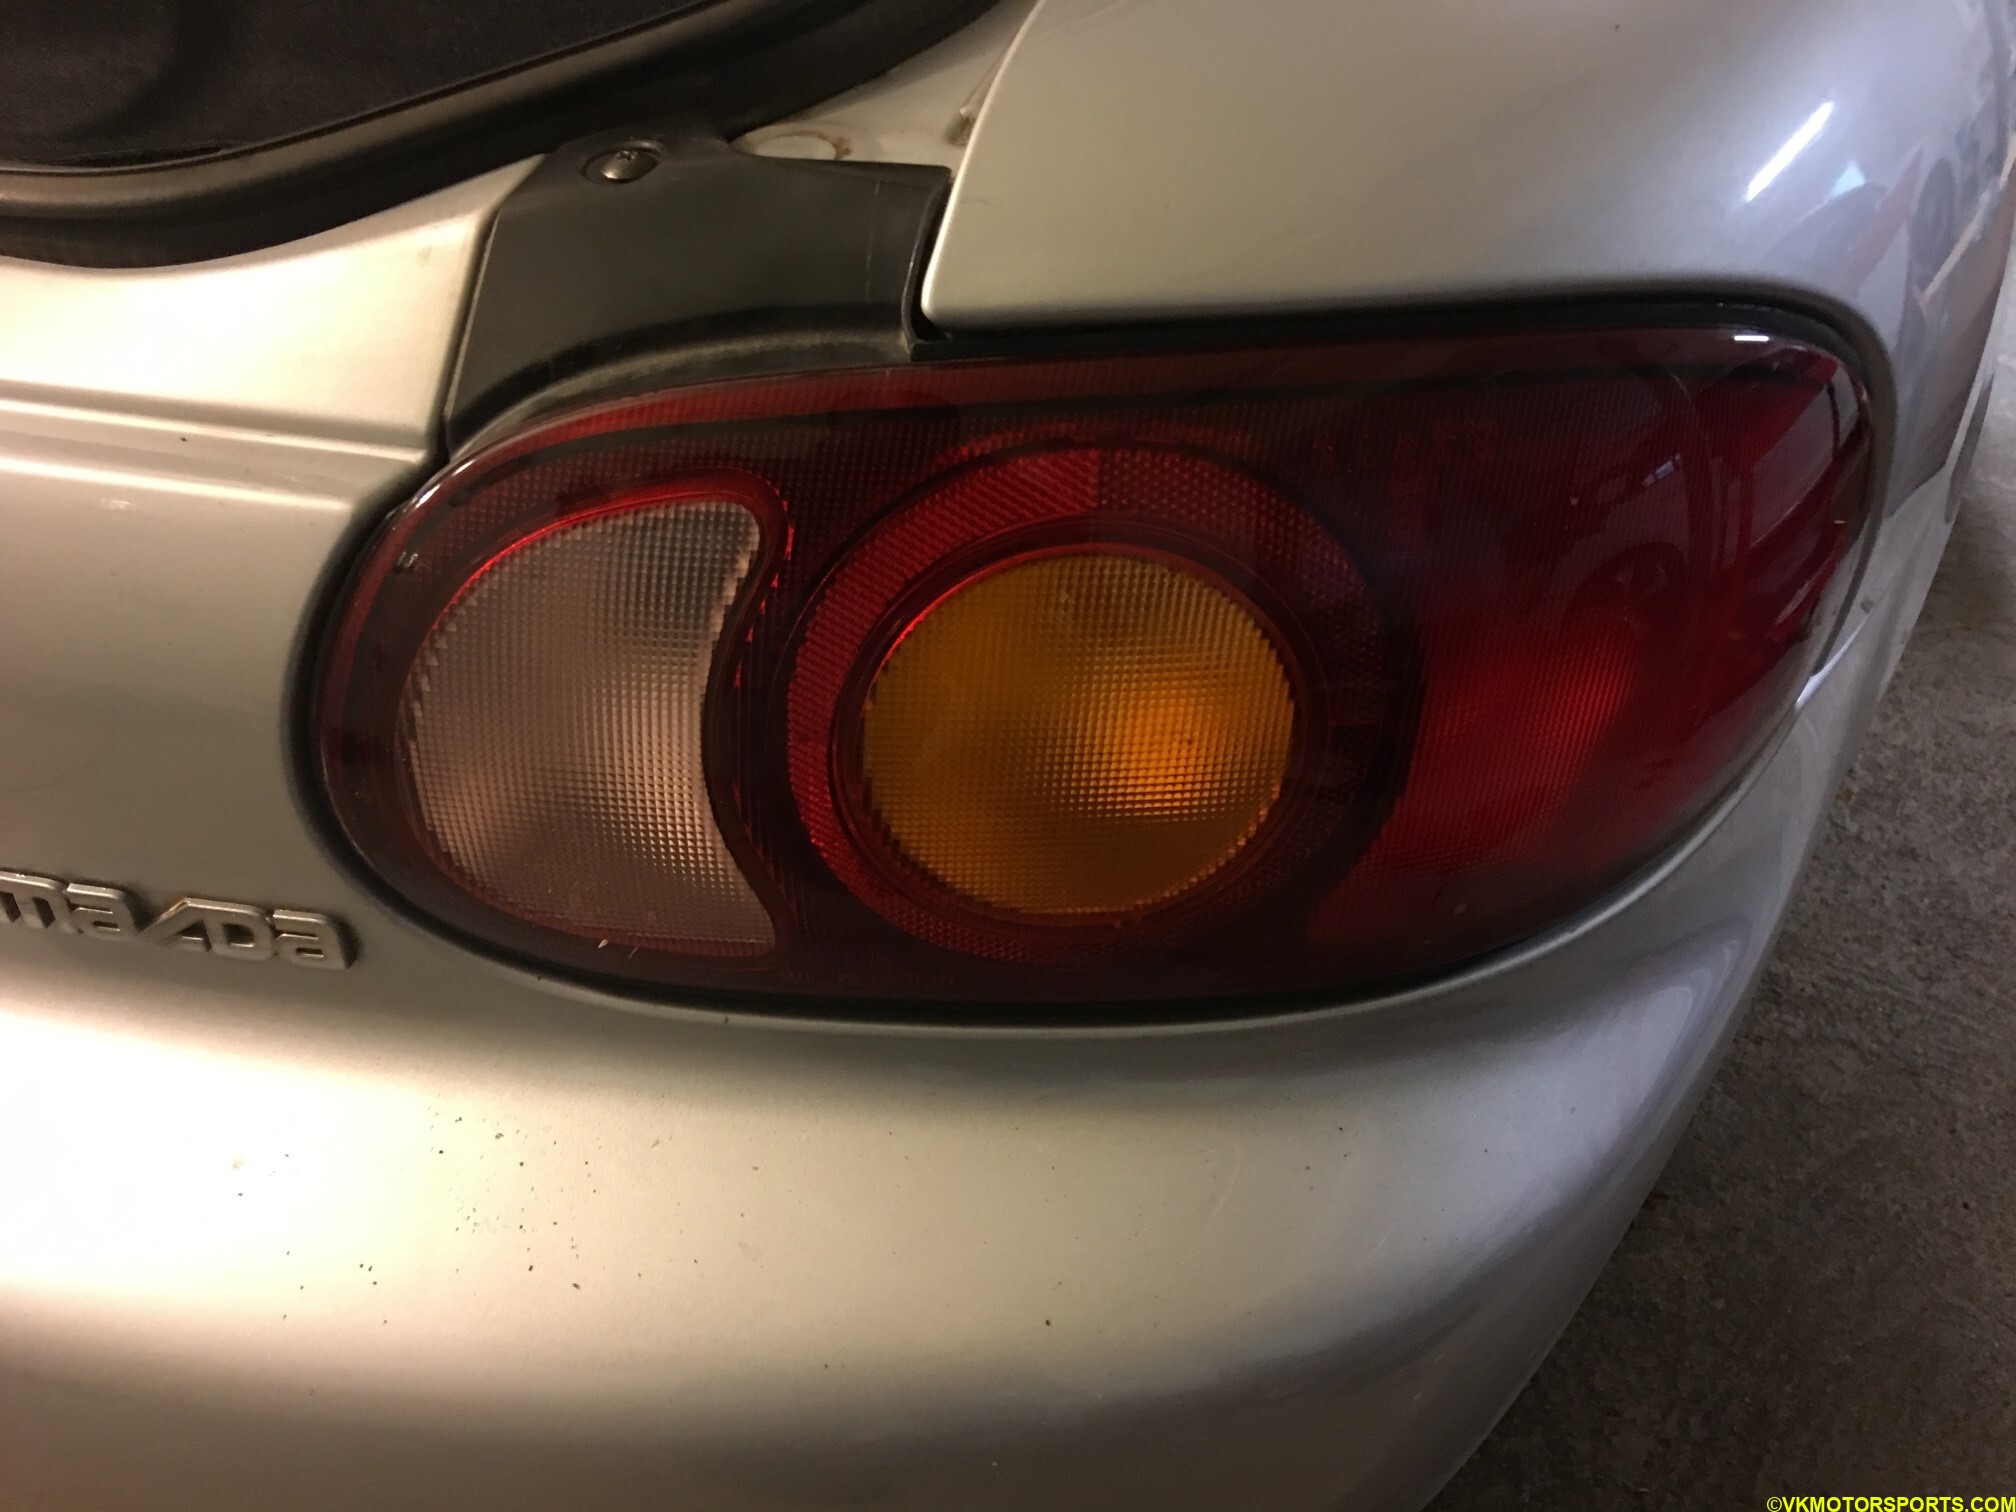 Figure 19. The tail light is now installed
The tail light has now been successfully installed and the car can be driven without being stopped by a policeman.