It’s the most wonderful time of the year ! For Christmas, I received a gift of new pedal covers (Figure 1 and 2) for my Miata. These are made by I.L. Motorsport and were purchased at Moss Miata.
The new pedal covers
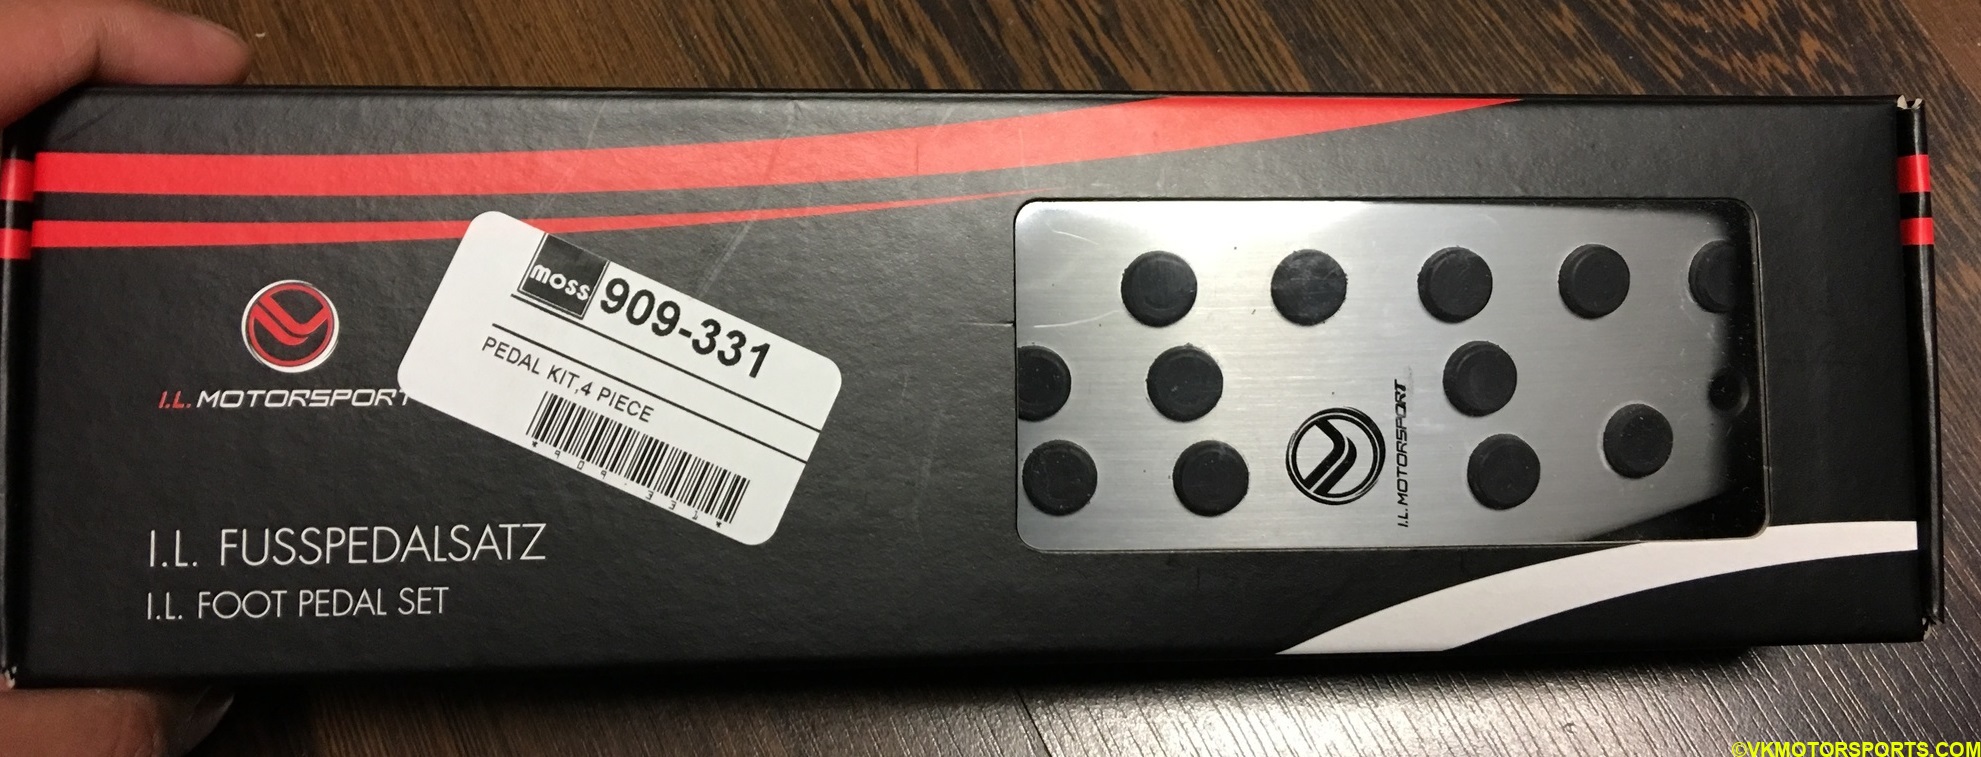 Figure 1. The box of pedal covers
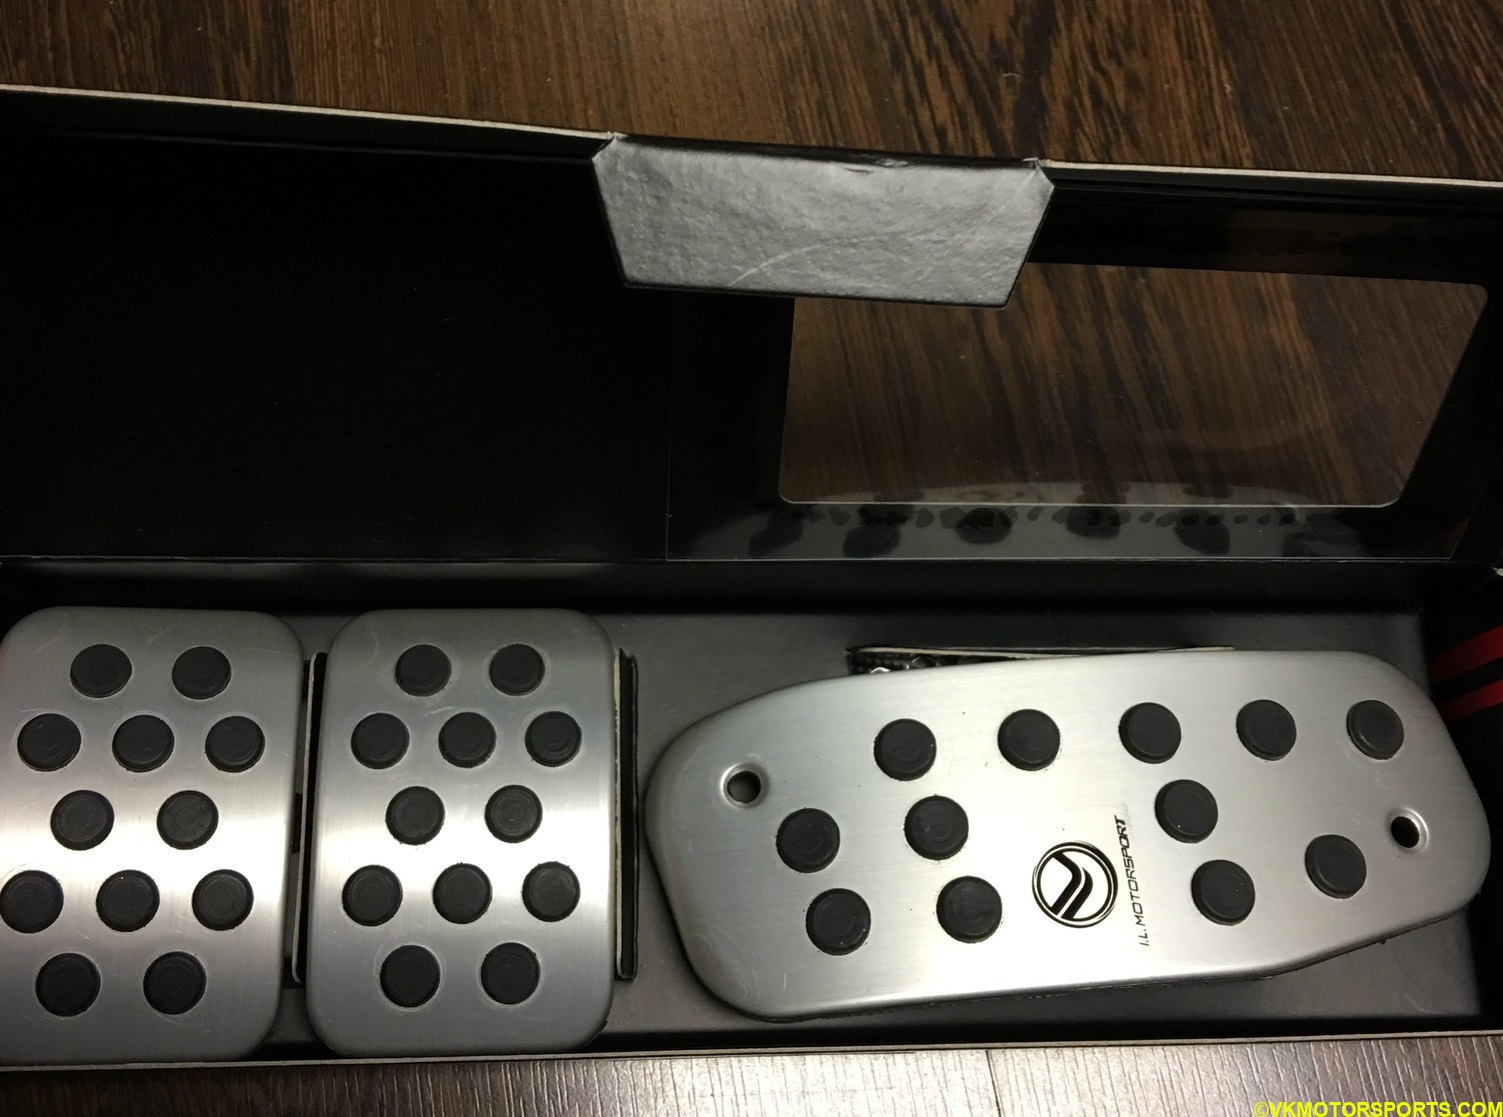 Figure 2. The box of pedal covers opened
Figures 3 and 4 show what the pedal covers look like when they are taken outside the box. You can see that the accelerator and dead pedal covers use screws to attach to their respective pedals. The clutch and brake pedal covers are tightly wrapped around the respective pedals.
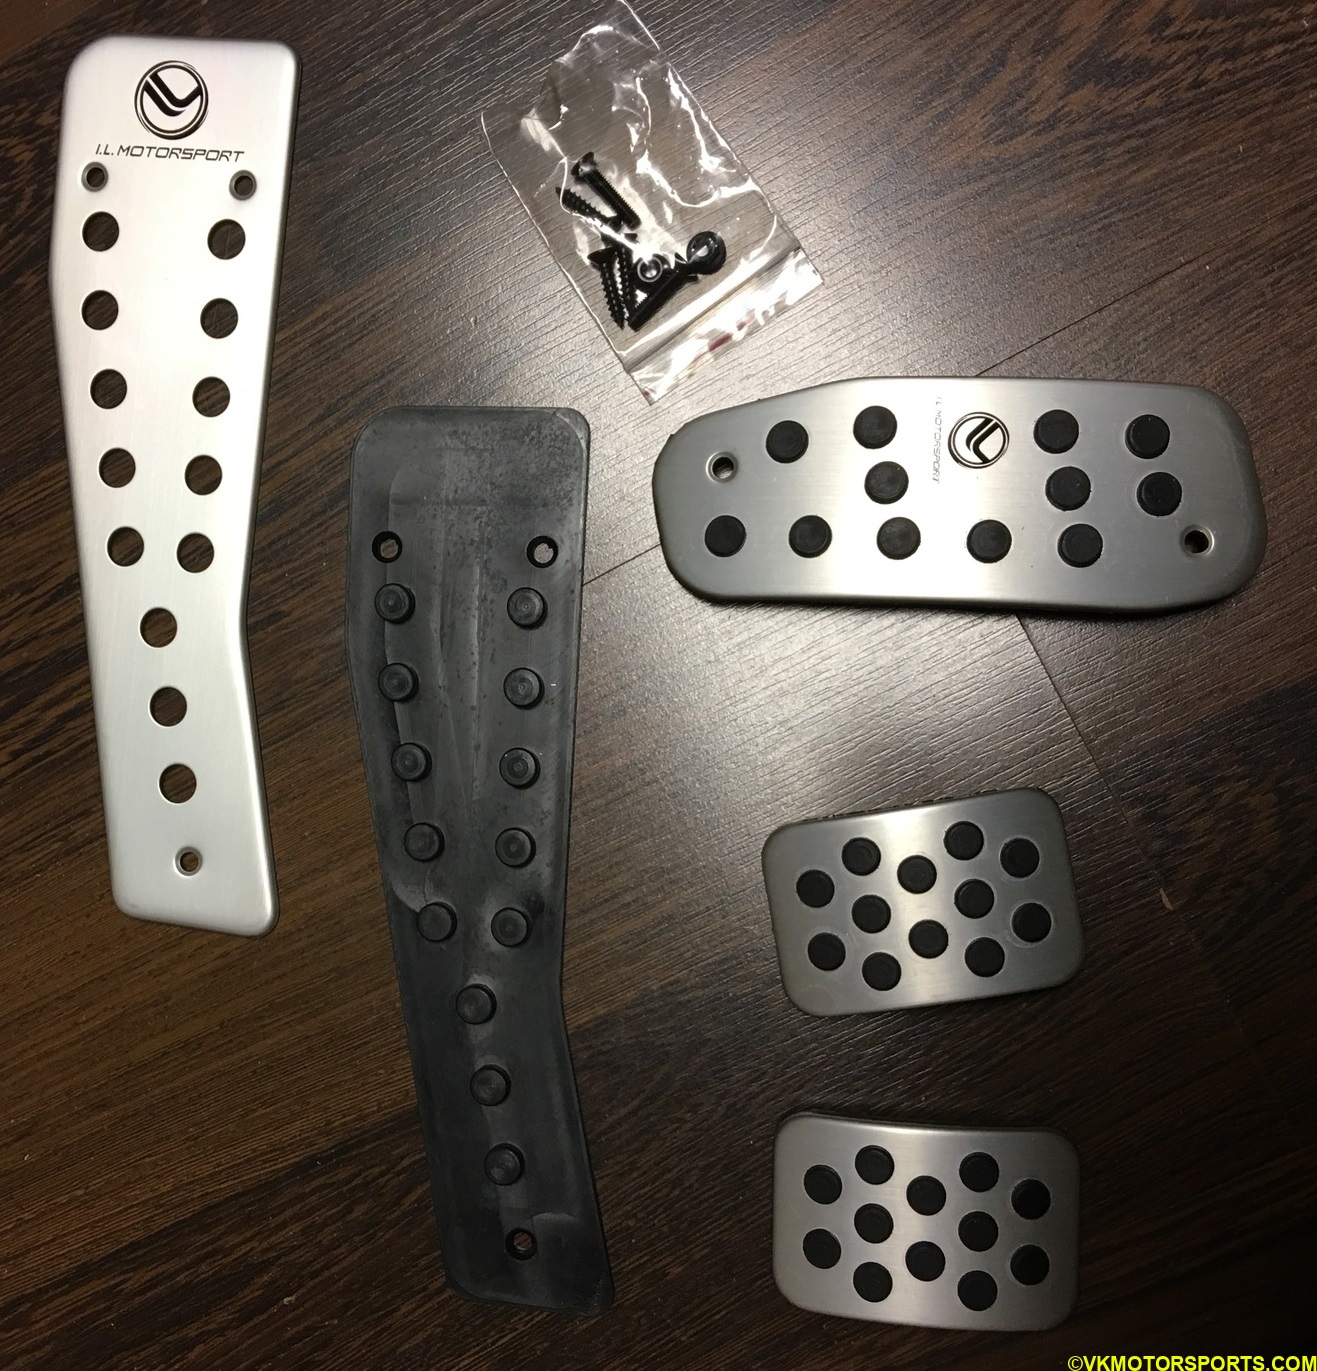 Figure 3. Front view of the pedal covers
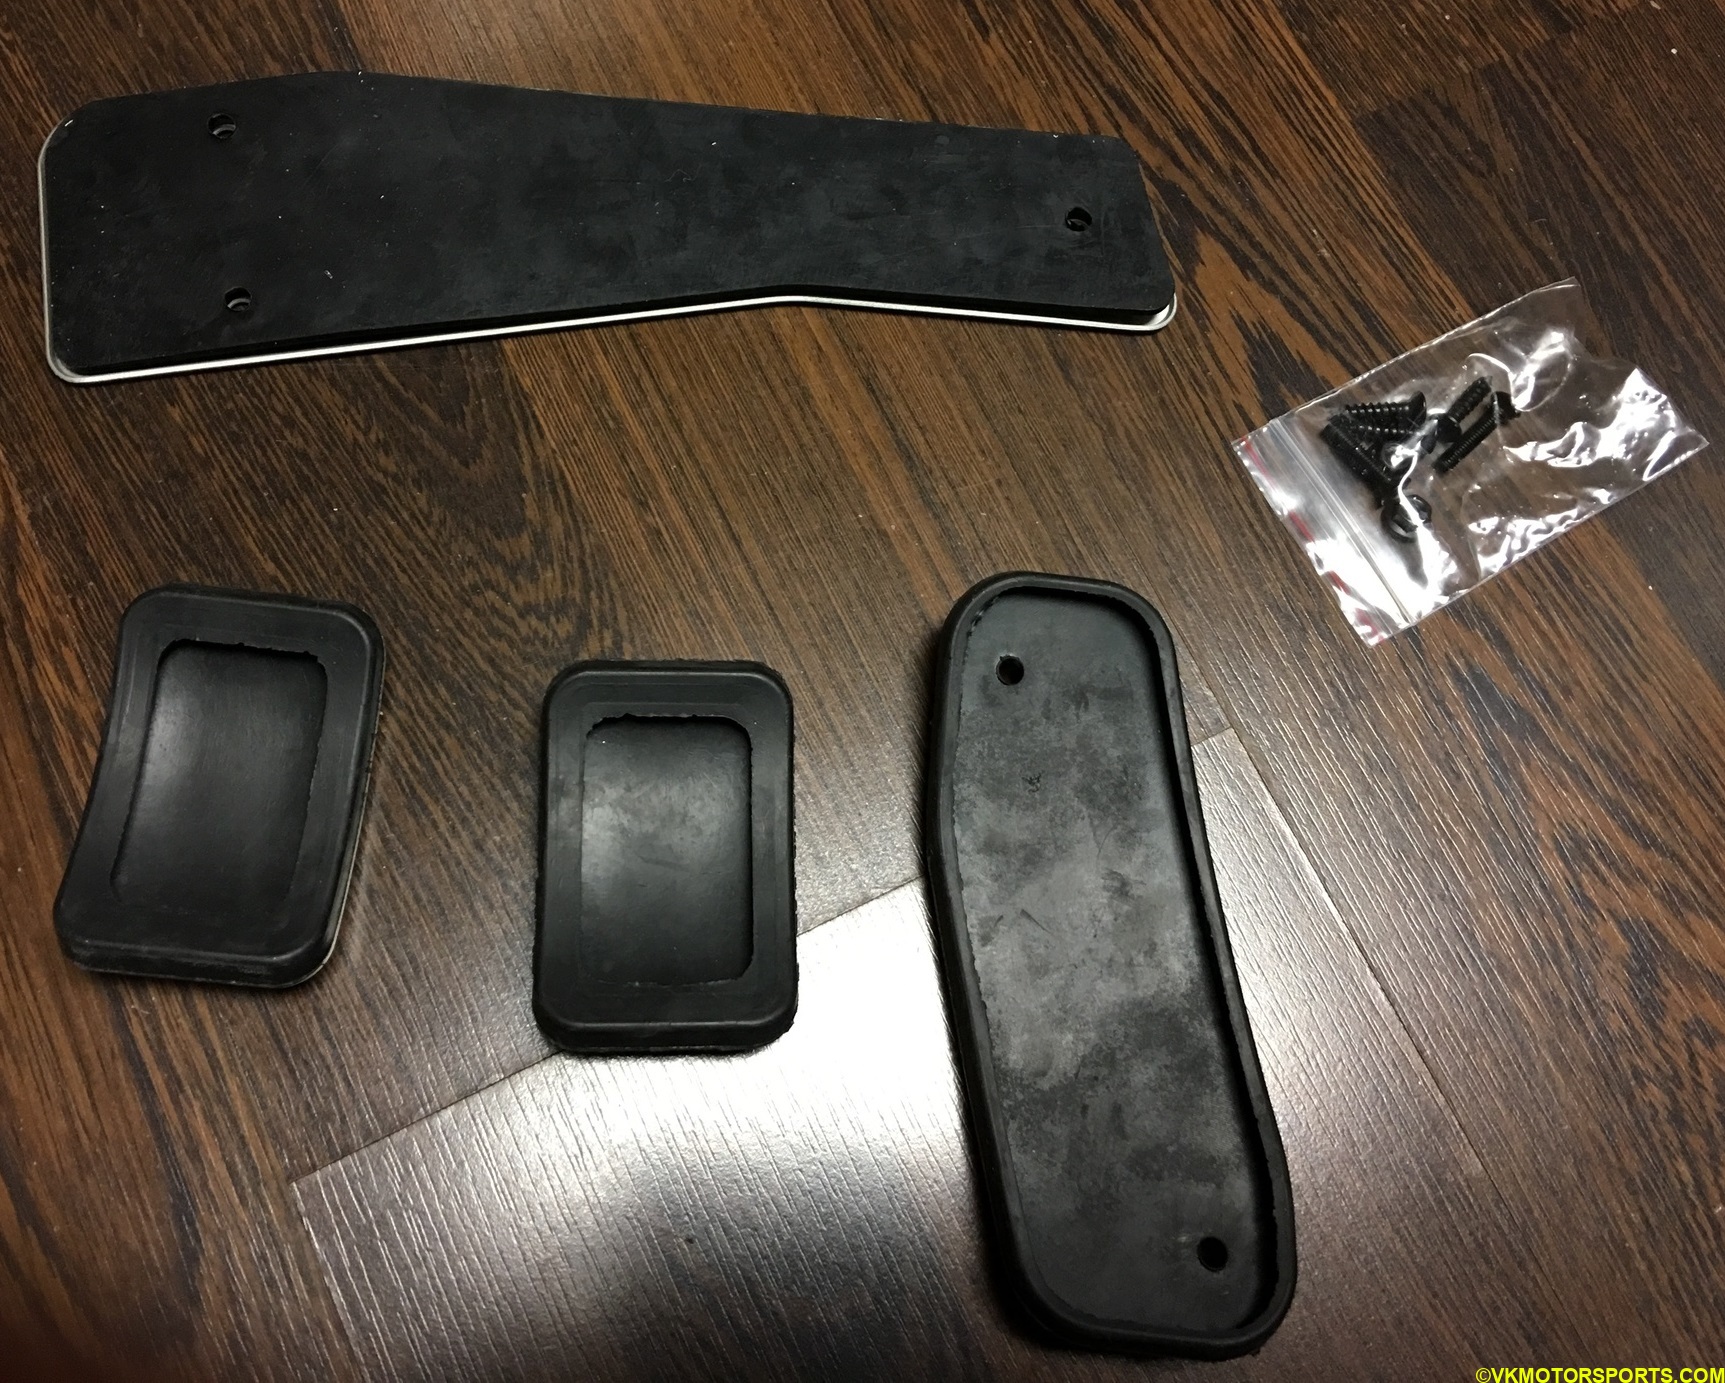 Figure 4. Rear view of the pedal covers
The old pedal covers
My Miata’s pedal covers looked quite worn out (Figure 5), since they were the original covers, and my foot would sometimes slip while driving. Hence, it was necessary to replace them with something more sporty and stylish. Only the clutch and brake pedals had thick rubber covers on them and the accelerator pedal was bare metal.
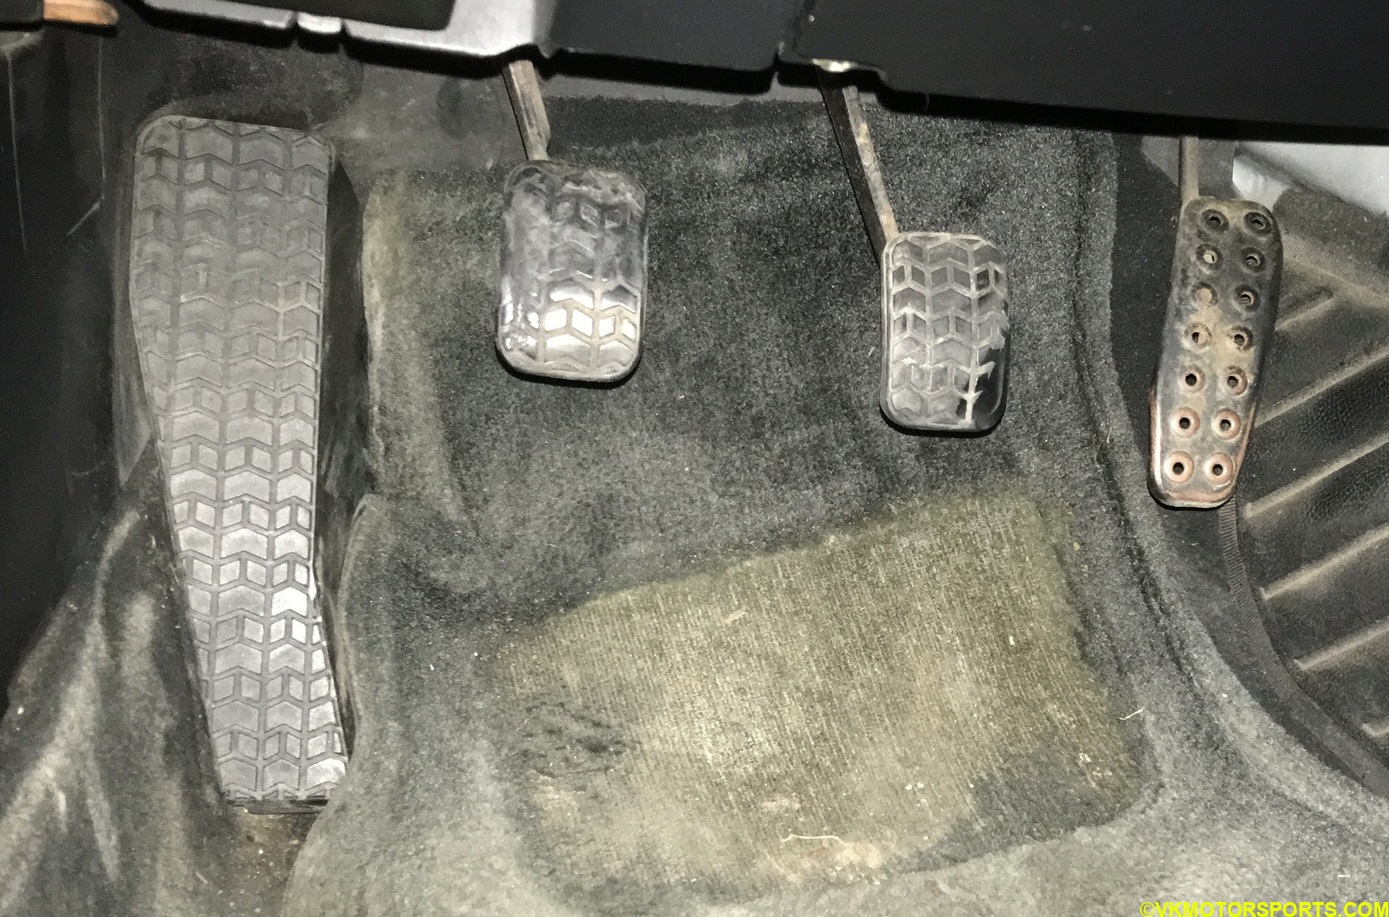 Figure 5. Miata worn out pedals
We now remove the rubber covers on both the clutch and brake pedals, as shown in the Figures 6-9, to get the bare pedals visible. Remember to place your finger behind the pedal first and pull the pedal cover lip out as seen in Figure 7, and in Figure 8 you can see that the cover has been pulled out completely leaving the pedal bare. It is not advised to drive the car with the pedal cover not installed as your foot might slip during rain or snow.
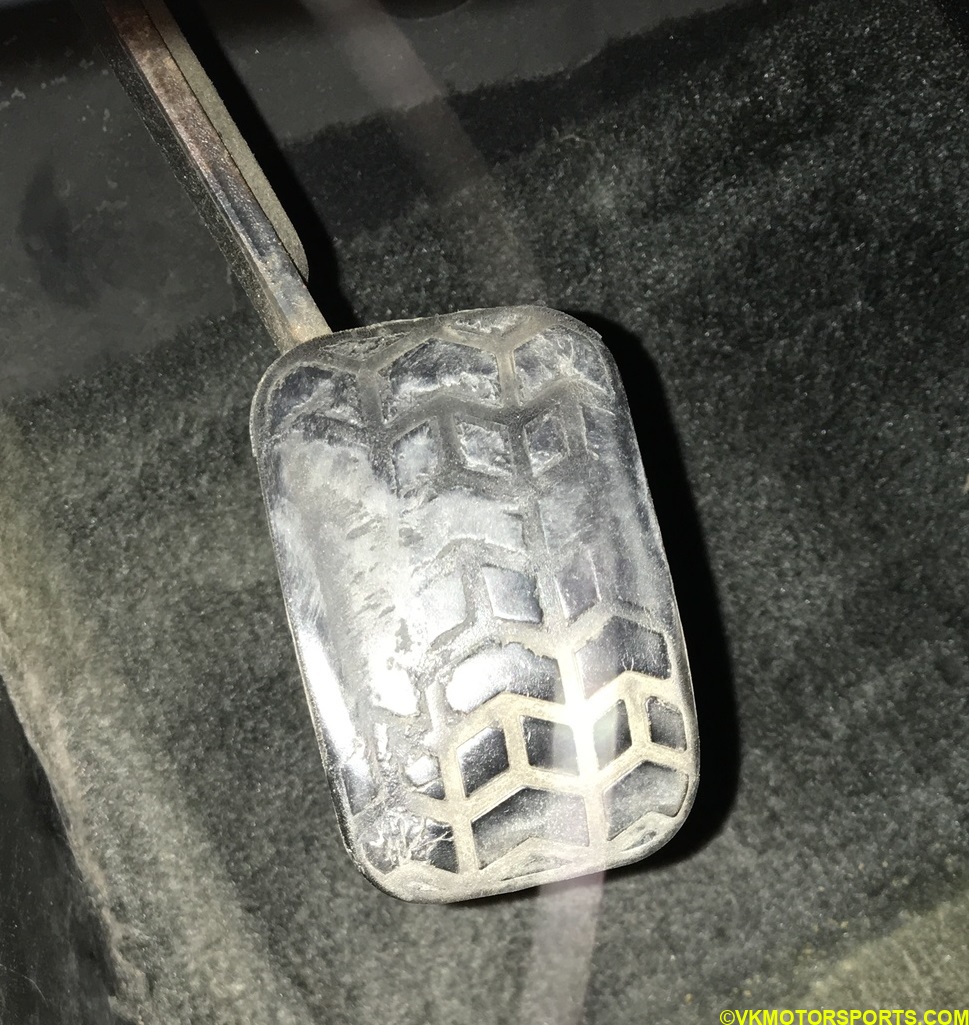 Figure 6. Closeup of the clutch pedal cover
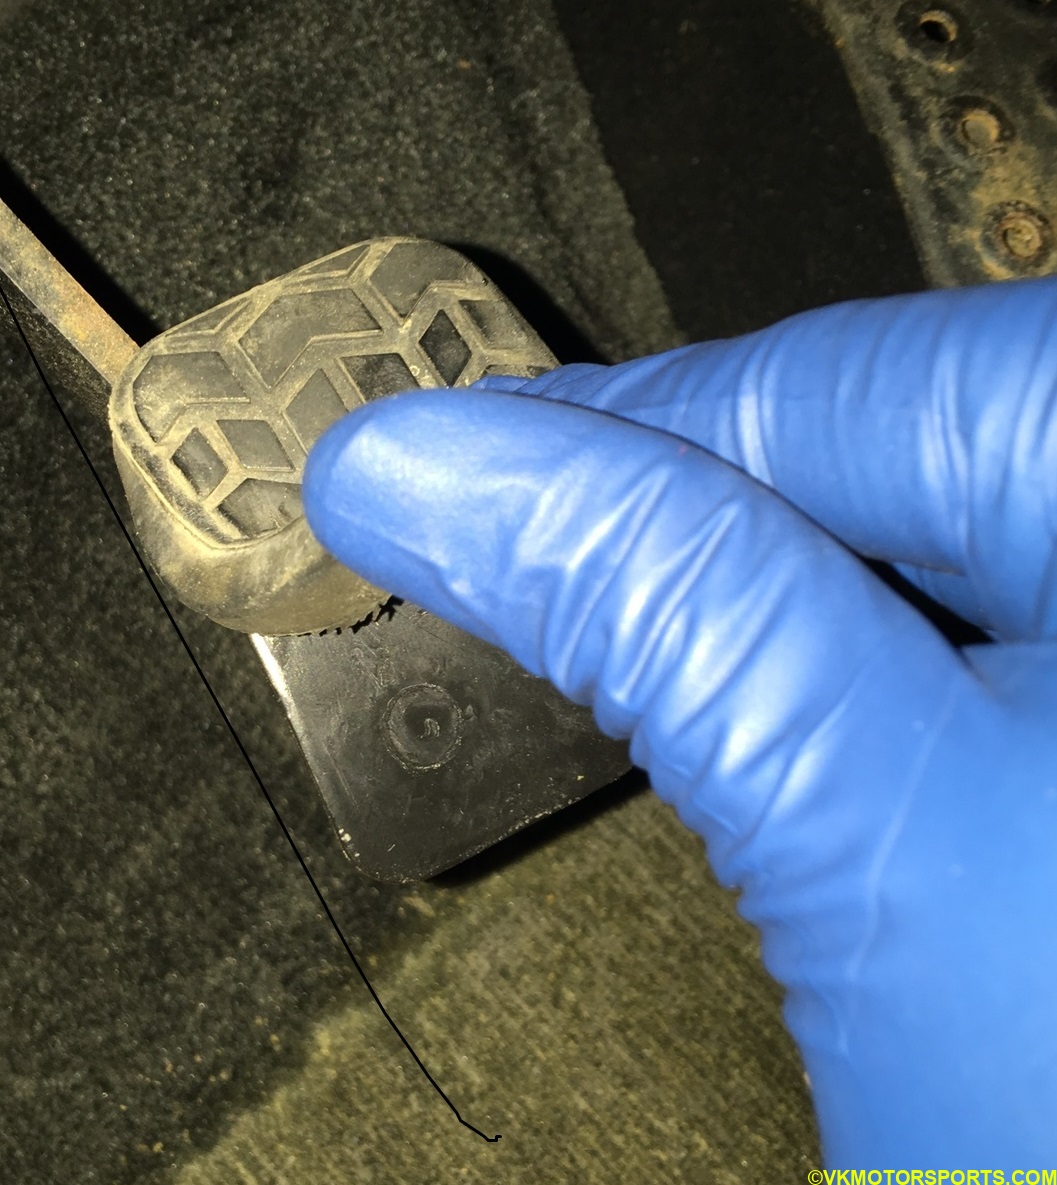 Figure 7. Removing the clutch pedal cover by hand
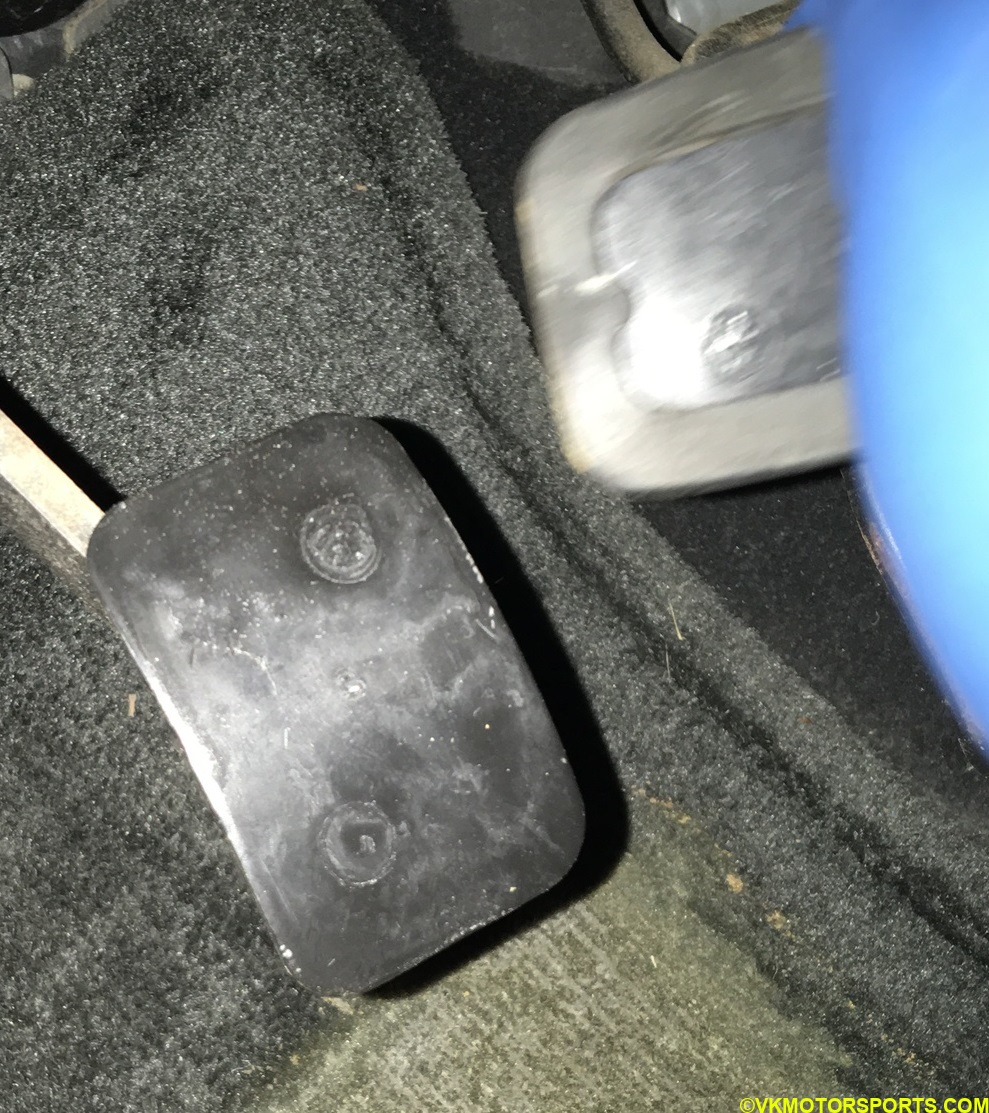 Figure 8. Bare metal clutch pedal and the old cover in hand
 Figure 9. Bare metal clutch, brake and accelerator pedals
Installing the accelerator pedal cover
I installed the accelerator pedal cover first since it was the easiest to install. The pedal already has many holes (Figure 10), so all you need to do is install the cover is the screws and nuts that come with the pedal cover (Figure 11). Place the pedal cover over the accelerator pedal so that the screw holes match the pedal holes as in Figure 12 and then using a Phillips-head screwdriver screw the pedal cover in to complete the installation. The completely installed pedal cover should look like in Figure 13. Remember to clean the pedal before you install the new cover.
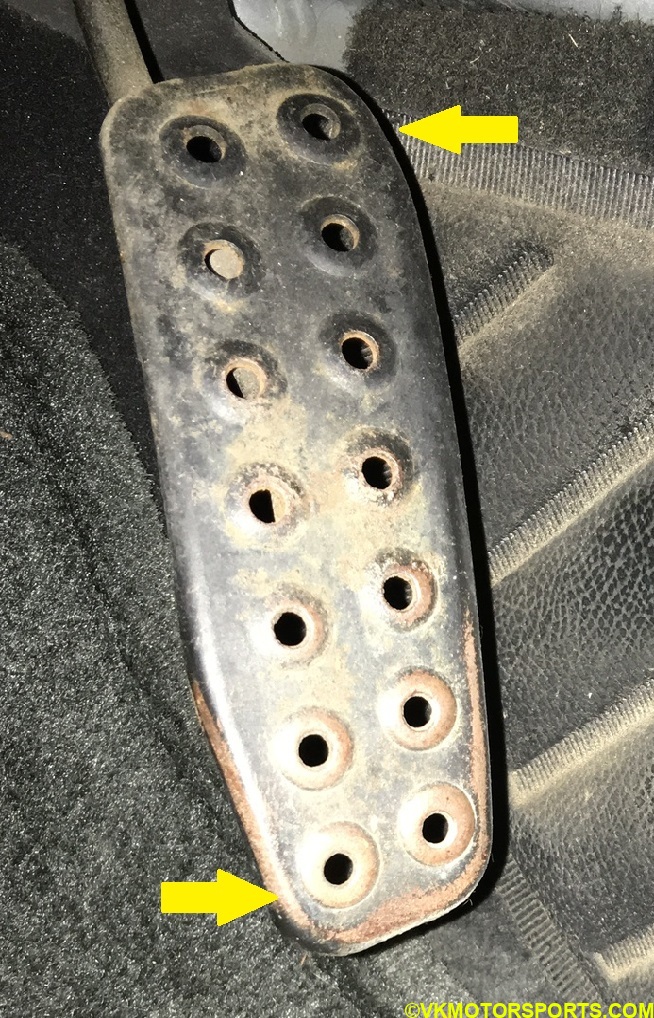 Figure 10. Note the holes on the pedal where the screws will go in for the new cover
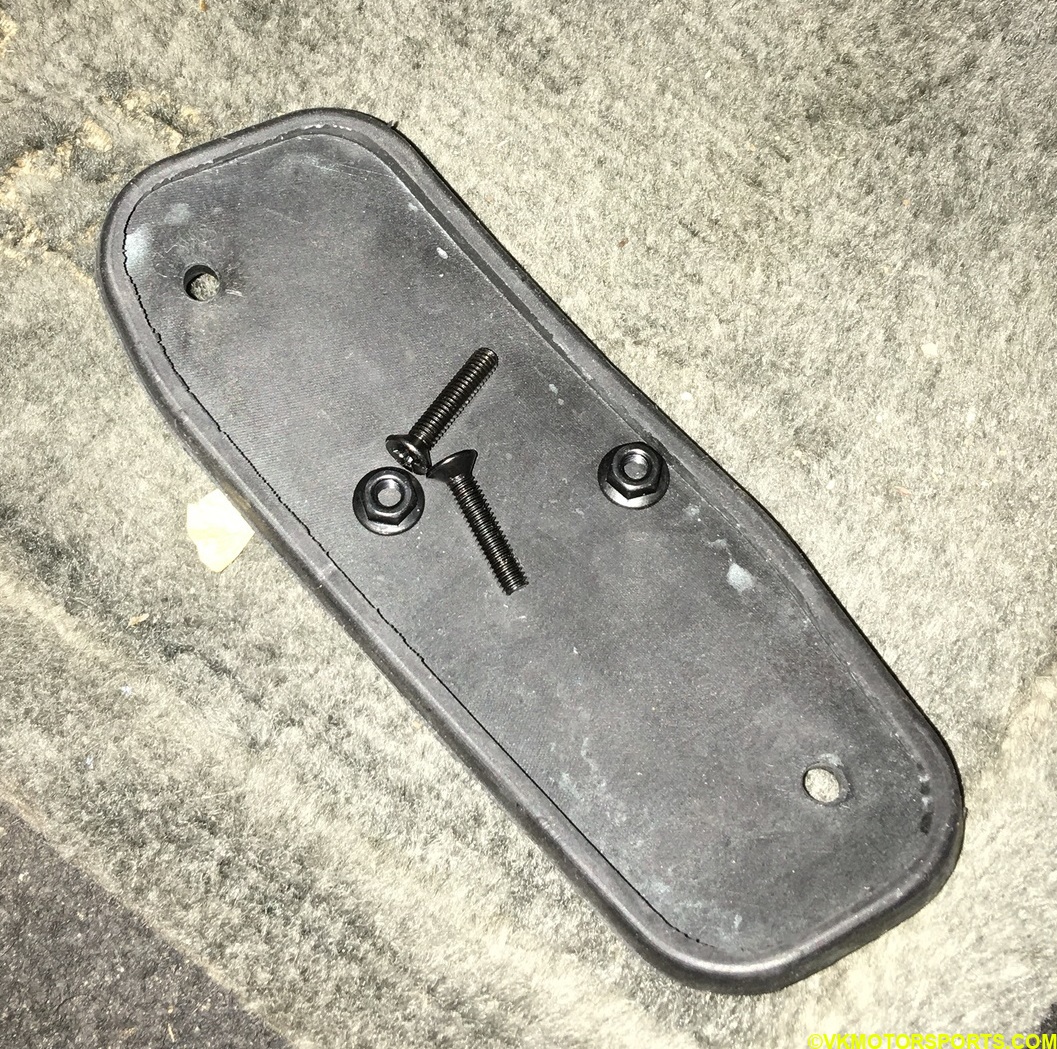 Figure 11. The accelerator pedal cover comes with 2 screws and 2 nuts that will fit on the pedal
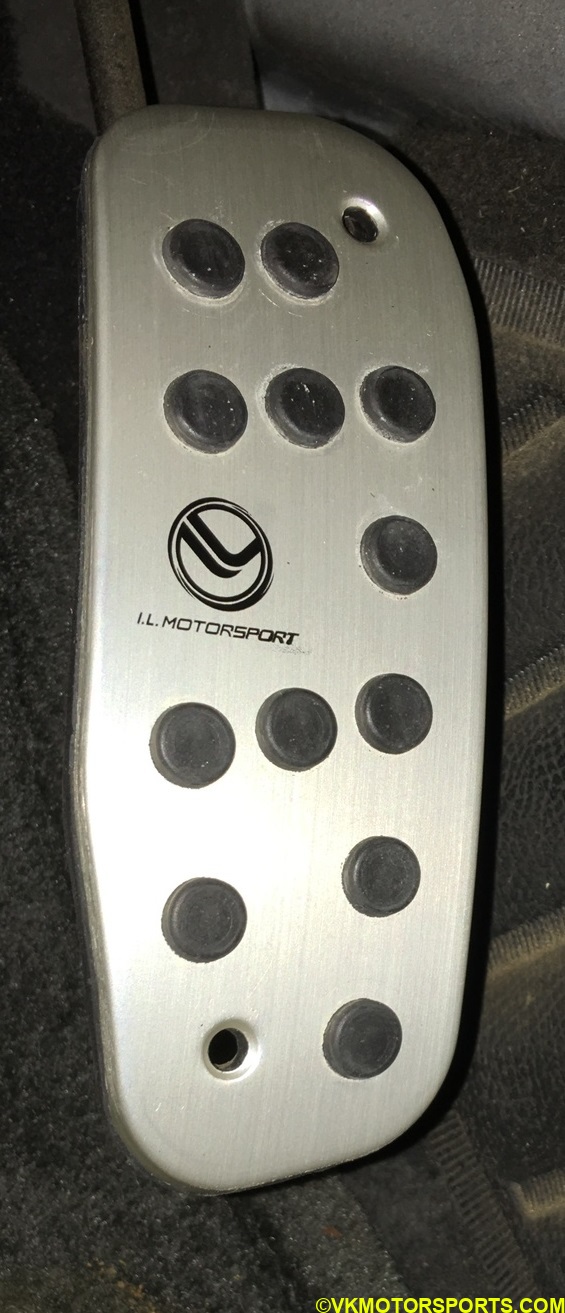 Figure 12. Place the pedal cover on the pedal in position so the screw holes fit over the pedal holes
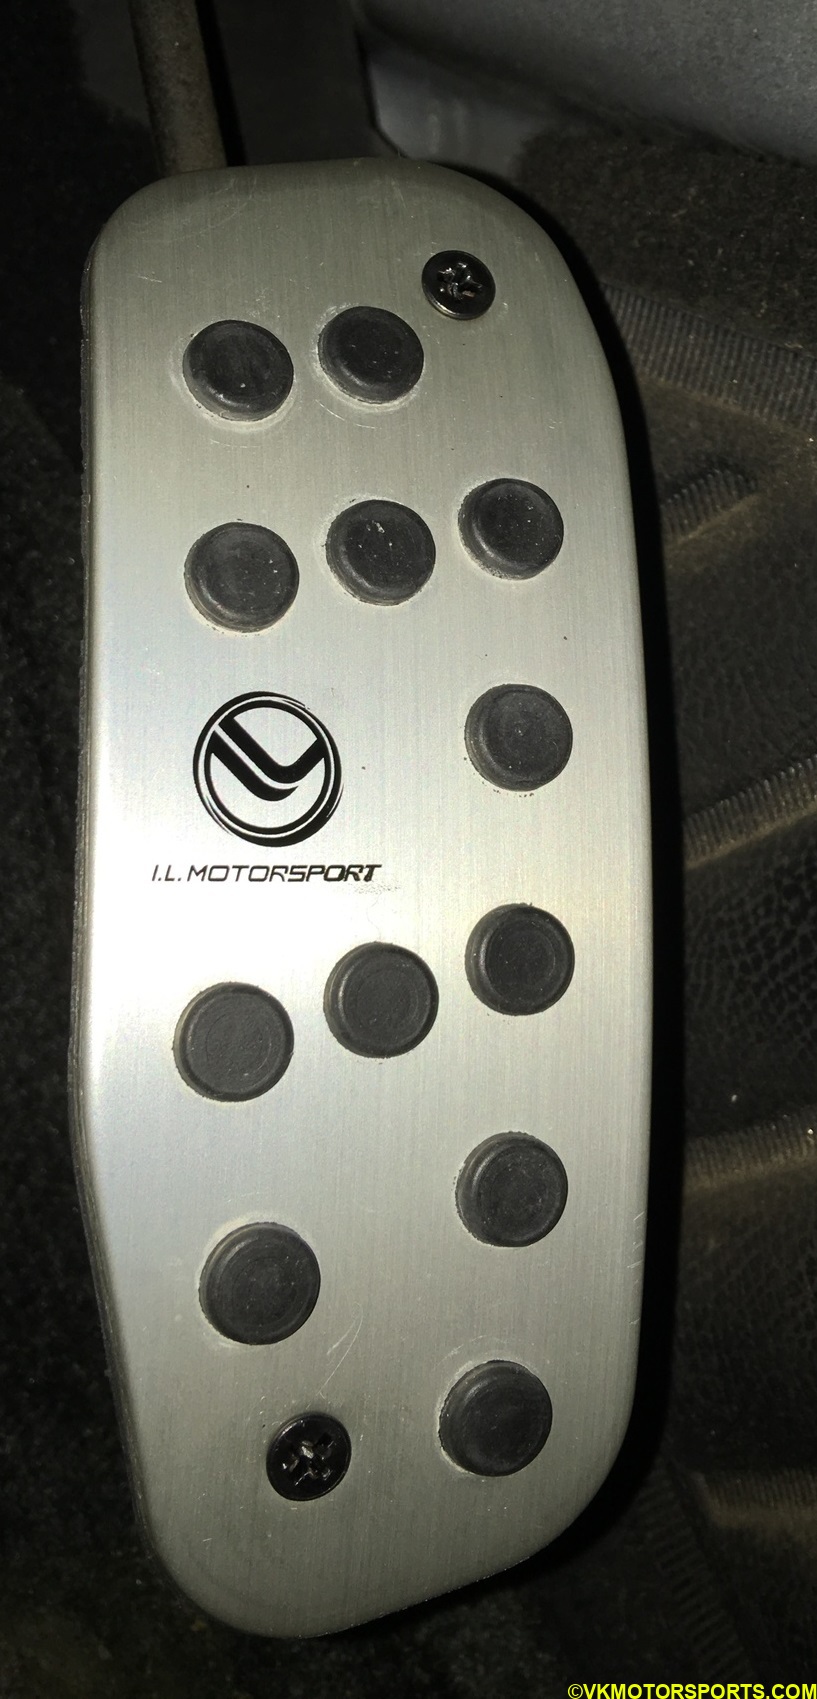 Figure 13. Installed accelerator pedal cover
Installing the dead pedal cover
Figure 14 shows the dead pedal that’s next to the clutch pedal on the Miata. It does not have any holes and I checked if the pedal needed to come off for this install by moving the floor mat (Figure 15), but it was not necessary for this install. I had to drill holes in the pedal to install the pedal cover with screws (Figure 16).
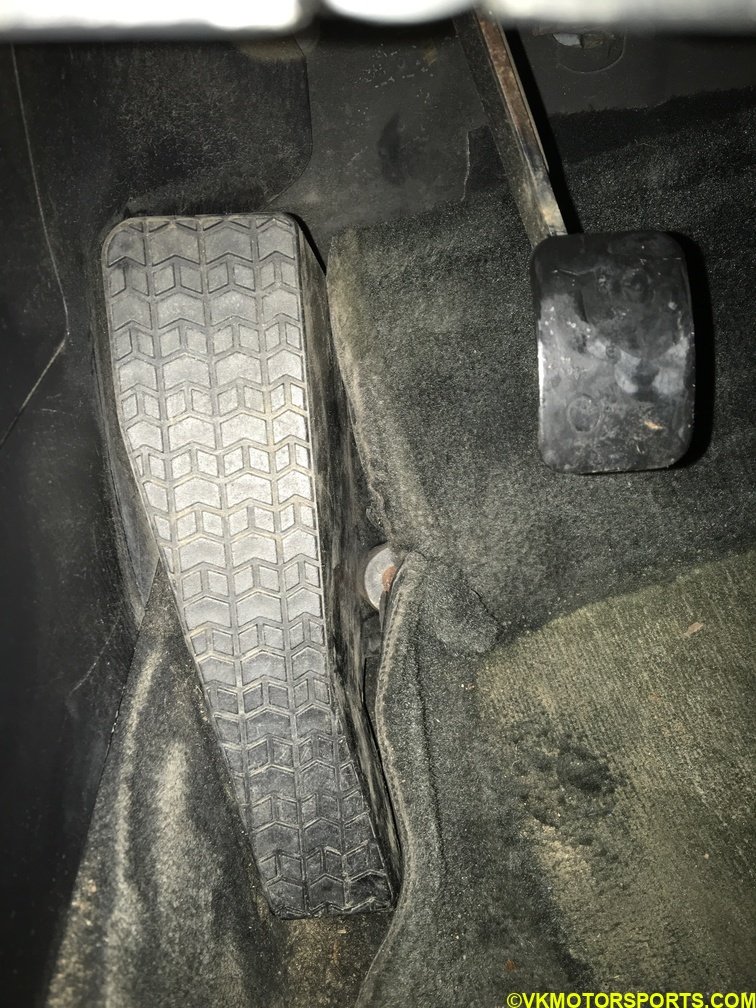 Figure 14. Miata standard dead pedal
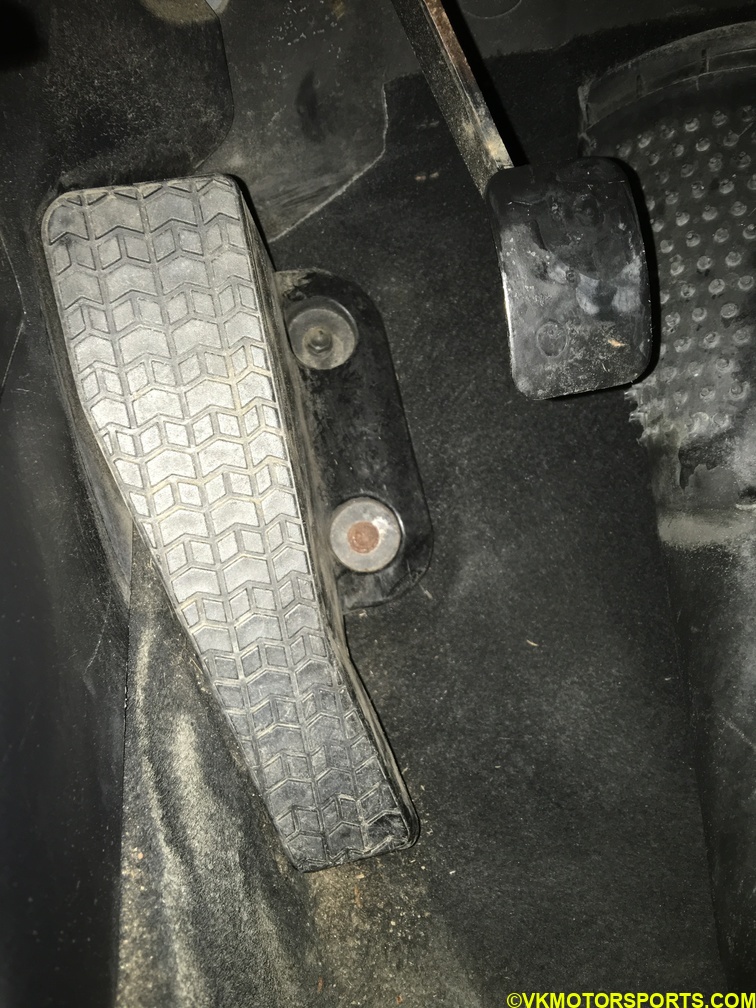 Figure 15. Miata standard dead pedal bolted
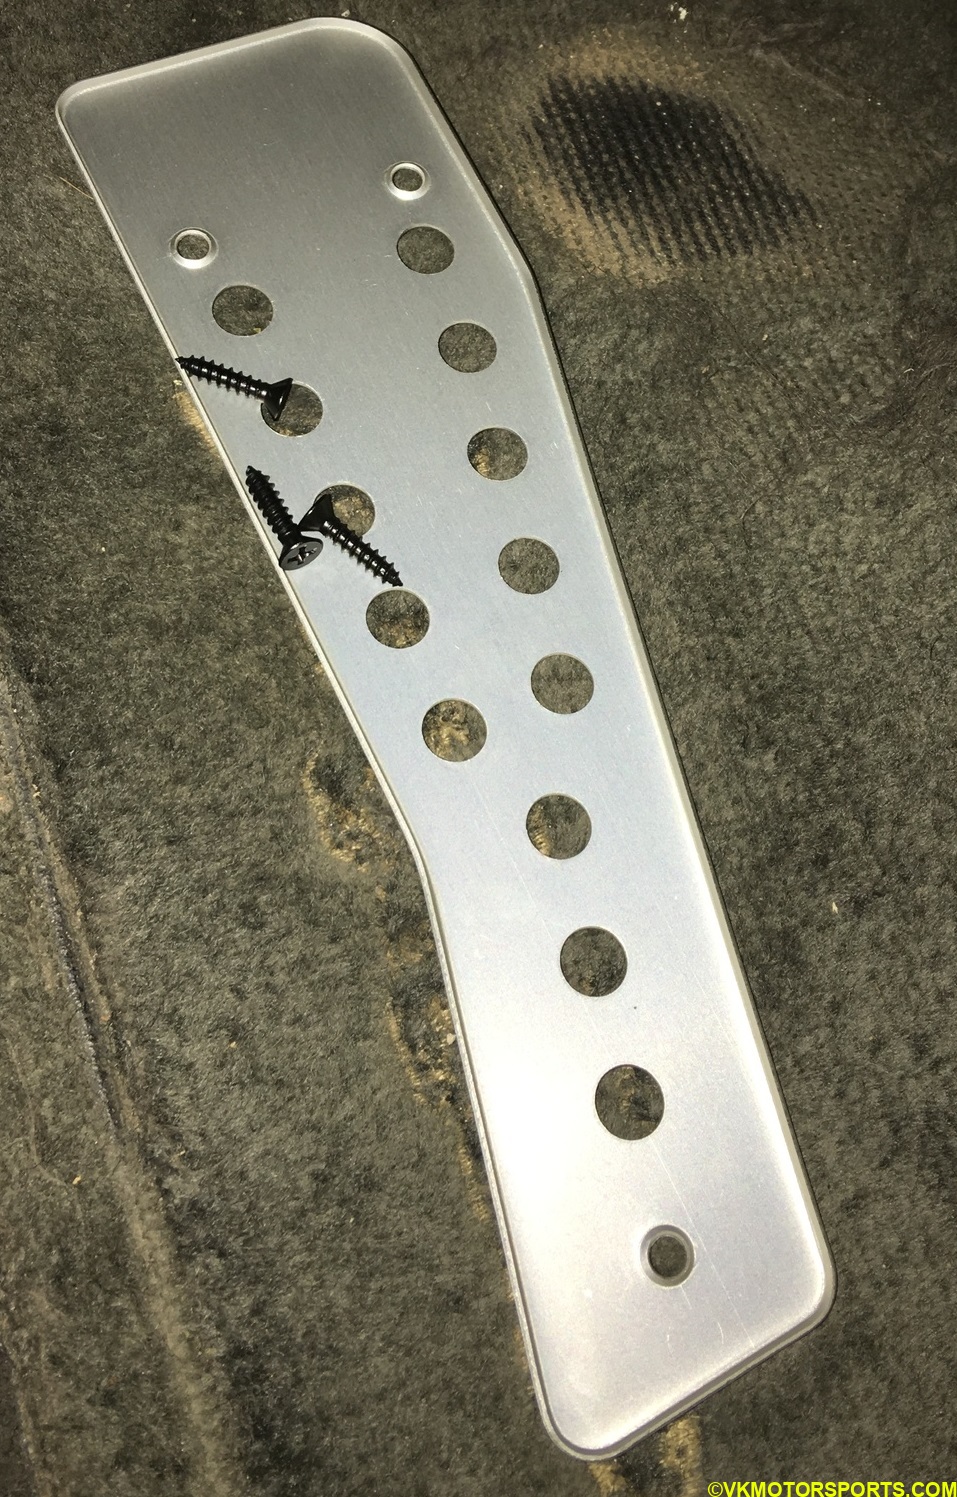 Figure 16. Pedal cover with screws
I placed the dead pedal cover on the pedal and marked up where to drill holes using white chalk (Figure 17), and then using a 1/16” drill bit drilled three holes in the pedal. Using a Phillips-head screwdriver I then screwed in the new pedal cover on to the dead pedal to make it look stylish as in Figure 18.
 Figure 17. Pedal cover screw holes marked with chalk
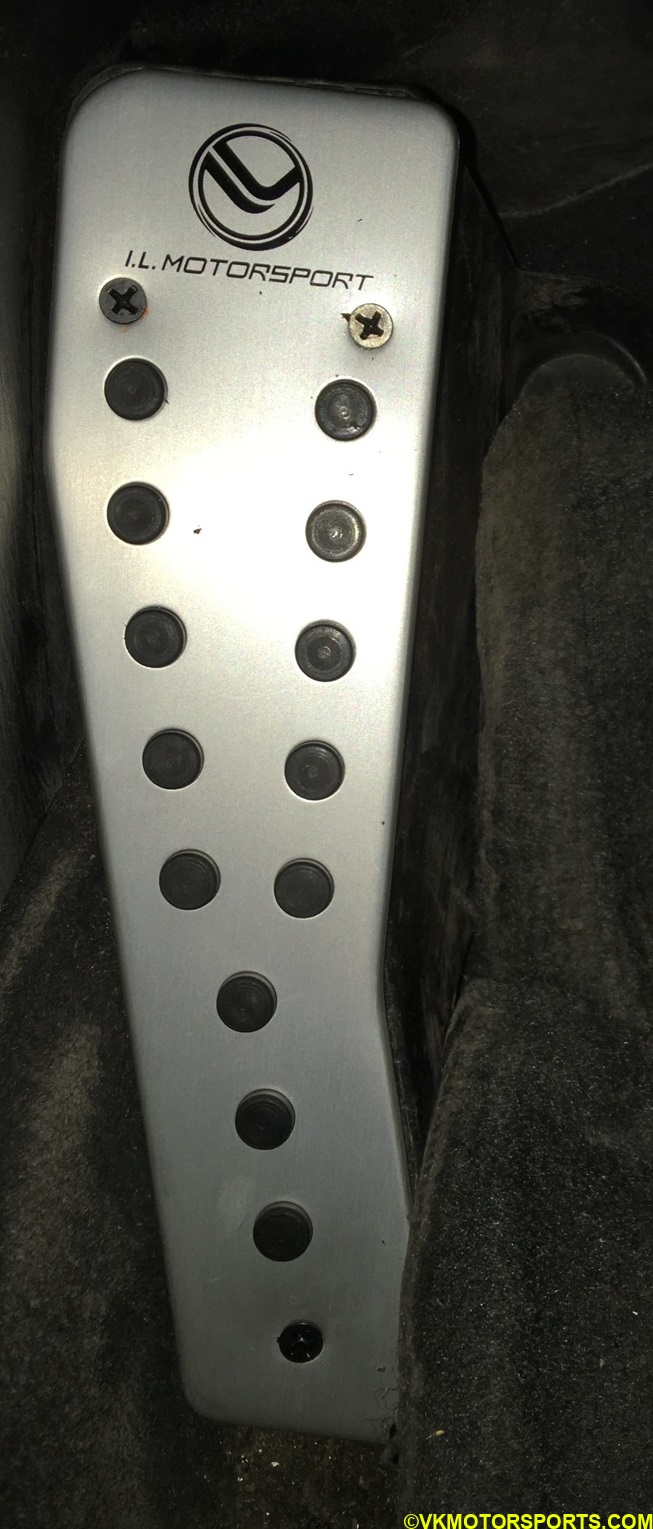 Figure 18. New dead pedal cover installed
Installing the clutch and brake pedal covers
These covers did not require any screws to install but were more tricky than the others. The rubber on the pedal covers was not flexible enough to slip on the pedals easily, so I had to use the dish liquid detergent trick as outlined in the below Youtube video. This trick was ingenious as I had spent almost 20 minutes struggling to get the pedal cover on, but with the dish liquid detergent trick it went onto the pedal within seconds and with some pressure.
All you have to do is apply some dish liquid to the bare metal pedal and to the insides of the pedal cover. Then place the pedal cover lip on the bottom of the pedal correctly, and then apply pressure along the rest of the pedal to get the pedal cover lip to slip onto the pedal, so that the cover is now tightly wrapped around the pedal. Repeat the same steps for both the brake and clutch pedals and you should see the covers installed as in Figure 19.
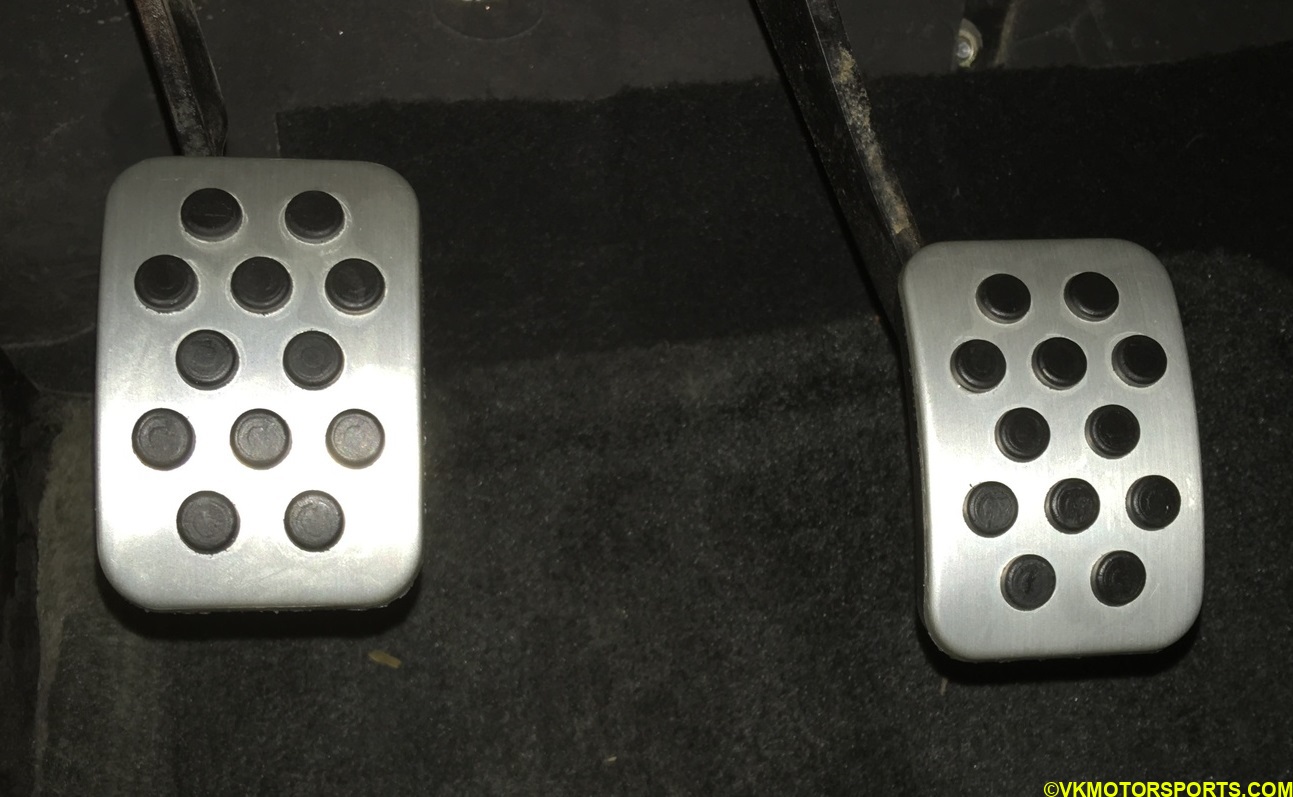 Figure 19. New clutch and brake pedal covers installed
Finally we have all the pedal covers installed and our pedals look sporty and stylish as in Figure 20 ready for the new year of auto-crossing.
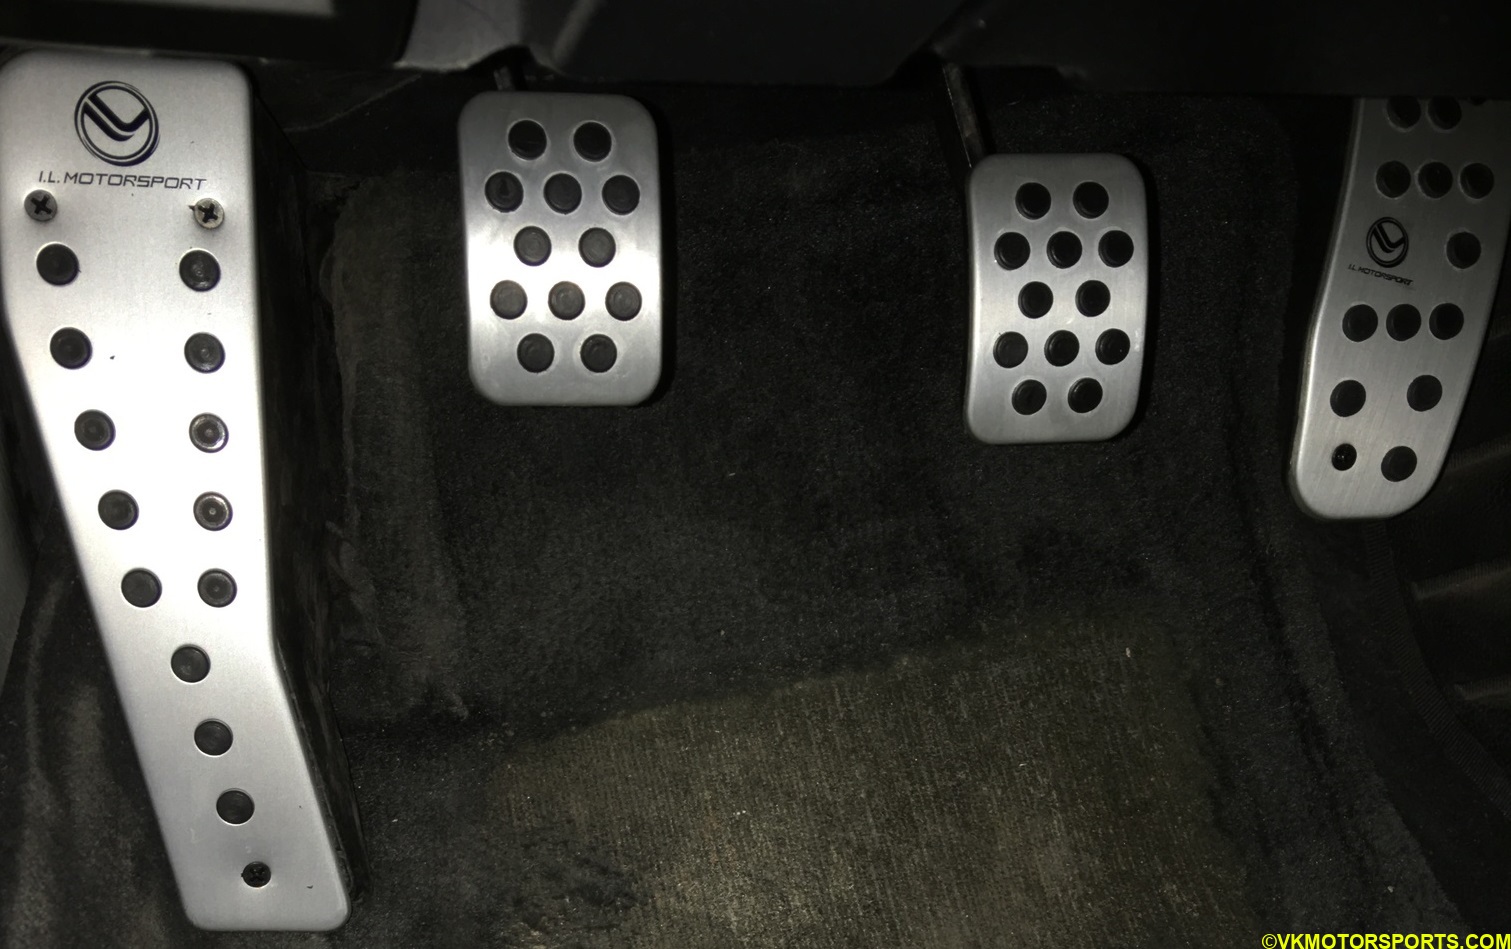 Figure 20. New pedal covers installed