The wheels I bought earlier were from different cars, and I wanted to paint them bright red to get a unique look on my silver Miata. It took about 12 hours of work spread across 3 days to get it done. In this post, I describe how to paint wheels at home for cheap.
The wheels from the seller were mismatched and had different finishes, even though they both were silver (Figure 1).
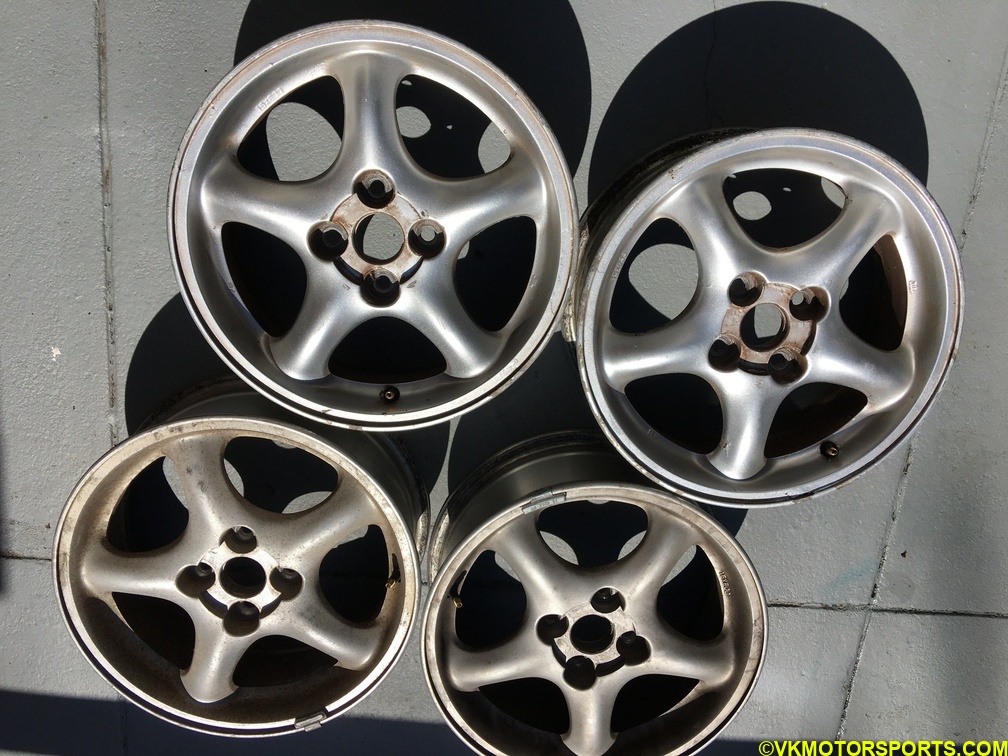 Figure 1. Silver wheels from different cars
Power-wash
The first step is to power wash the wheels to clean them of dust. I used the power washer (Figure 2) from Harbor Freight for this.
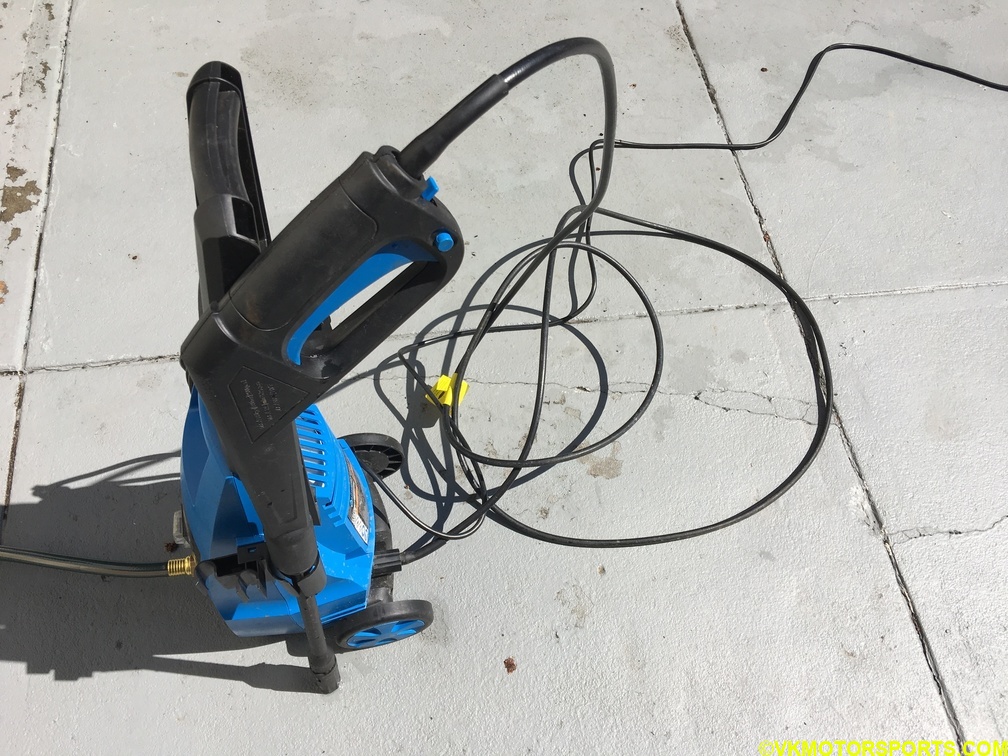 Figure 2. Power Washer used to wash the wheels
Wire Wheel
The wheels were corroded and had a thick oxidation layer inside (Figure 3 and 4). The best way to remove this quickly was to use a wire wheel on a drill (Figure 5). This wire wheel in the figure is just one of the types I bought at Harbor Freight and used on these wheels to remove as much of the oxidation layer as possible as seen in Figure 6.
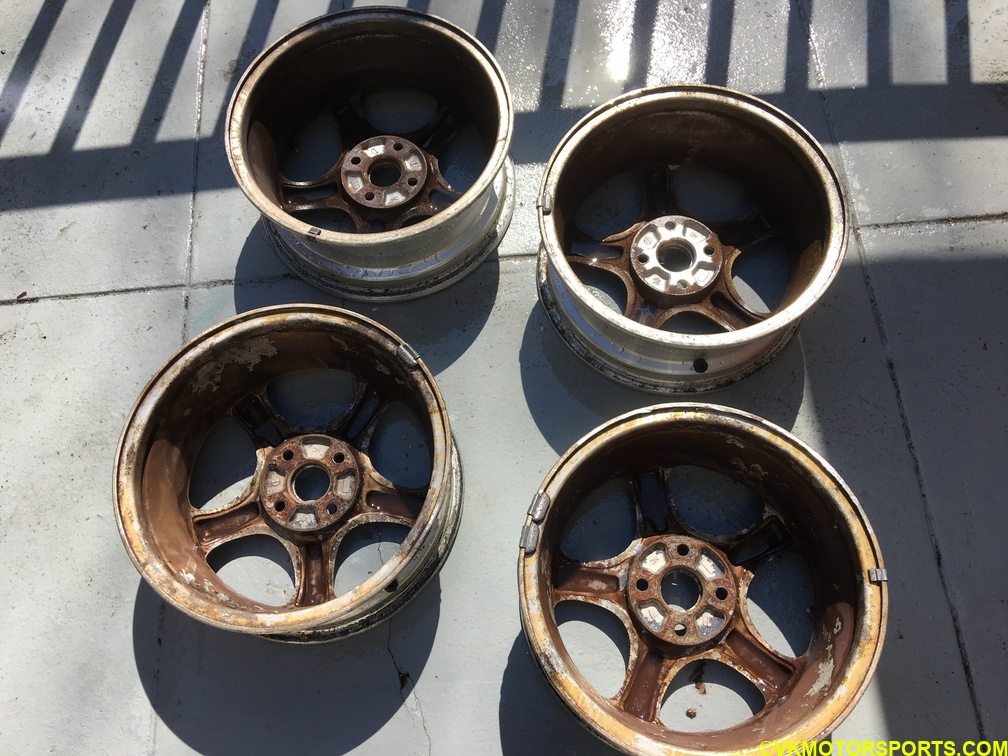 Figure 3. Corrosion on all 4 wheels
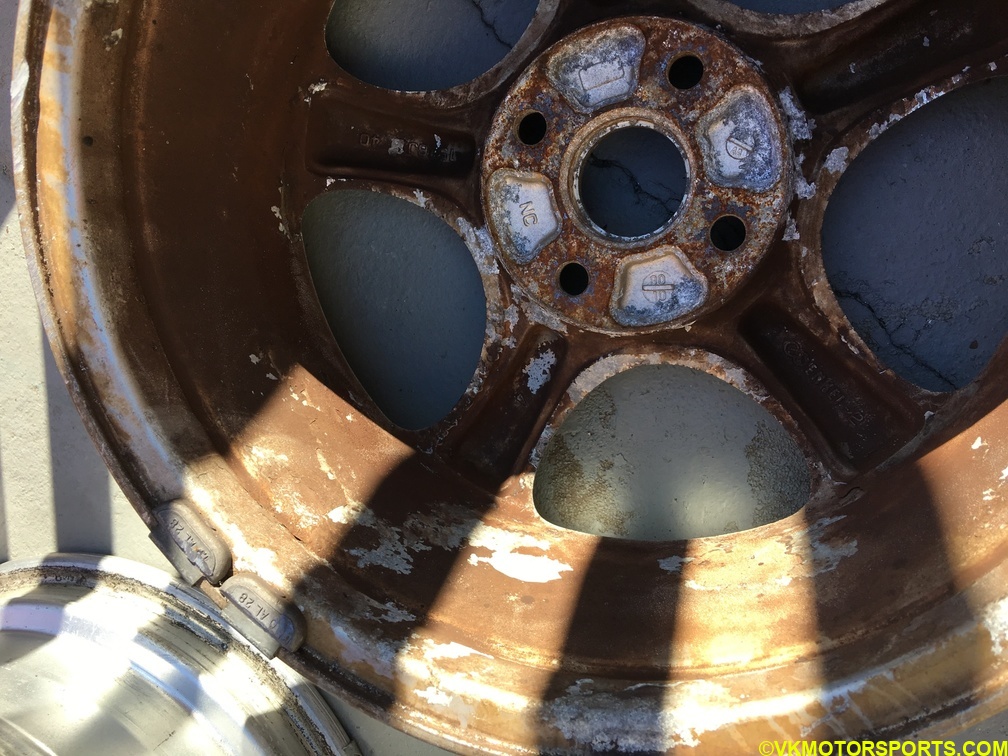 Figure 4. Close-up of the corrosion
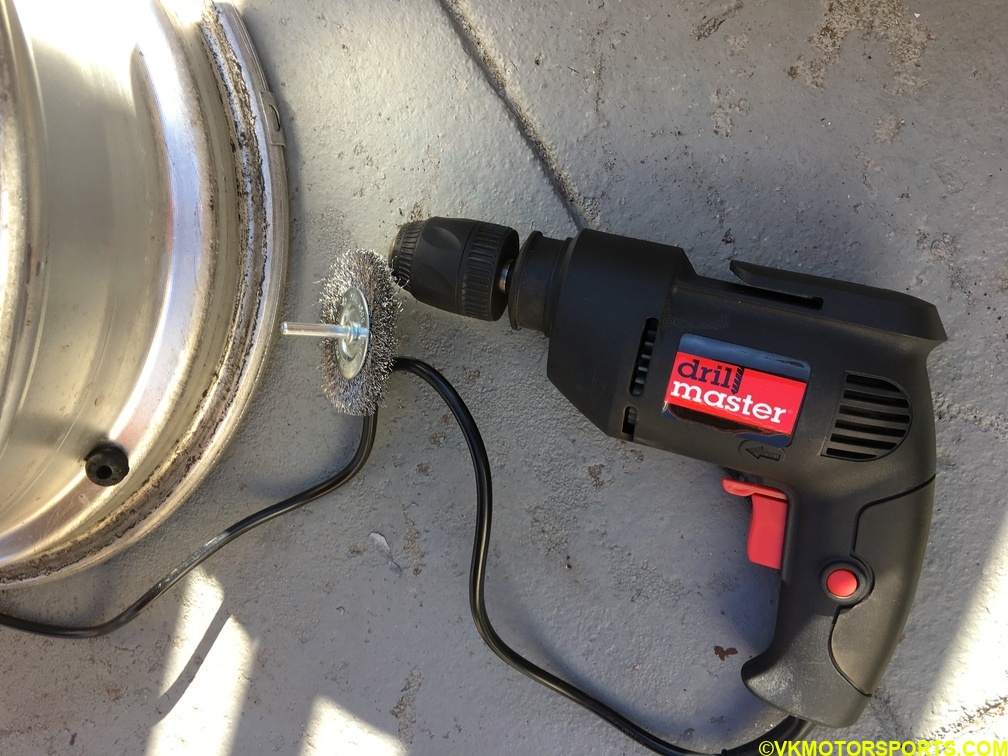 Figure 5. Wire wheel used with a drill
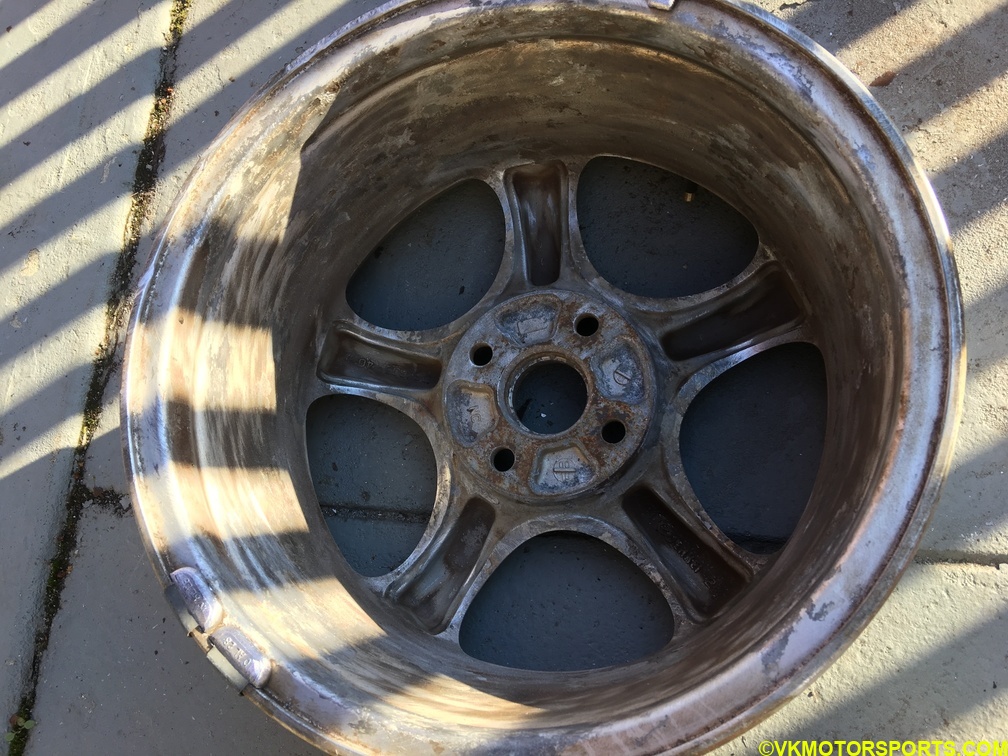 Figure 6. Clean up after using wire wheel
Paint Stripping
I used a paint stripper (Figure 7) to remove existing paint on the wheels but it was not useful (Figure 8 and 9) and I should have directly moved on to sanding, which I had to do anyway. You can still see the paint bubbling. After waiting 30 minutes of applying the paint stripper, I power washed the wheels to remove as much of the existing paint as possible (Figure 10).
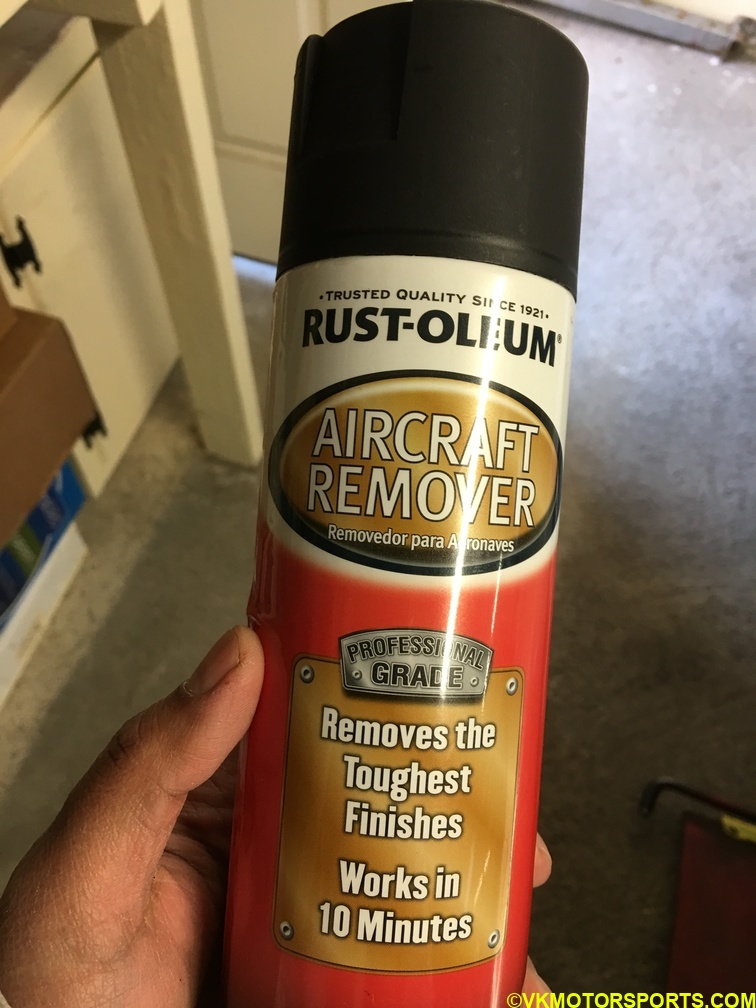 Figure 7. Paint stripper I used
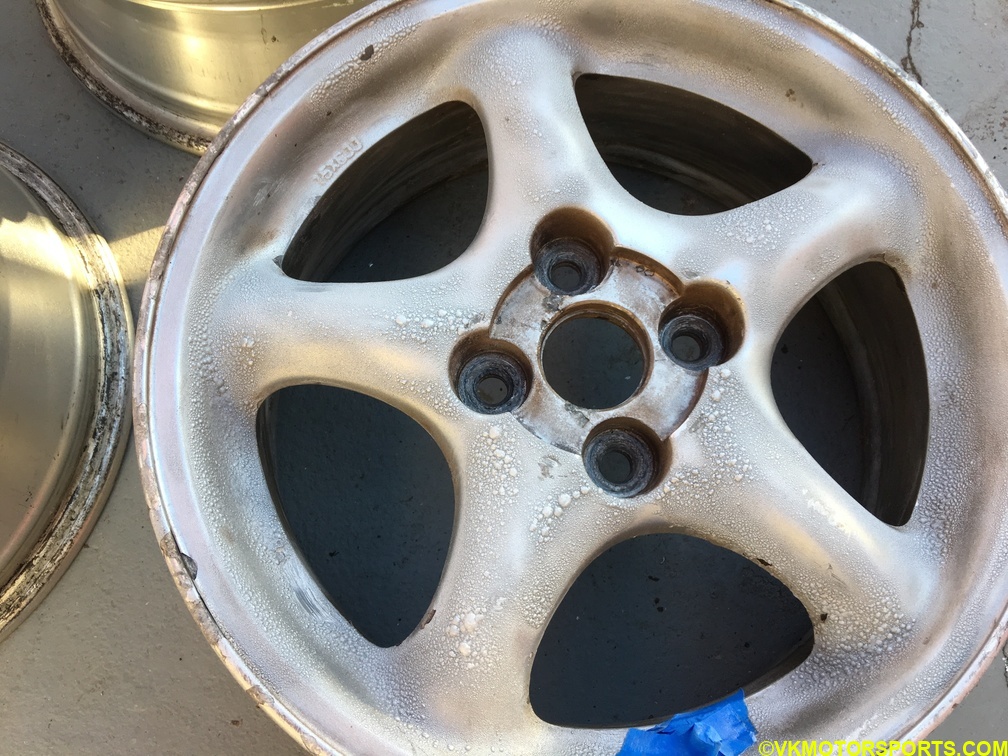 Figure 8. Paint stripper causing bubbling of old paint on the wheel
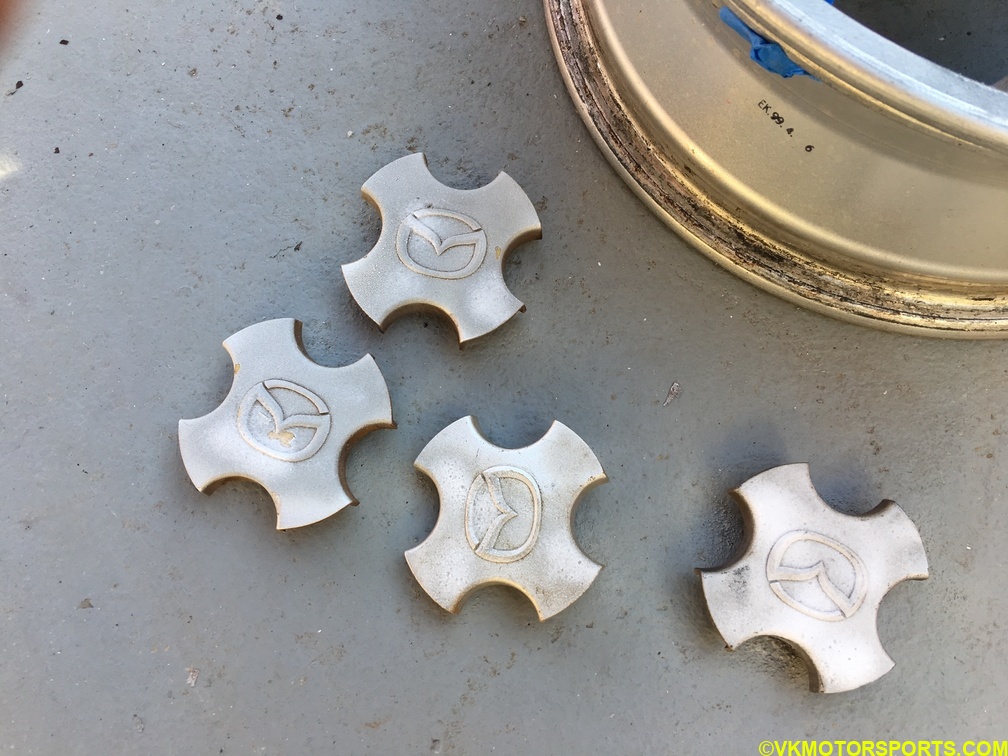 Figure 9. Paint stripper used on the hubcaps
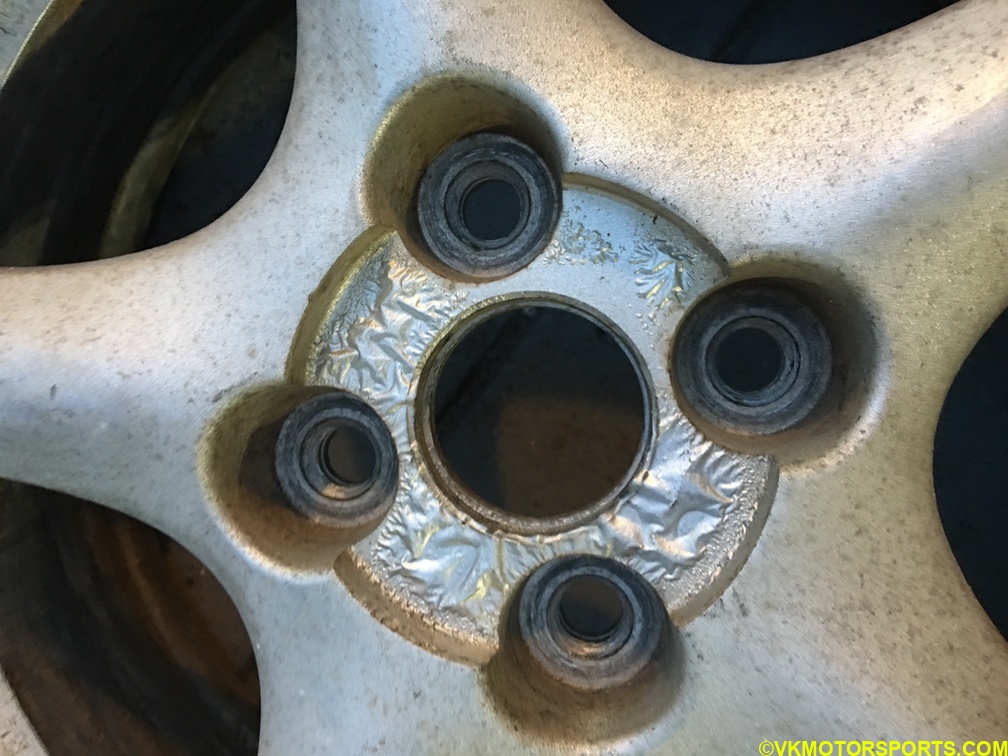 Figure 10. Paint peeling on the wheels
Sanding and Cleaning Prep
Using first 80-grit sandpaper followed by 220-grit sandpaper I sanded each wheel inside out over a period of 6 hours using a manual sander and sanding discs from Amazon. I also sanded the hubcaps, as seen in Figure 11.
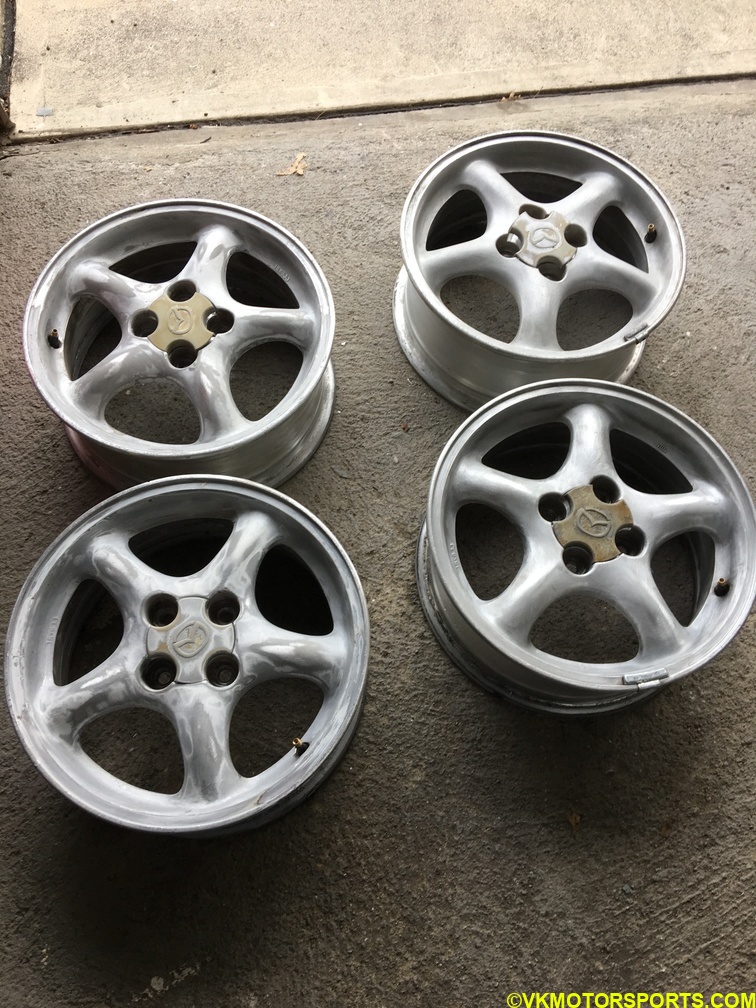 Figure 11. Wheels and hubcaps after sanding
Using Mineral Spirits from Home Depot (Figure 12) and a cheap paint brush I liberally applied the fluid to the wheels inside out and waited for it to evaporate for an hour.
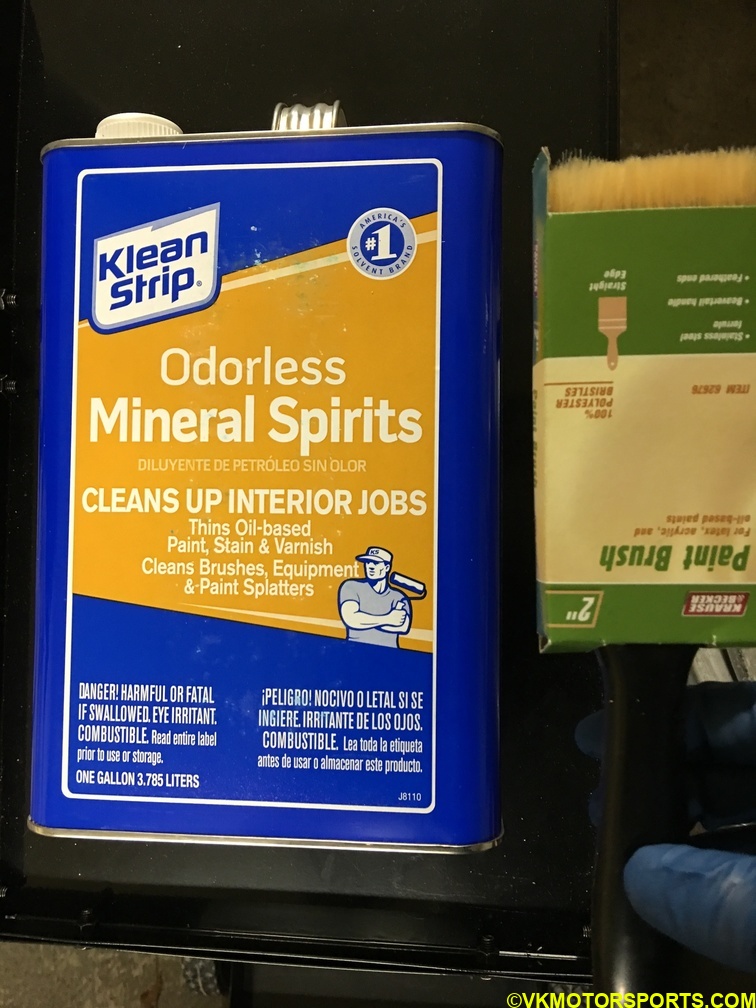 Figure 12. Mineral Spirits
Applying Primer and Paint
I used a self-etching primer in a spray can (Figure 13) which was black in color to prime the wheels. I did two coats and primed the wheels on all sides (Figure 14 and 15). I did three coats of the primer and ended up using 4 cans of primer for the 4 wheels.
NOTE 1: Remember to use painter’s tape on any portion that you do not want to be painted, such as any portion that will be used to fill air in the wheel. You can see that in Figure 14 I have used blue painter’s tape to cover those portions.
NOTE 2: Remember to spray about 10 inches away from the wheel, use latex gloves and wear a good quality respirator mask such as those made by 3M.
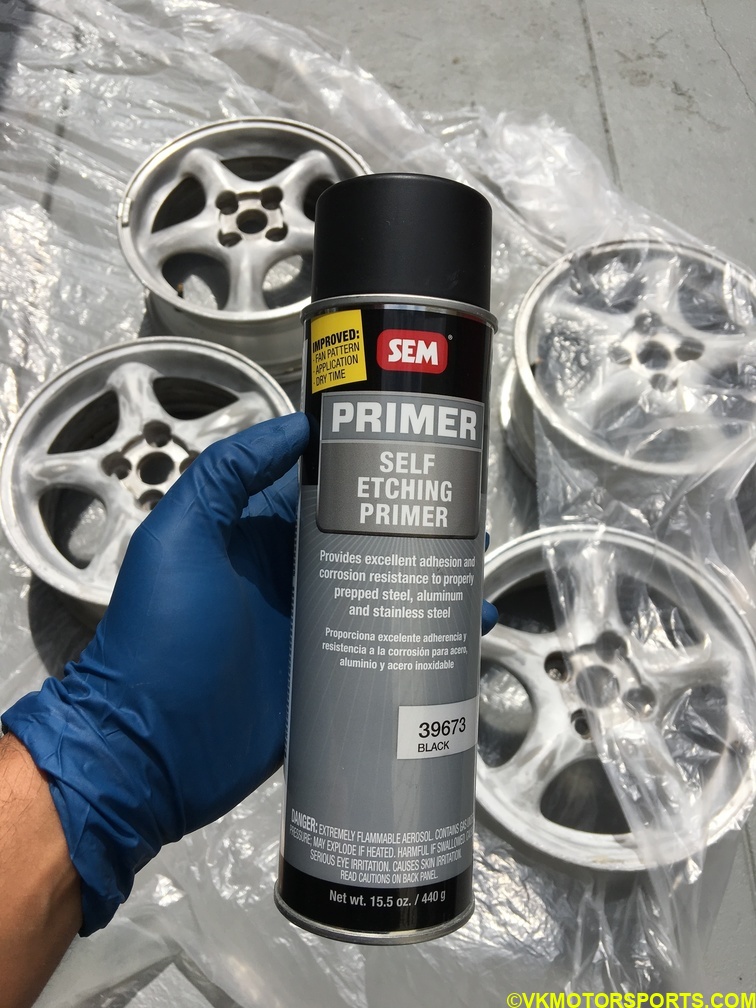 Figure 13. Self-etching Primer spray can
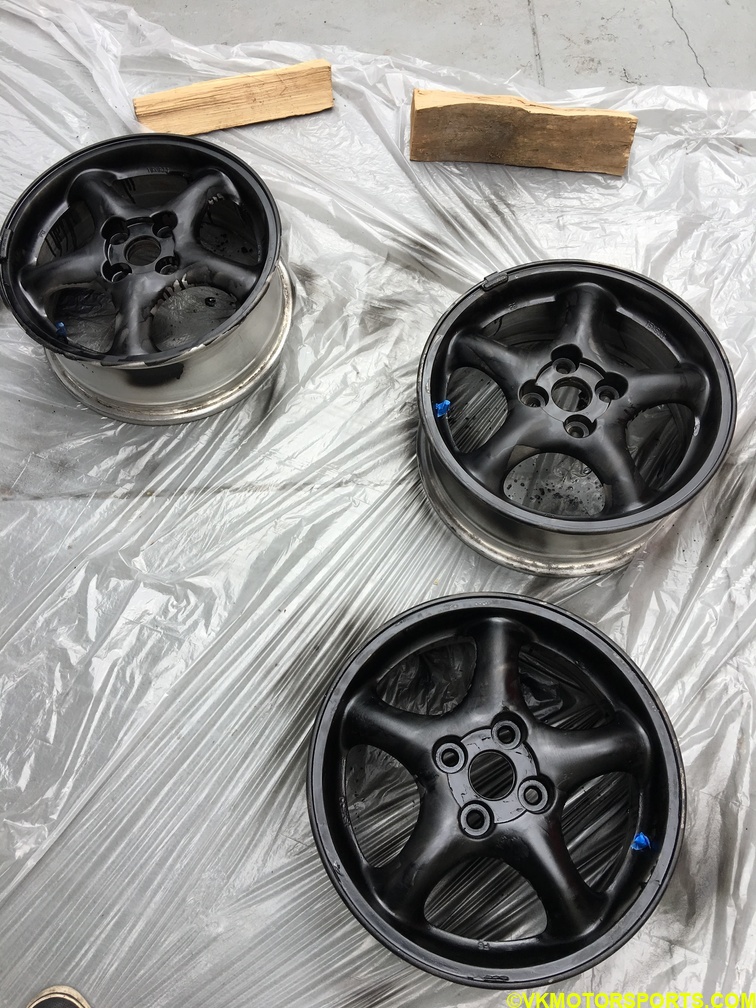 Figure 14. First coat of the primer
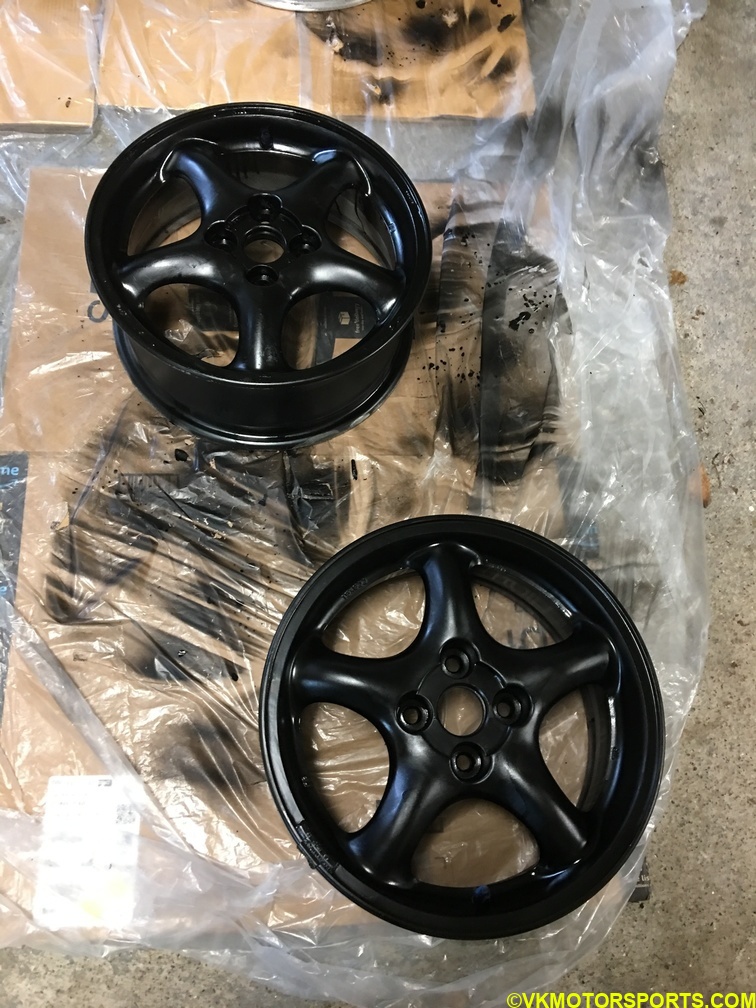 Figure 15. Second coat of the primer
Follow instructions on the spray can, and wait 10-15 minutes between each coat of the primer. I waited 4 hours for the primer to dry on the front before turning the wheel upside-down and painting the rest of the wheel.
Once the primer was dry, I spray painted the back side of the wheel (Figure 16) with the Sunrise Red color from Rustoleum. I did three coats of the red color, waiting about 30 minutes between each coat.
I then waited 24 hours before I flipped the wheels to the front side and repeated the same procedure.
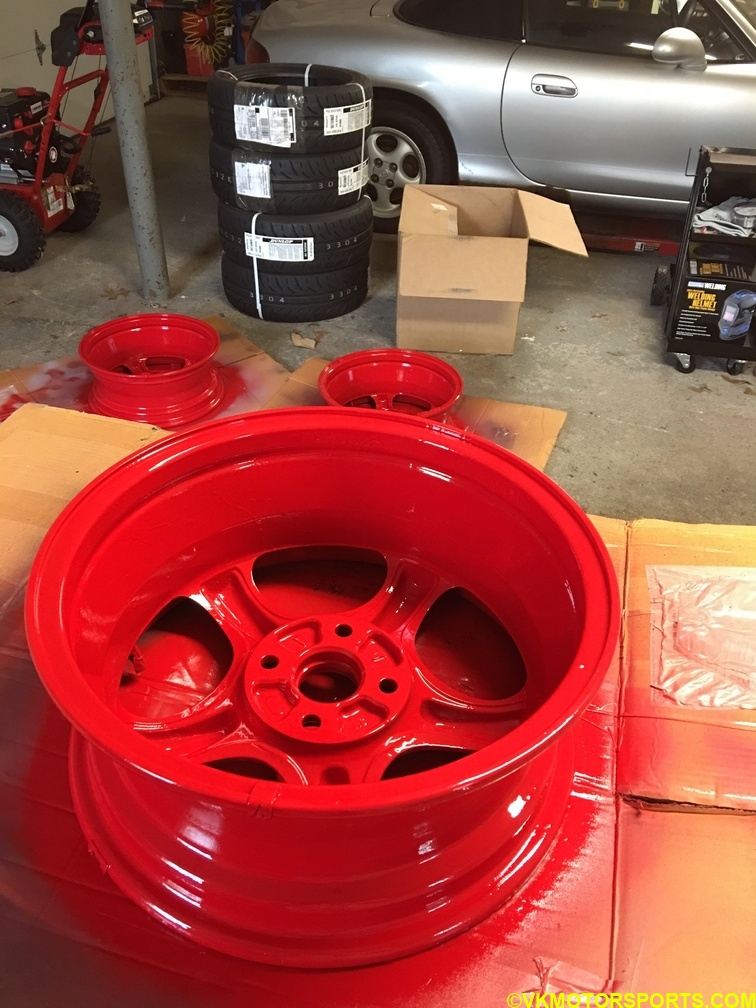 Figure 16. Red Paint on Wheels
Once the three coats were done on both sides, I removed the tape I used on the wheels. Now the next step is to get the tires on to the wheels.


