I purchased the Miata almost a year ago, and it was time to change the oil. Since I had never done it before, I expected it to take longer than normal as I would need to familiarize myself with the process. It was quite easy to drain the oil, but removing the installed oil filter took a long time and I struggled with it, but eventually got it off. This post describes step-by-step how to do it.
Materials Needed
Since the Miata has a 1.8 liter engine it needs 4 quarts of engine oil. Here in the USA 1 quart is about 0.946 liters. I used 10W-30 oil as recommended for operating temperatures above 0°F (-17.78°C), since I don’t plan on using the car in severe winter. You also need to purchase an oil filter from an auto parts store for your engine based on the car’s year, make and model. I bought the drain pan, engine oil and the oil filter from Rockauto.com, although it is cheaper to buy from a local auto parts store.
It is also good to have some old cardboard boxes and shop towels, from an auto parts store or Harbor Freight, to trap any leaks and wipe any spills. Old rags are also useful.
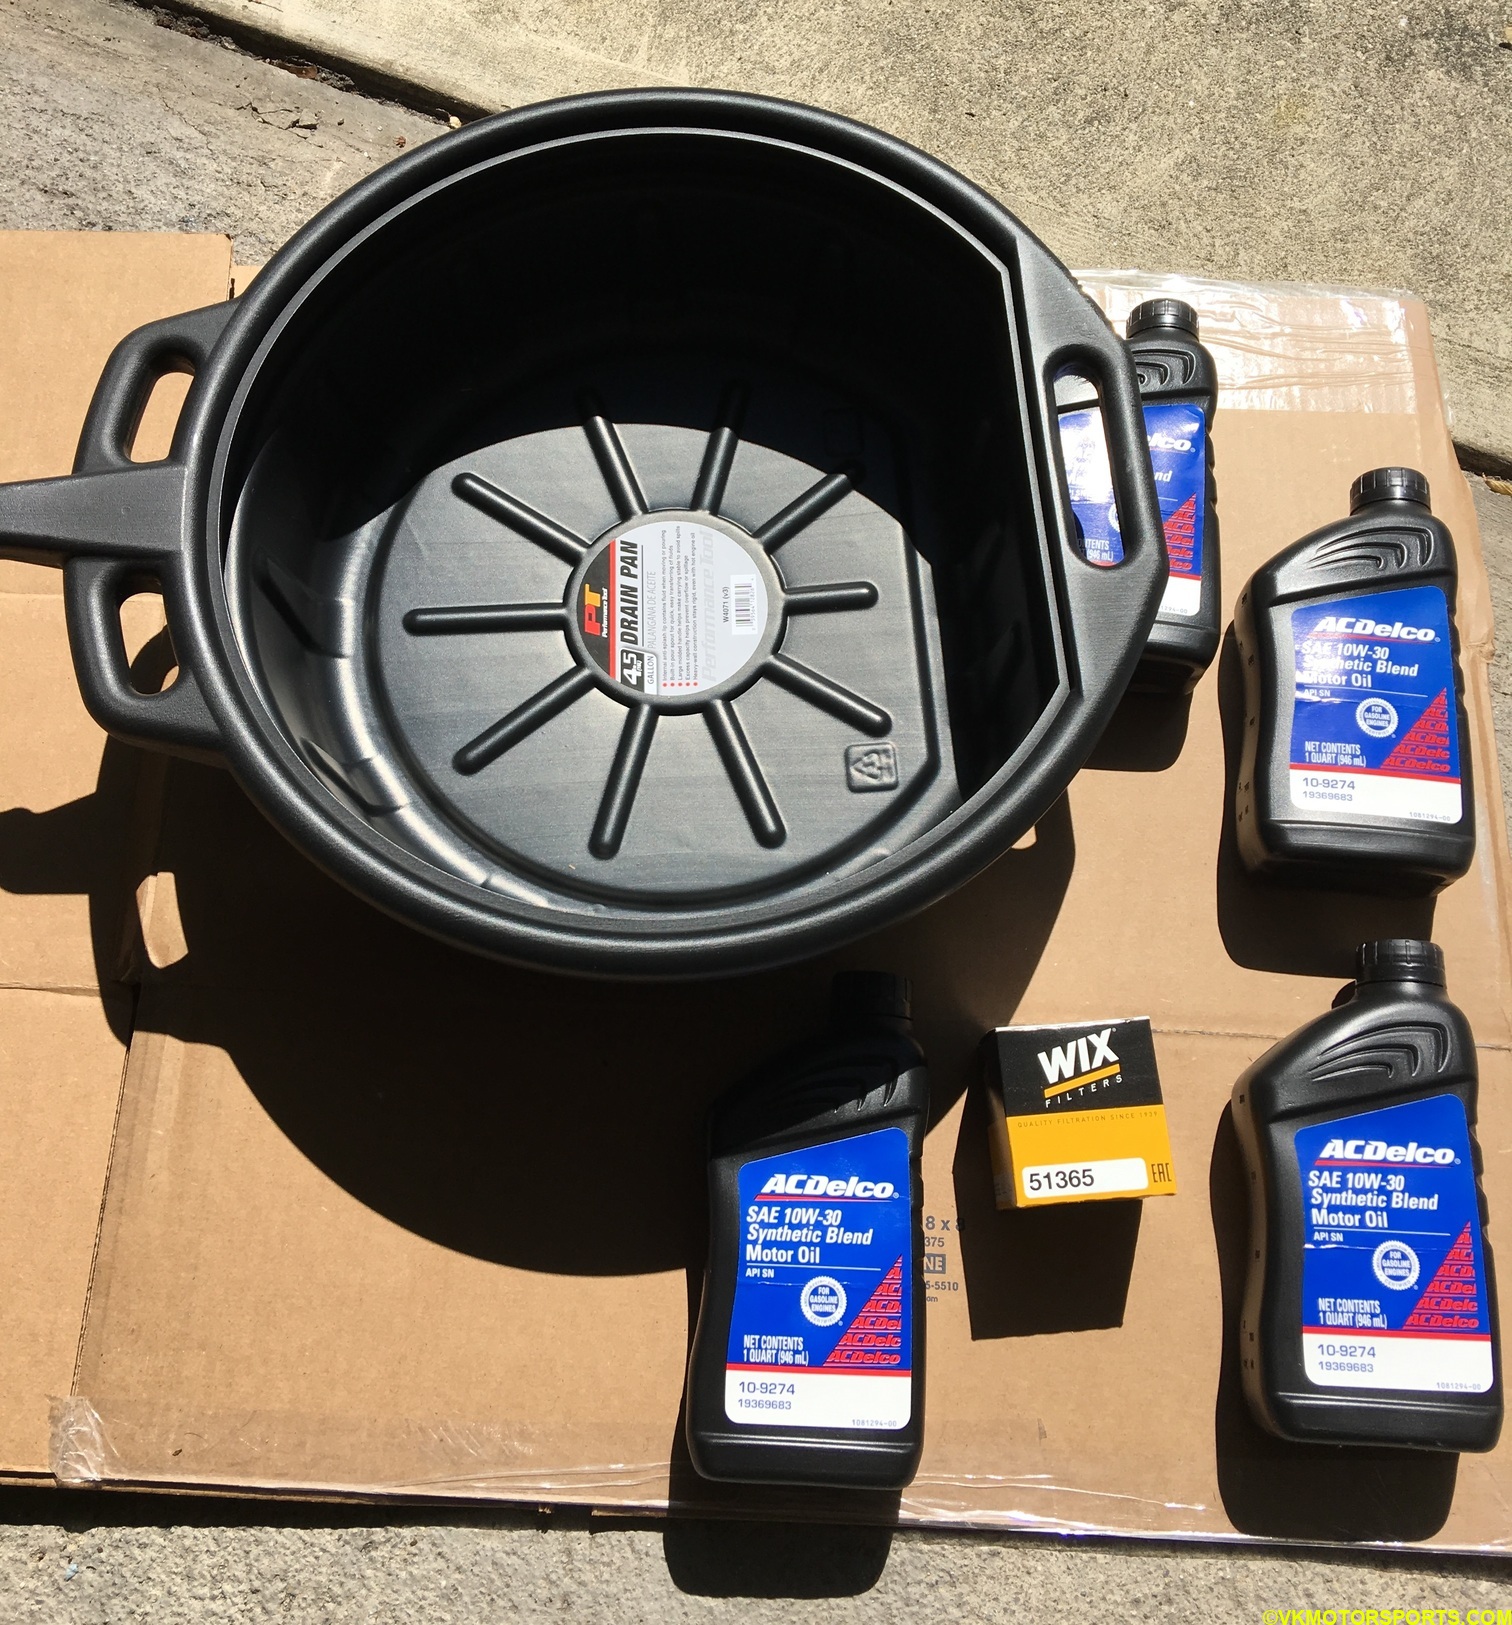 Figure 1. Drain pan, oil filter and engine oil
To remove the oil filter I tried a $9 oil filter socket, a $12 oil filter pliers and a $3 Hardy glove from Harbor Freight and the glove worked best for me.
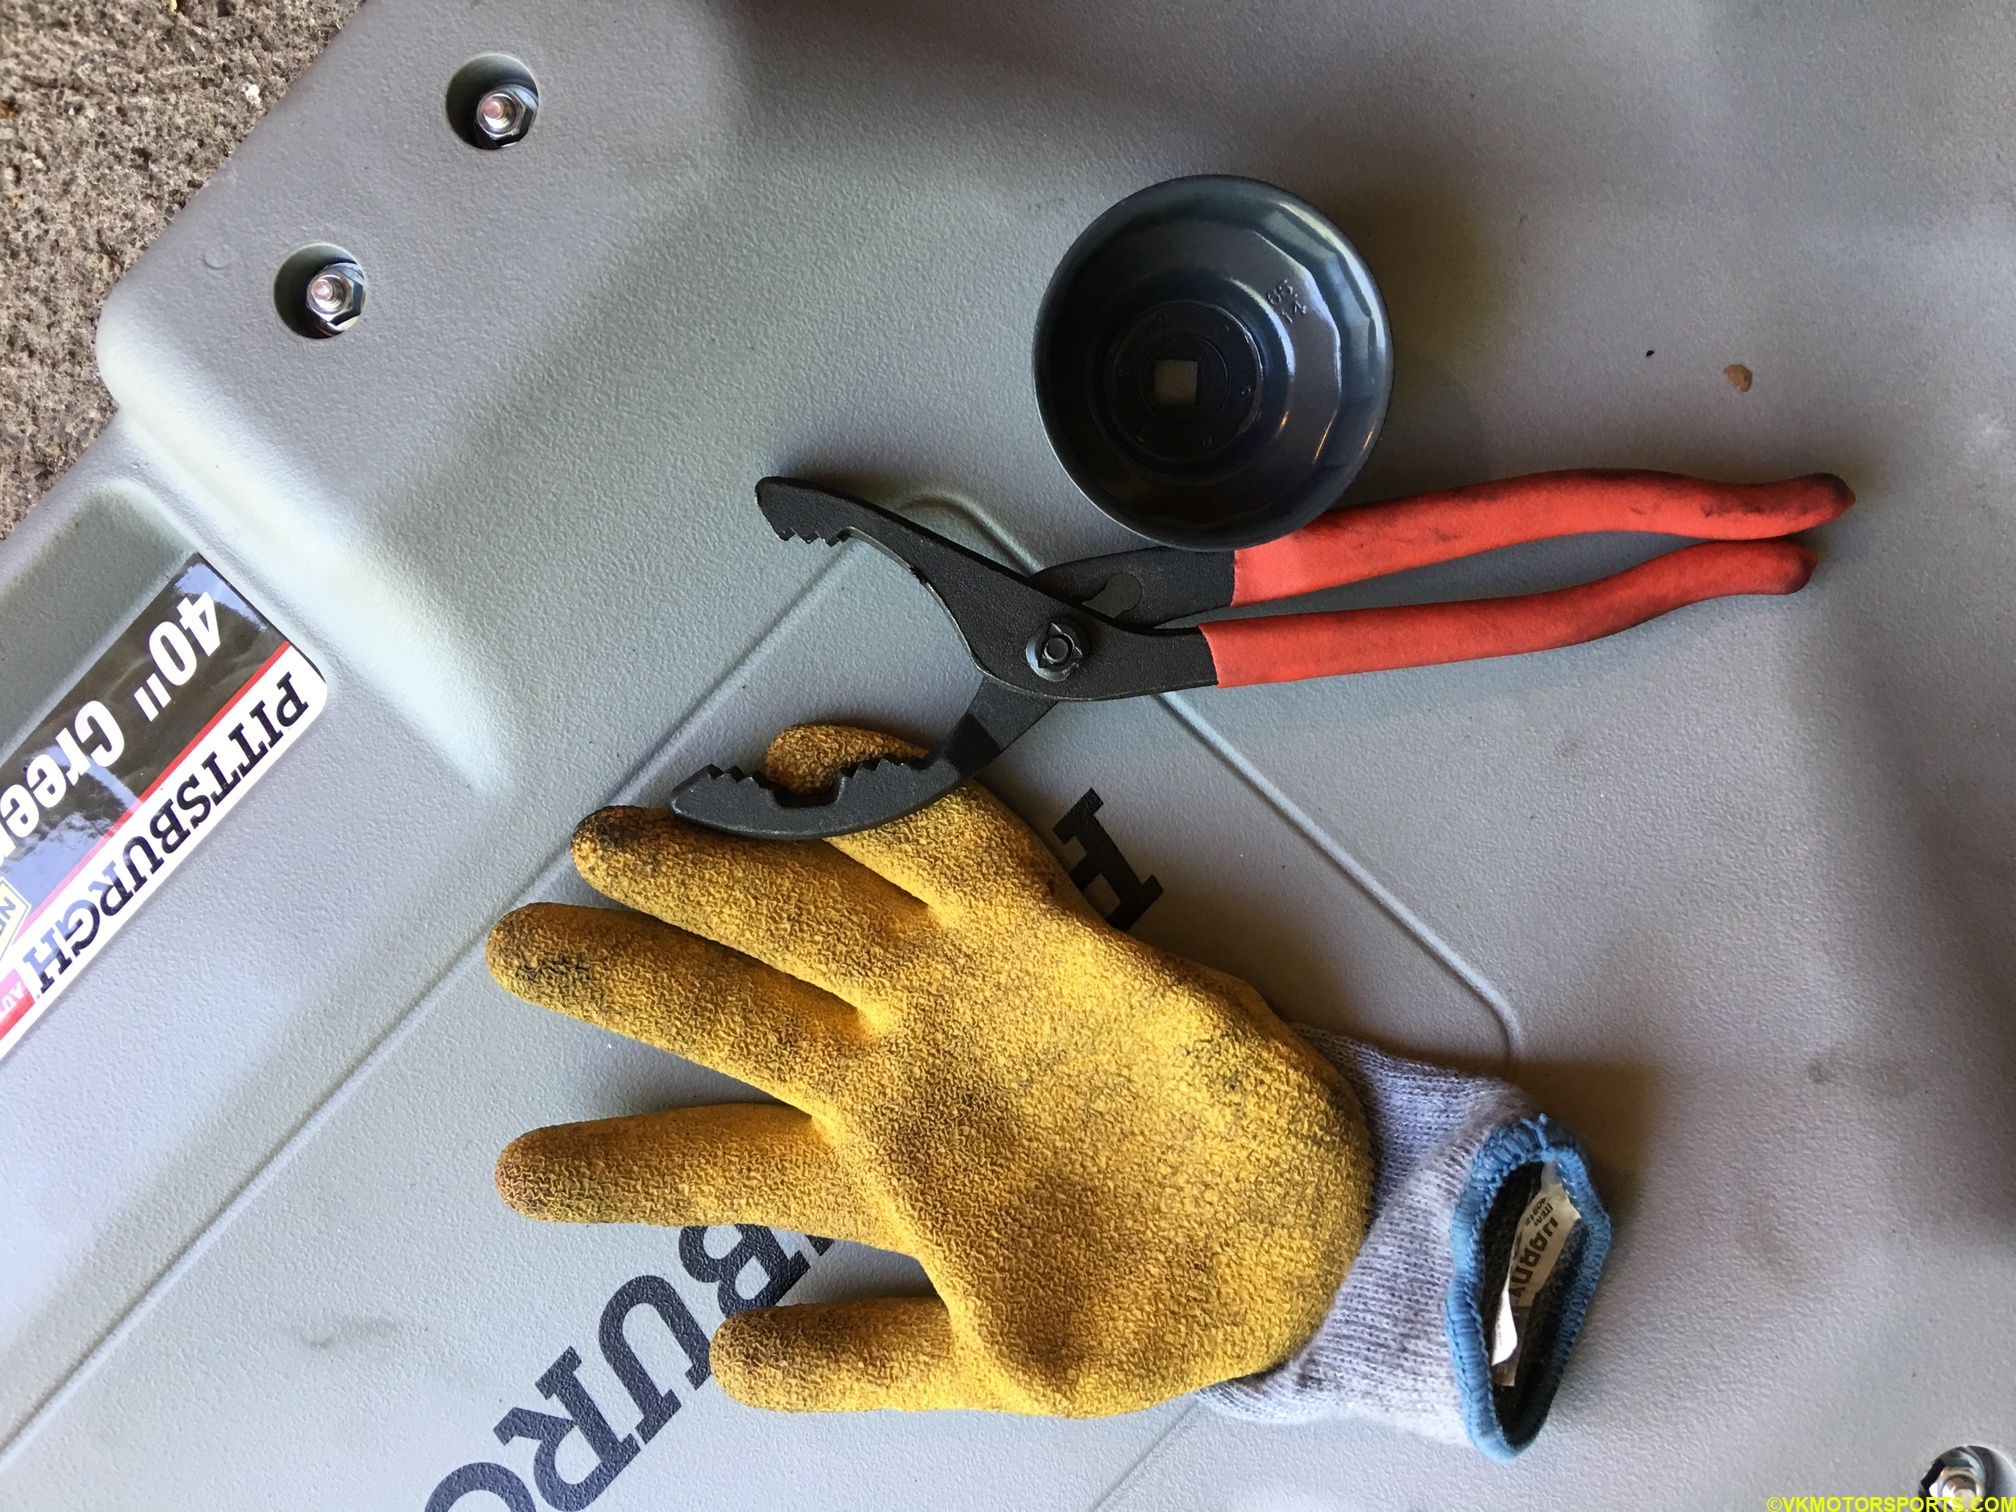 Figure 2. Oil Filter Removal Tools (gloves, pliers and socket)
You can see a grey colored creeper in Figure 2 that I bought for Harbor Freight to get under the car to remove the old engine oil.
Prepare for Oil Removal
Since I have a mid-rise lift, I raised the car using that so I could slide under it using the creeper. If you do not have a lift, you can raise the front of the car on ramps or on jack stands.
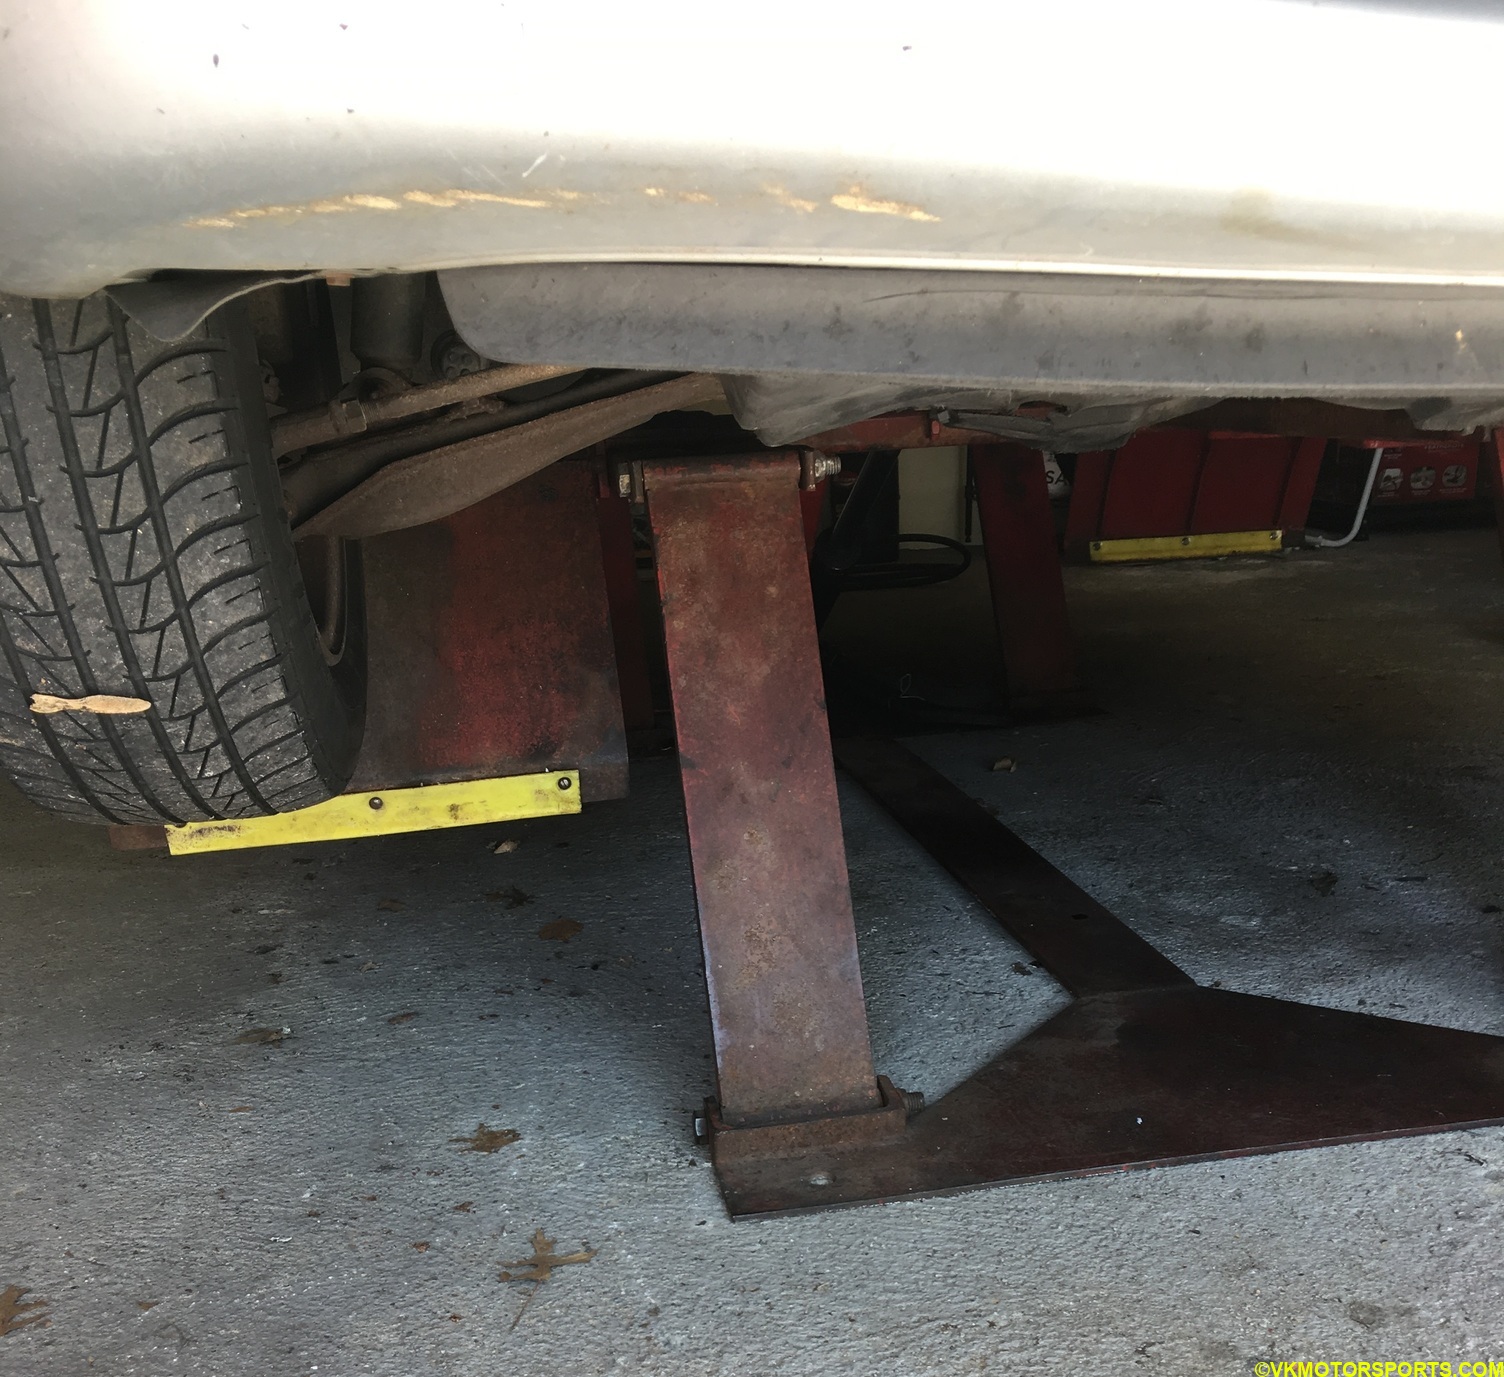 Figure 3. The car was raised on a mid-rise lift
Place some old cardboard below the car as in Figure 4 so that any spills that are not caught by the drain pan are caught.
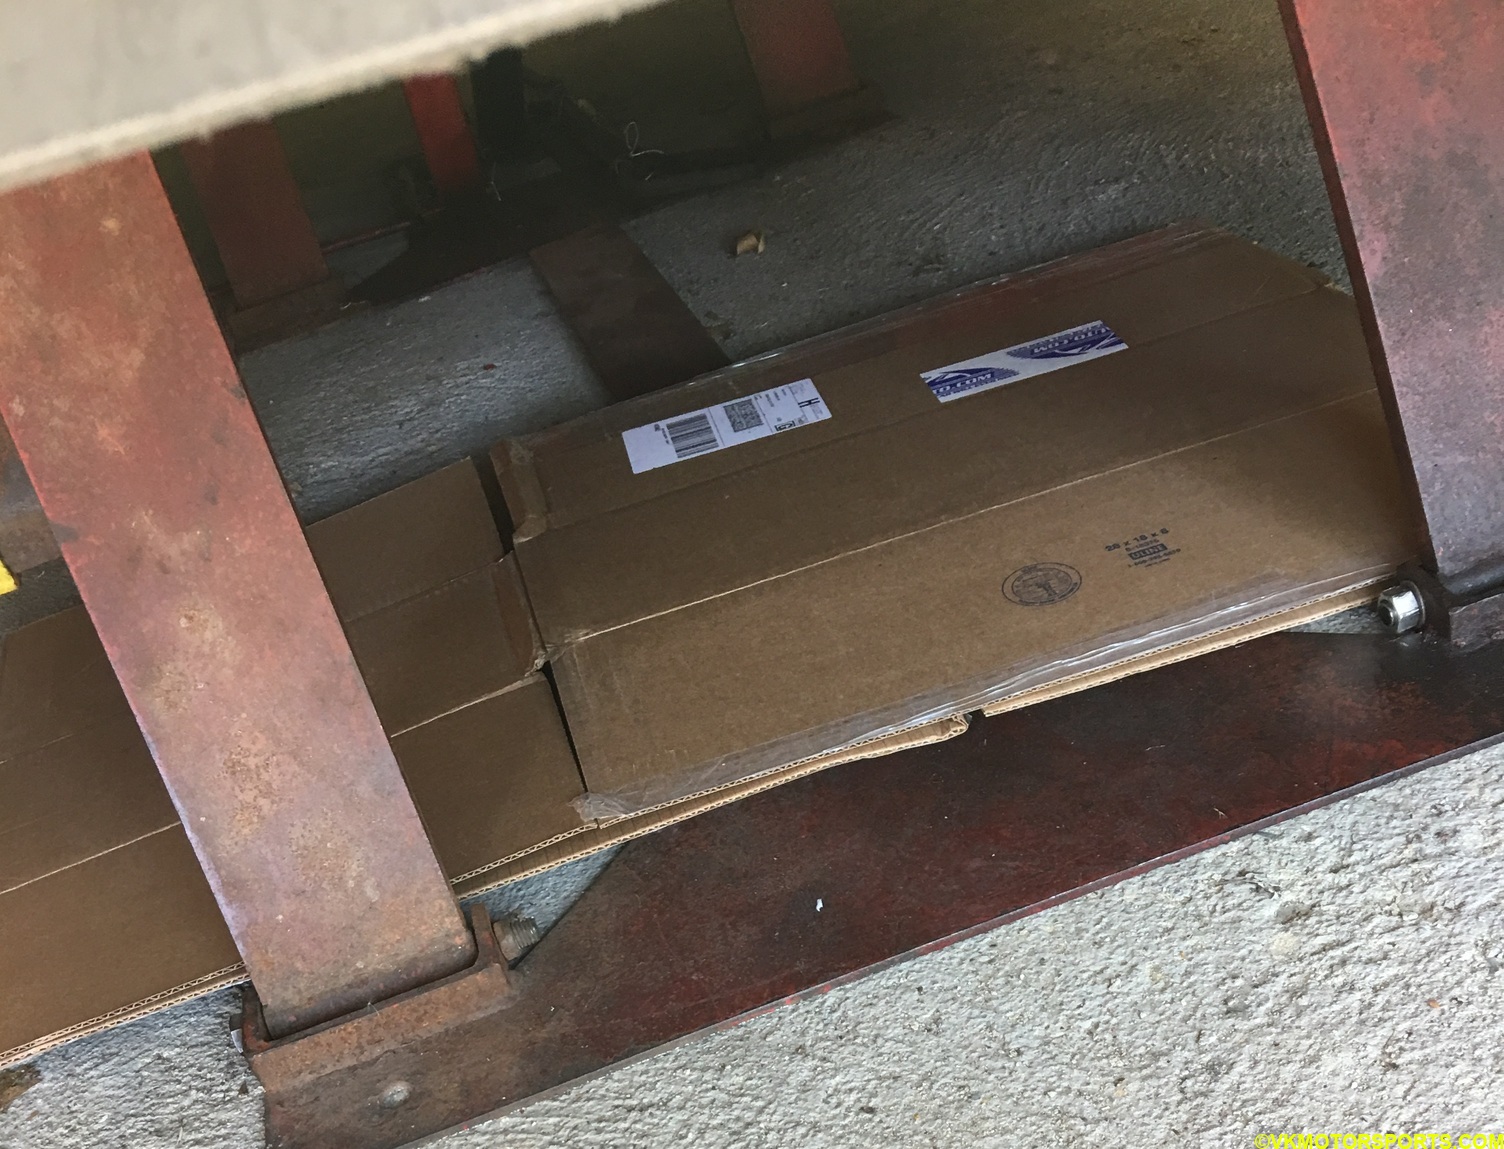 Figure 4. Place cardboard below the car
Drain the Old Engine Oil
When you are under the car, you can see the drain plug and oil tank behind the plastic splash guard as in Figure 5.
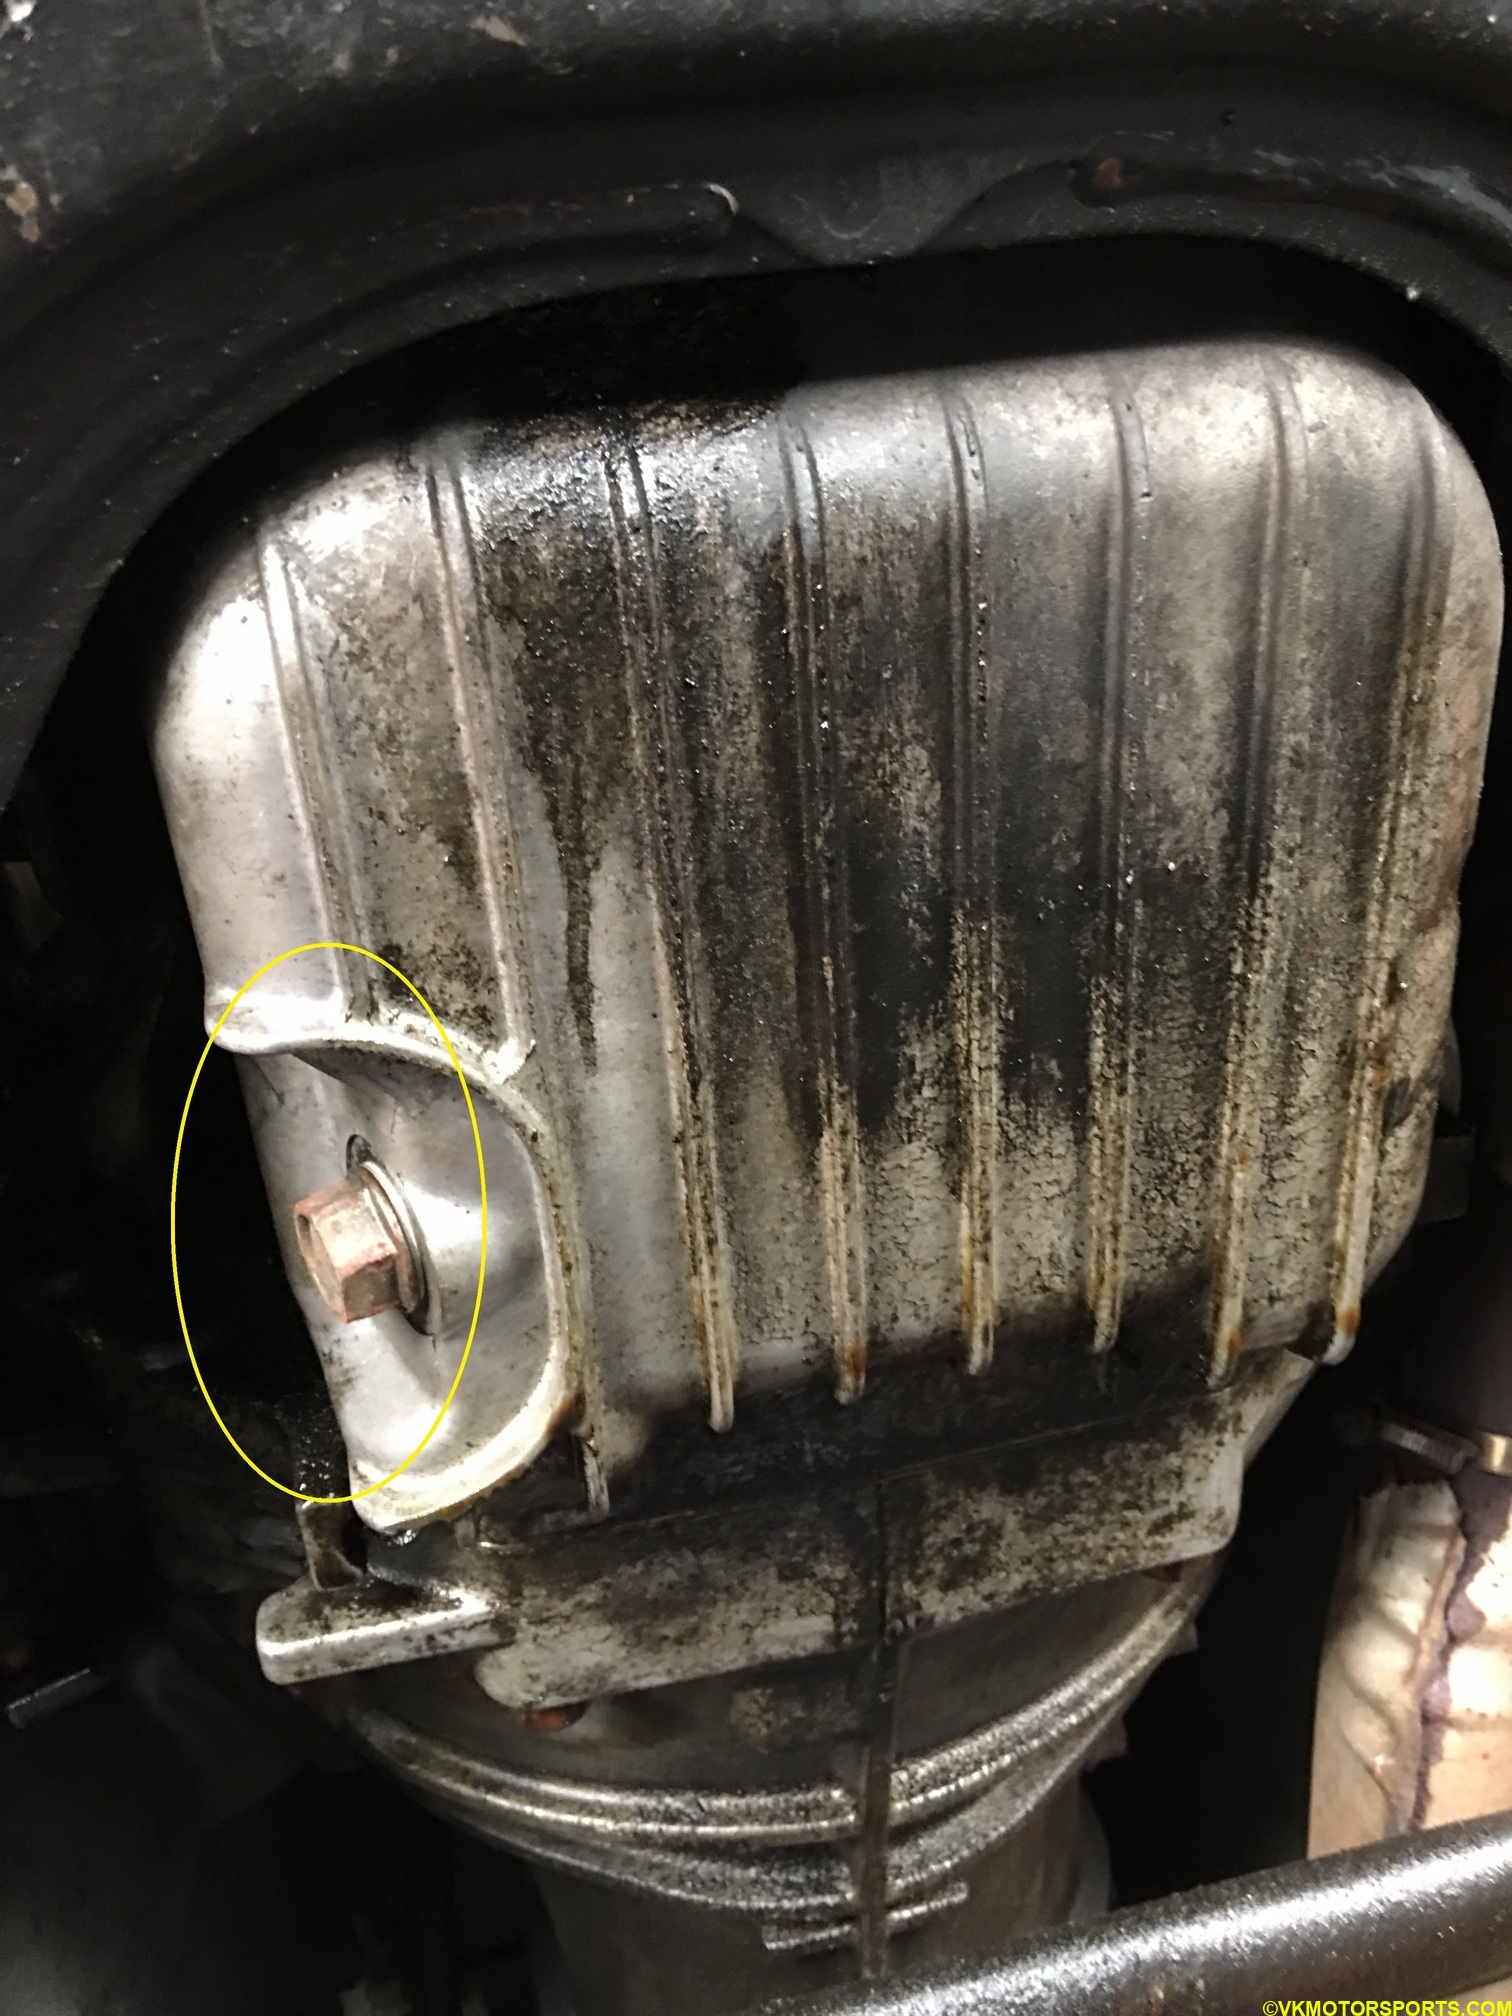 Figure 5. Oil Drain Plug (yellow circle around the bolt)
For my NB Miata I had to use a 17 number wrench to loosen the bolt and then used my hand to unscrew it. The bolt was in good shape and so was the washer that was beneat it as in Figure 6. If your bolt is not in good shape, it makes sense to replace it at this point.
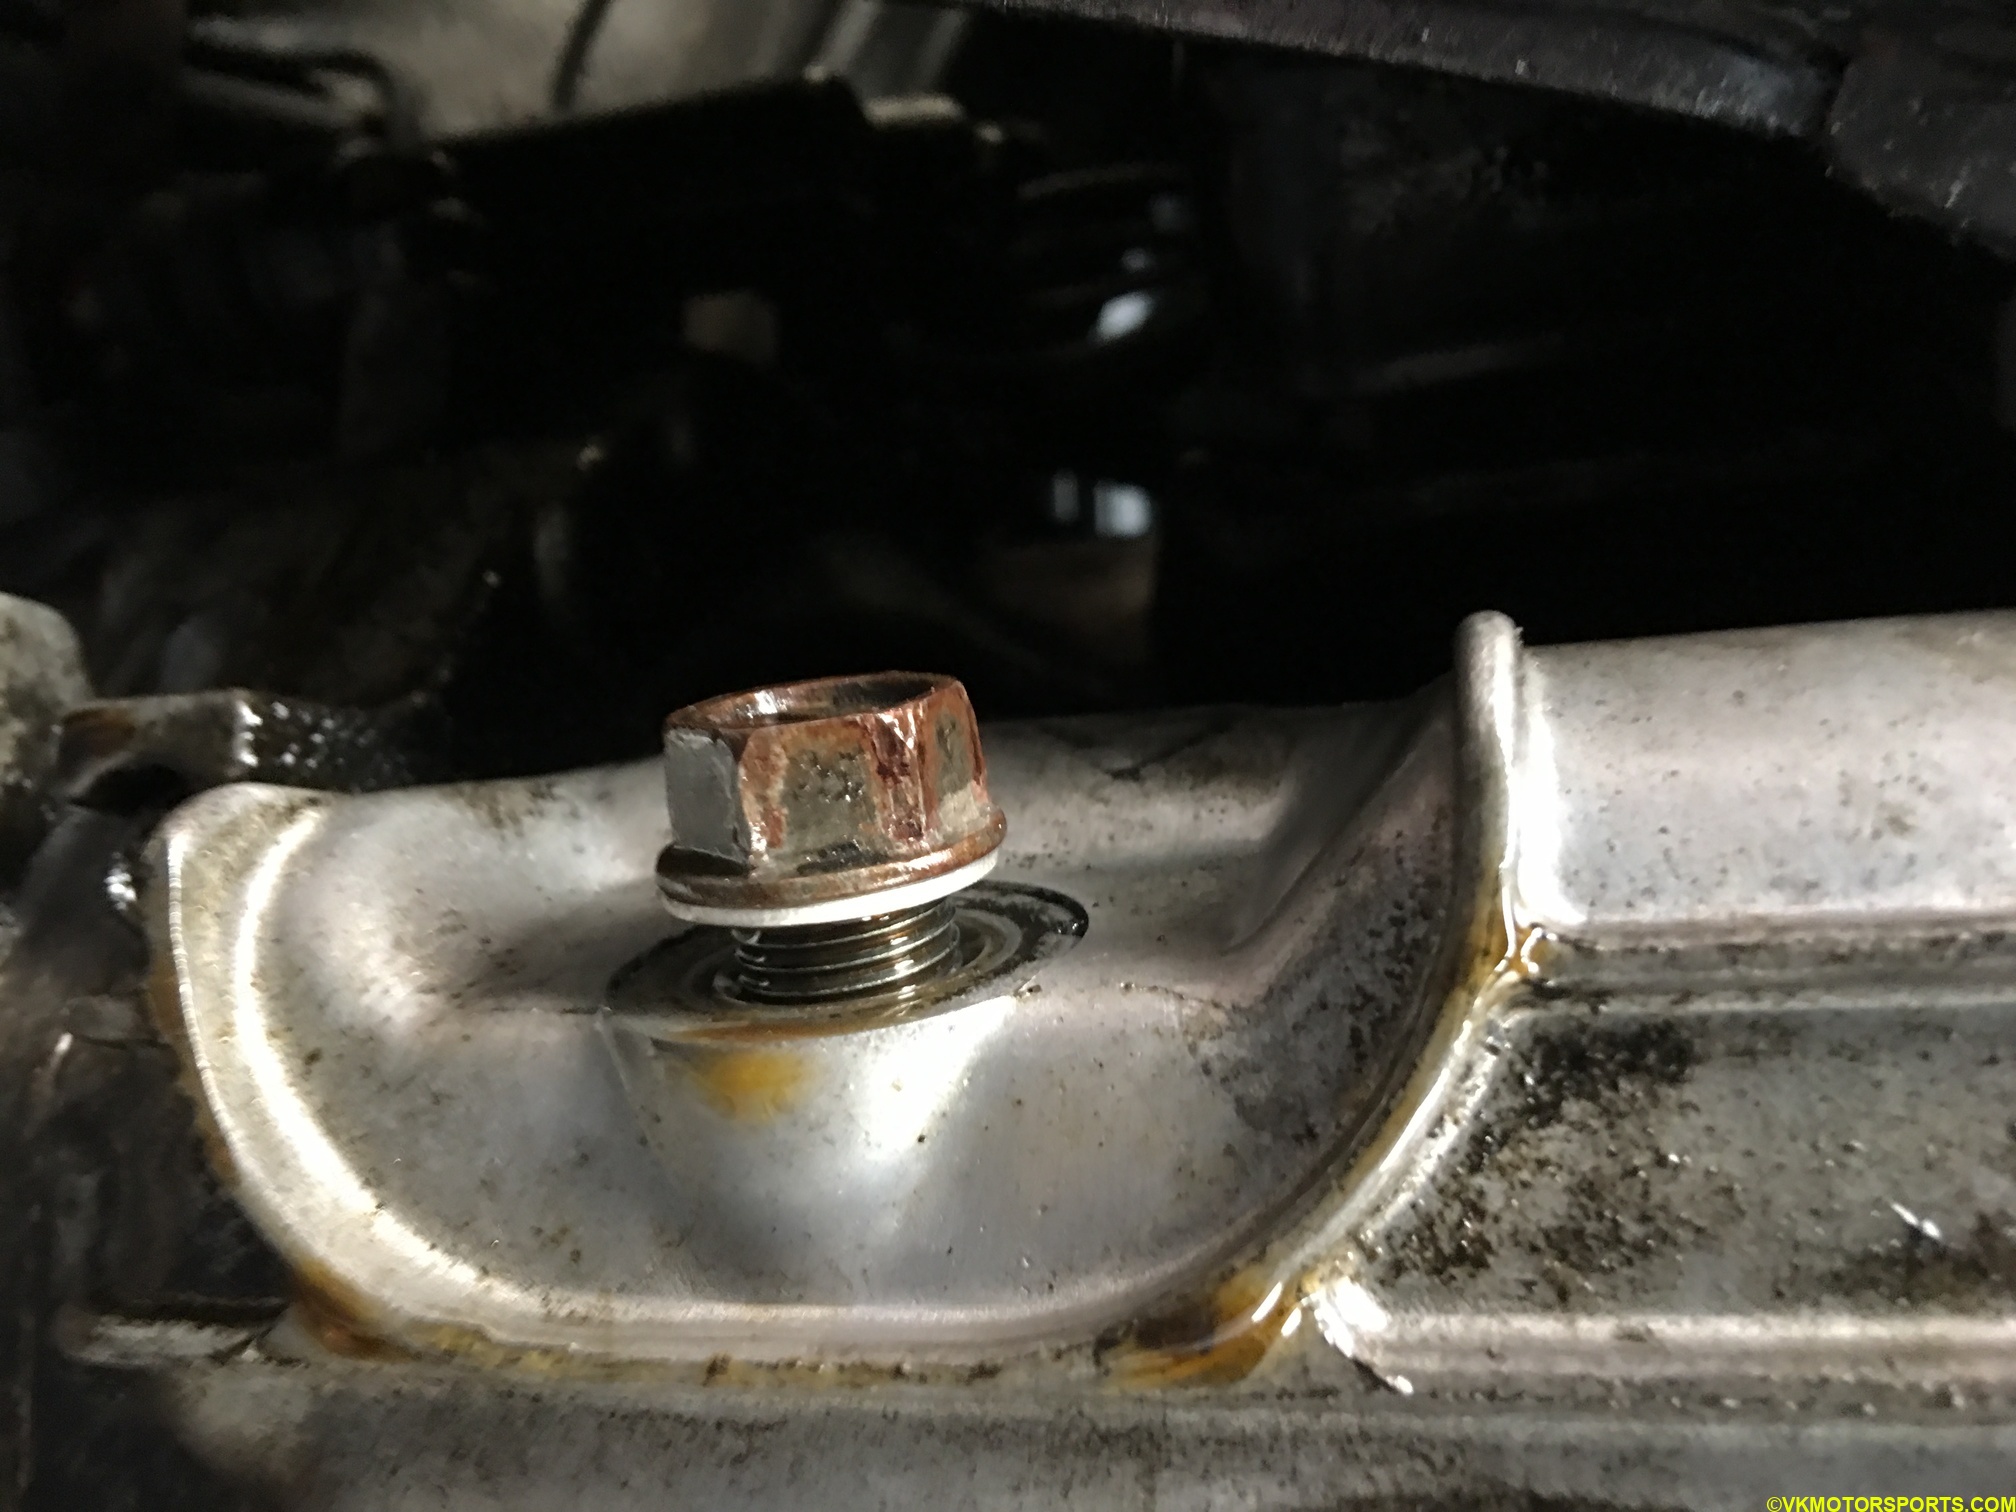 Figure 6. Close-up of Drain Plug
Before I removed the bolt fully I placed the drain pan below it and then removed the bolt letting the oil drain into the pan as in Figure 7. I had to adjust the pan so as to catch the oil correctly.
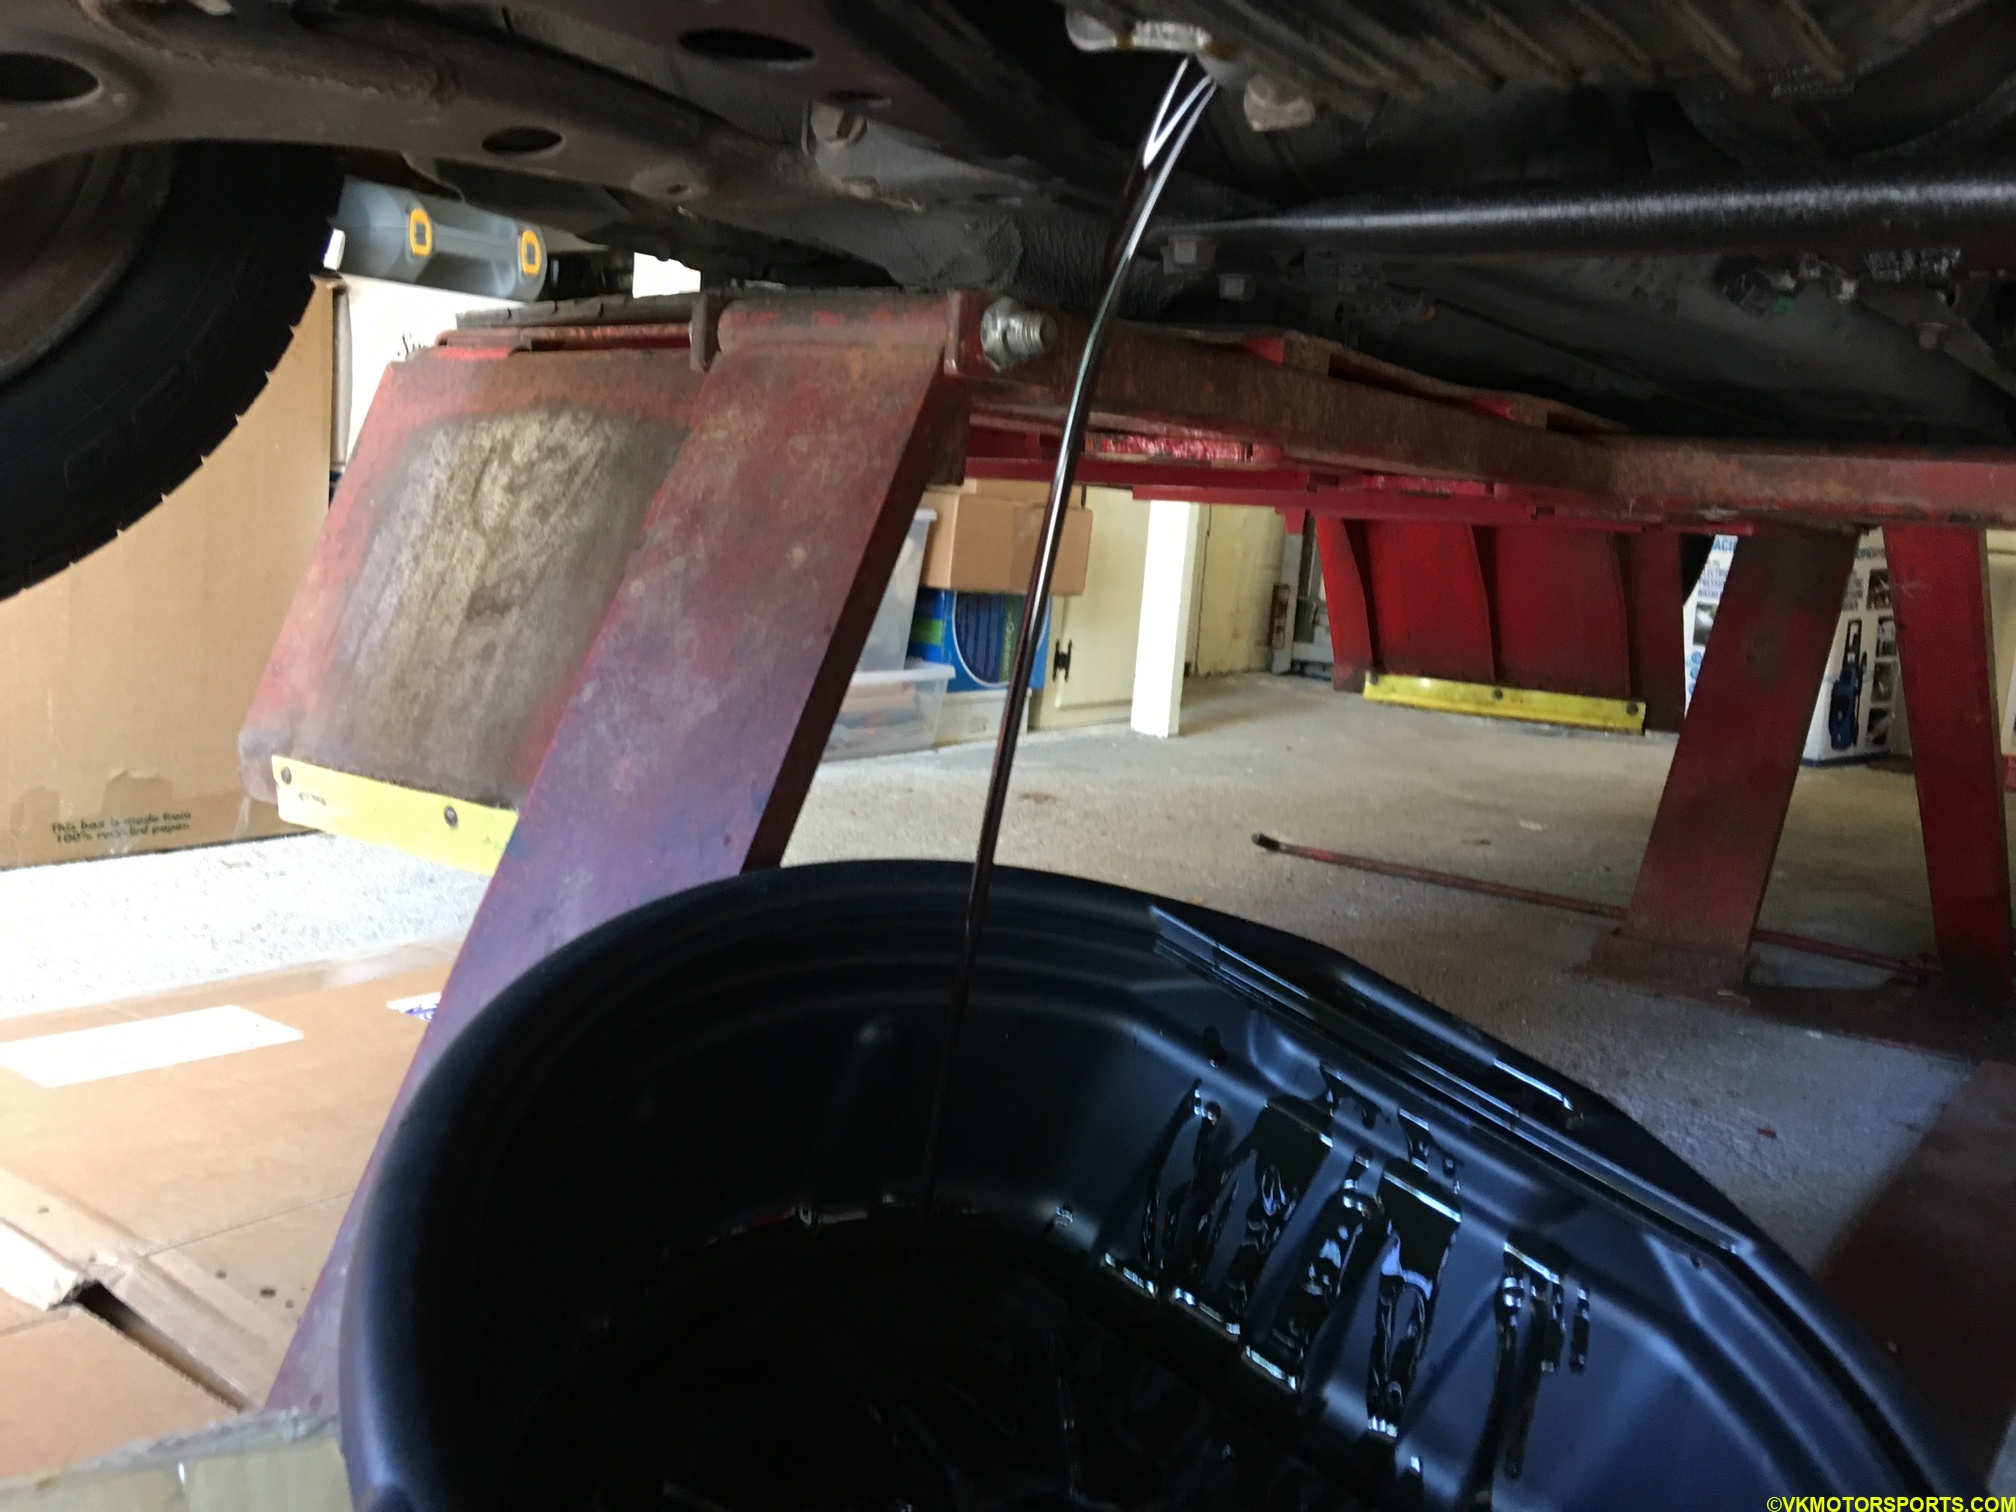 Figure 7. Oil Draining into the drain pan
Wait for the oil to fully drain out. As the last bit of oil is dripping, you will see that it drips really slow. It is a good idea to let it drip out for about 20-30 minutes. In the meantime you can replace the oil filter.
Replacing the Oil Filter
Removing the oil filter can be a difficult task for the first timer like me, but once you do it, the next time it will be easier. It is all about experience.
First locate the oil filter correctly. In the NB Miata, it is on the passenger side below the headers as shown in Figure 8 and Figure 9 from different angles.
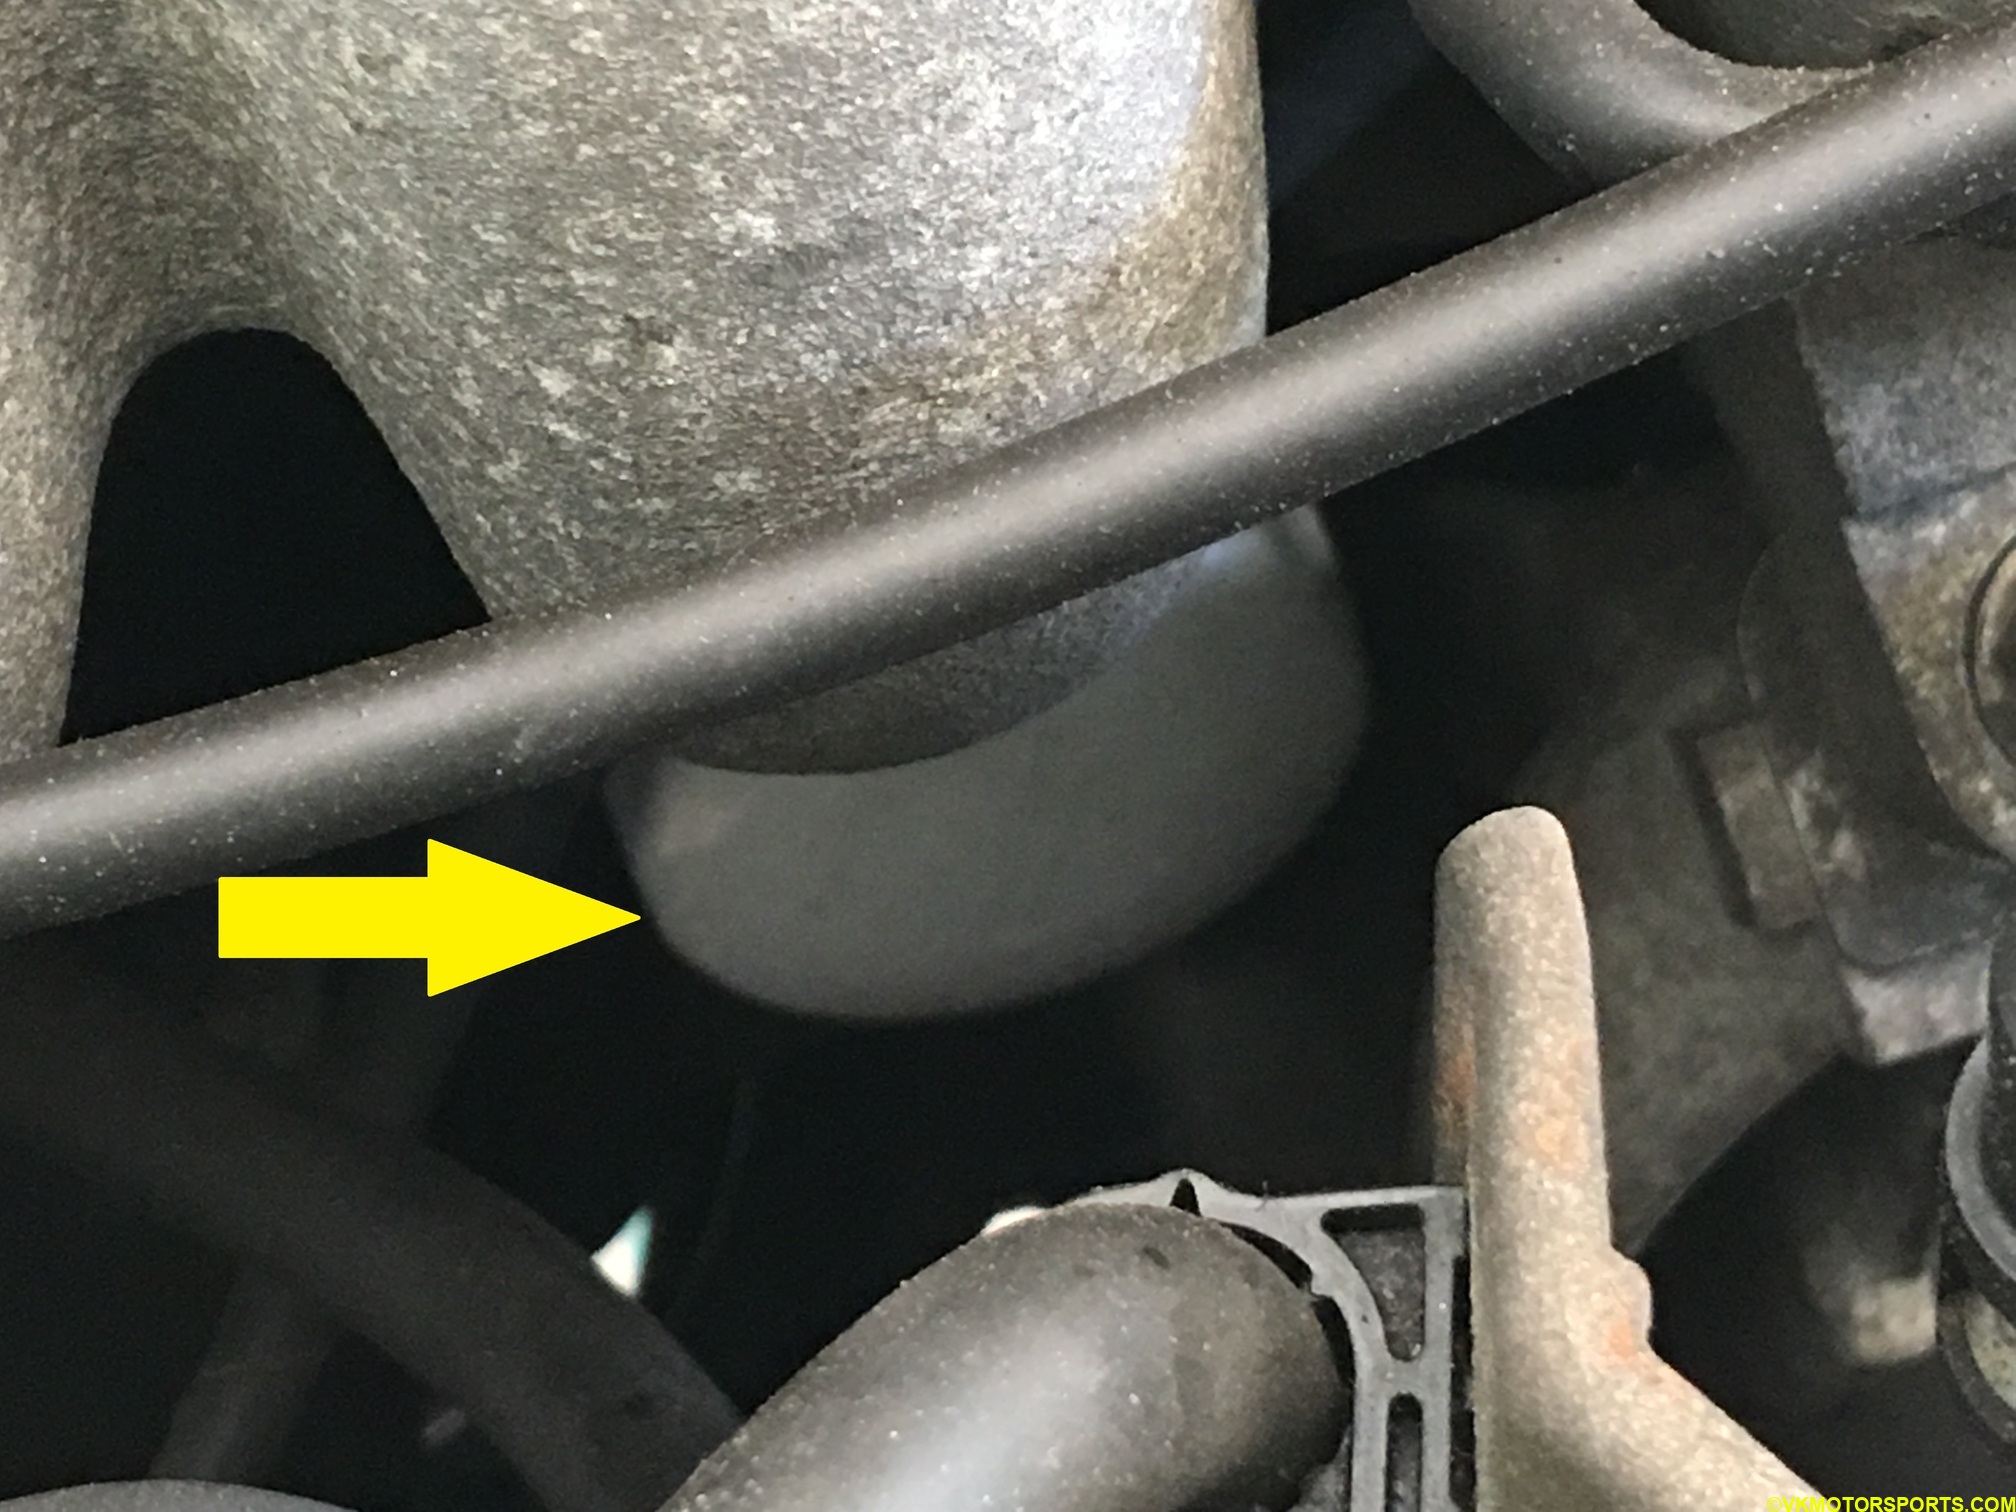 Figure 8. Oil filter viewed from the top of an open hood
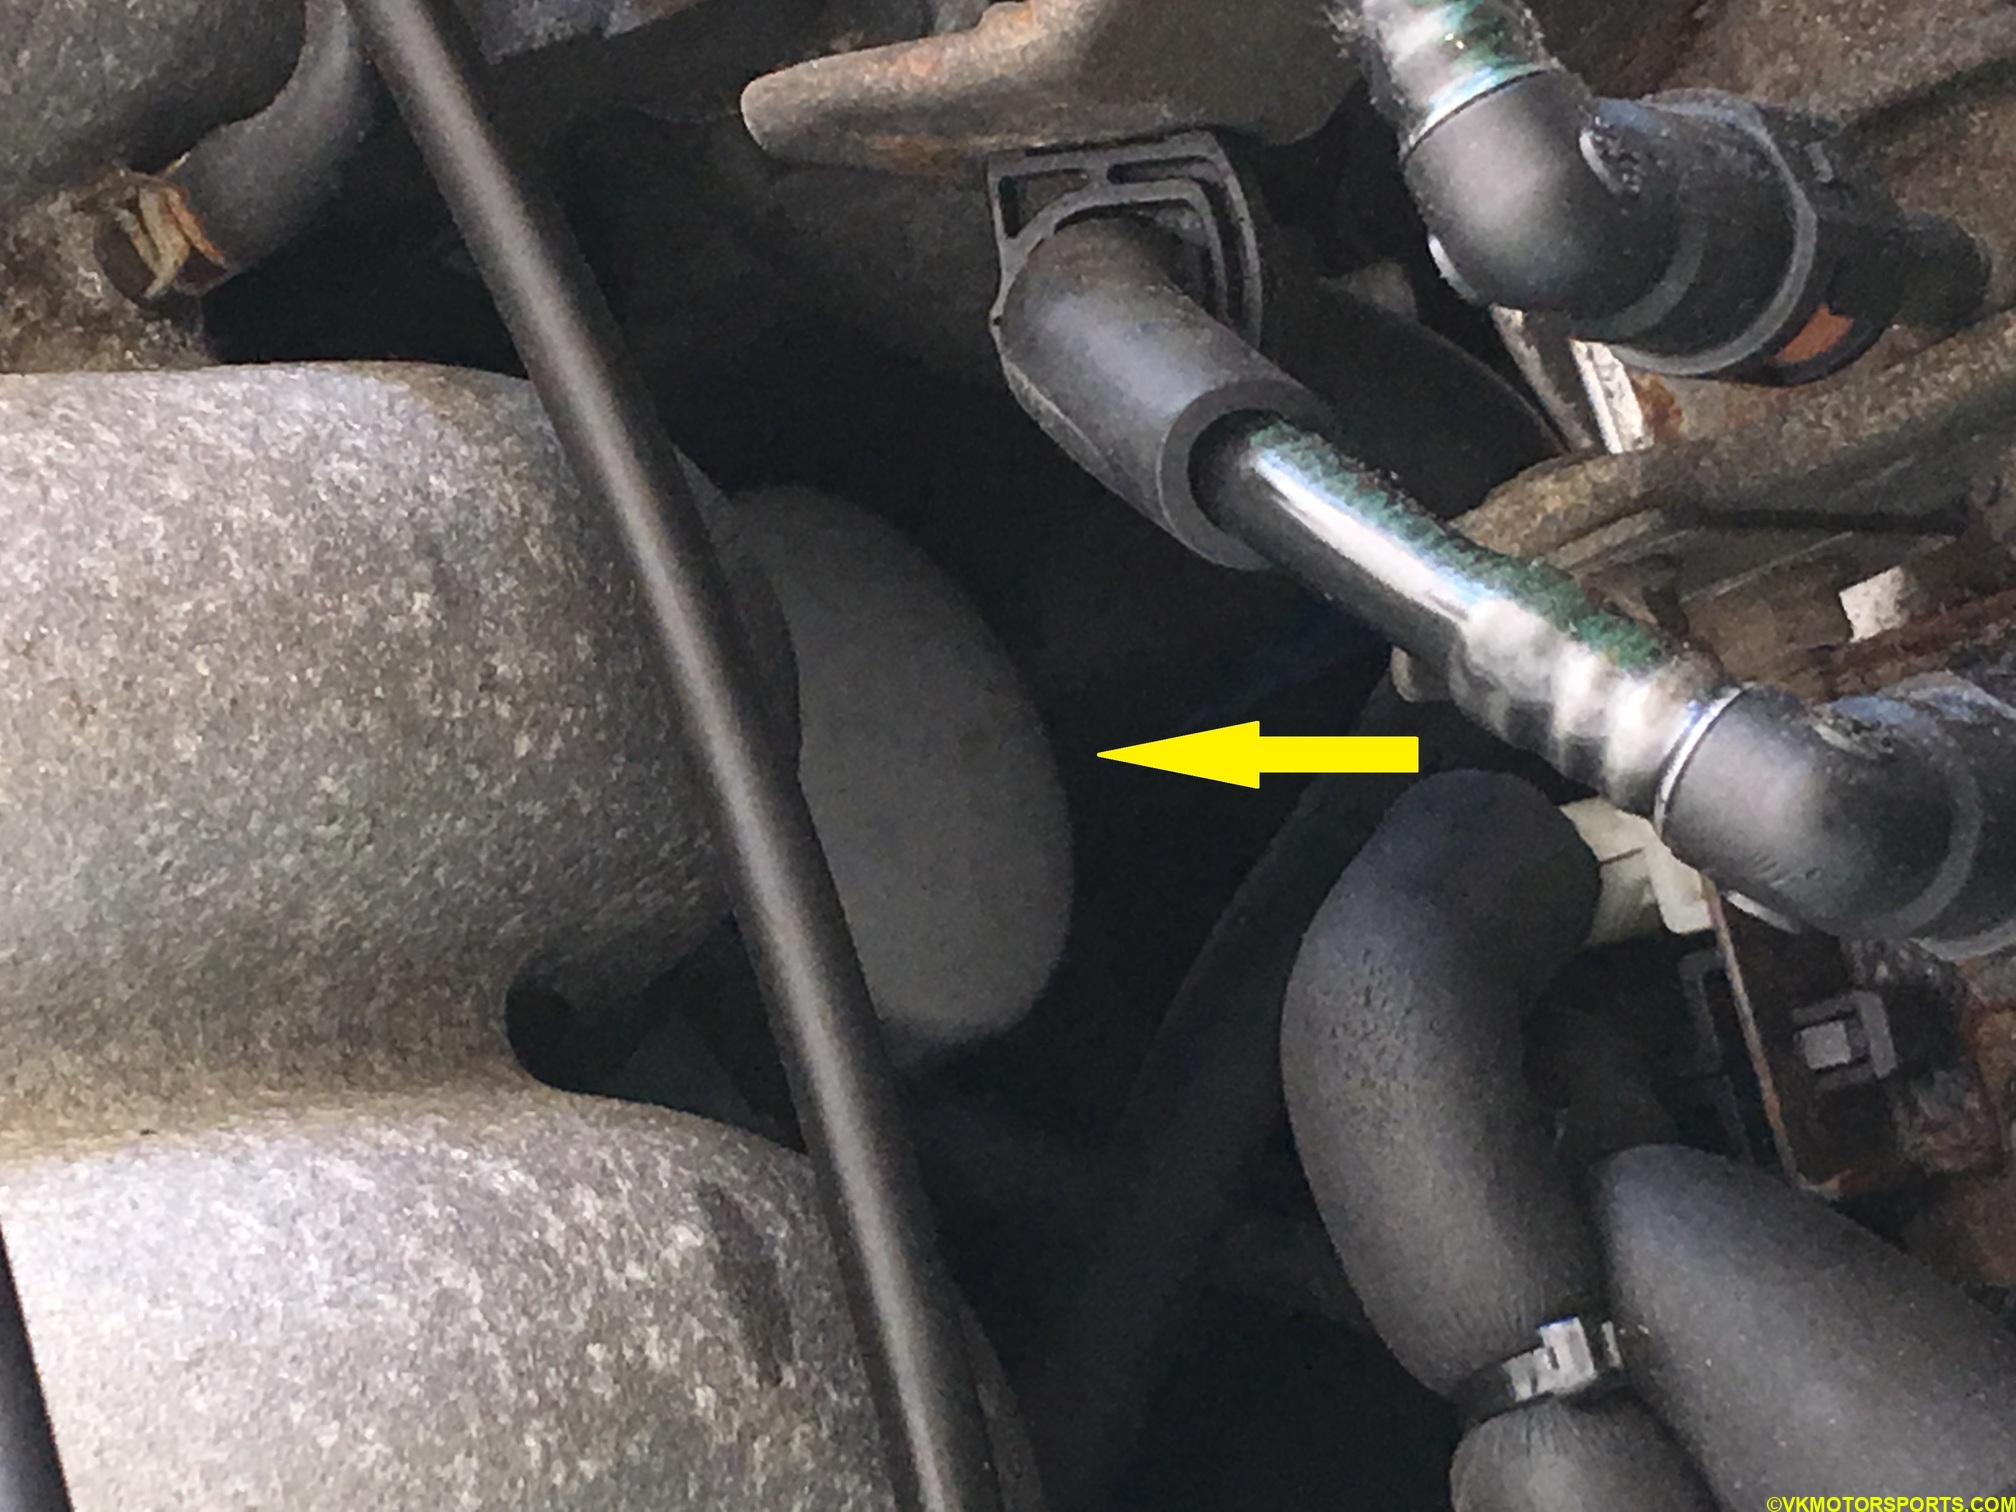 Figure 9. Oil filter viewed from the passenger side of the car
You have to force your hand into the gap (Figure 10) and try to grab the oil filter and turn it counter-clockwise to remove it. If it is too tight you can use the tools shown in Figure 2 to help remove it. For me the glove on my left hand worked the best with some force. However, I used the glove last and wasted about 40-50 minutes trying the other tools which did not work for me. I was just not able to grab the filter with those tools.
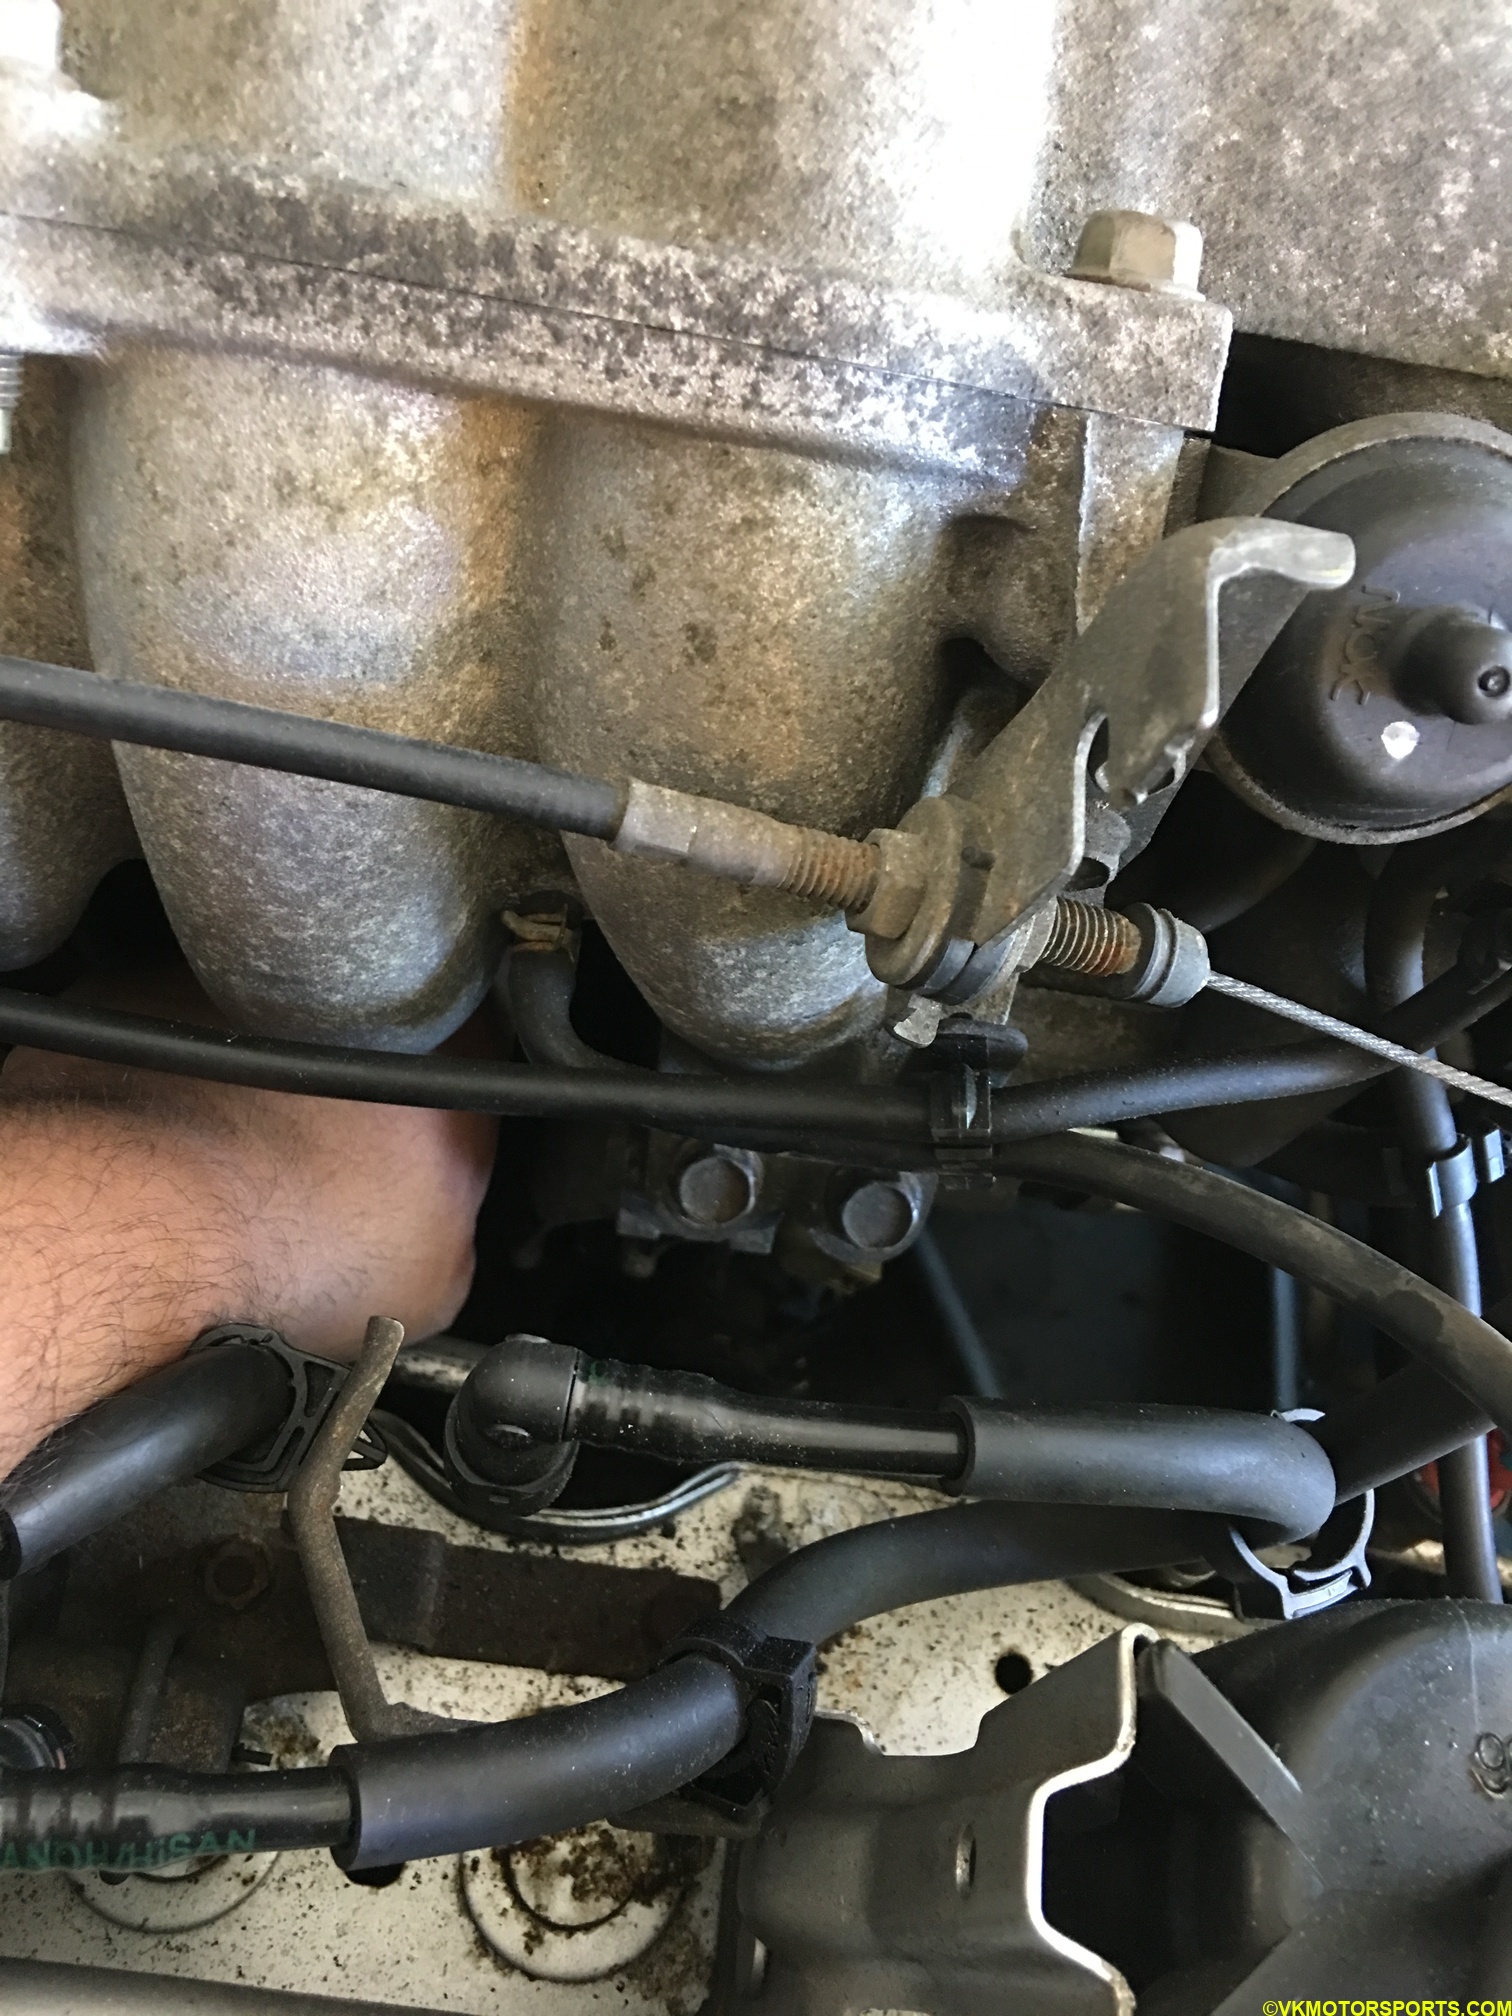 Figure 10. You have to push your hand in through the gap
Once you start removing the oil filter more oil will start pouring out that was in the filter, so let it drip to the pan if you can do that, or the cardboard should catch it. Keep some rags or shop towels handy and clean up after all the oil has finished dripping. Remember to wipe the oil filter holding spout as well of any old oil as you do not want to contaminate the new filter. Figure 11 shows what the old oil filter looked like.
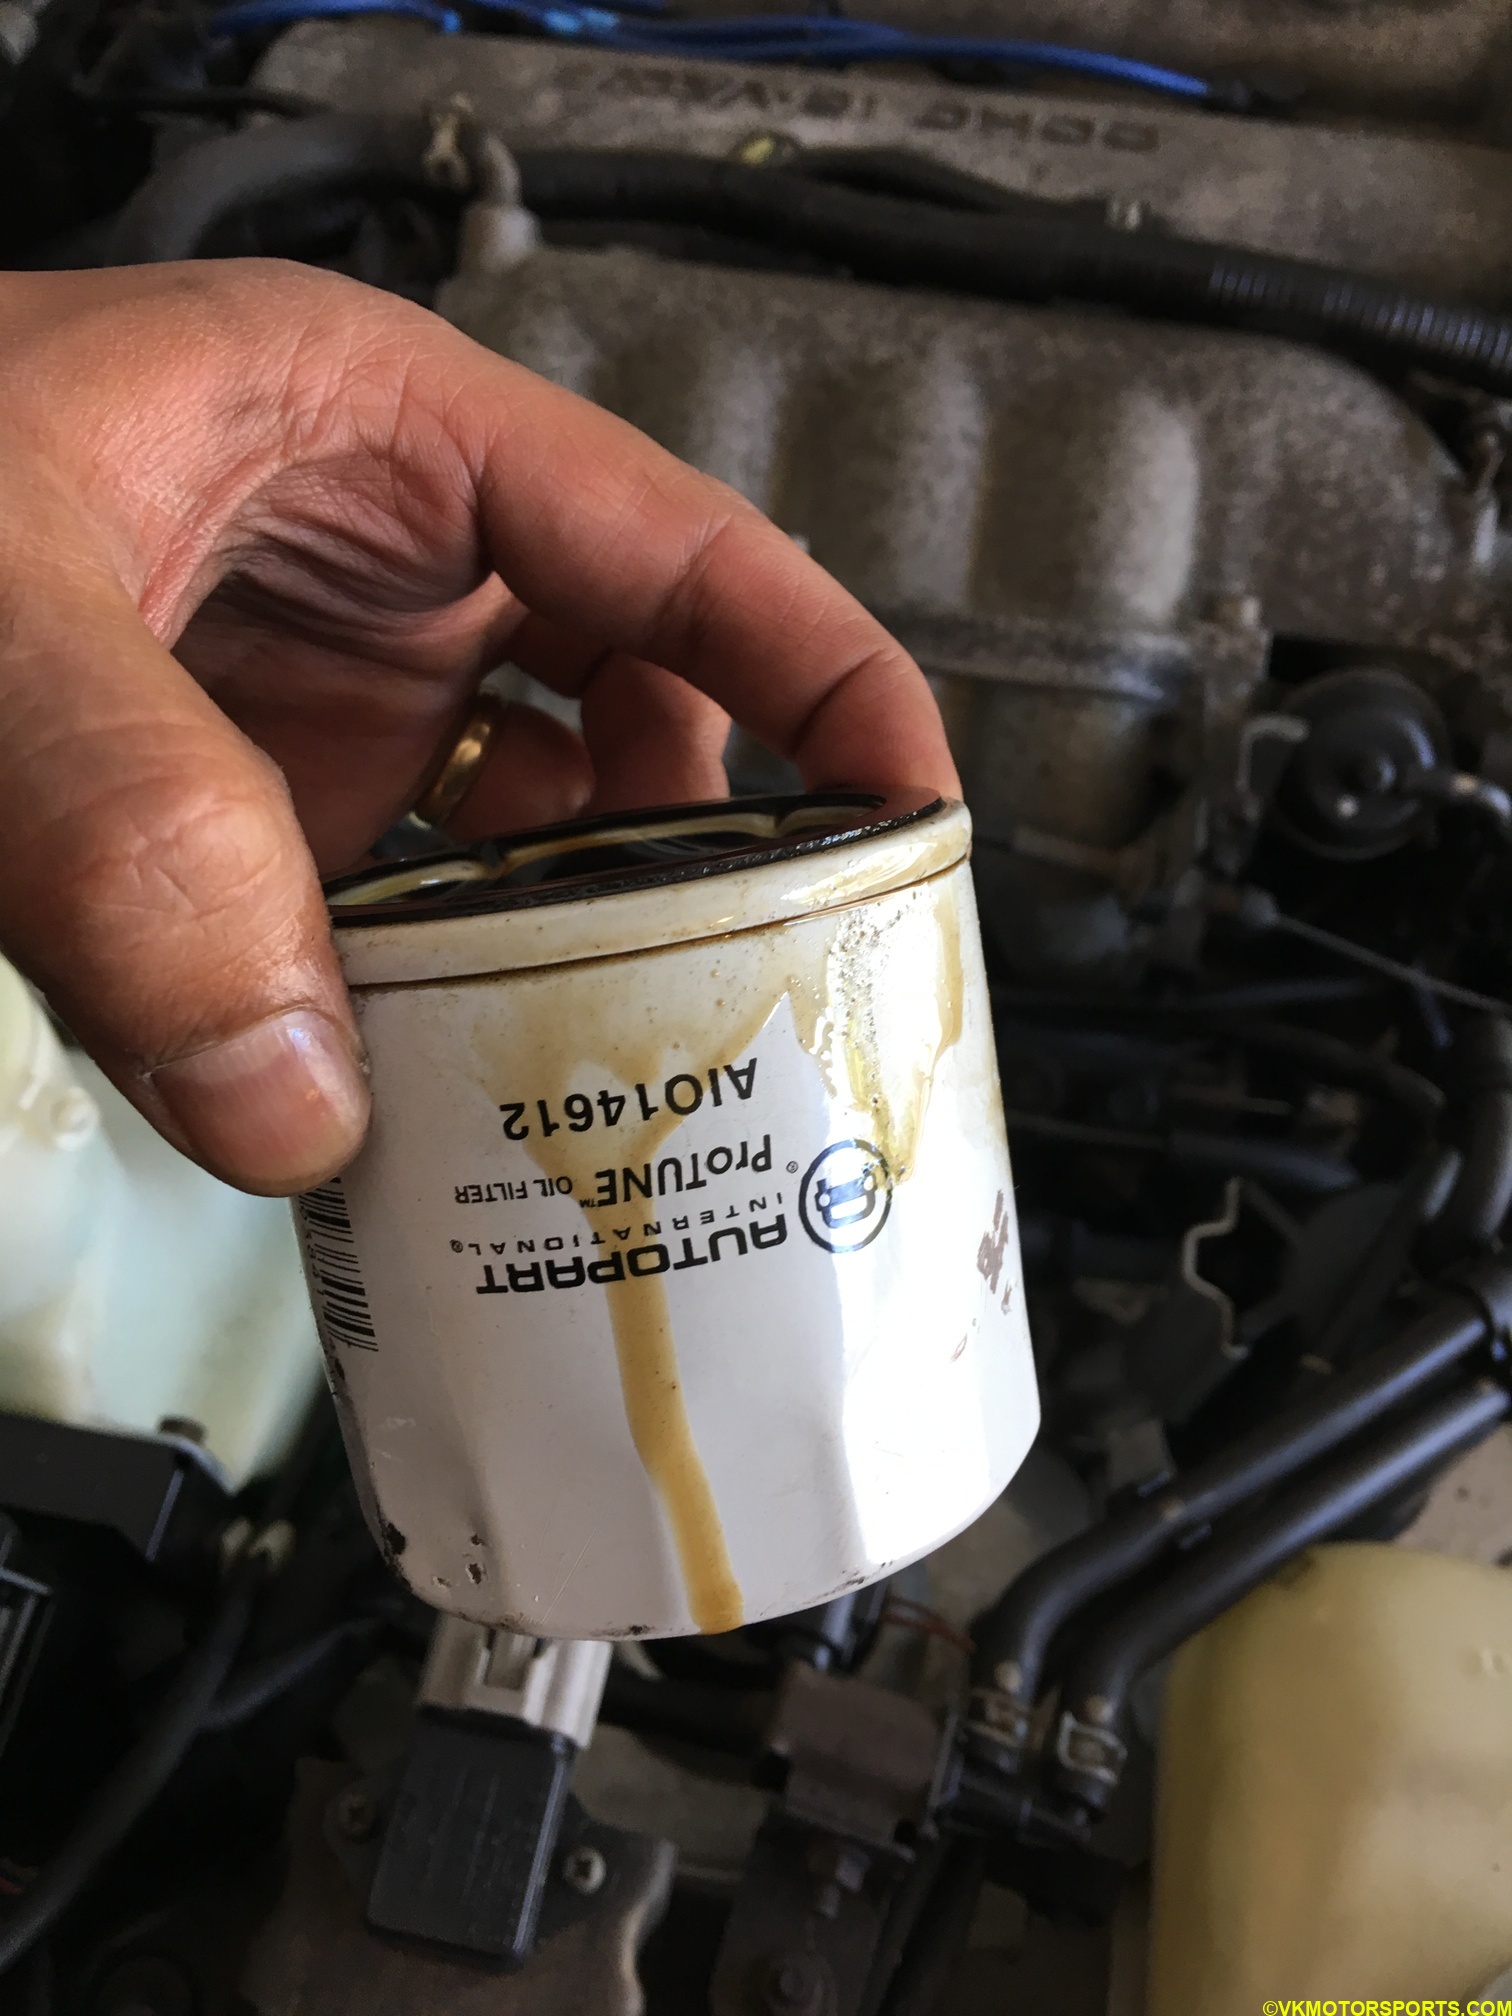 Figure 11. Removed the old oil filter
Take out the new oil filter from its packaging (Figure 12 and 13) and apply some oil to the rubber gasket on top of the filter using your finger as seen in Figure 14. This will prevent the oil filter from getting stuck later. You should also pour a cap full of oil into the filter and let it absorb the oil. If you pour too much oil into the filter, it will overflow.
 Figure 12. The new oil filter
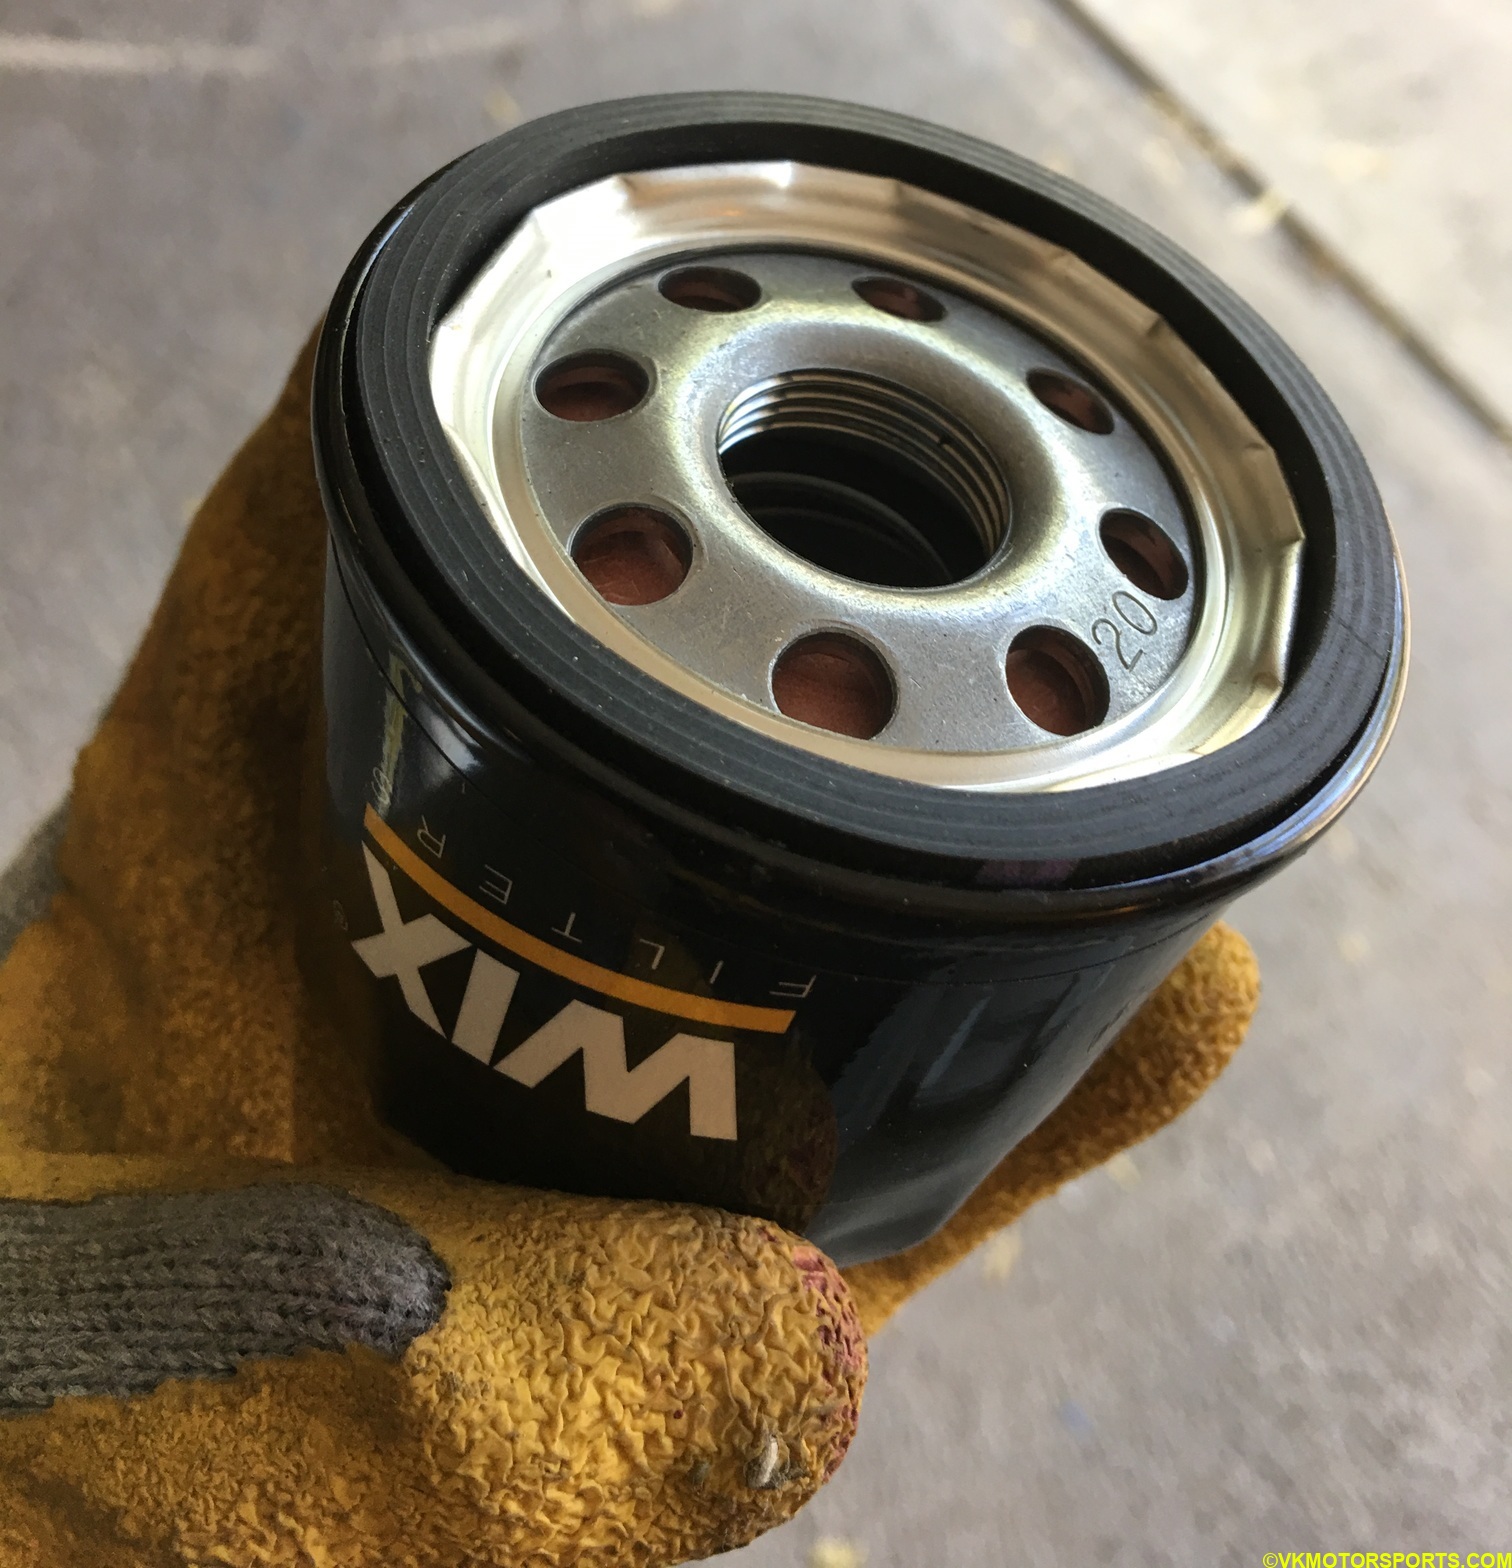 Figure 13. The new oil filter in my hand
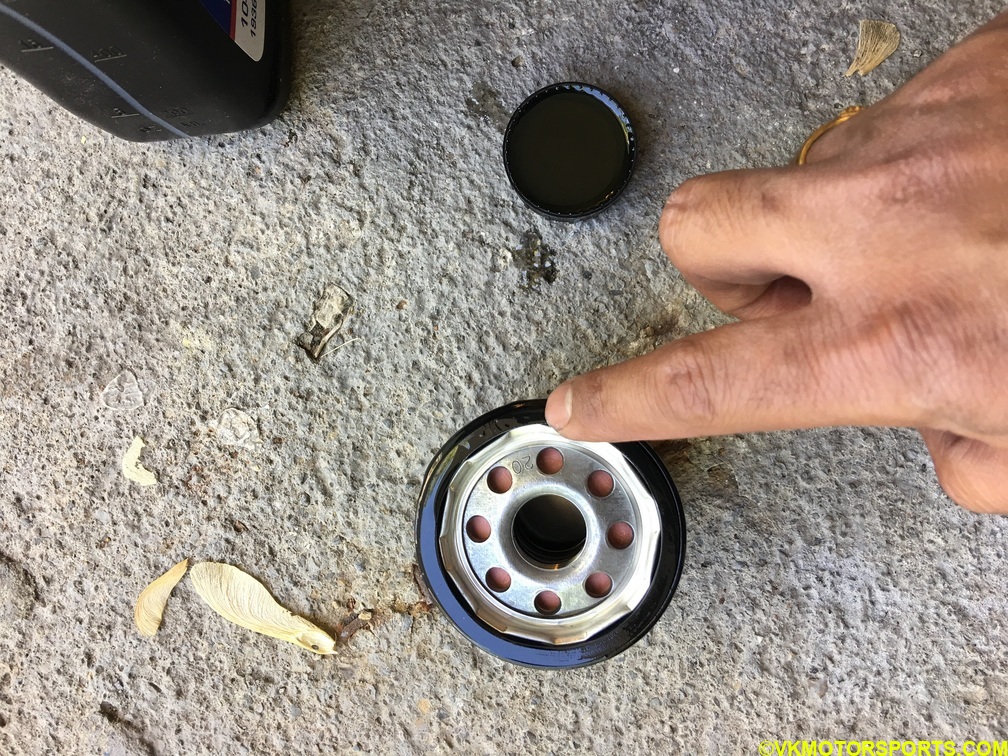 Figure 14. Apply oil to the new oil filter
Using my left hand with the glove I installed the new filter into position by rotating it clockwise on the threads. Remember to thread carefully and tighten by hand once the filter stops rotating. The filter has threads too as seen in figure 13.
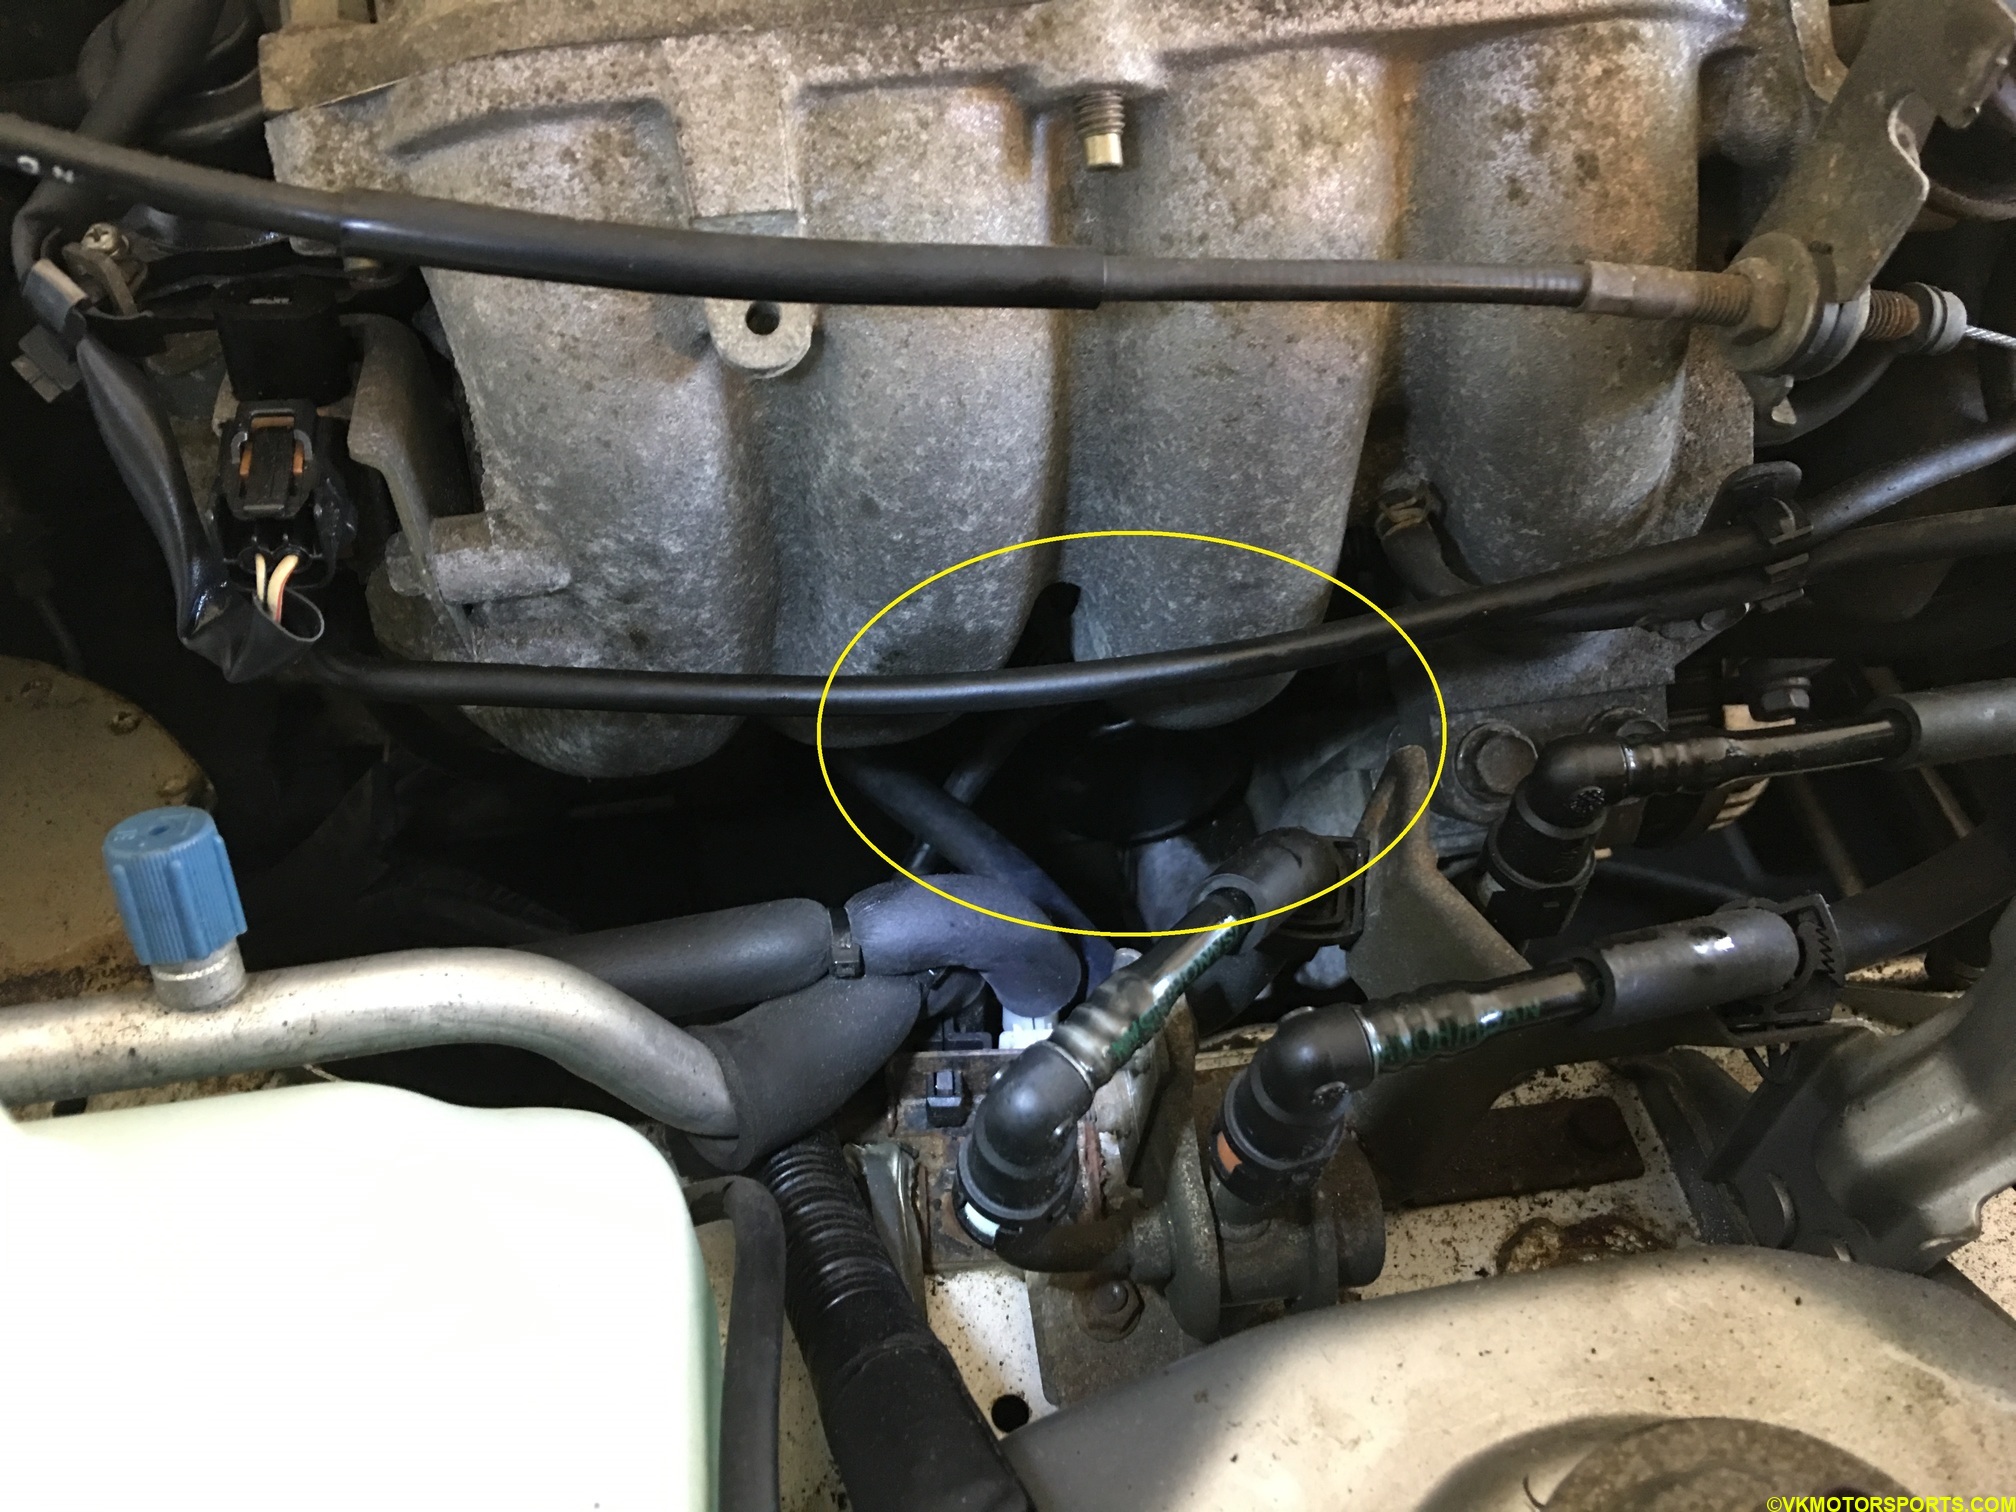 Figure 15. Installed the new oil filter (yellow circle over the black filter)
Replace the Drain Plug
By this time the old engine oil has fully drained, and you can reinstall the drain plug such that it looks like Figure 5. Remember to wipe the bolt with a clean shop tower or rag to remove any contaminants. Use your hand to twist the bolt in. Then use a torque wrench and tighten up to 23-30 ft-lbs of torque (or as in the manual).
Pouring New Engine Oil
Now that the drain plug is closed and the oil filter has been installed, we can pour the 4 quarts of oil into the engine. We take off the oil cap as seen in Figure 16 and pour the 10W-30 oil from the can (Figure 17) using a funnel into the engine until we have poured all of the bottles in (Figure 18).
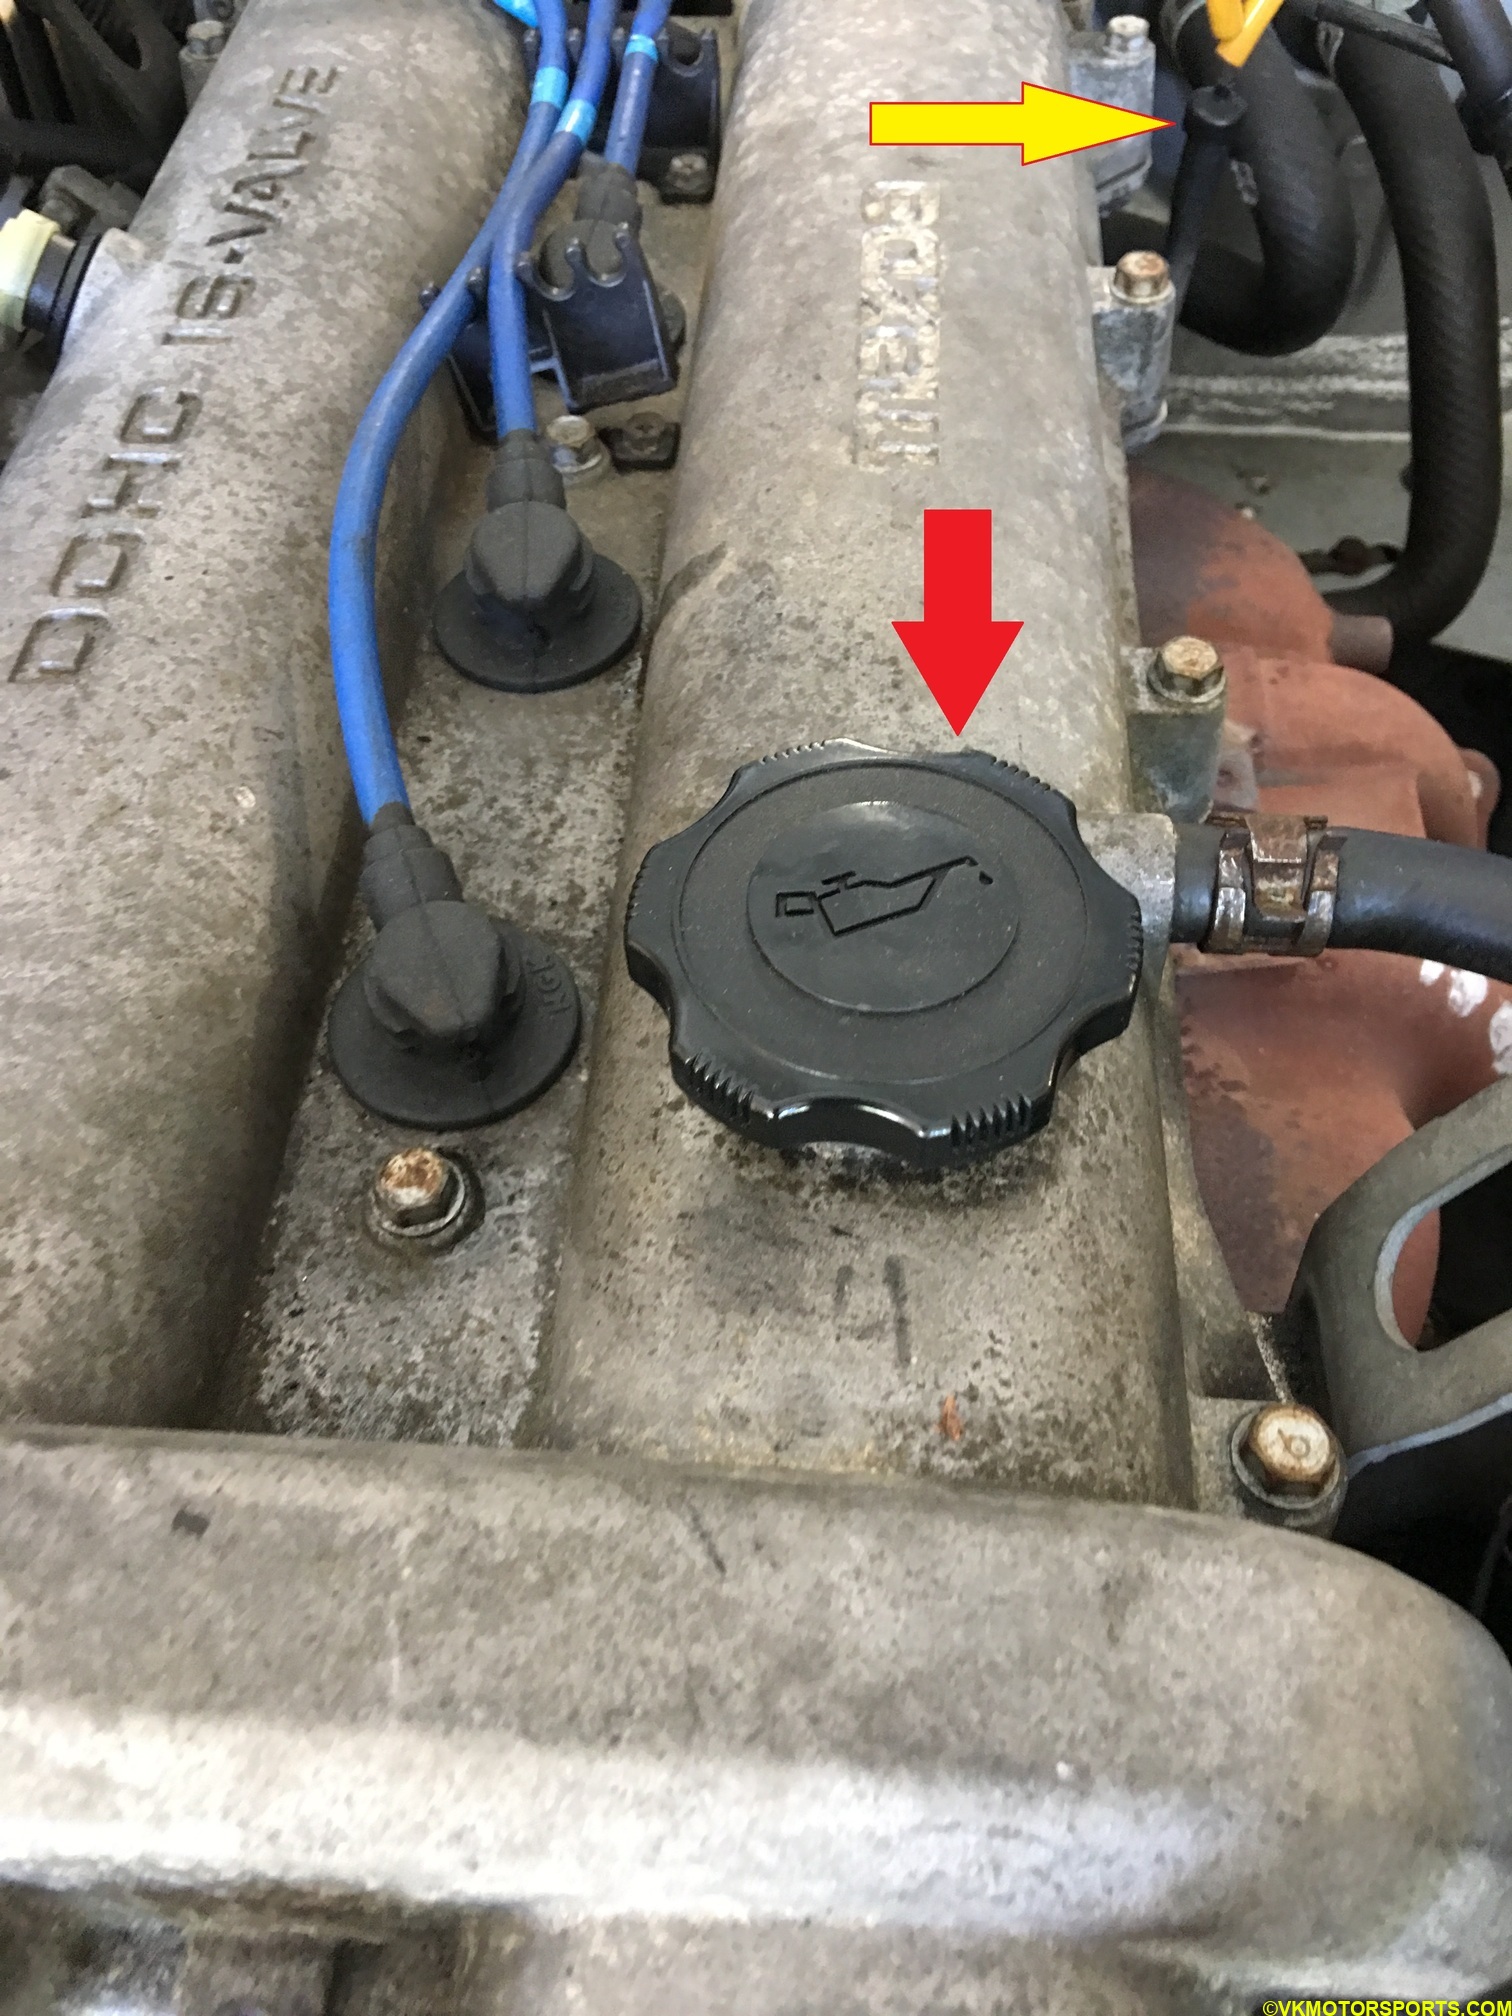 Figure 16. Engine oil cap (pointed to by the red arrow) and dipstick (pointed to by the yellow arrow)
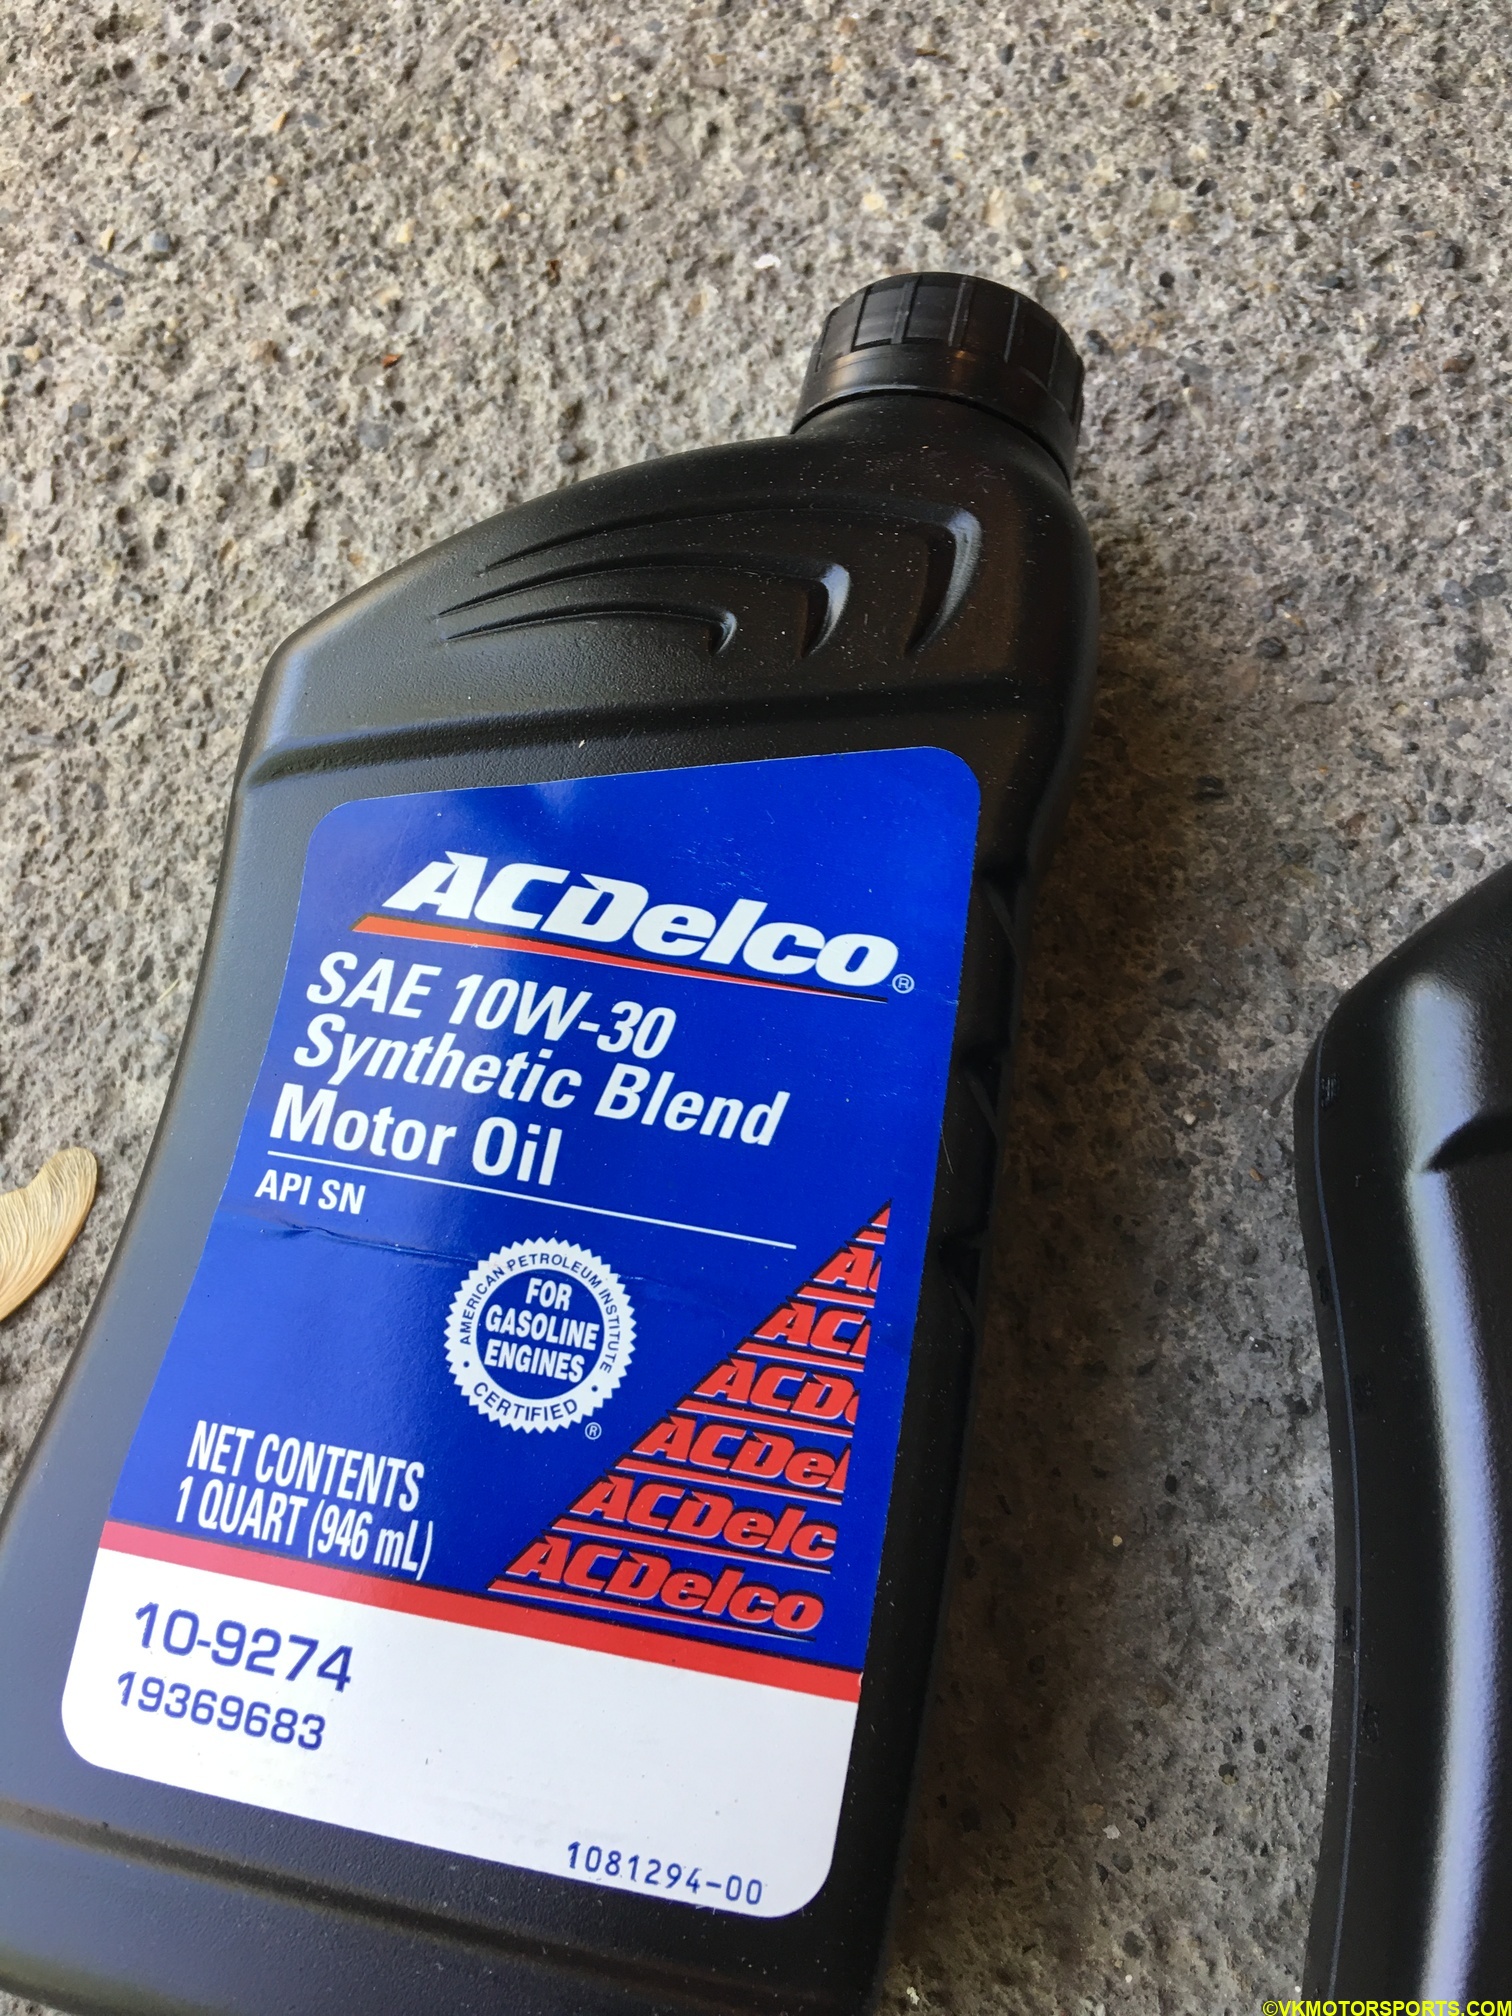 Figure 17. 10W-30 Engine oil
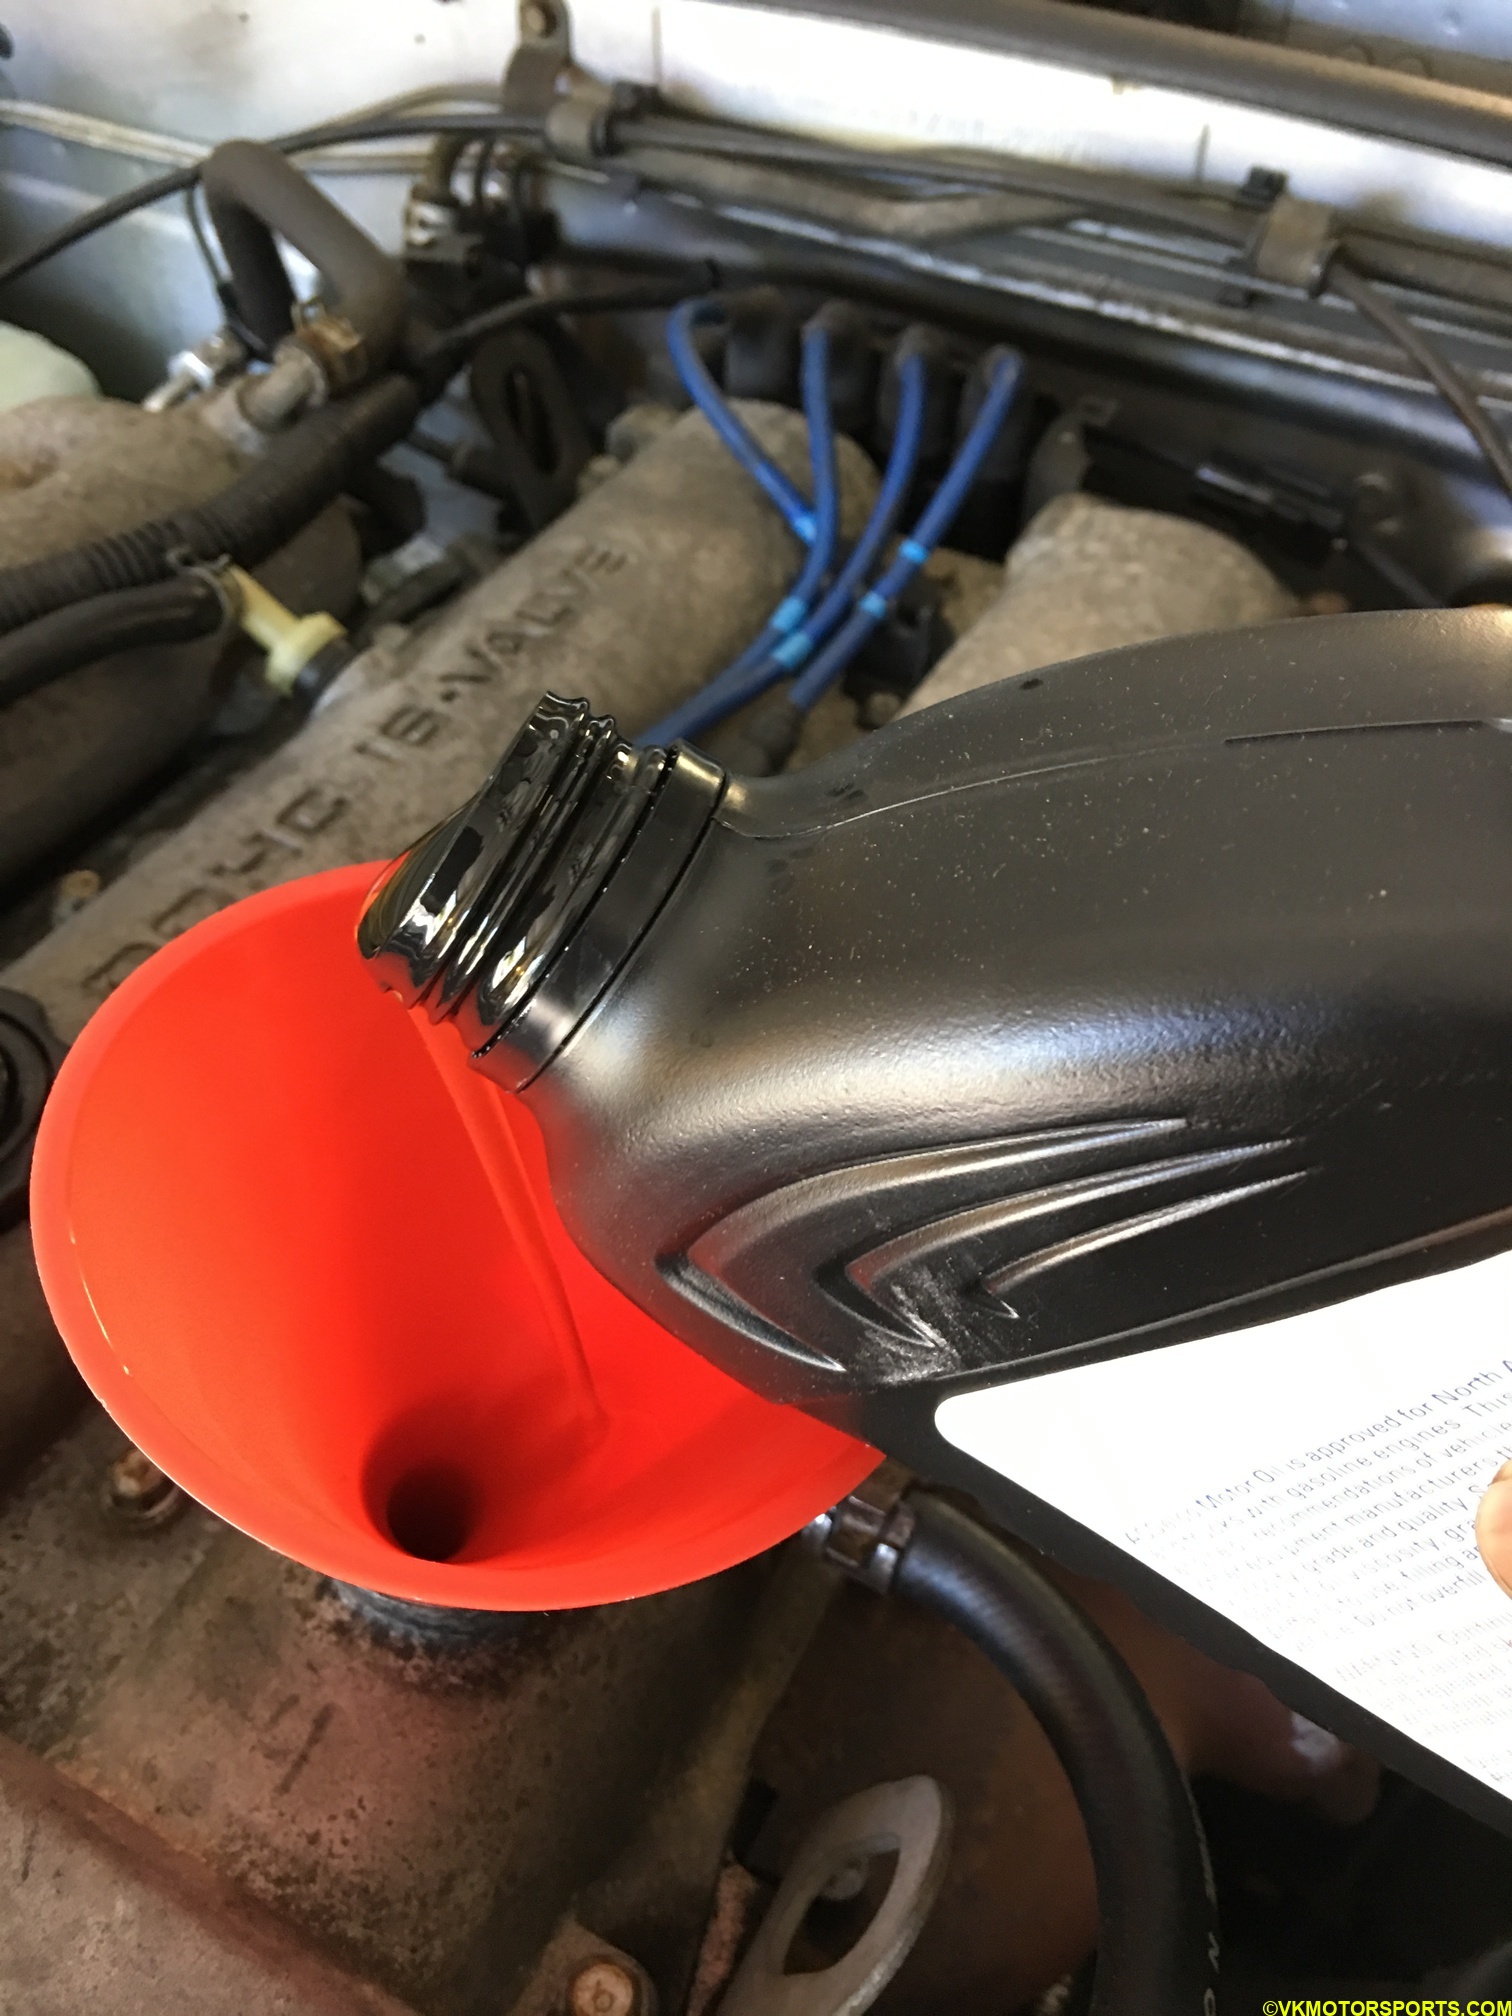 Figure 18. Pouring the oil into engine using a funnel
Once all the oil is poured in close the hole with the cap. NOTE: This is very important otherwise oil will spurt out if you start the engine.
Start the car engine and let it run for a few minutes so that the oil moves all around the engine. Then check the dipstick and make sure that the oil is near the F mark as in Figure 19.
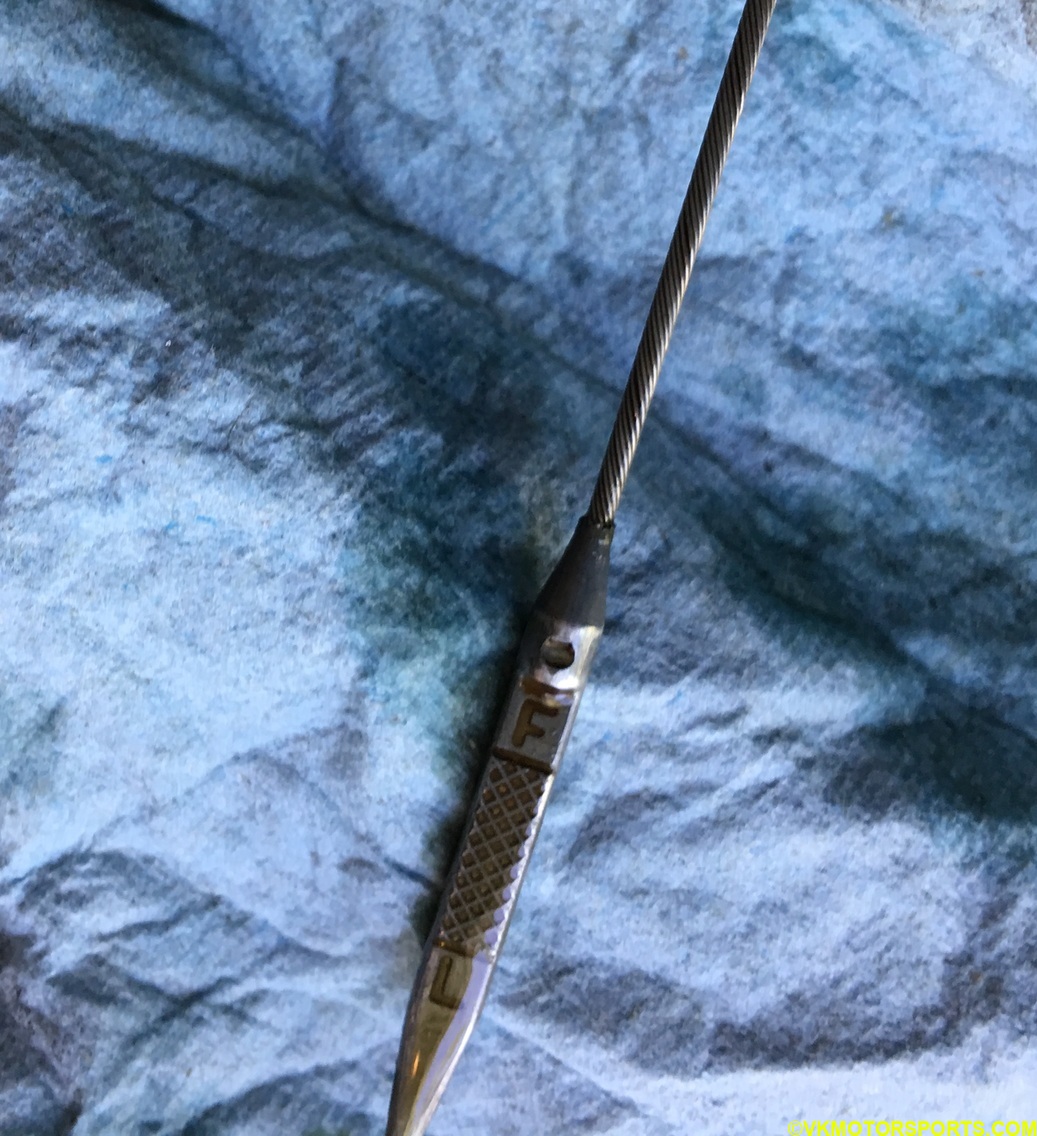 Figure 19. Check Dipstick Levels
Now that you have completed the oil change, take the car off the jack stands or the lift and drive it for a few miles and see if you notice any problems. I felt that the car ran more smoothly after the oil change, or maybe it was just psychological.
Disposing the Old Oil
Pour the old oil (sludge) into the empty cans and take them to your local auto parts store or a mechanic that accepts it for recycling. Do not pour it down the drain or in your garden as it is a hazardous waste.