Since I purchased the Miata it has had a check engine light (CEL) code P0140. One of the solutions among many is to replace the rear Oxygen (O2) sensor in this case. Having experienced bad O2 sensors in my truck in the past and looking at opinions on the web, I decided to replace both the sensors to be safe. My car is a California emissions car and the location of the O2 sensors are different from the rest of the USA (Federal) emissions versions of the same car.
First locate if your car is California or Federal emissions by locating where the O2 sensors are. For the California emissions cars, the upstream (or front) sensor is in the header as seen in Figure 1, and the downstream (rear) sensor is in the exhaust pipe in the driver side wheel well (Figure 2) below the special upstream catalytic converter that’s below the header. In a Federal emissions car, the upstream sensor is the same as the downstream sensor from the California emissions car (in the wheel well), and the downstream sensor is after the main catalytic converter in the exhaust pipe. This post is about replacing the sensors in the California emissions sensors.
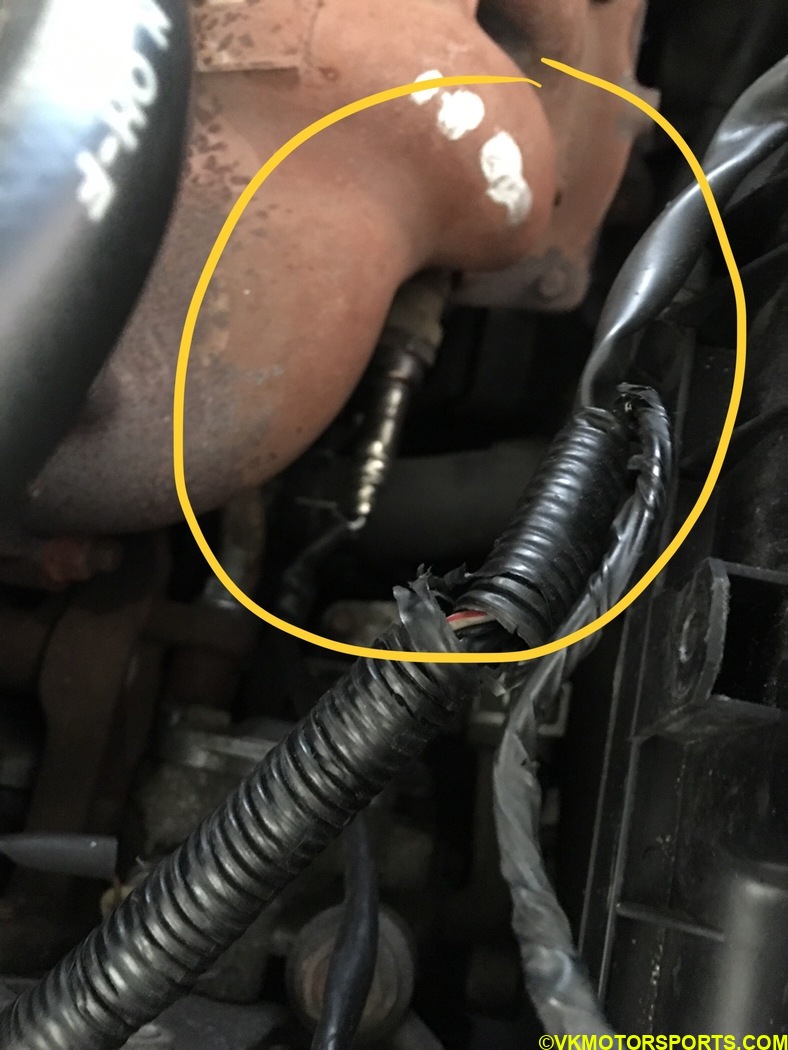 Figure 1. Upstream O2 Sensor in the header
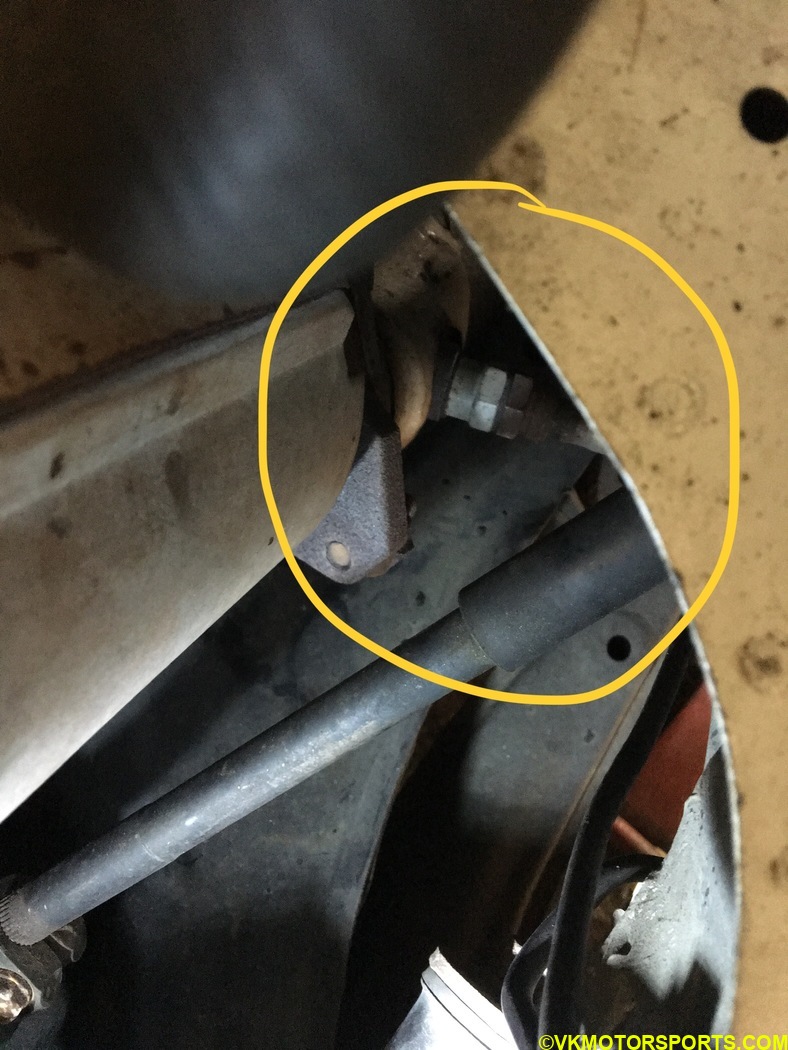 Figure 2. Downstream O2 Sensor in the wheel well (view from the engine bay)
Step 1: Disconnect the upstream and downstream O2 sensor plugs first as shown in Figure 3 and Figure 4, respectively.
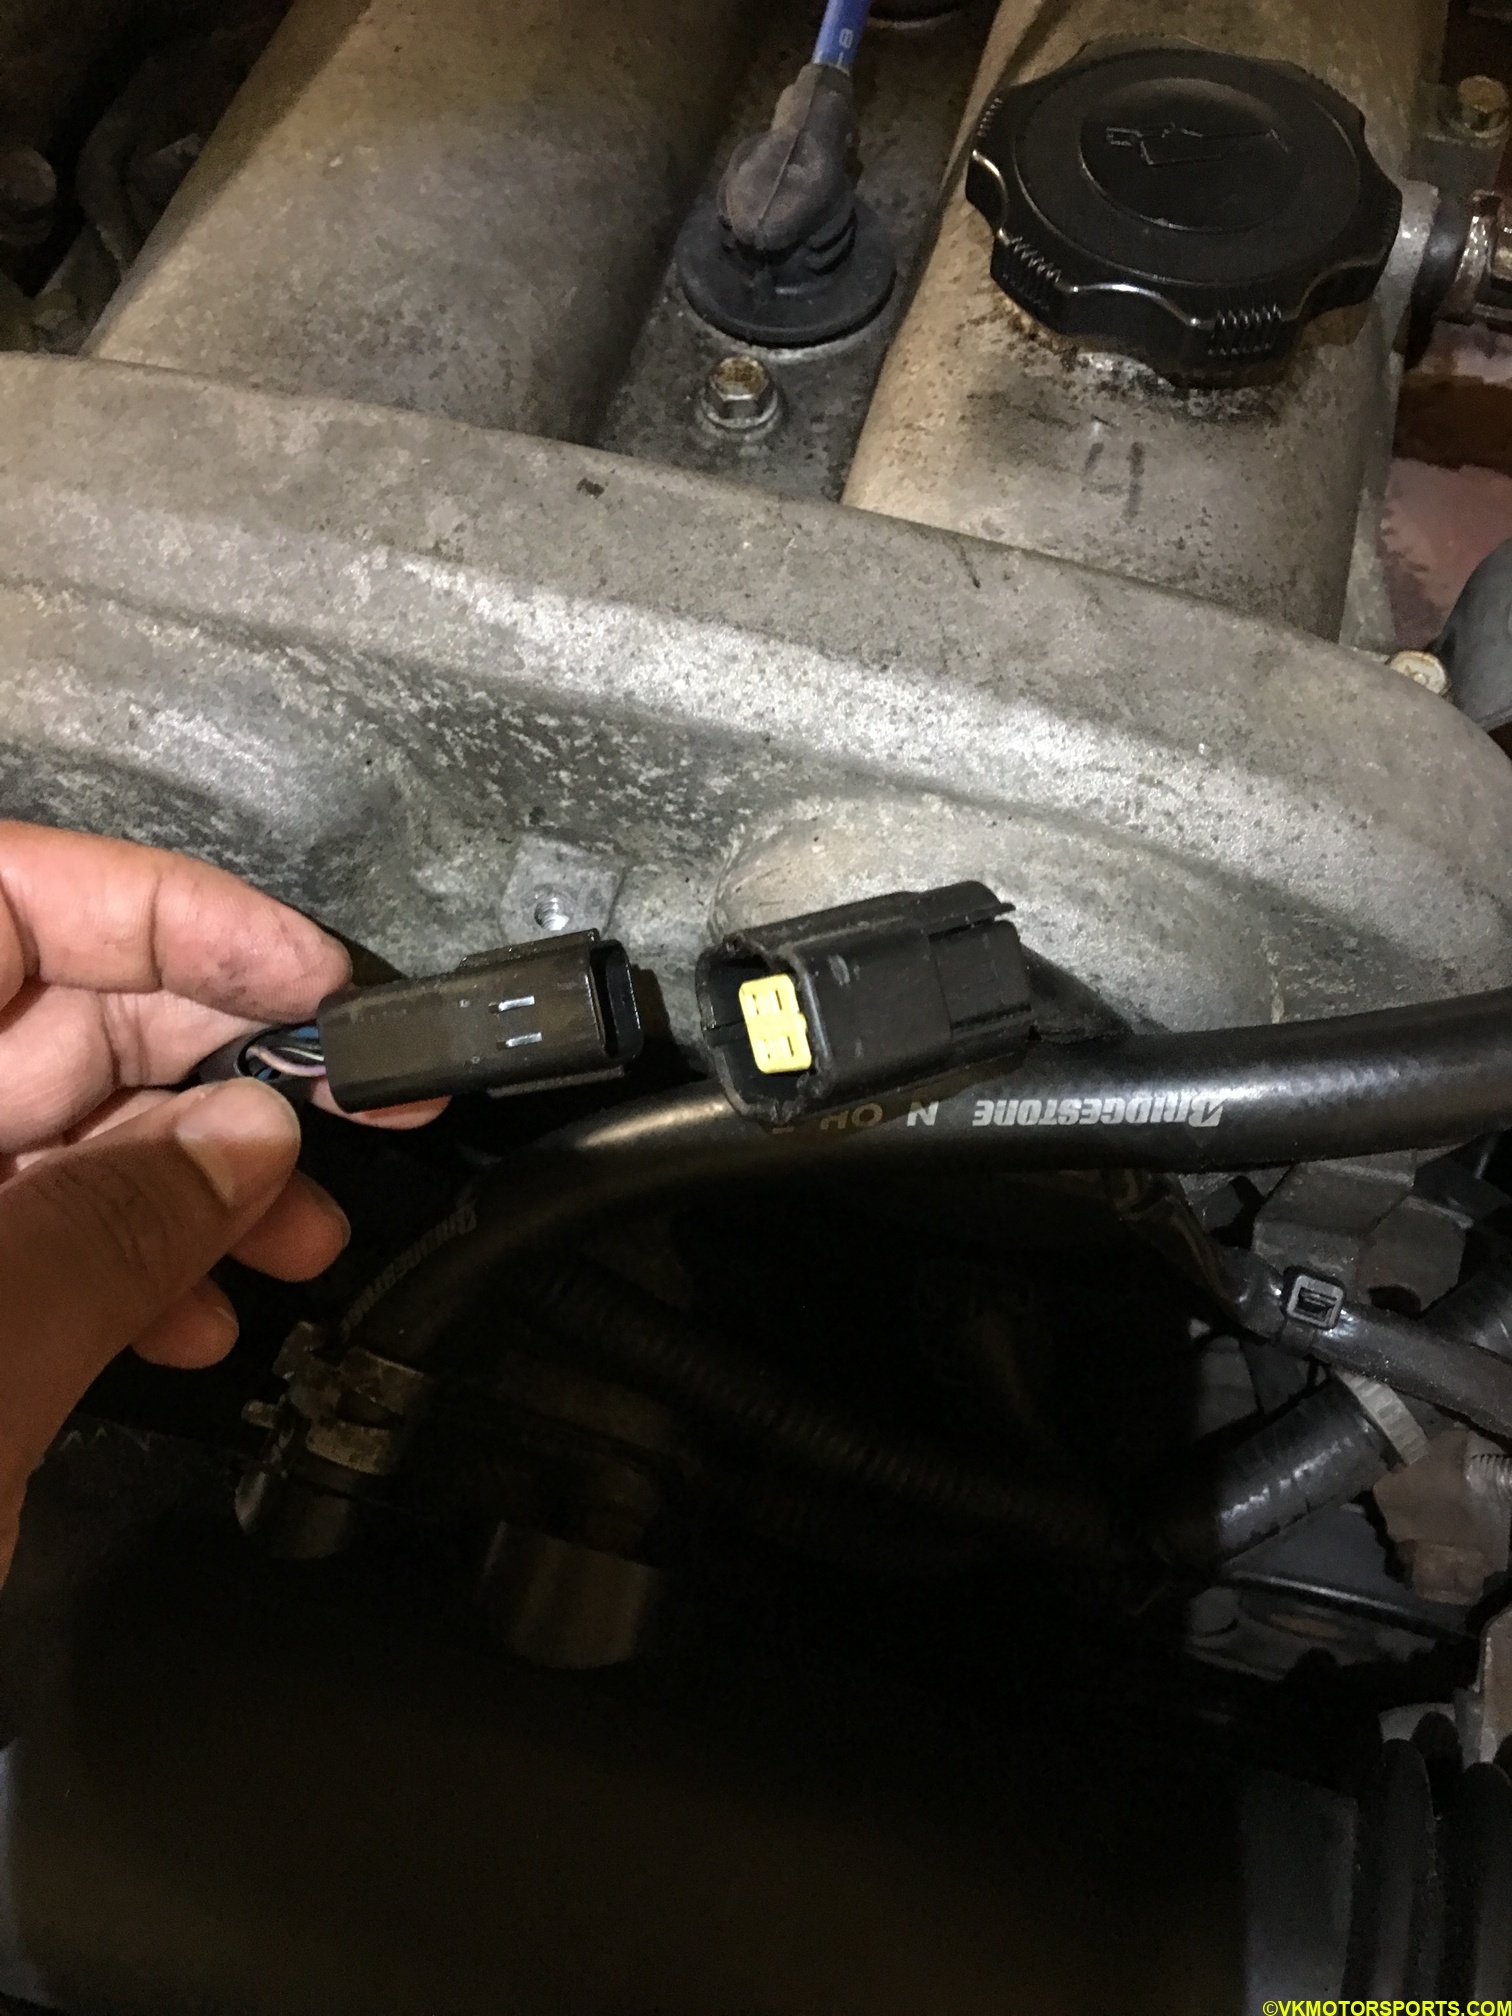 Figure 3. Disconnect the upstream O2 sensor plug
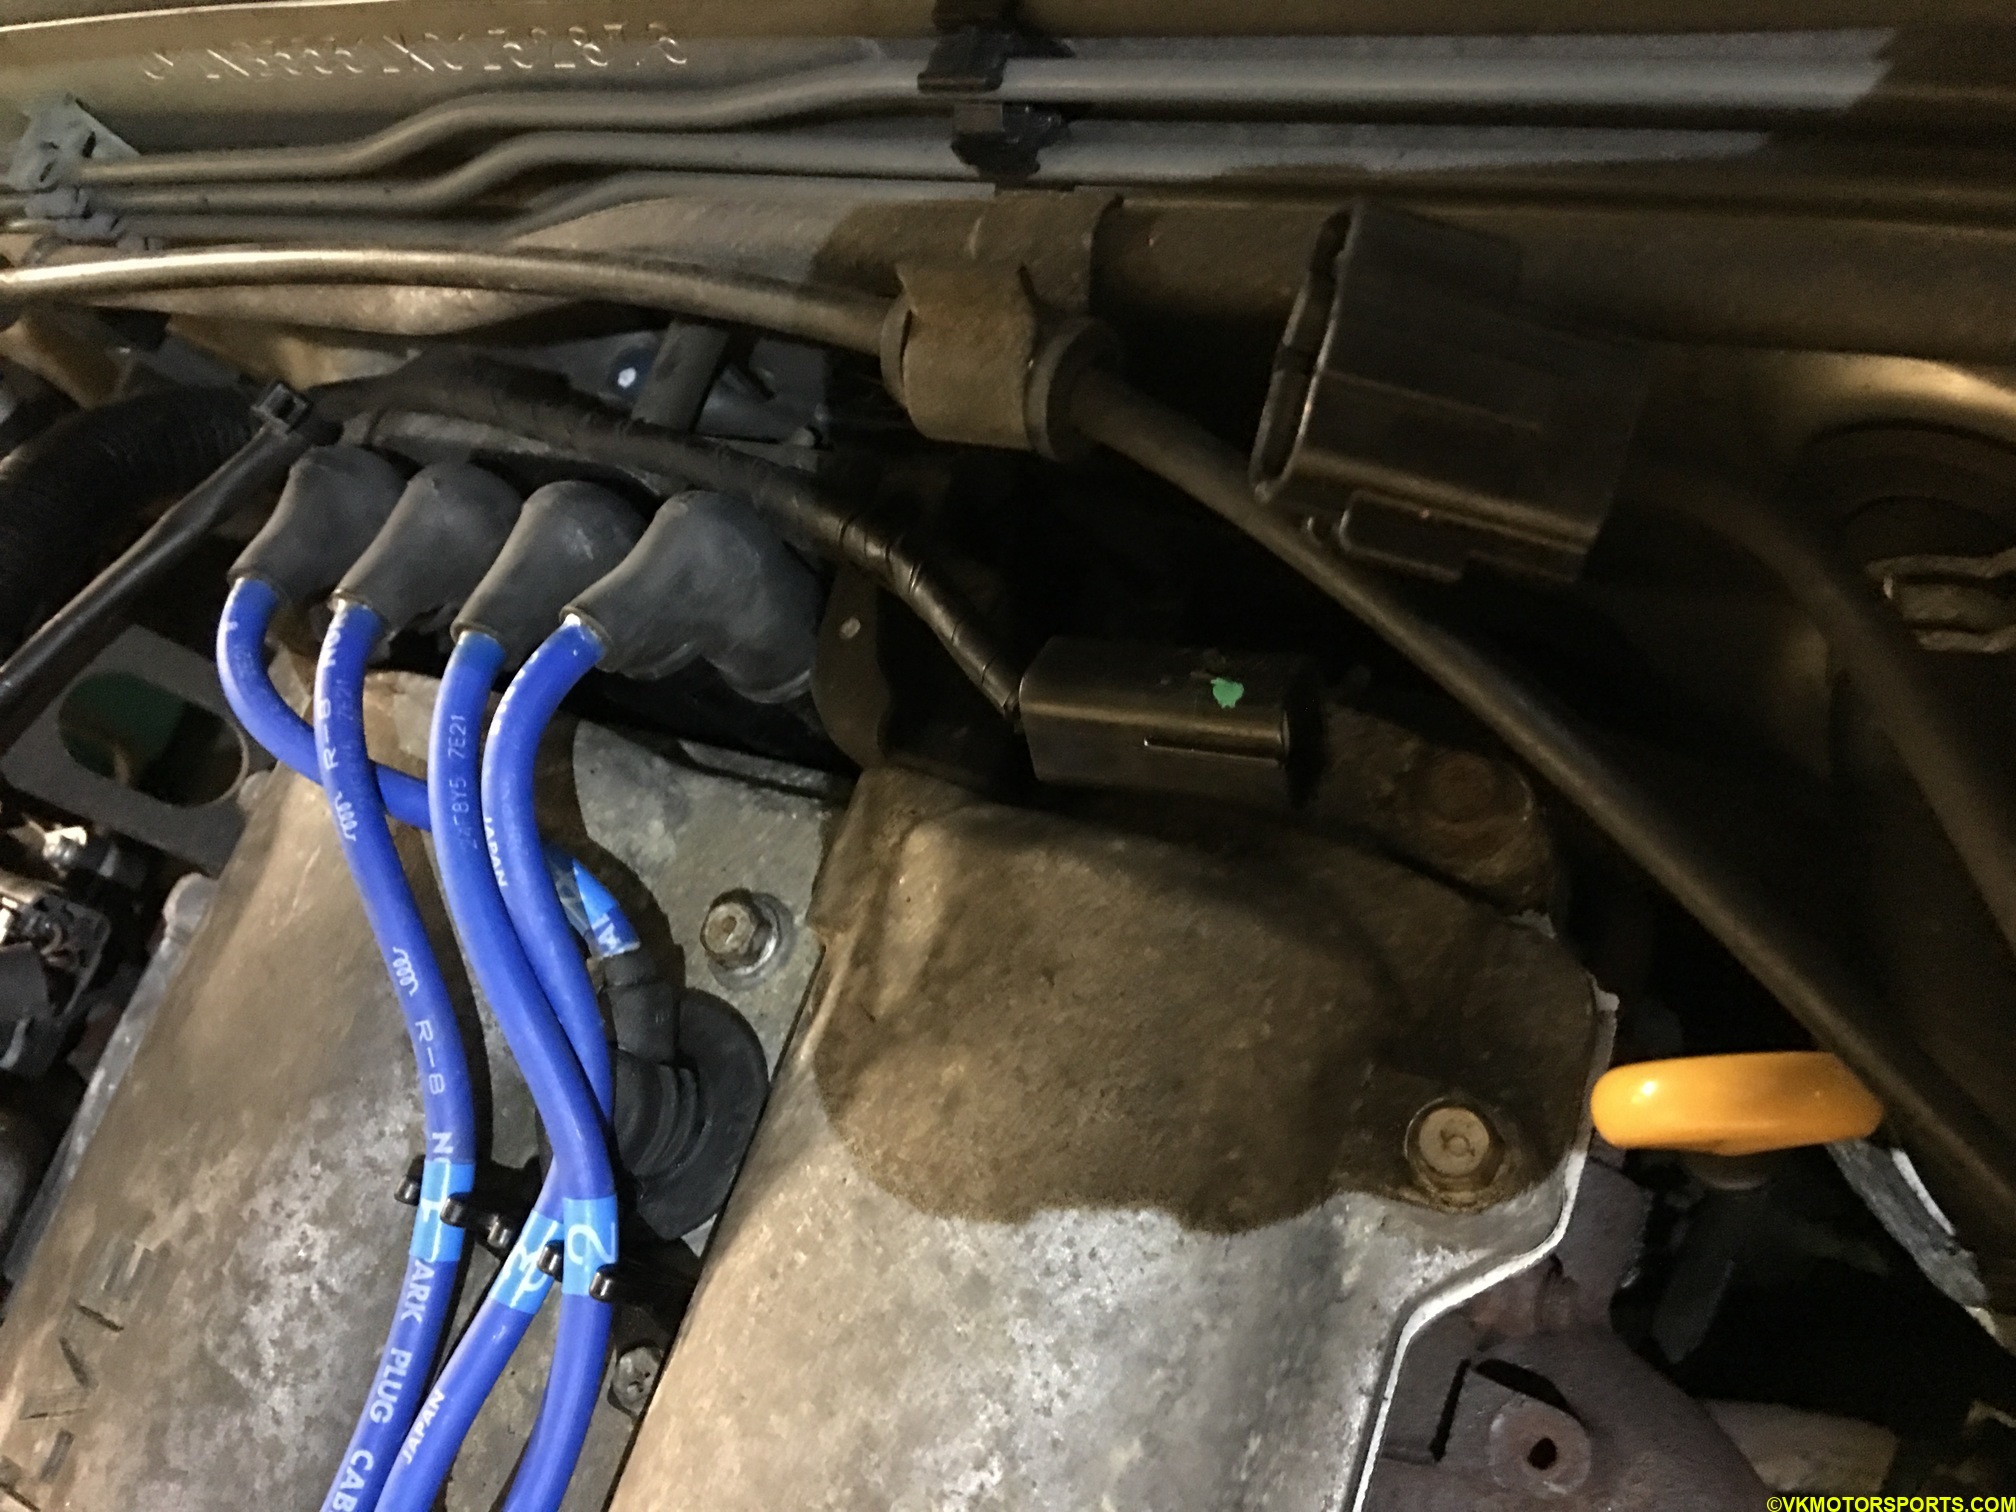 Figure 4. Disconnect the downstream O2 sensor plug
Step 2: Using a 7/8” O2 sensor socket and a breaker bar (Figure 5) loosen the upstream O2 sensor (Figure 6). I purchased this O2 socket from Harbor Freight for about $8. You may also need a creeper for loosen the downstream socket. I also use PB Blaster and sprayed the O2 sensor nuts for a few minutes before trying to loosen them.
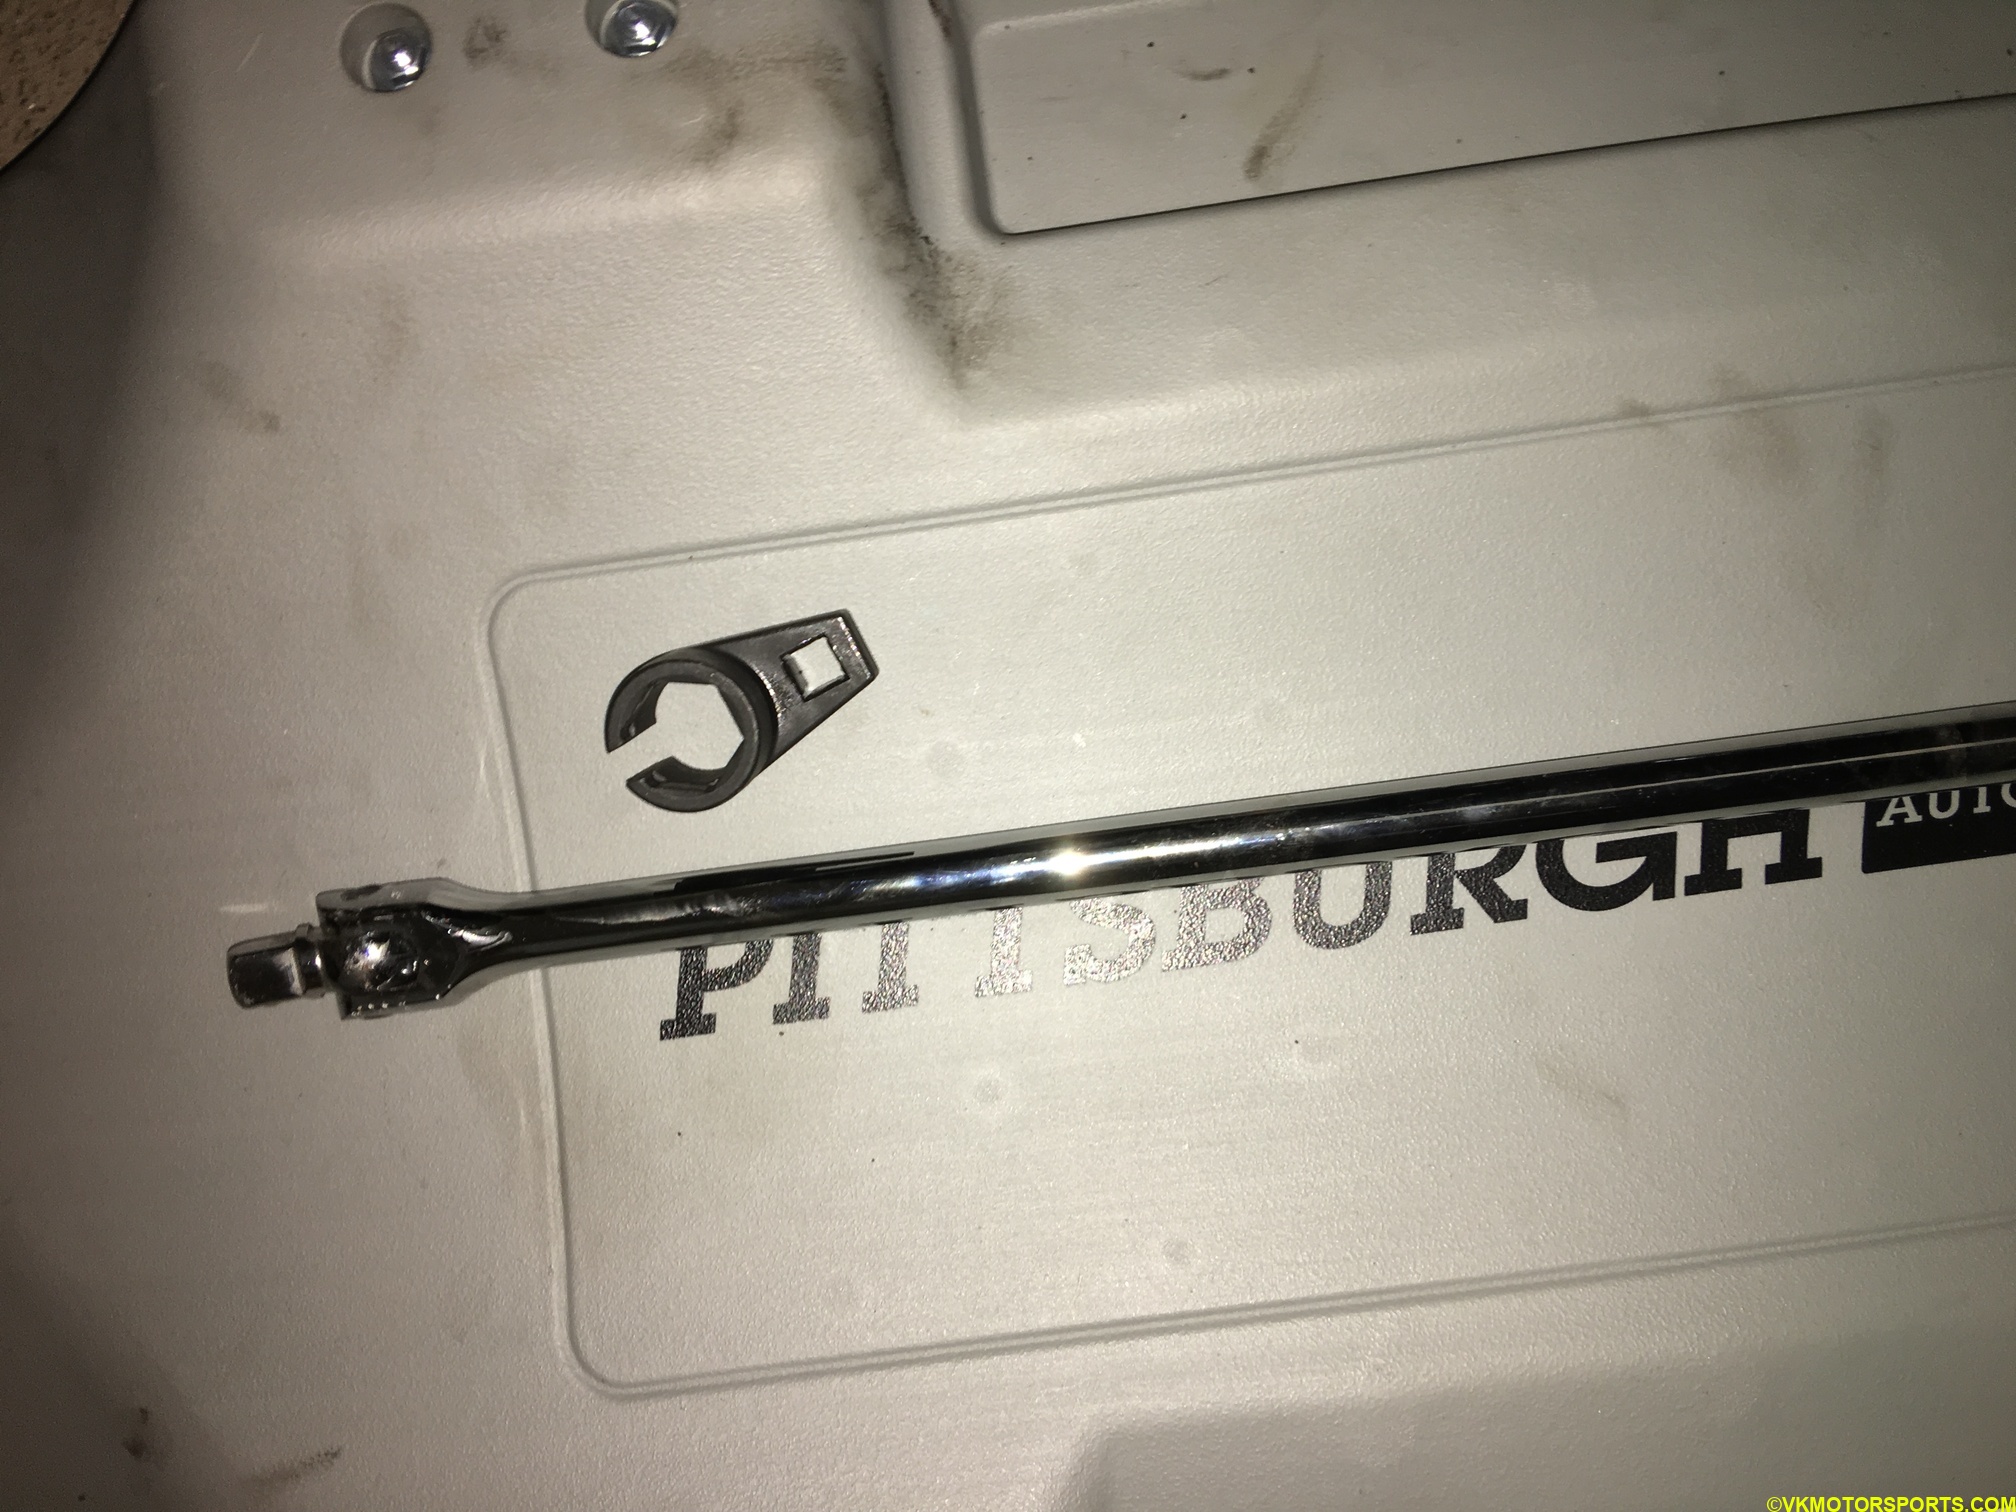 Figure 5. O2 sensor socket and breaker bar on a Harbor Freight creeper
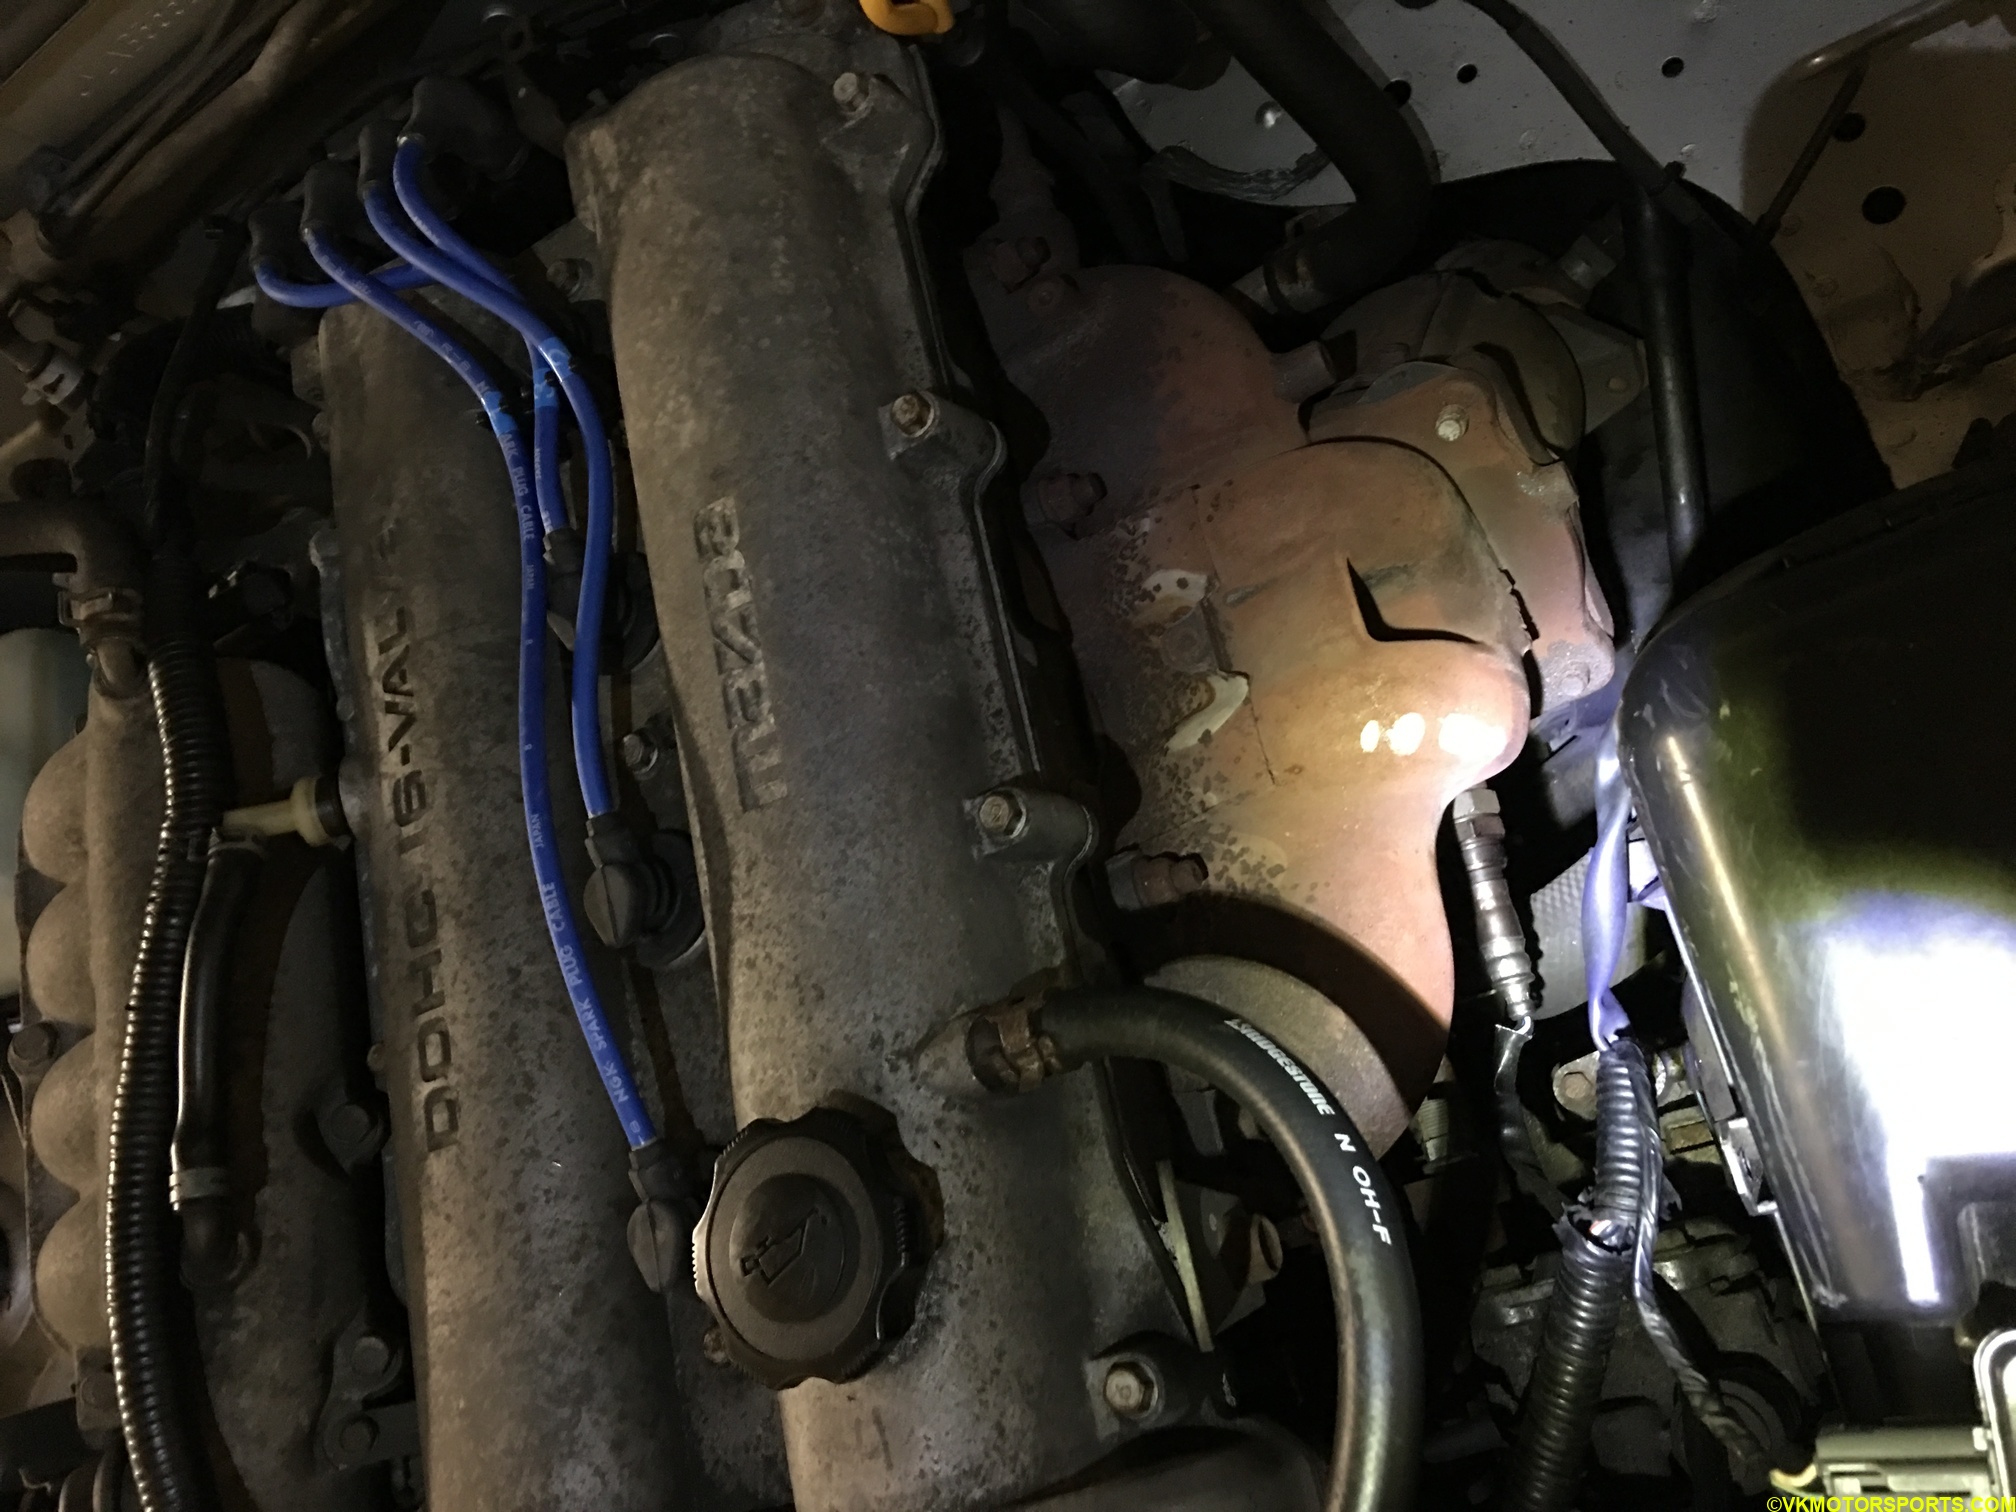 Figure 6. View of the upstream O2 sensor
Step 3: Once the upstream sensor is loose, you can use your hand to unscrew it. Remember that the attached wire will also twist quite a bit and you might want to use your other hand to twist it in the opposite direction to get the O2 sensor out without damaging the wire. As you see in Figure 7, the O2 sensors was stuck to the header nut which also came out. It’s important to use special copper-based anti-seize on the O2 sensor (Figure 14) that comes with the new O2 sensor package.
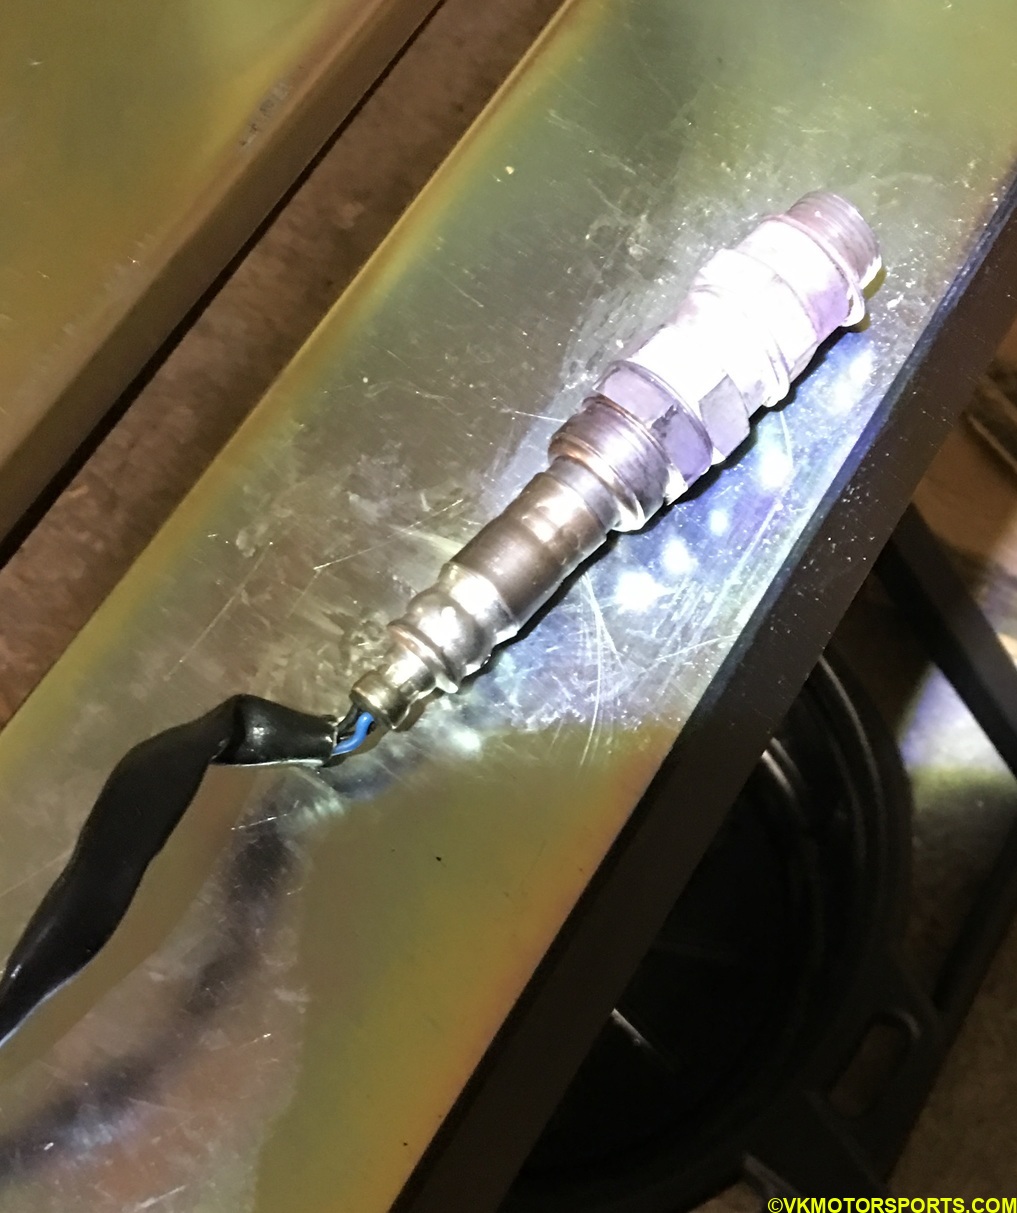 Figure 7. View of the upstream O2 sensor removed
Step 4: Now to get the downstream O2 sensor out, you need to remove the front driver side wheel (Figure 8). So jack up your car on jack stands or use a lift like I did.
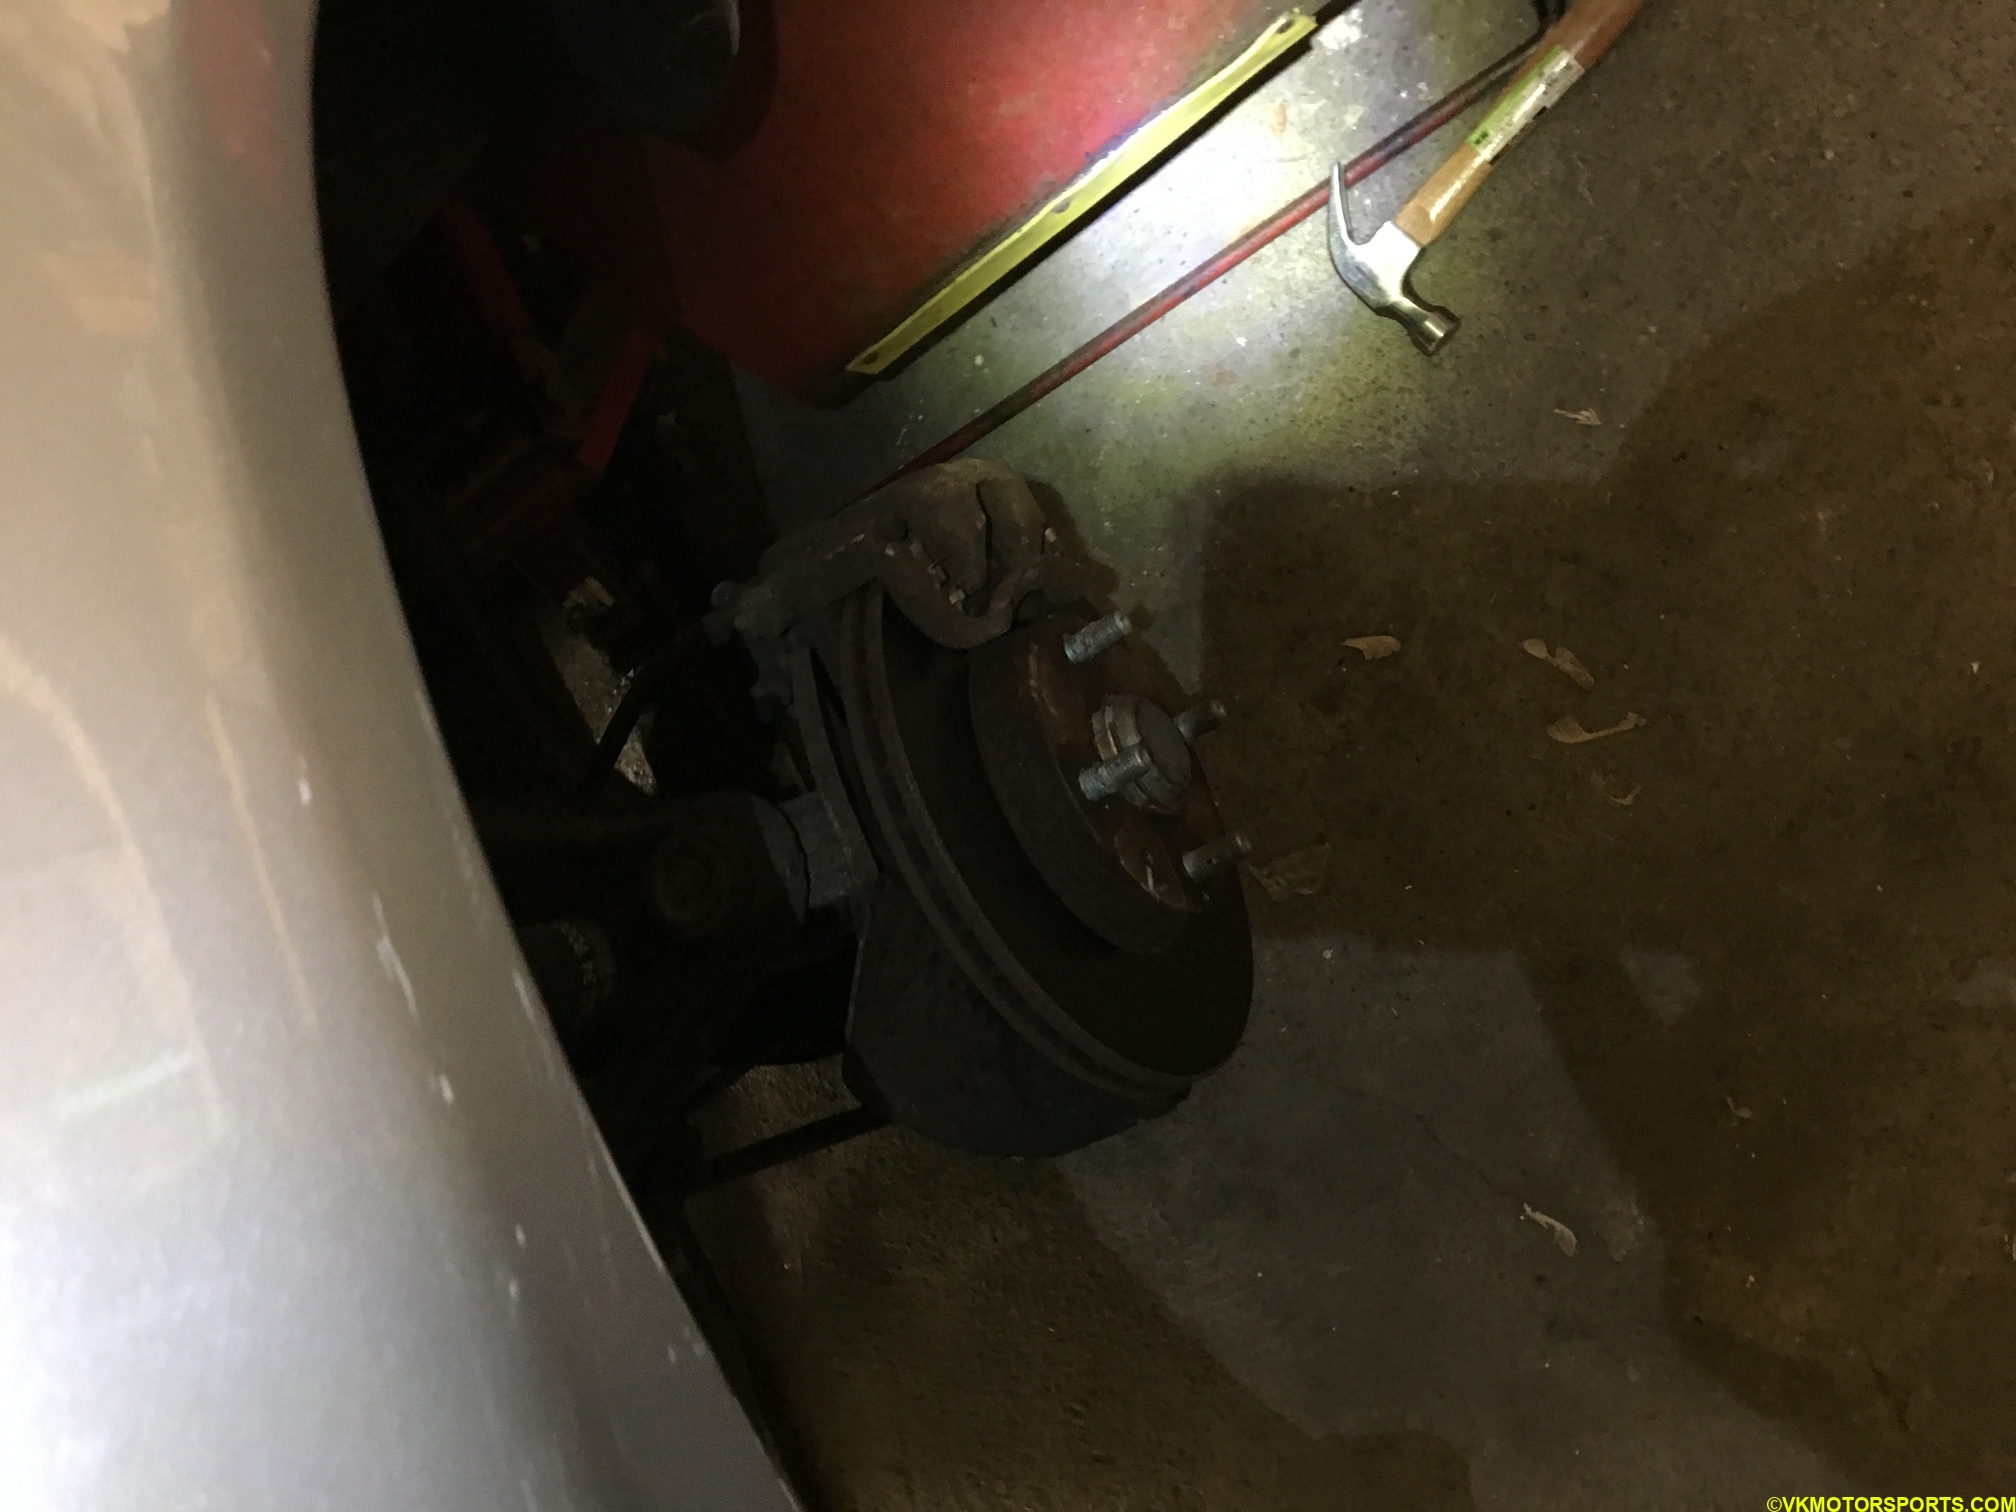 Figure 8. View of the driver side wheel removed
Step 5: Using the socket, breaker bar and optionally a creeper (Figure 6) loosen the downstream O2 socket nut. Pull the O2 sensor wire all the way down so that you can then twist off the O2 sensor from the exhaust pipe by hand, while using the other hand to prevent the wire from twisting up too much as you did for the upstream sensor in Step 3. Figure 10 shows what the hole in the exhaust pipe looks like without the sensor. As seen in Figure 11, I removed the extra nut from the exhaust pipe too as the O2 sensor was stuck to it.
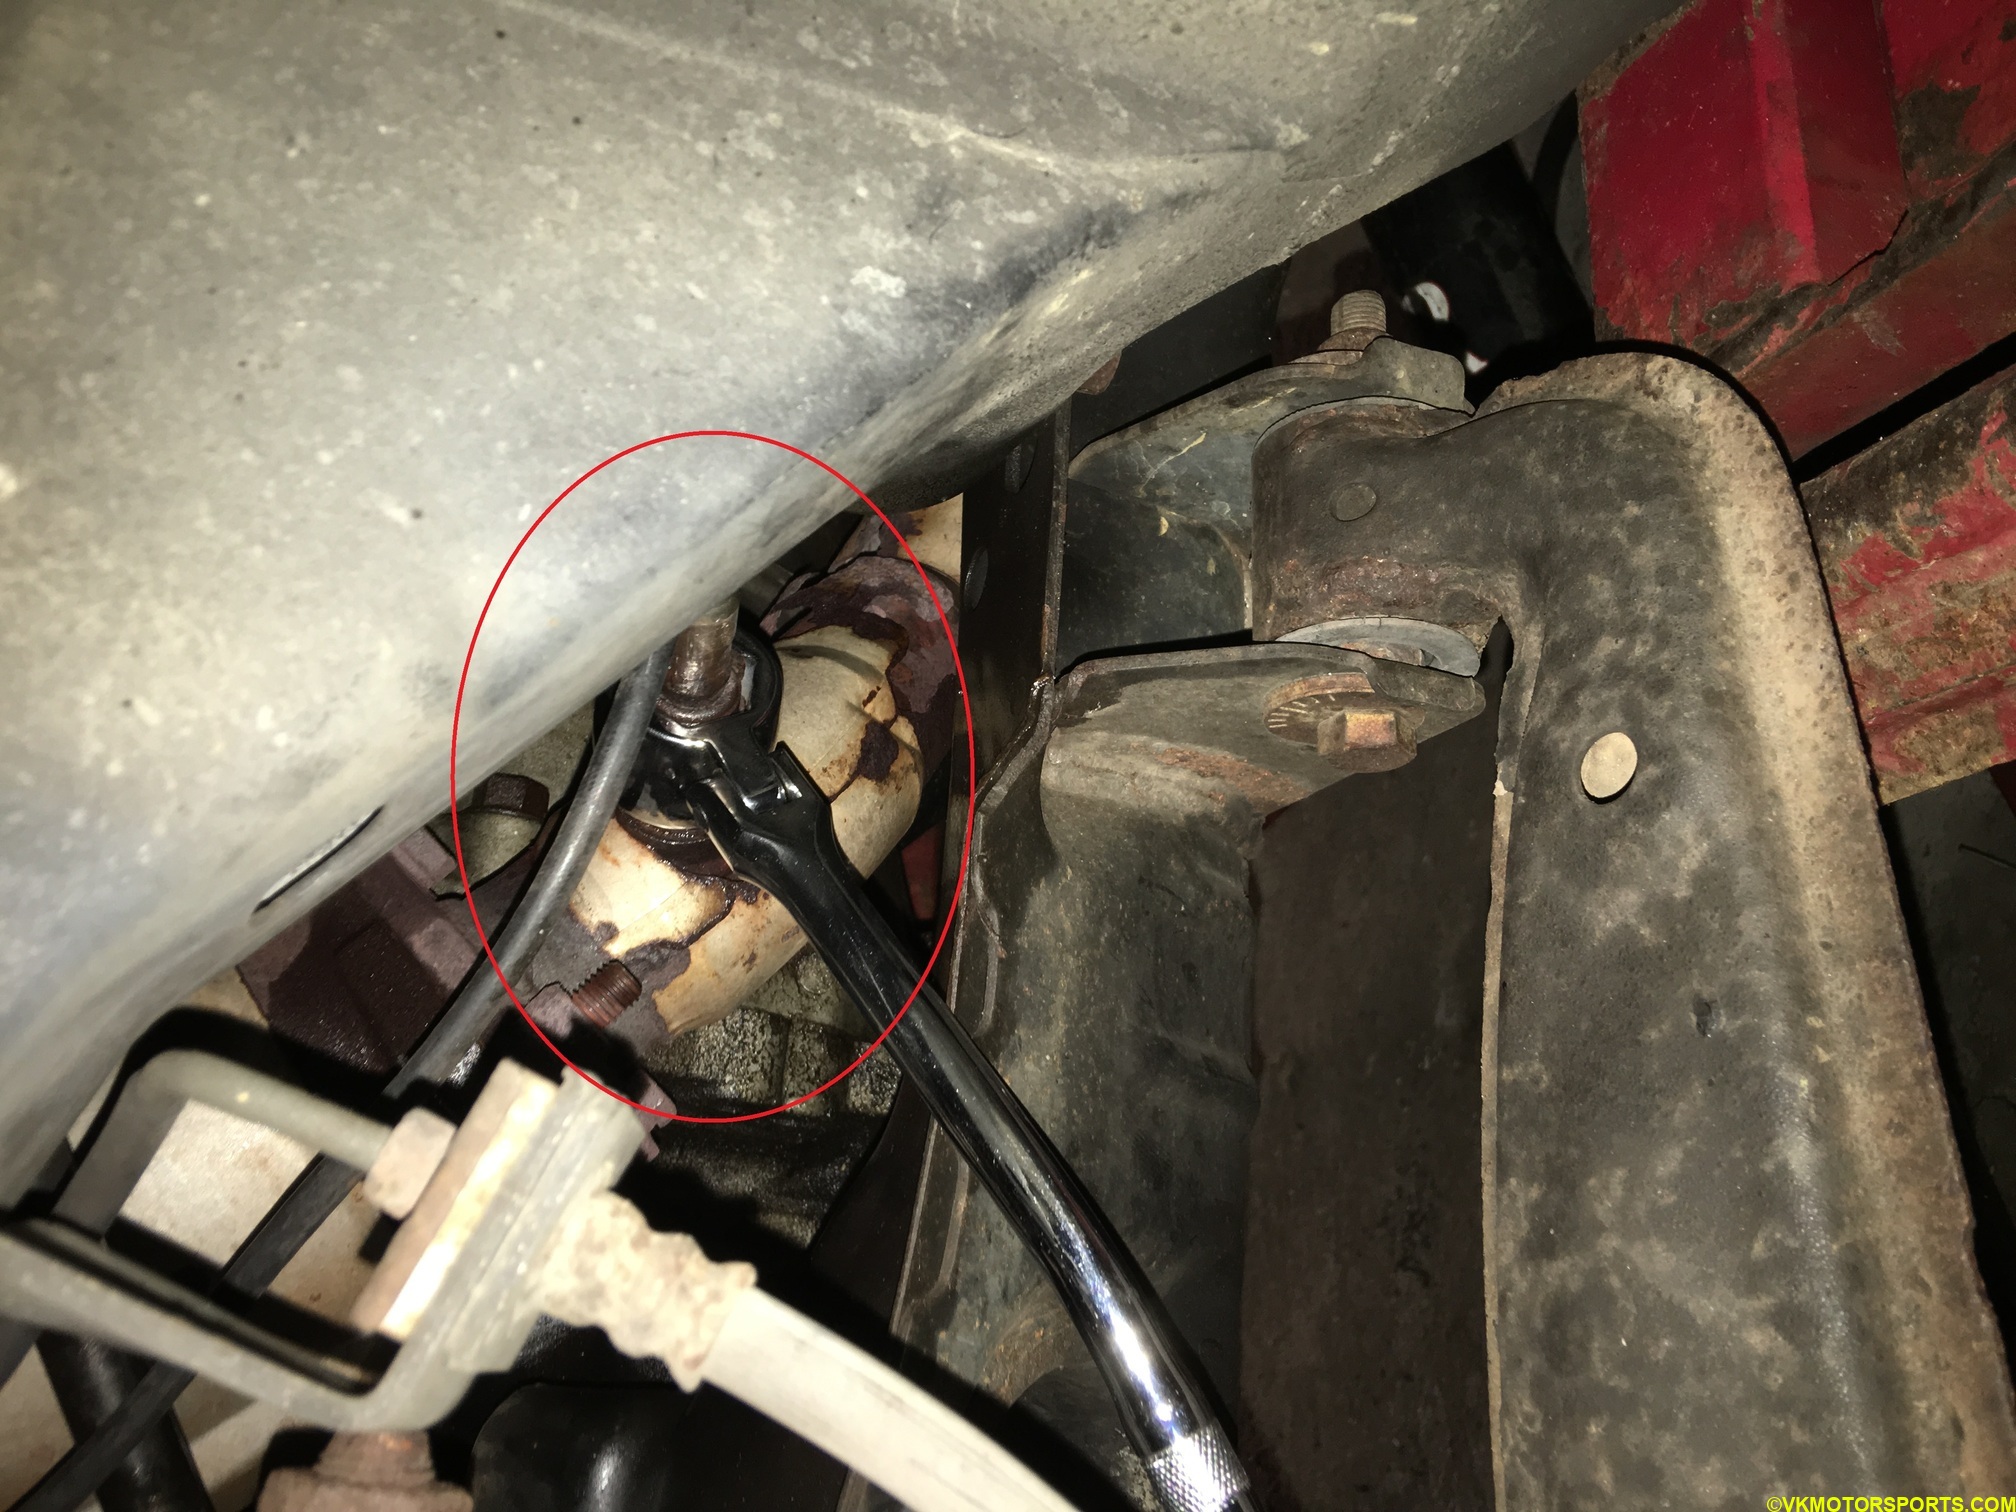 Figure 9. Using breaker bar on the downstream sensor
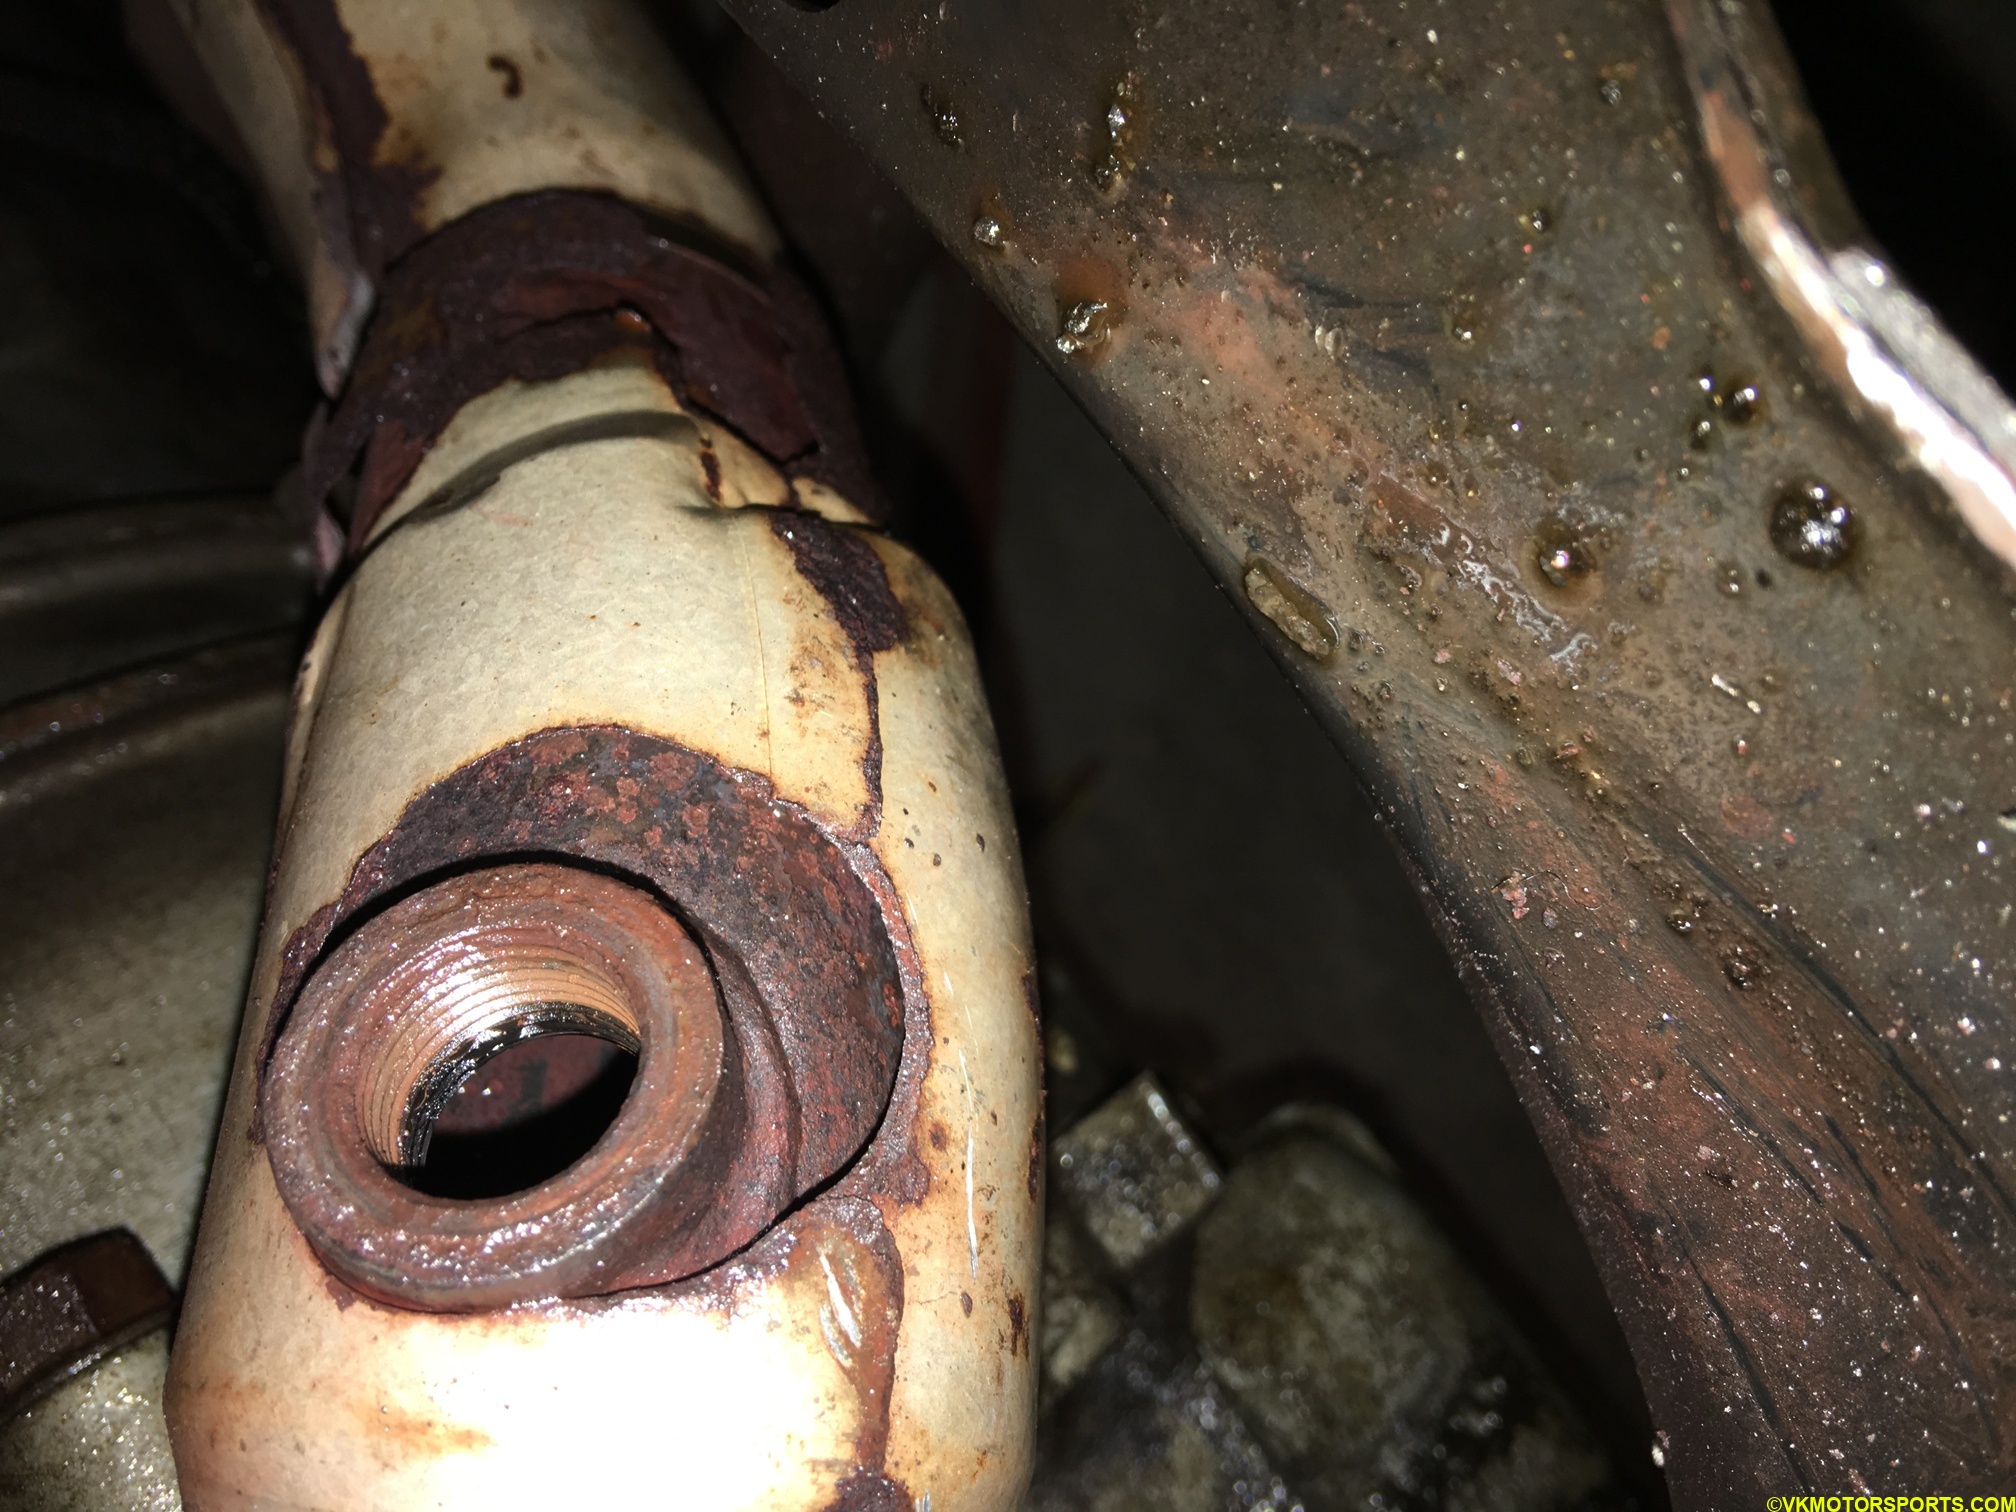 Figure 10. Downstream sensor hole in the exhaust pipe
 Figure 11. Extra nuts that came out with the O2 sensor
Using a bench vise I was able to remove these extra nuts so that we could use them with the new sensors.
Step 6: Install the new sensors in the appropriate locations. For the upstream sensor, I used the Denso 2344606 and for the downstream sensor I used the Denso 2344144, both purchased at Rockauto.com. Remember that these sensors are for the California emissions car, and the sensor model numbers will be different for a Federal emissions car.
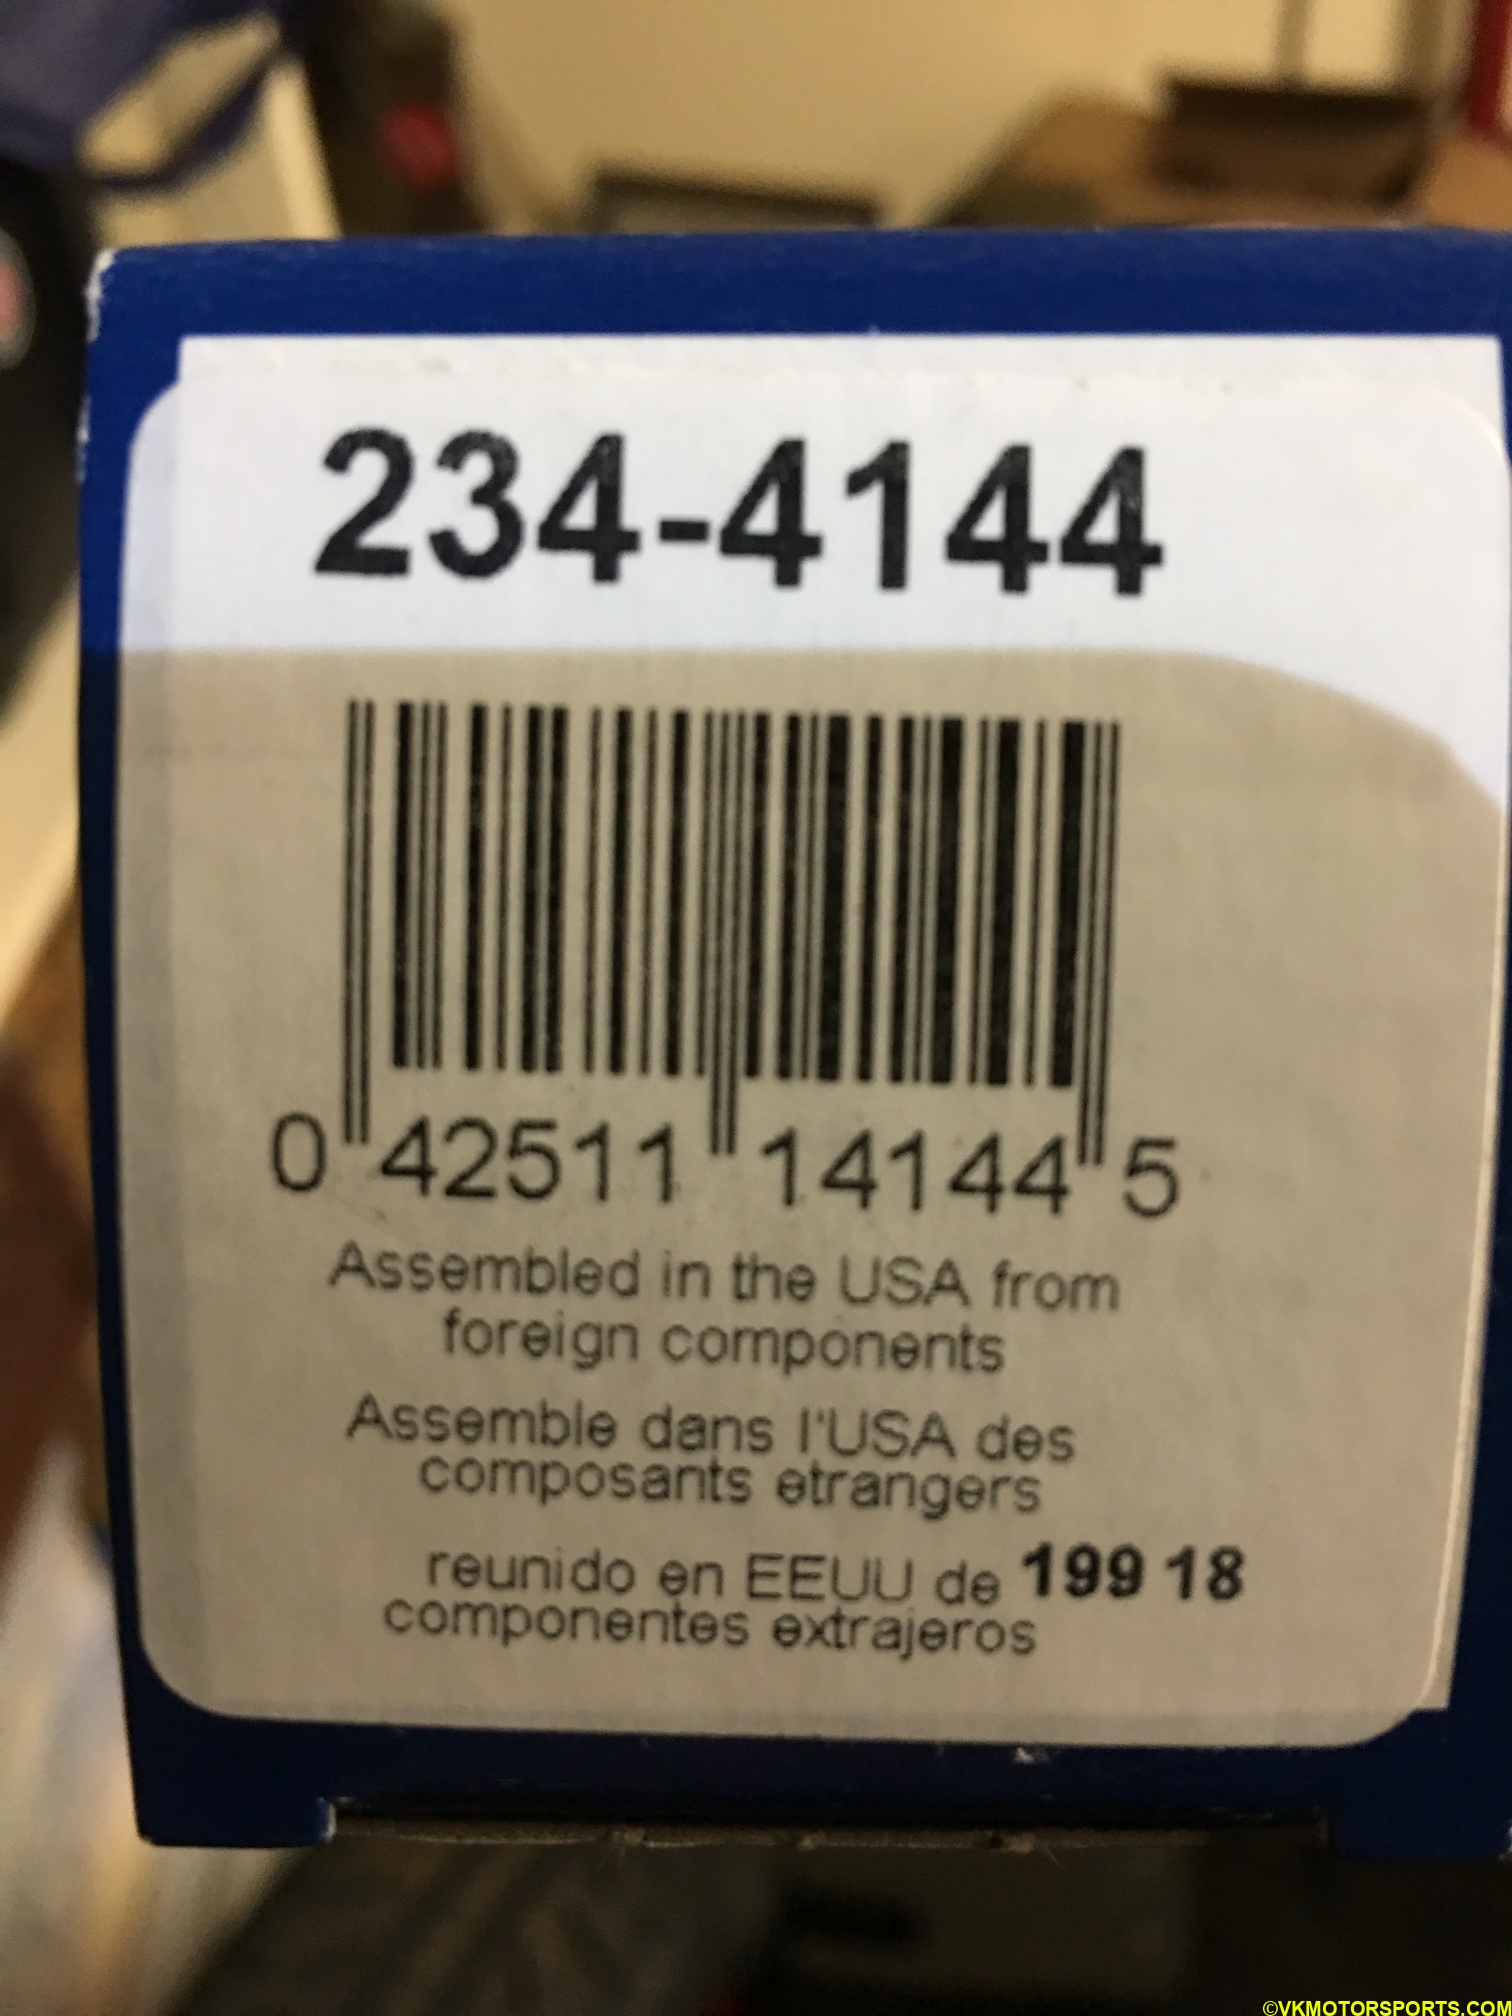 Figure 12. Denso 2344144 Downstream O2 sensor package
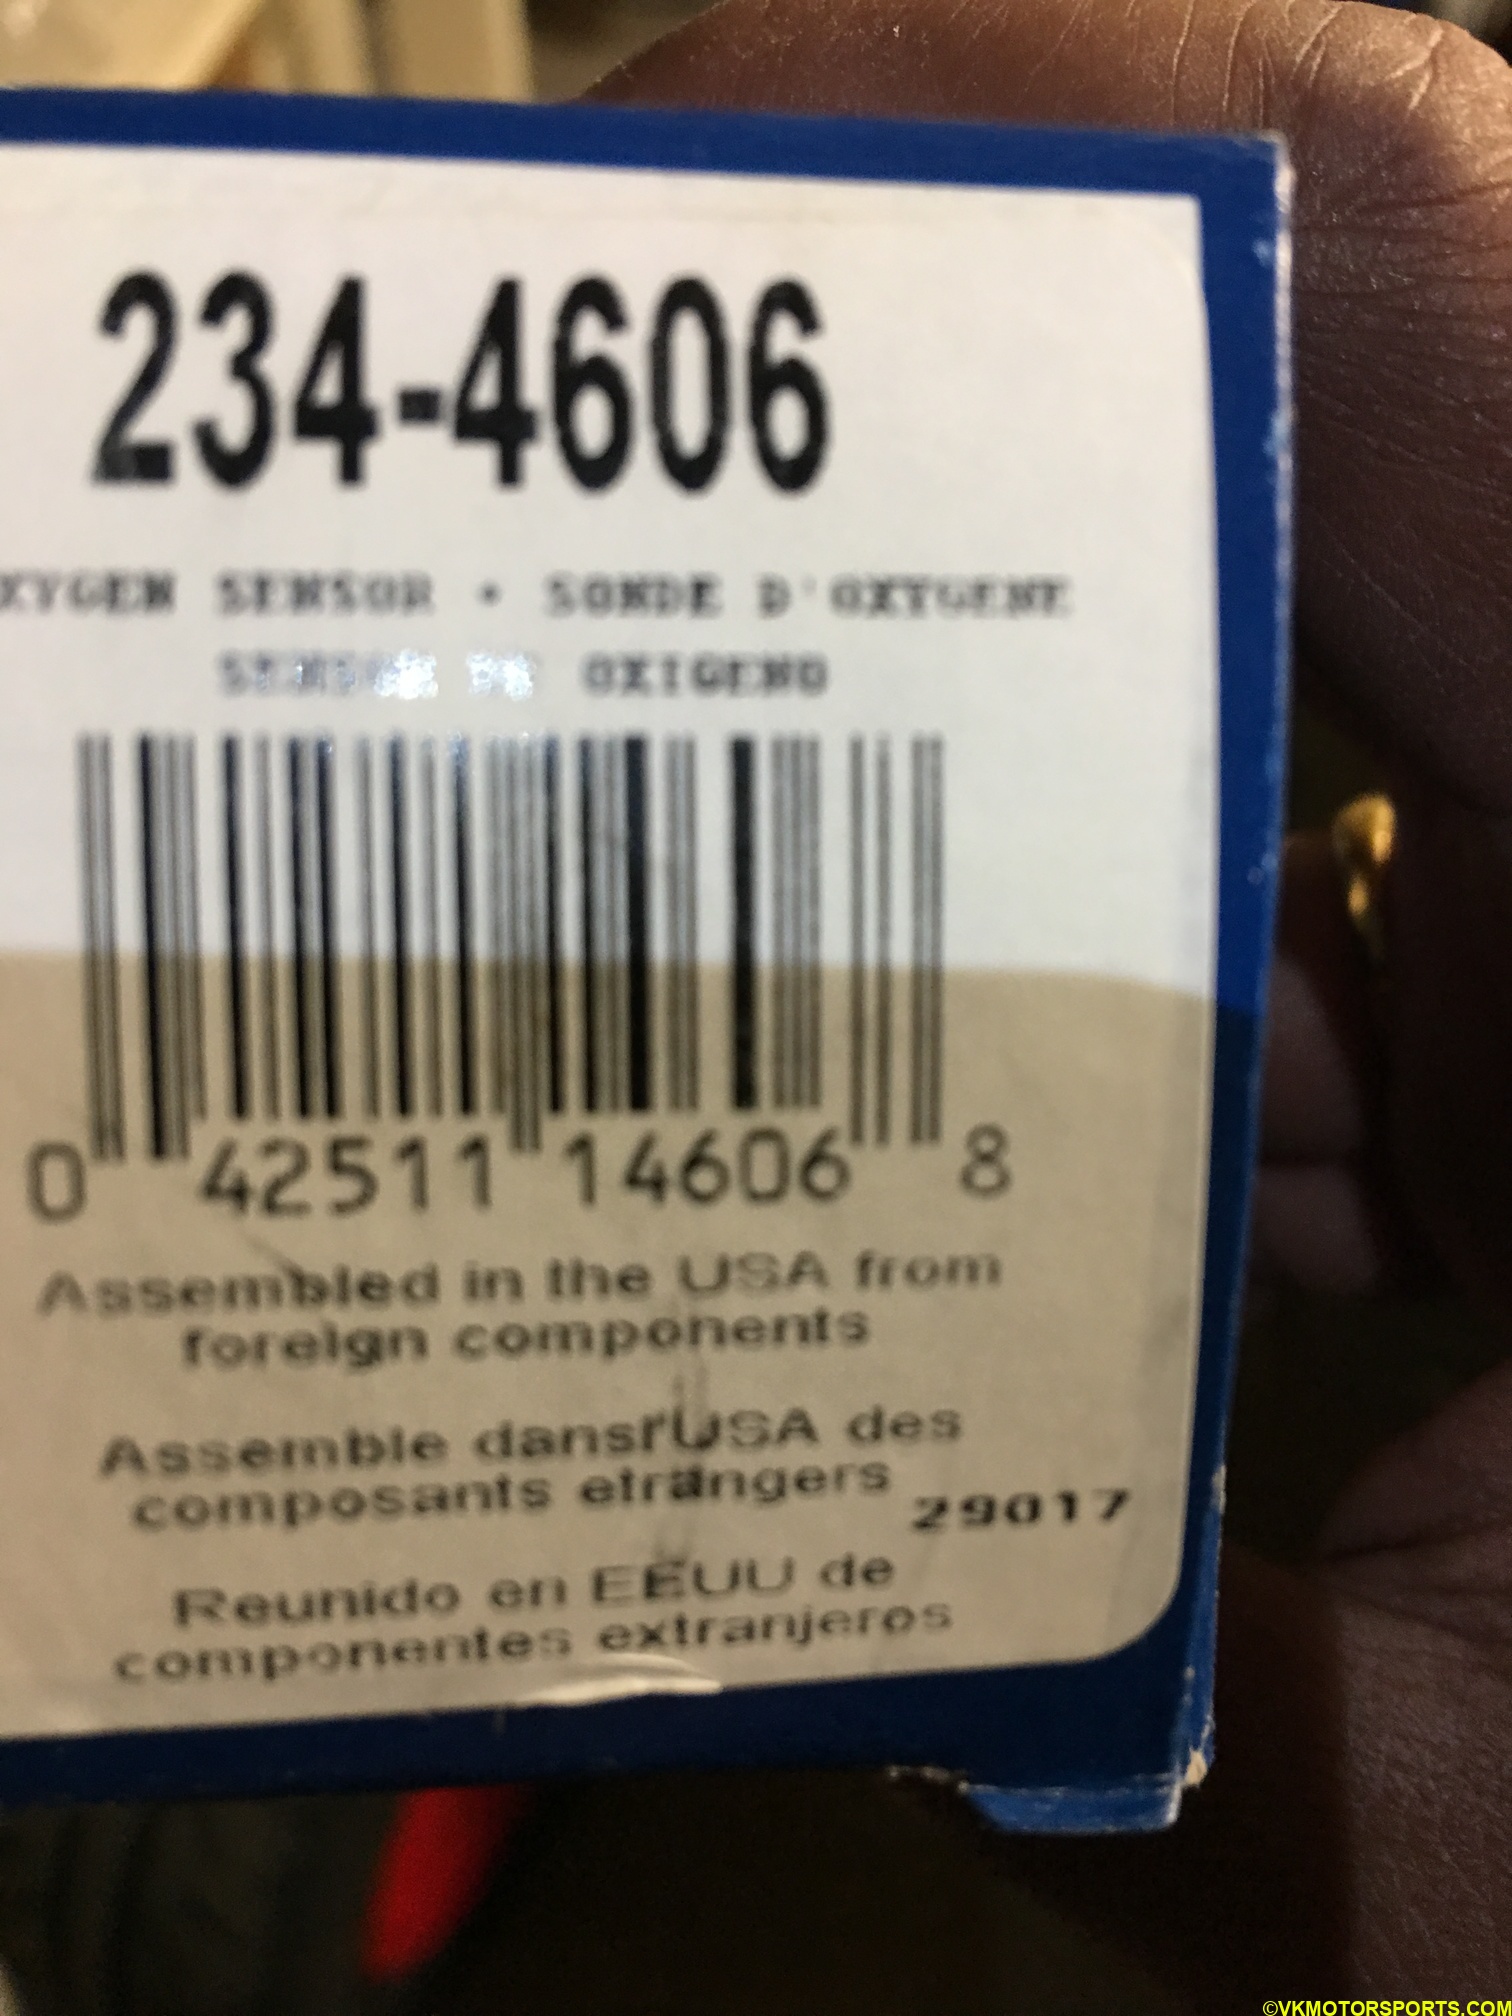 Figure 13. Denso 2344606 Upstream O2 sensor package
Step 7: Apply the copper-based anti-seize paste, that comes with the O2 sensor, onto the threads of the O2 sensor carefully (Apologize I forgot to take a picture of this!). The anti-seize helps you to remove the O2 sensor the next time you need to replace it, or if you want to replace your header or exhaust pipe, it will be a bit easier.
 Figure 14. Copper-based anti-seize paste
Step 8: Once you have the anti-seize applied, install the correct extra nuts in Figure 11 on to the correct O2 sensor. It’s best to do one O2 sensor at a time, upstream first and downstream next as that order was easy for me. Using one of your hands, hand tighten the O2 sensor on to the thread in the header if upstream, or in the exhaust pipe if downstream. Using your other hand keep rotating the wire in the opposite direction so it doesn’t get twisted. Once that is done, using the O2 socket (Figure 5) and a ratchet tighten each sensor till they feel tight. If you’re able to get a torque wrench in there, tighten to 22-30 ft-lbs, otherwise tighten as much as possible.
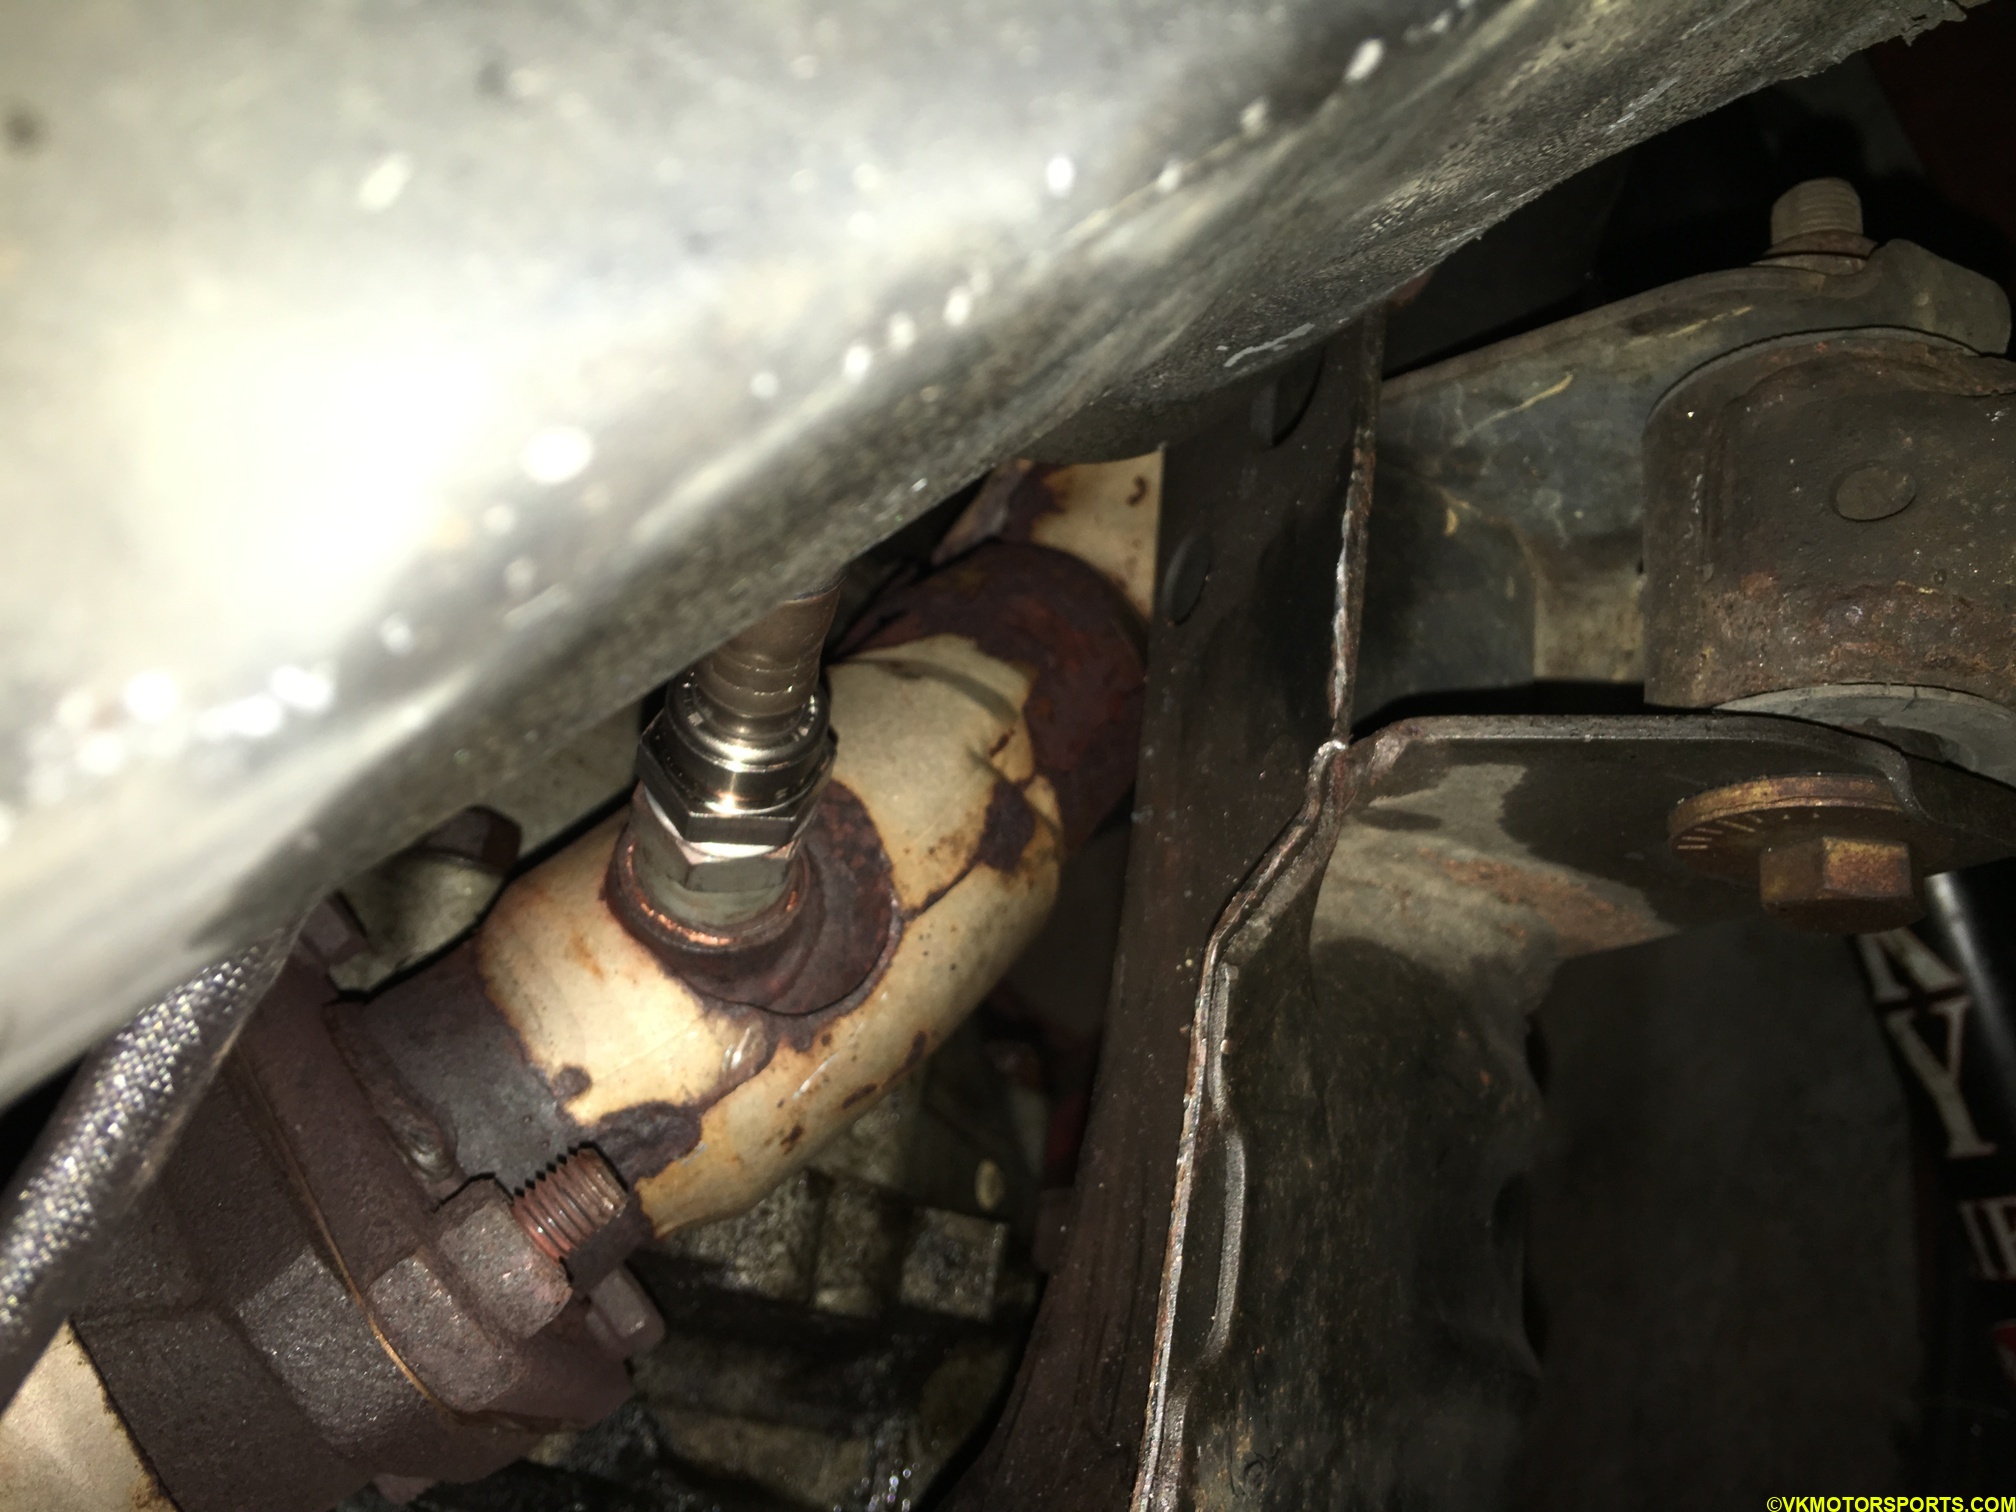 Figure 15. Downstream O2 sensor installed
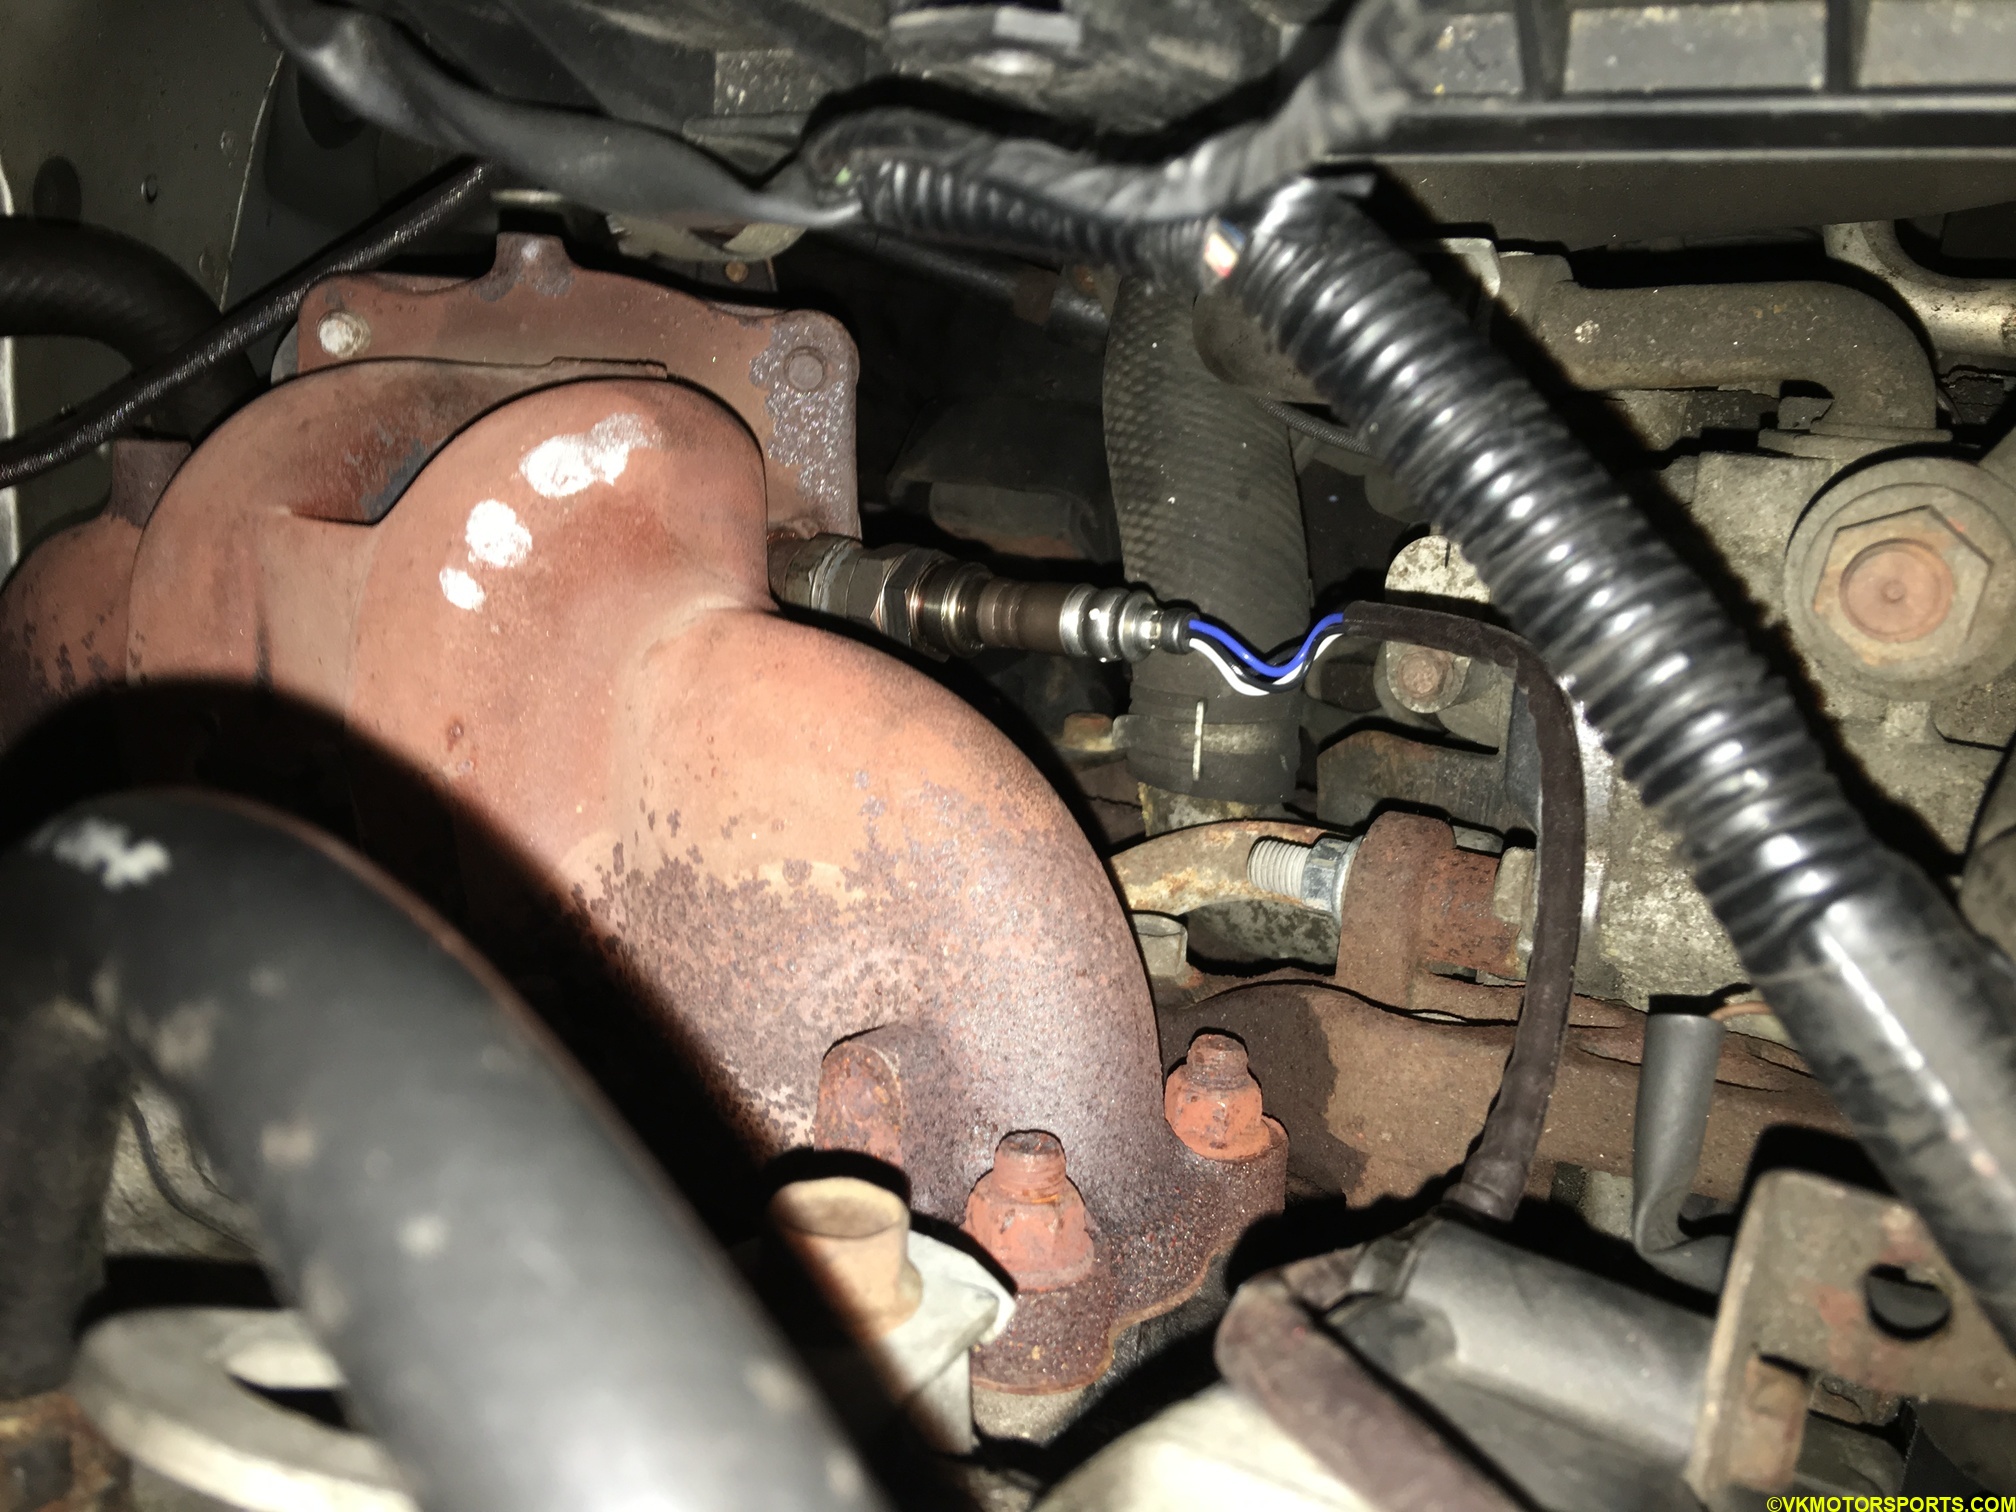 Figure 16. Upstream O2 sensor installed
Step 9: Now connect the O2 sensor connectors back to the corresponding wiring connectors as you had disconnected them in Figure 3 and Figure 4.
Step 10: Start the car and make sure no CELs show up immediately on engine warmup.
Step 11: Install the wheel back and torque it appropriately before driving the car around.
I drove the car around for about 18 miles and did a scan with an OBD II scanner, and got no CEL codes. The O2 sensor status was ready and my car is now ready for the long overdue inspection.