The Porsche Boxster S I purchased had a salvage title because it had a massive dent in the left rear quarterpanel, as shown in Figure 1, and a broken tail light. Fixing dents on a car requires real talent and experience, neither of which I had. Nevertheless, I gave it a try in late 2019 by buying a hammer and dolly, and a stud welder set. However, I failed to achieve a good result so ended up giving up after some effort. About 14 months later, in 2021, I decided to hire a cheap body shop guy off CraigsList to get it fixed up so I could make the Boxster my daily driver going forward. I had sold my actual daily driver, a 6-speed manual transmission 2017 VW GTI S, since I was not driving it due to the pandemic.
To make the Boxster my daily driver and to get the salvage title converted to rebuilt title in NJ, I needed the dent fixed. Below is my experience trying to fix the dent myself and then hiring a profesional.
Original Dent
Figure 1 shows the original dent on the car, due to which the insurance company totalled the car as it would cost a few thousand dollars to fix it up in a professional body shop. However, sometimes those quotes are crazy expensive on purpose. I decided to watch several 100 Youtube videos and fix it myself.
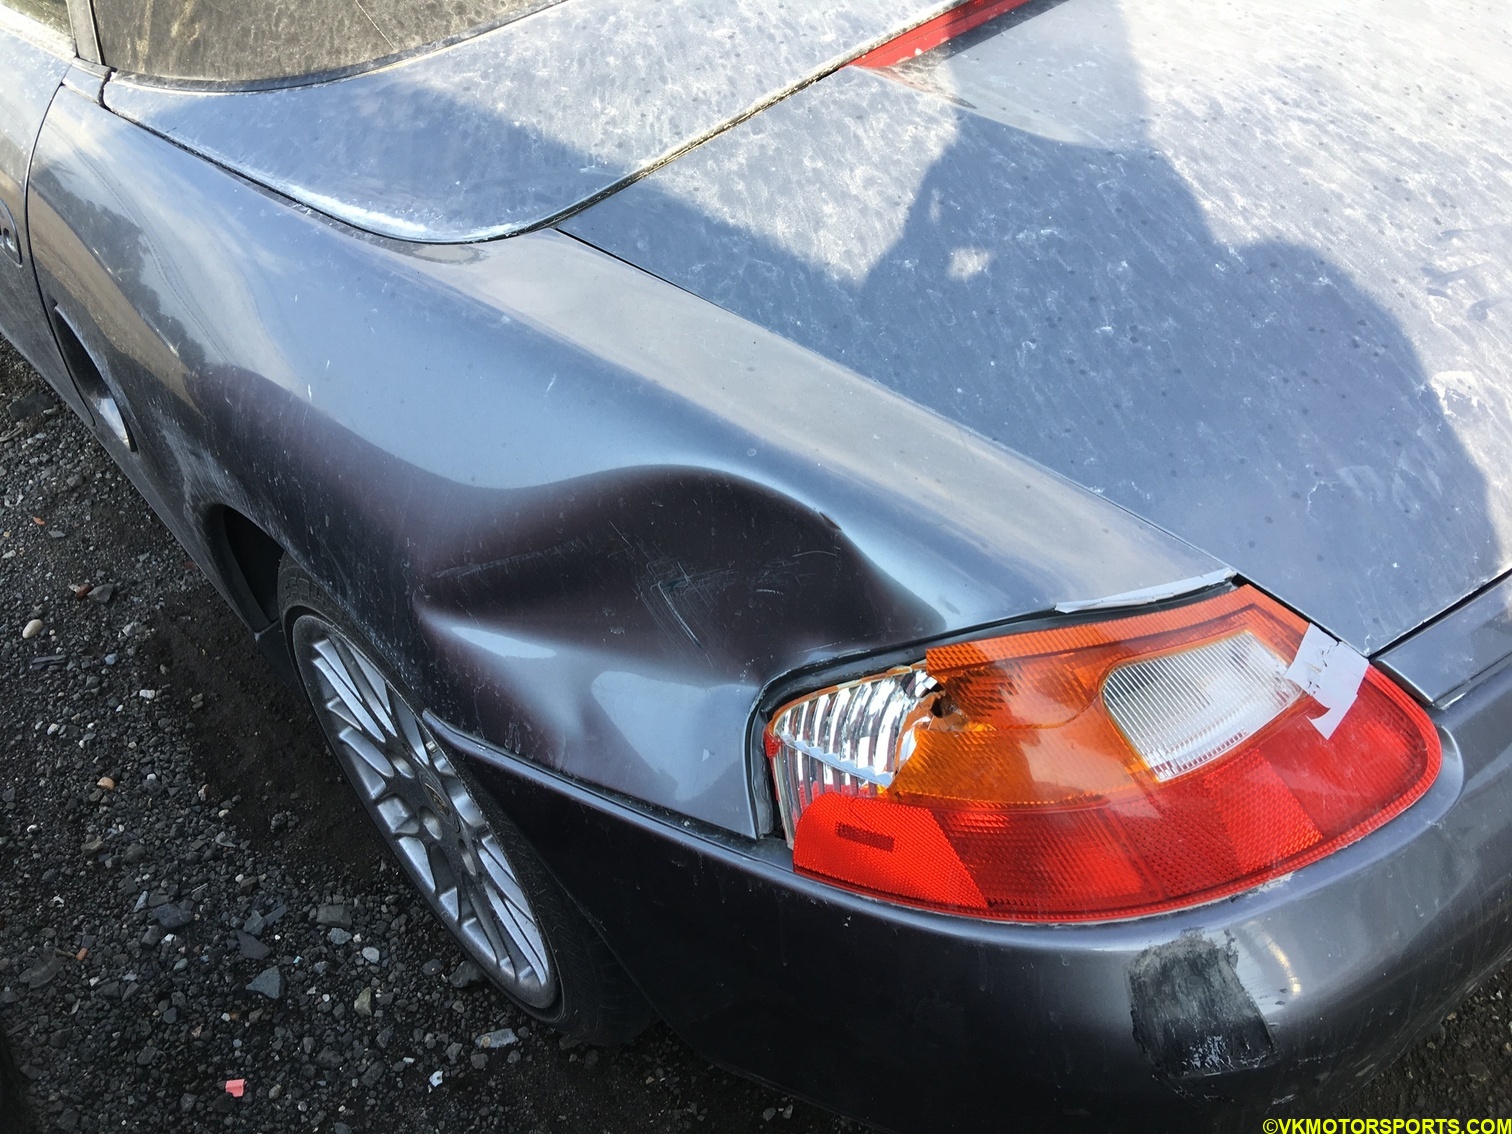 Figure 1. The original dent on the car
Tail light removal
First step was to take the broken tail light out as shown in Figures 2, 3 and 4. You need to use the number 8 socket wrench to remove these nuts. Remember to wear gloves when taking out the broken tail light, as seen in Figure 5.
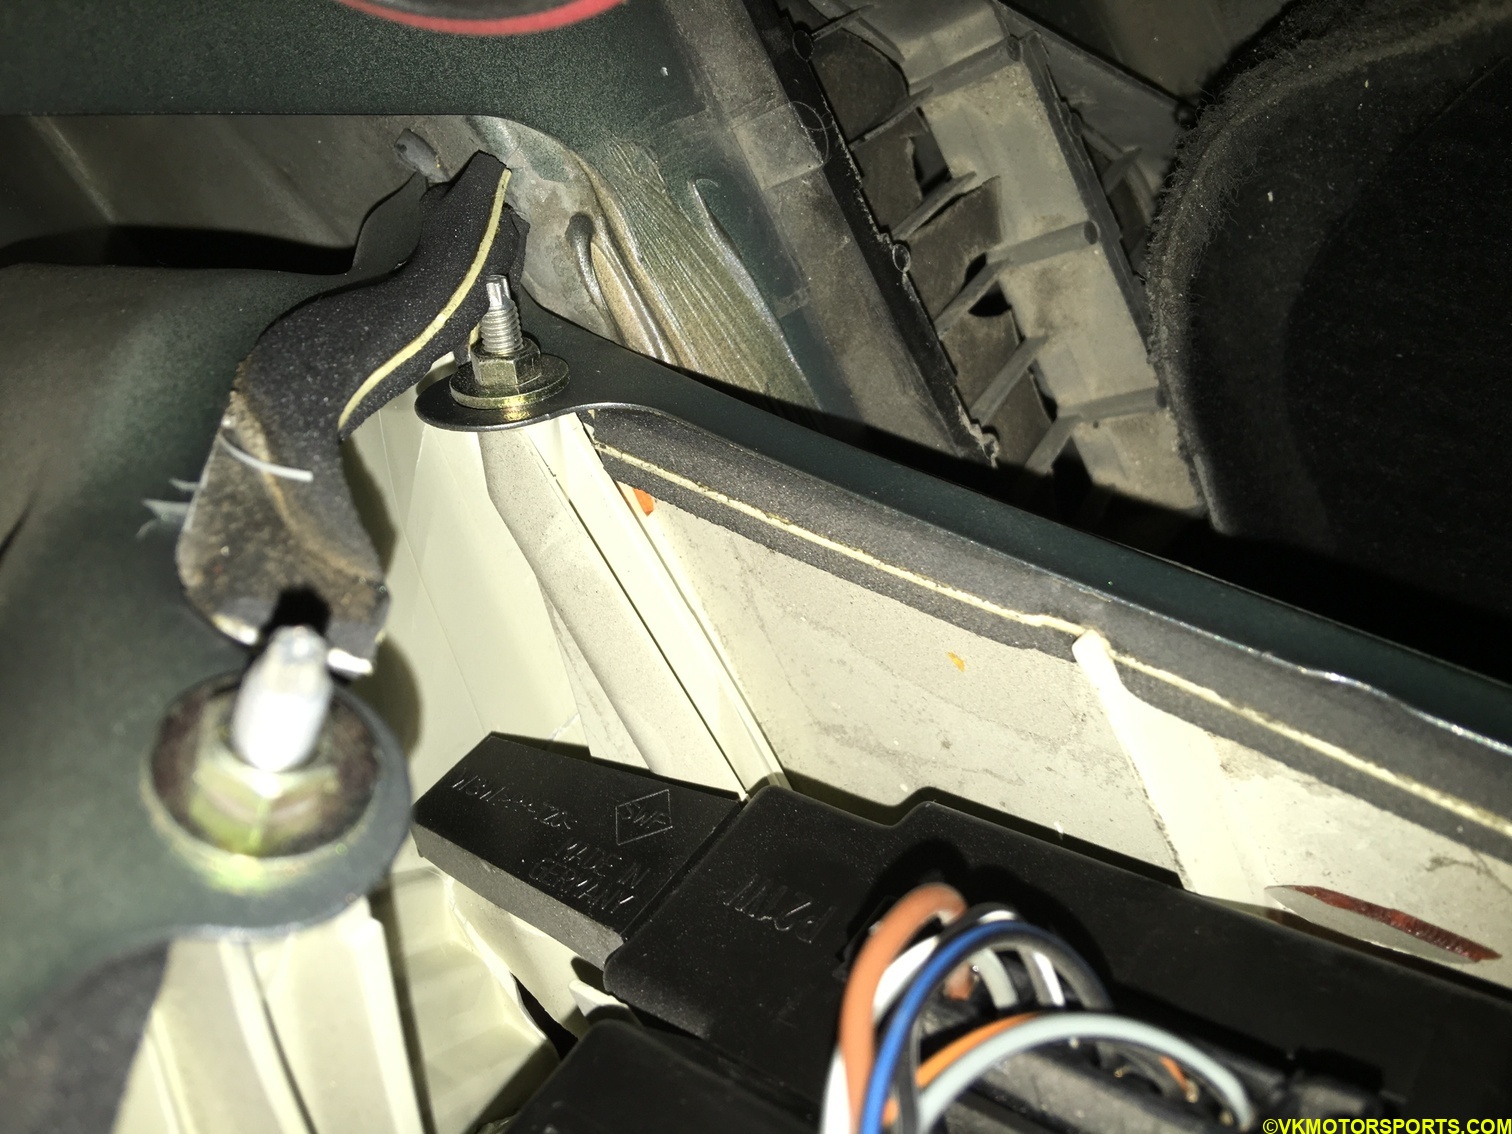 Figure 2. Remove the 4 tail light nuts
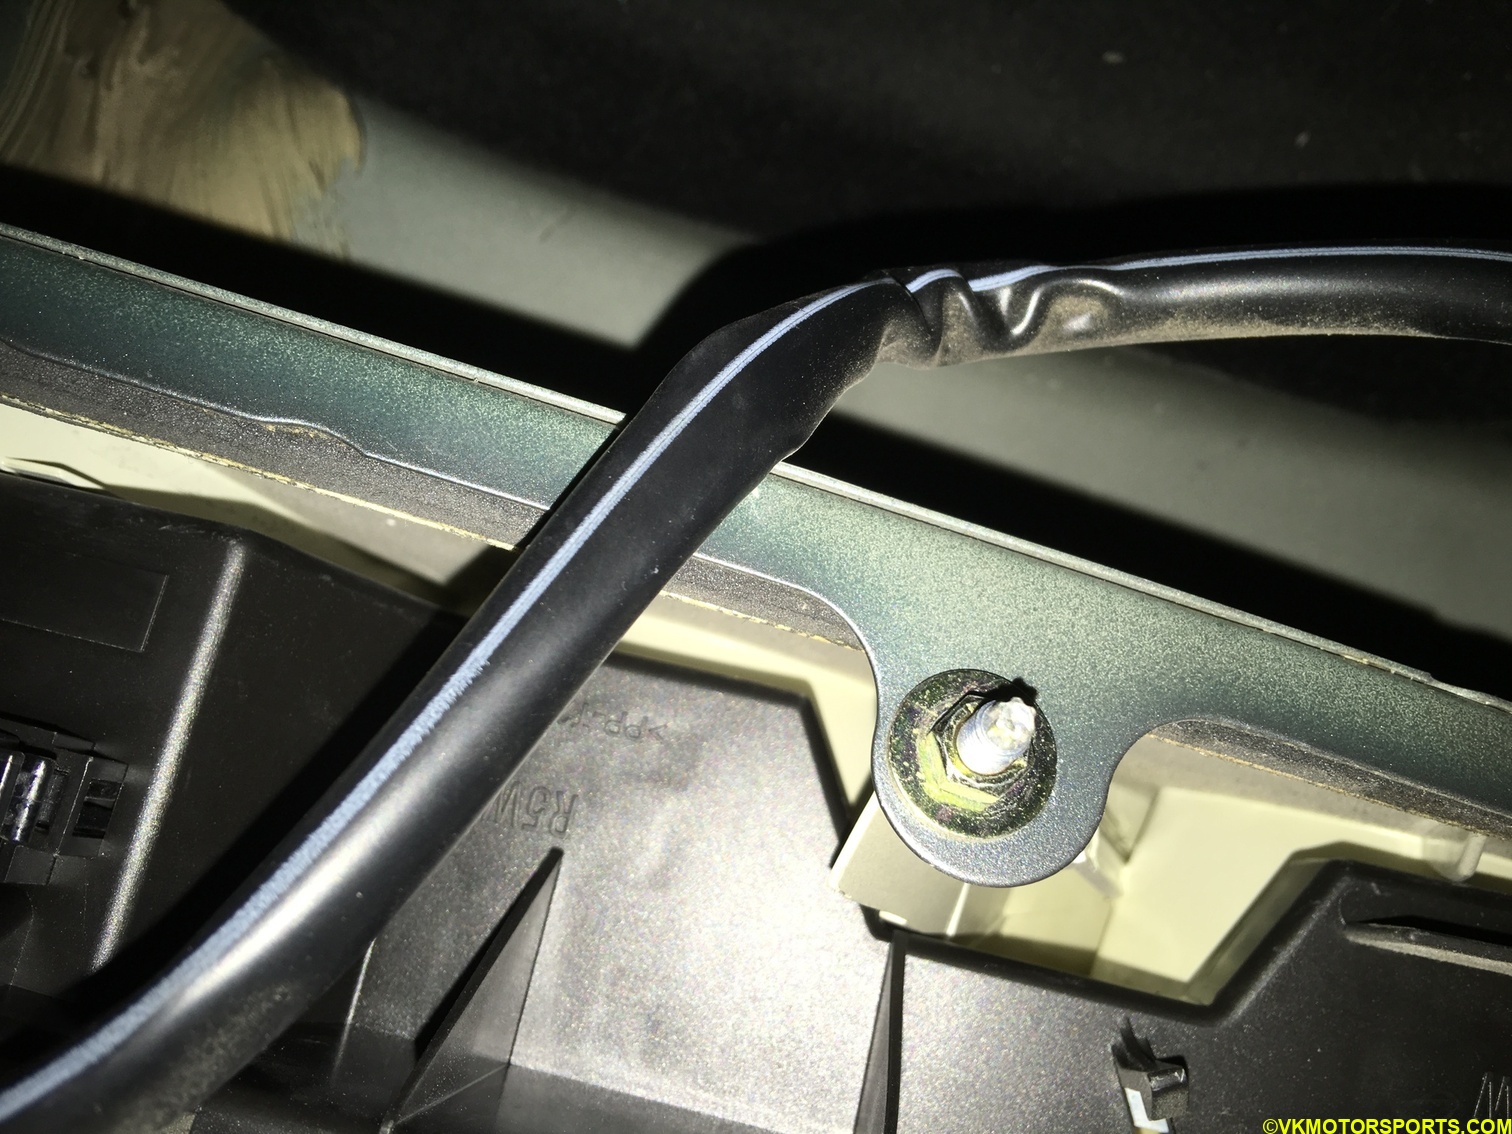 Figure 3. Another view of the tail light nut
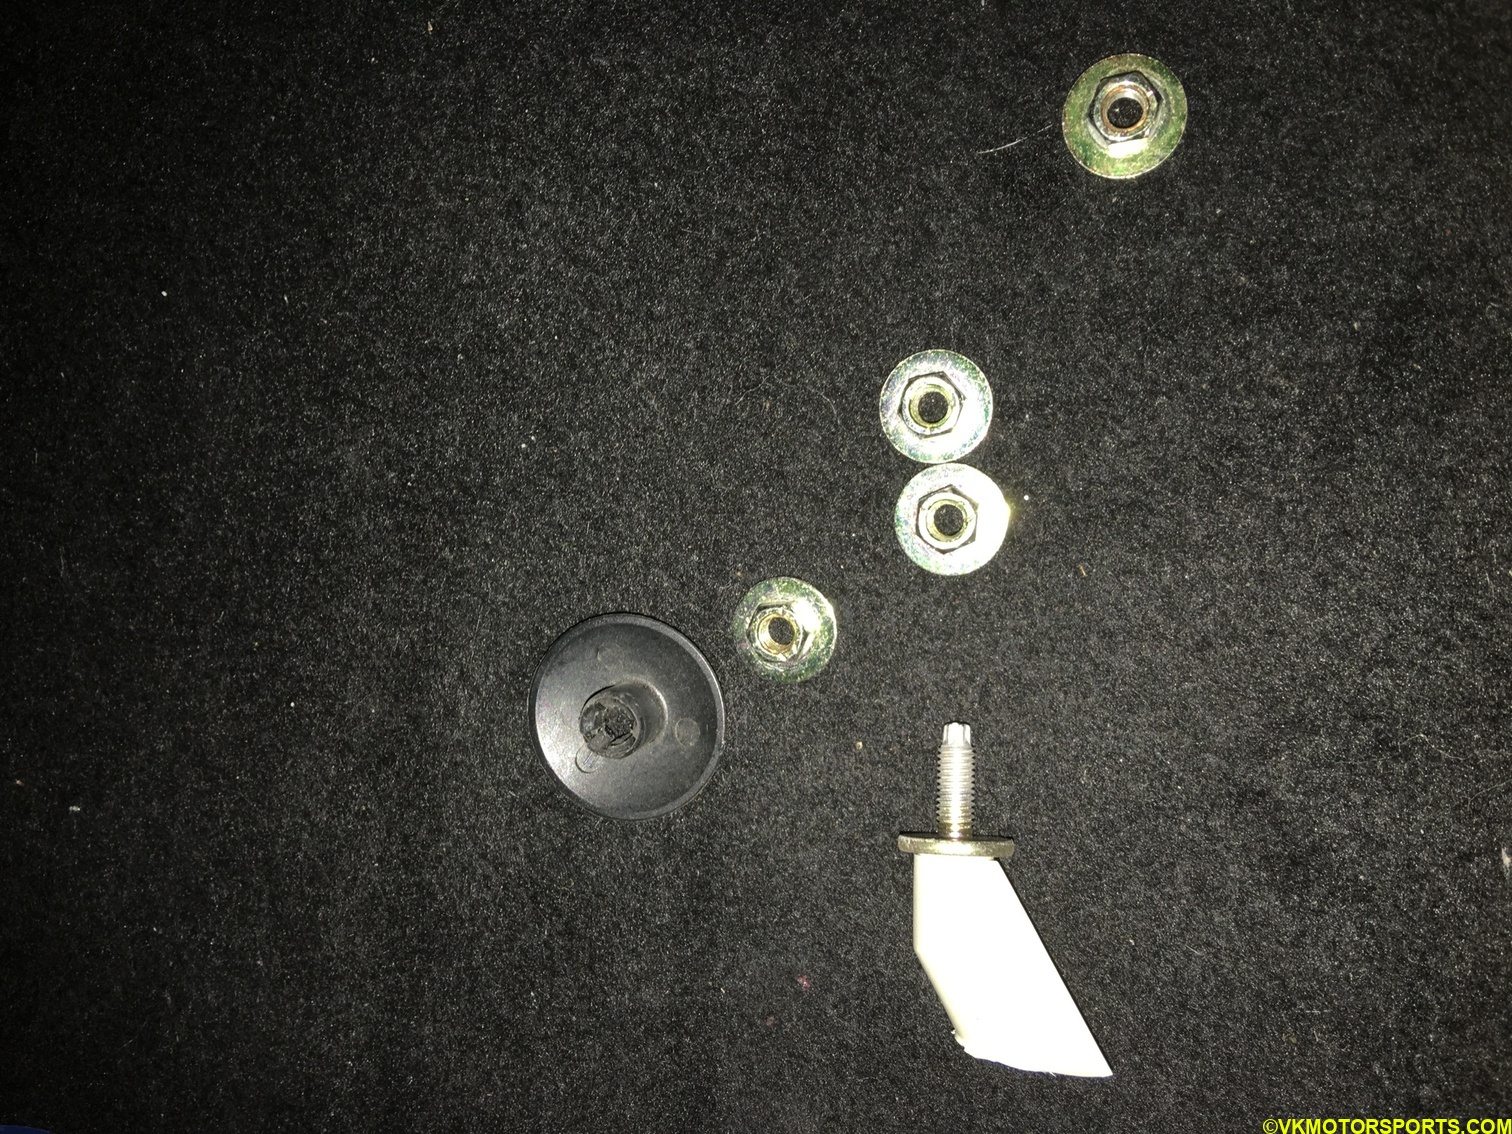 Figure 4. Removed 4 nuts of the light and broken parts
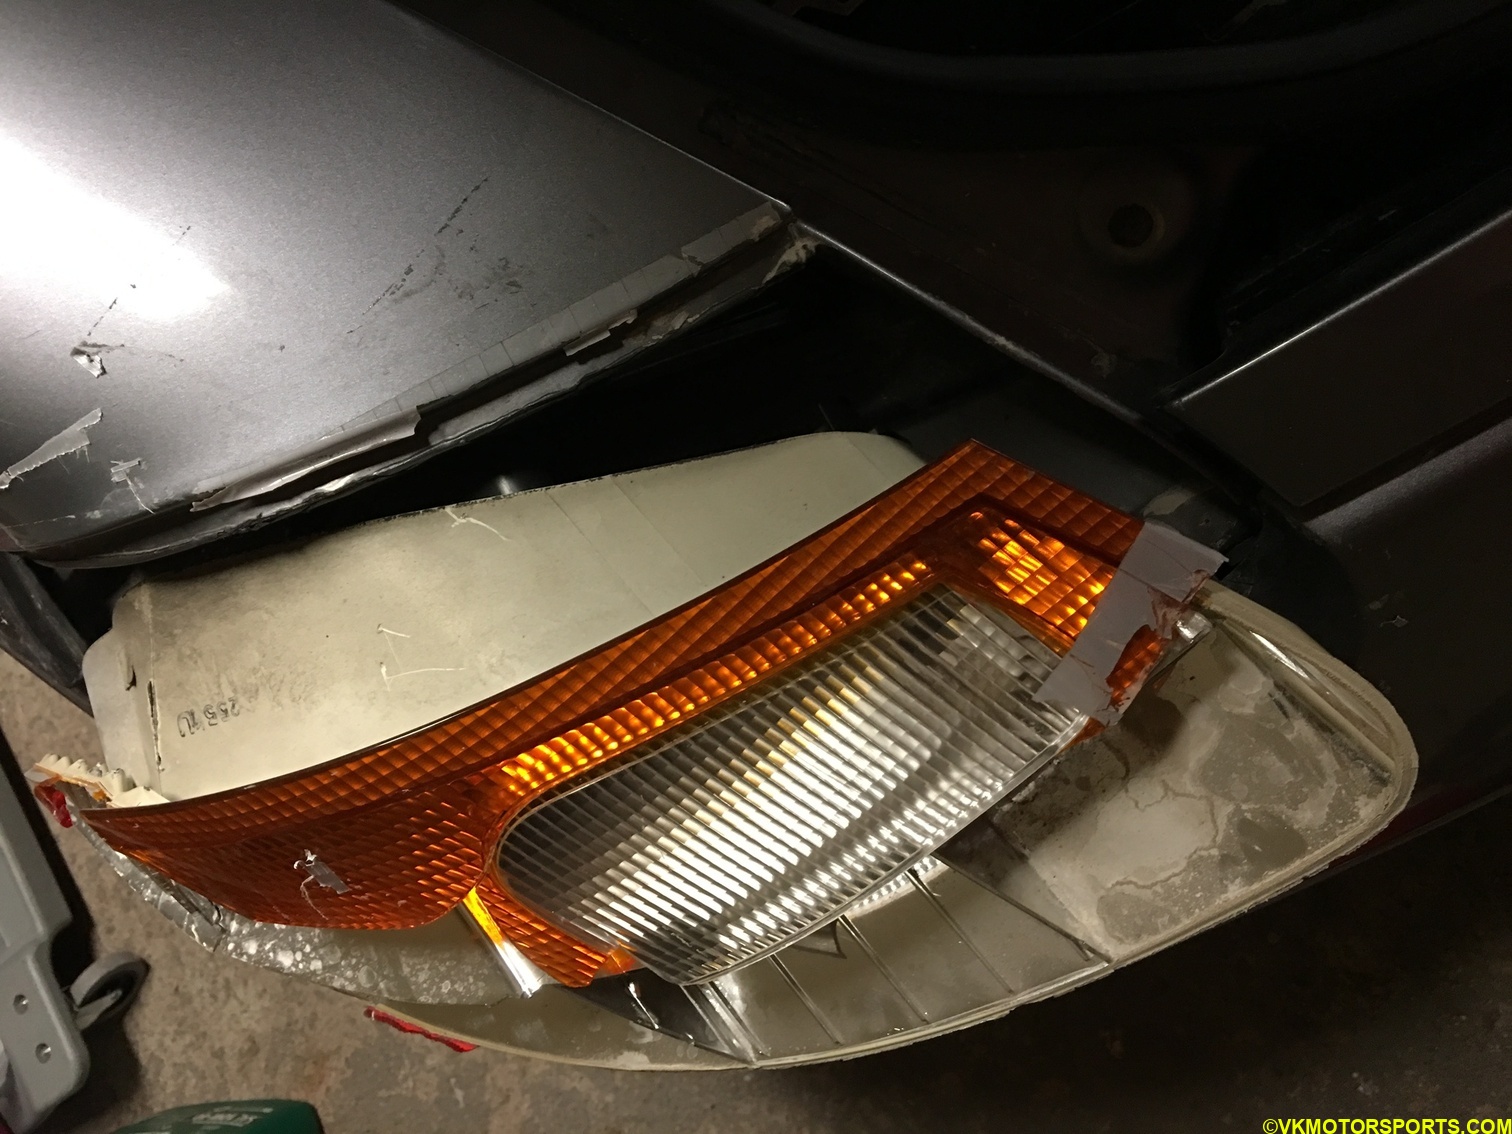 Figure 5. Remove the full broken light
Figures 6 and 7 show what the dent looked like without the tail light installed. Looked like a hammer job from inside the trunk could fix this quickly.
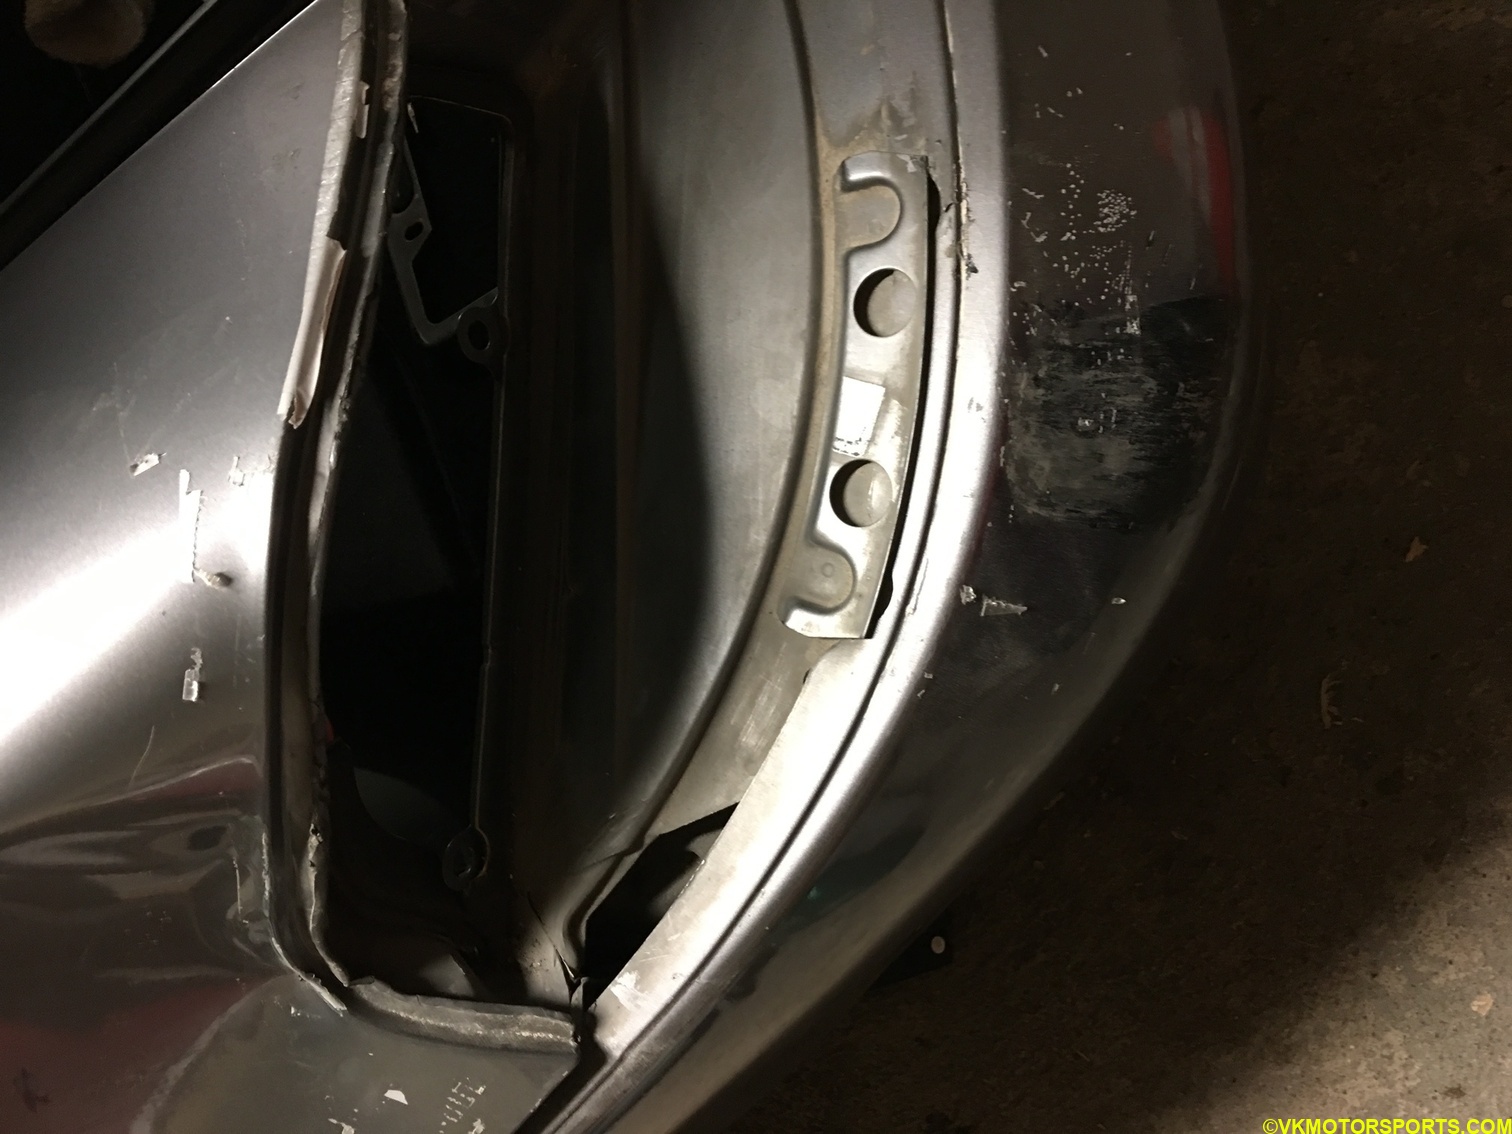 Figure 6. Rear end without the tail light
 Figure 7. Dent without the tail light
Hammer & Dolly time
I purchased a hammer and dolly kit from Eastman (Figure 8) and tried hammering the body out as seen in Figure 9 but it was too much work and the clearance was not there from the inside. So, I moved to stud welding instead.
 Figure 8. Hammer & Dolly set from Eastman
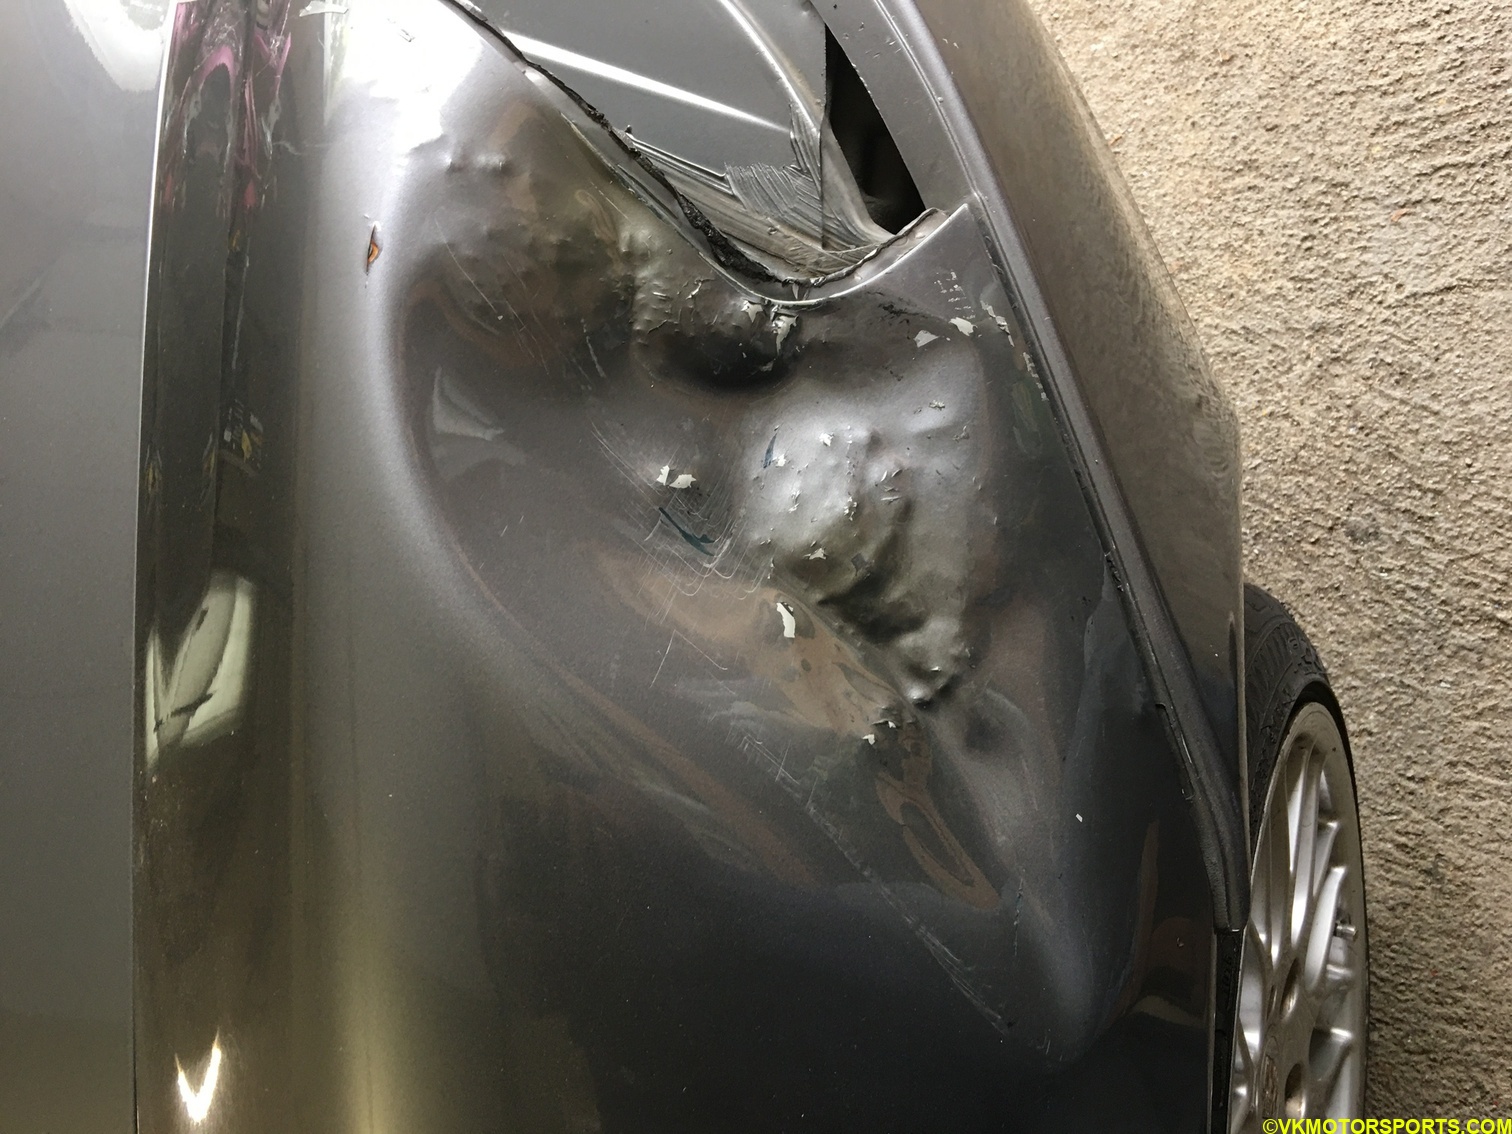 *Figure 9. Some hammering of the dent *
Stud Welding
I purchased a good quality stud welder and slide hammer kit from eBay (Figure 10 and 11) first. Then using an angle grinder, removed the paint from the dent and then tried some stud welding as seen in Figure 12.
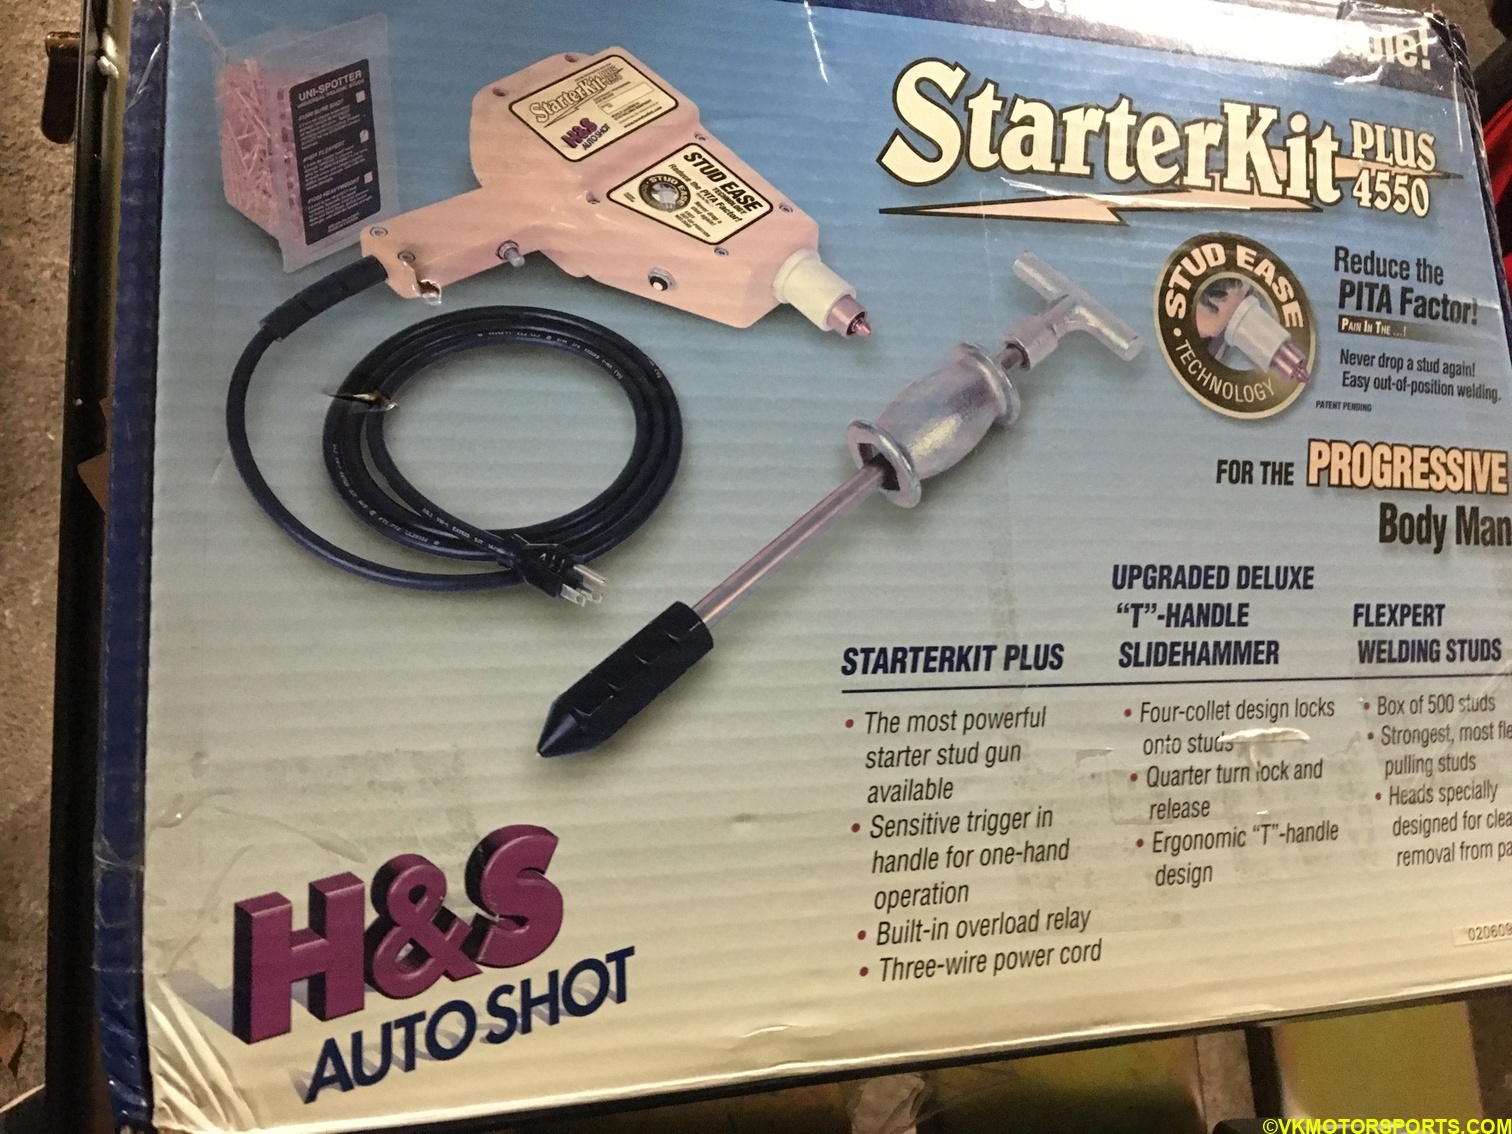 Figure 10. Stud welder in box
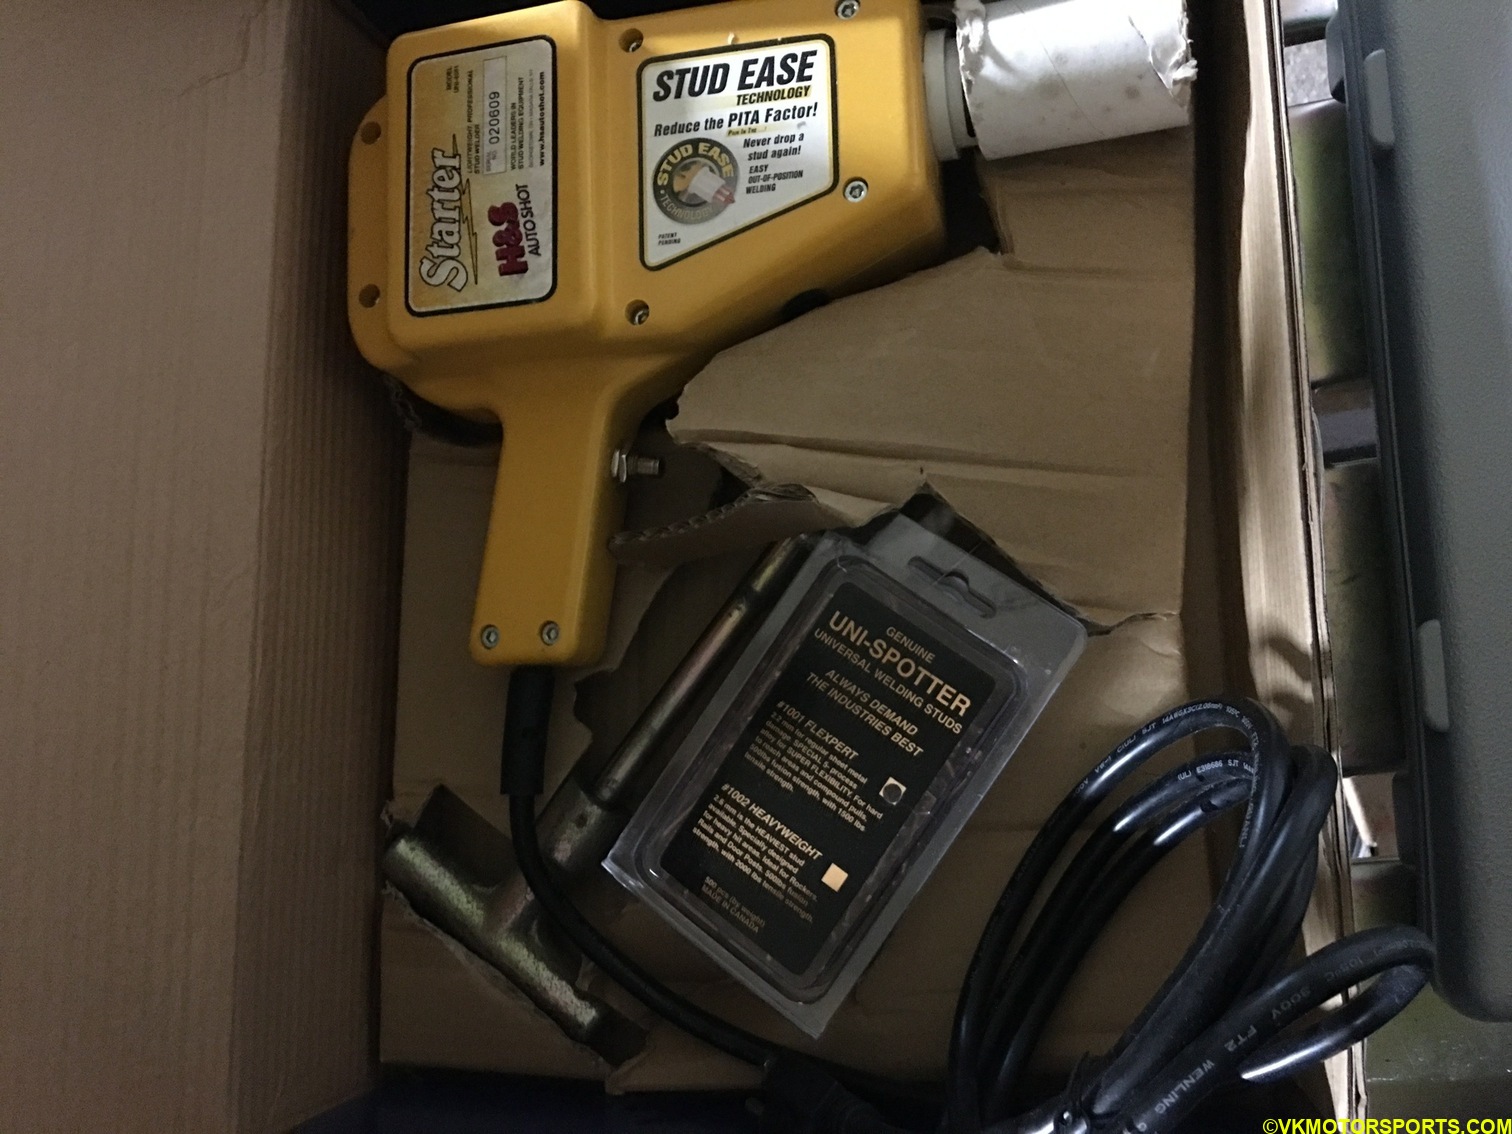 Figure 11. Stud welder unboxed
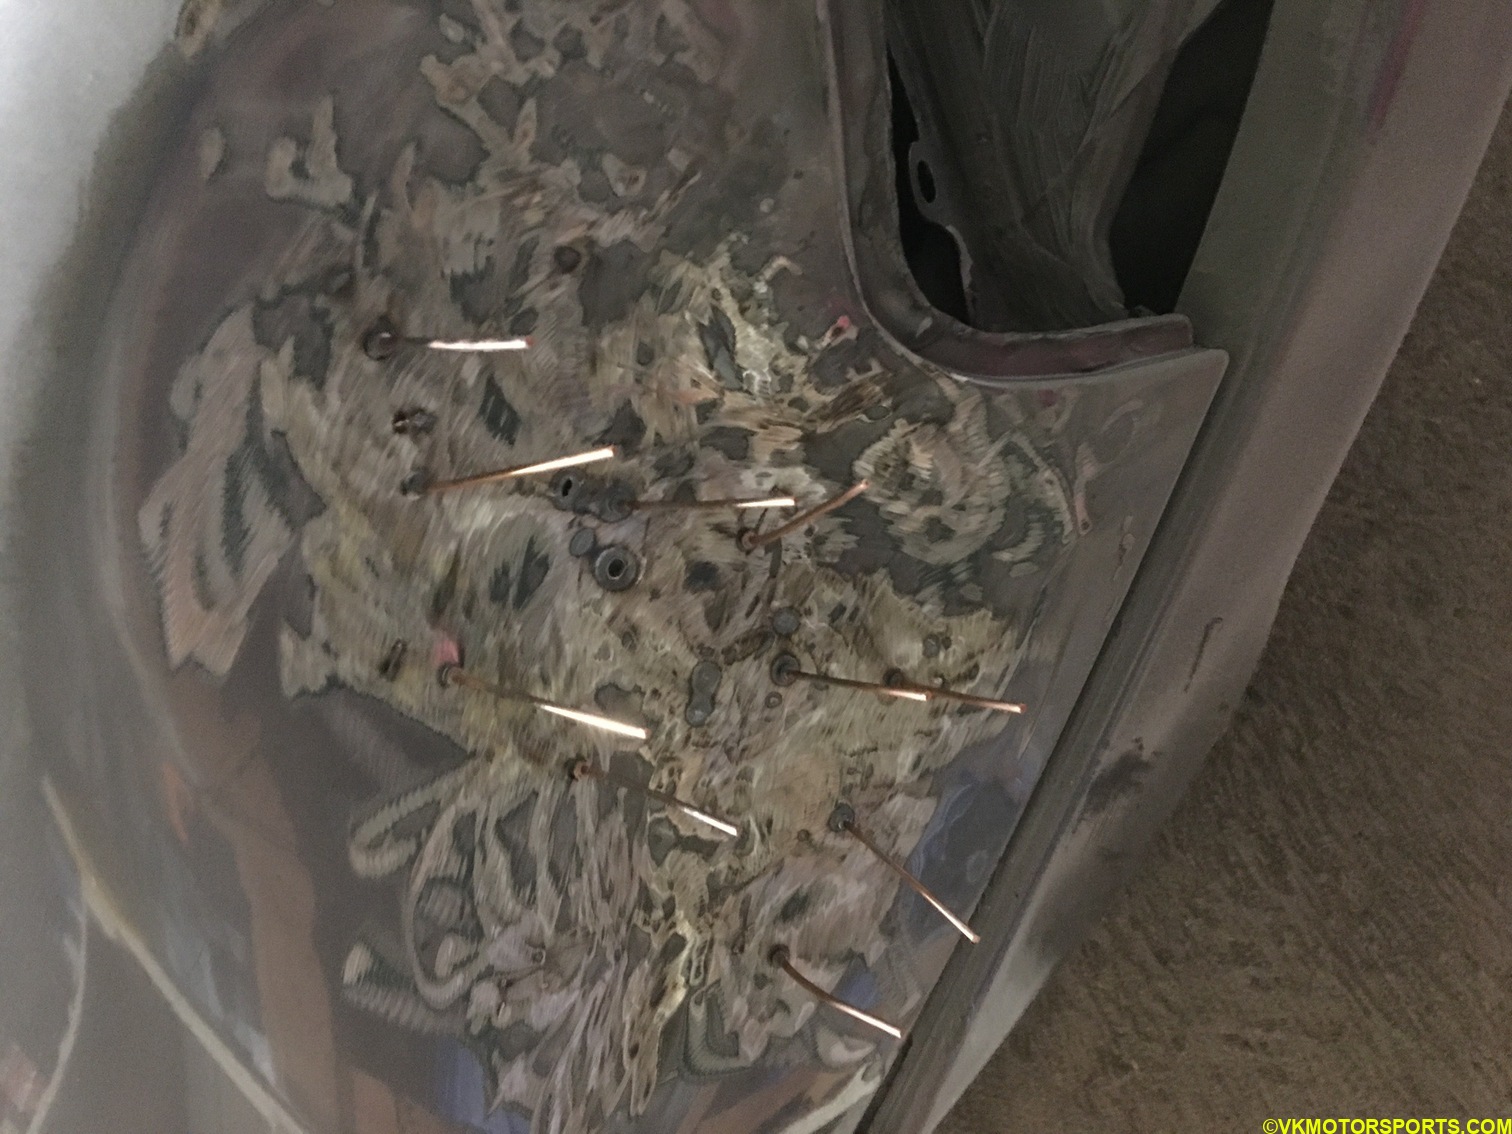 Figure 12. Trying some stud welding
After a lot of effort of stud welding, dent pulling using the slide hammer, and using the hammer and dolly, I got most of the dent pulled as seen in Figure 13. It was time to install a replacement tail light, which I got for a $100 from eBay (Figure 14) and installed it.
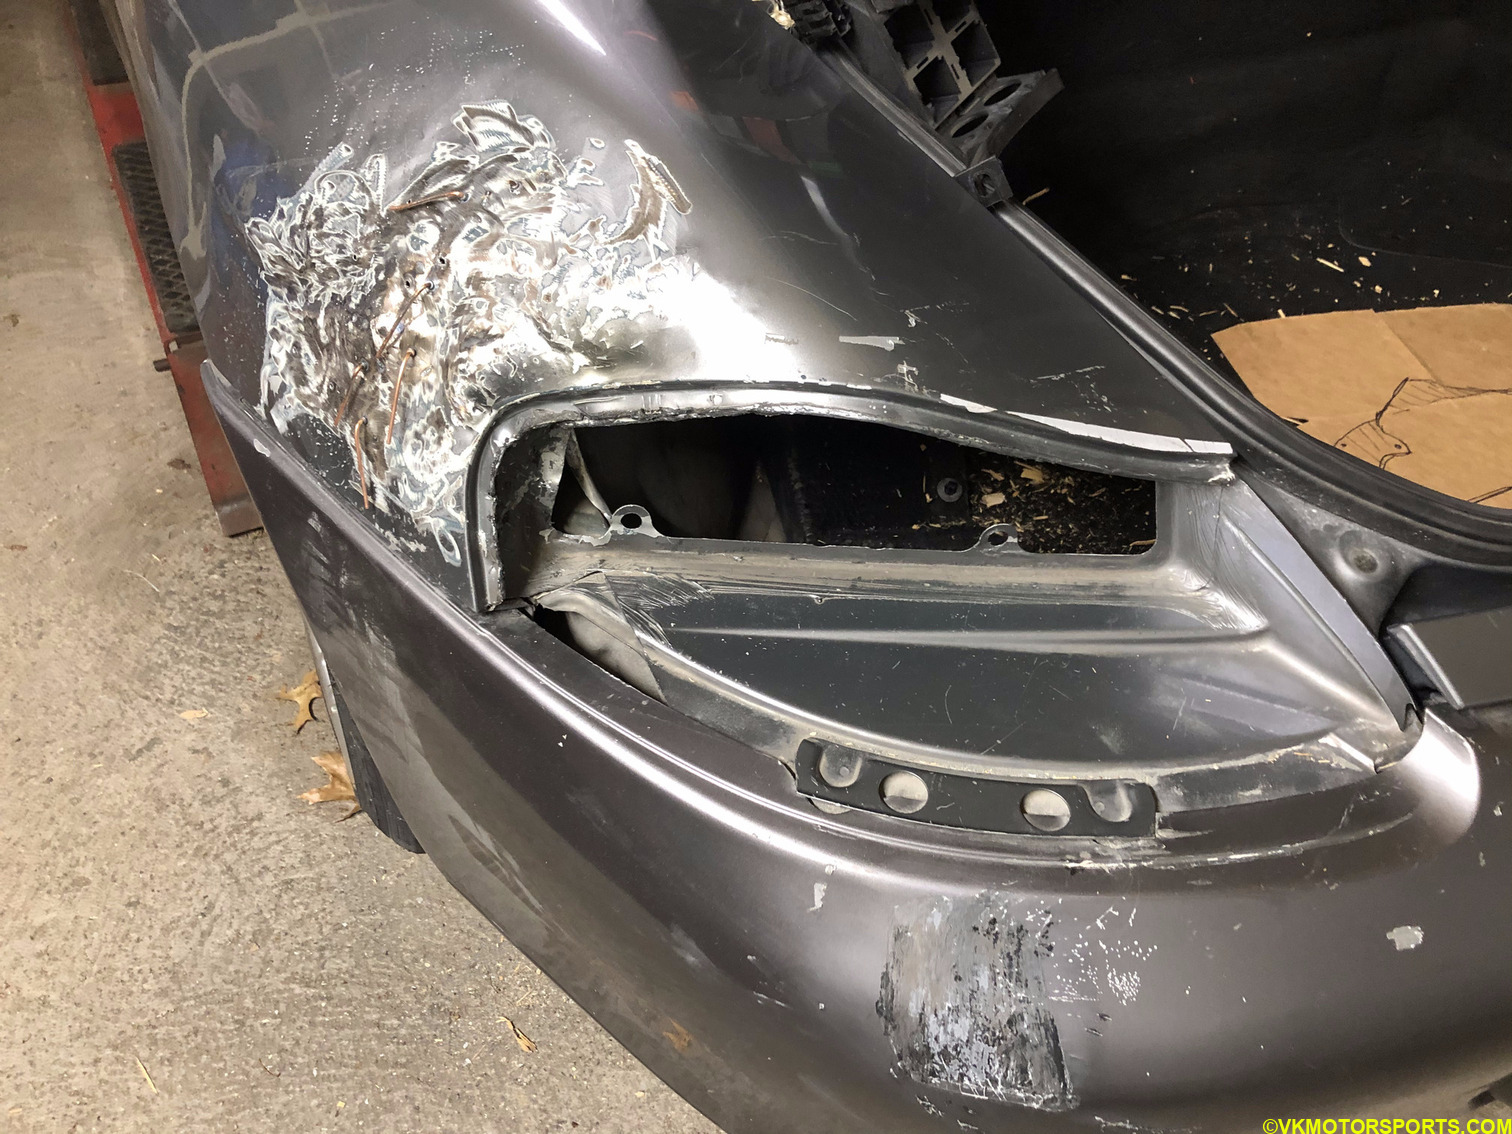 Figure 13. Pulled out a lot of the dent
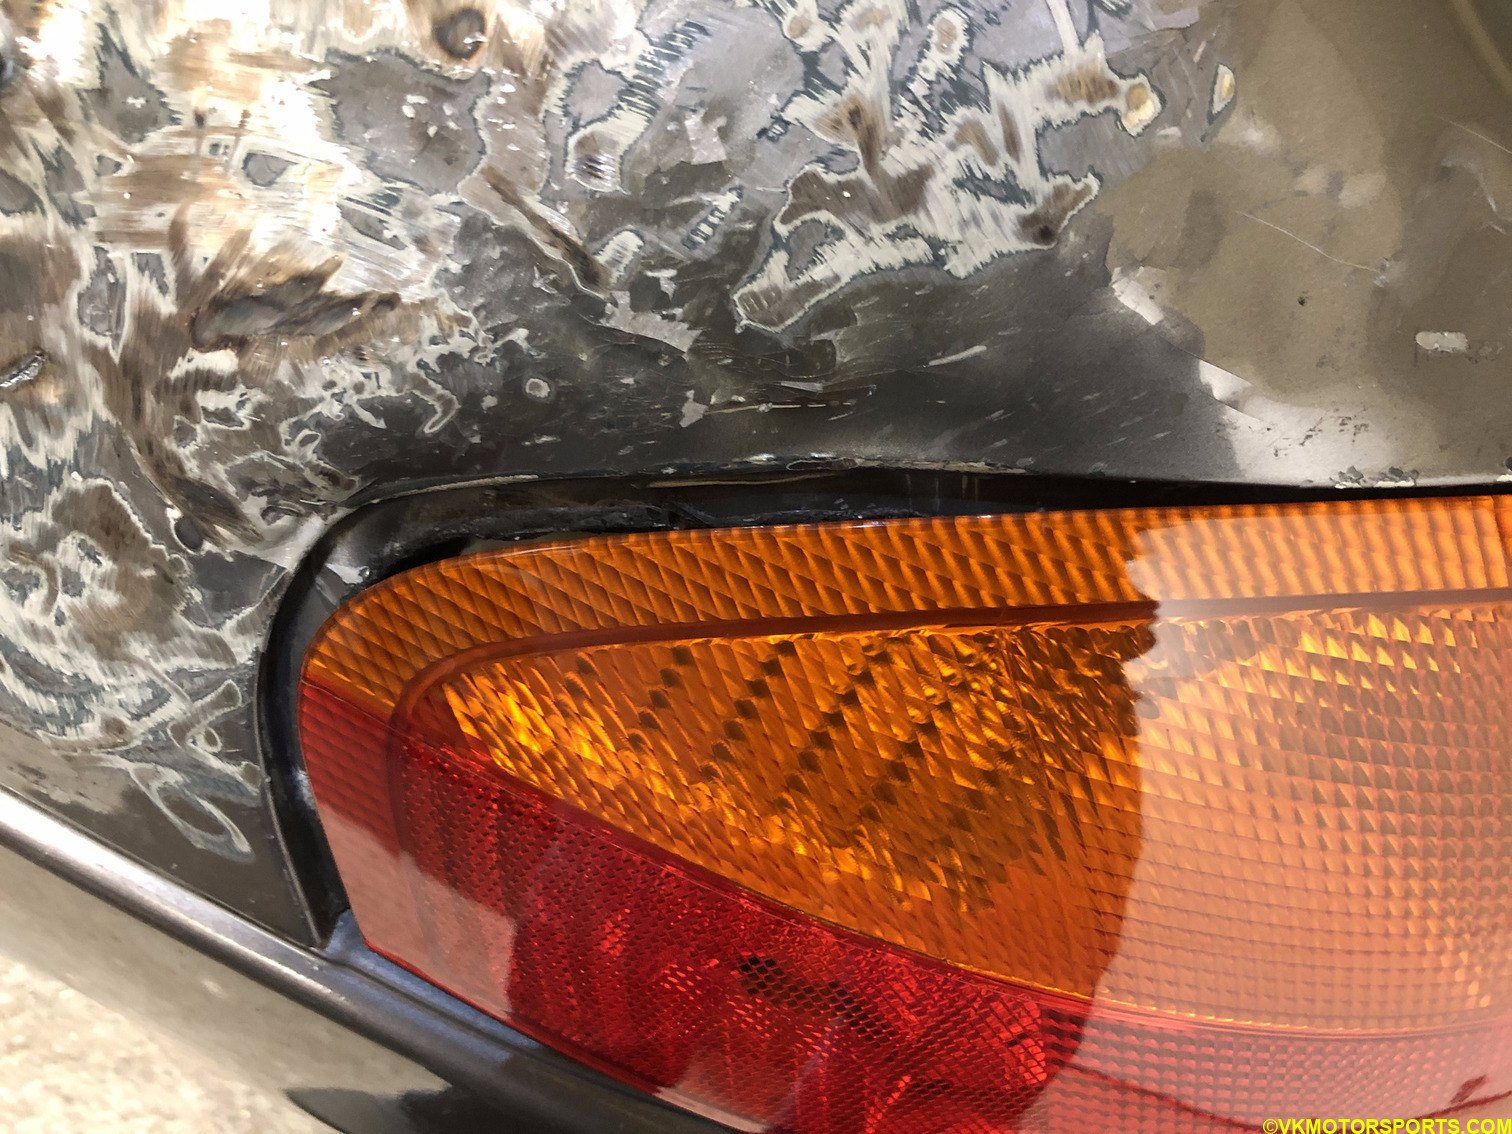 Figure 14. Replacement tail light from eBay
Unfinished gap
But, there was still a gap ! The tail light was not flush with the body as seen in Figure 15. It needed more precision dent pulling.
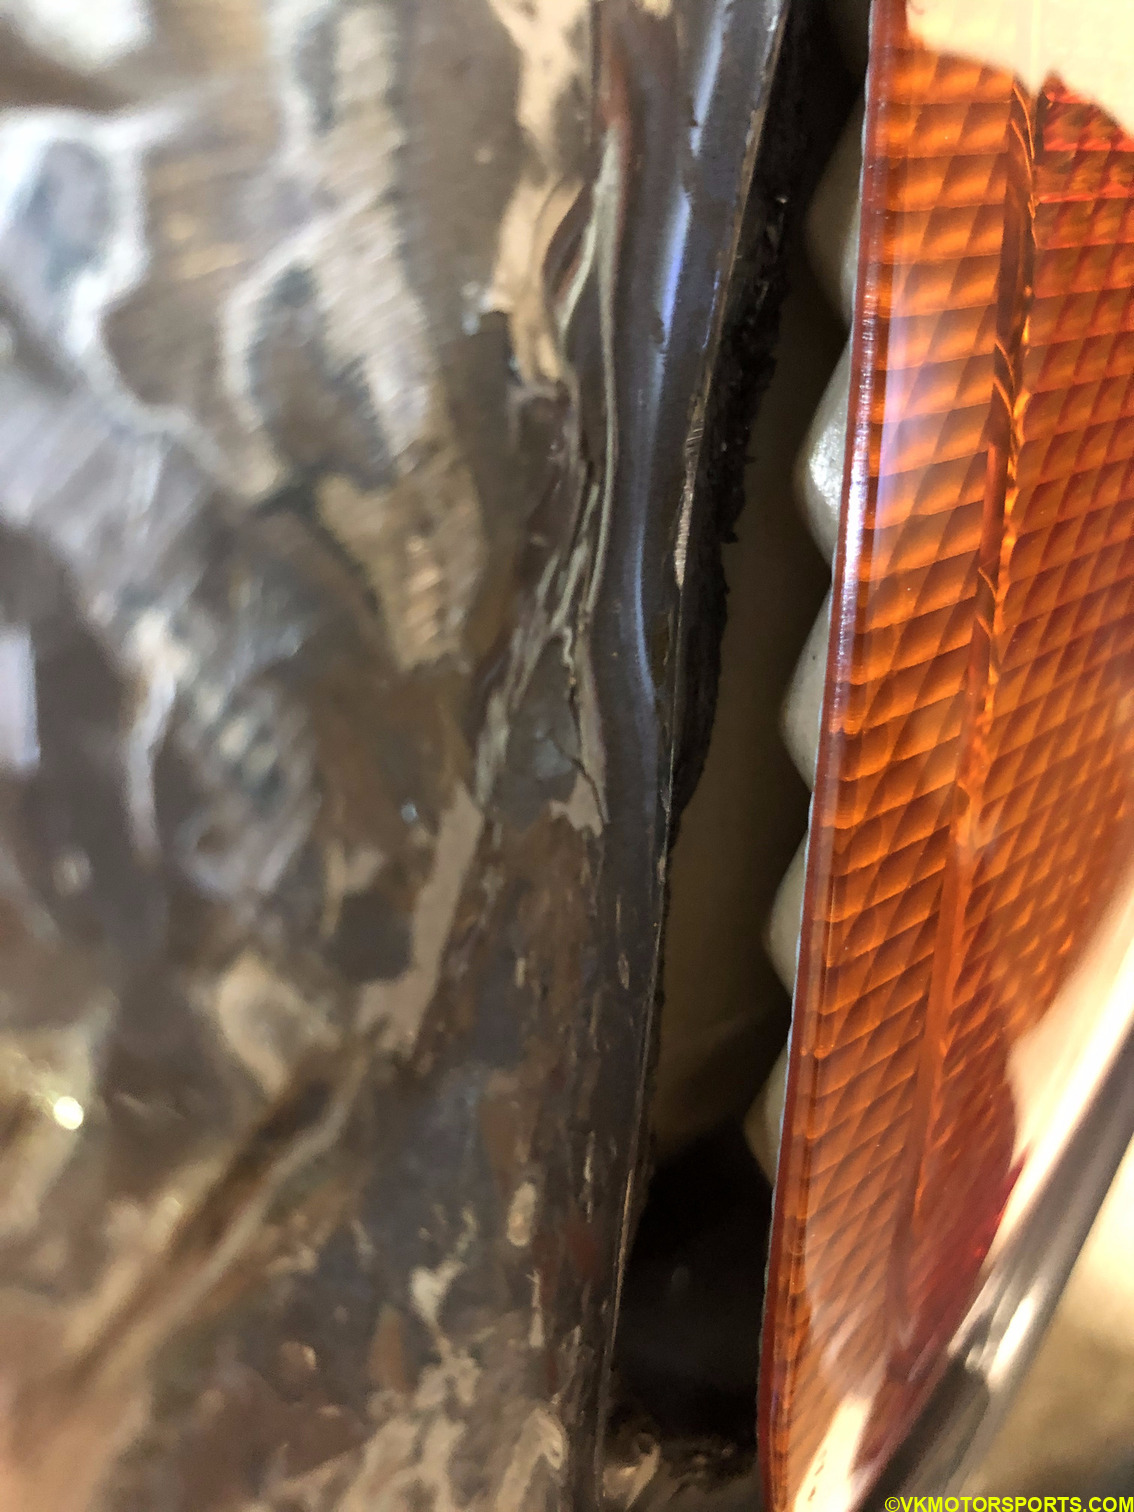 Figure 15. There is a gap
A year went by, the pandemic was happening, and I got discouraged with the body work. I did other things on the car such as brakes and an oil change, but the dent stayed the same even after a year (Figure 16).
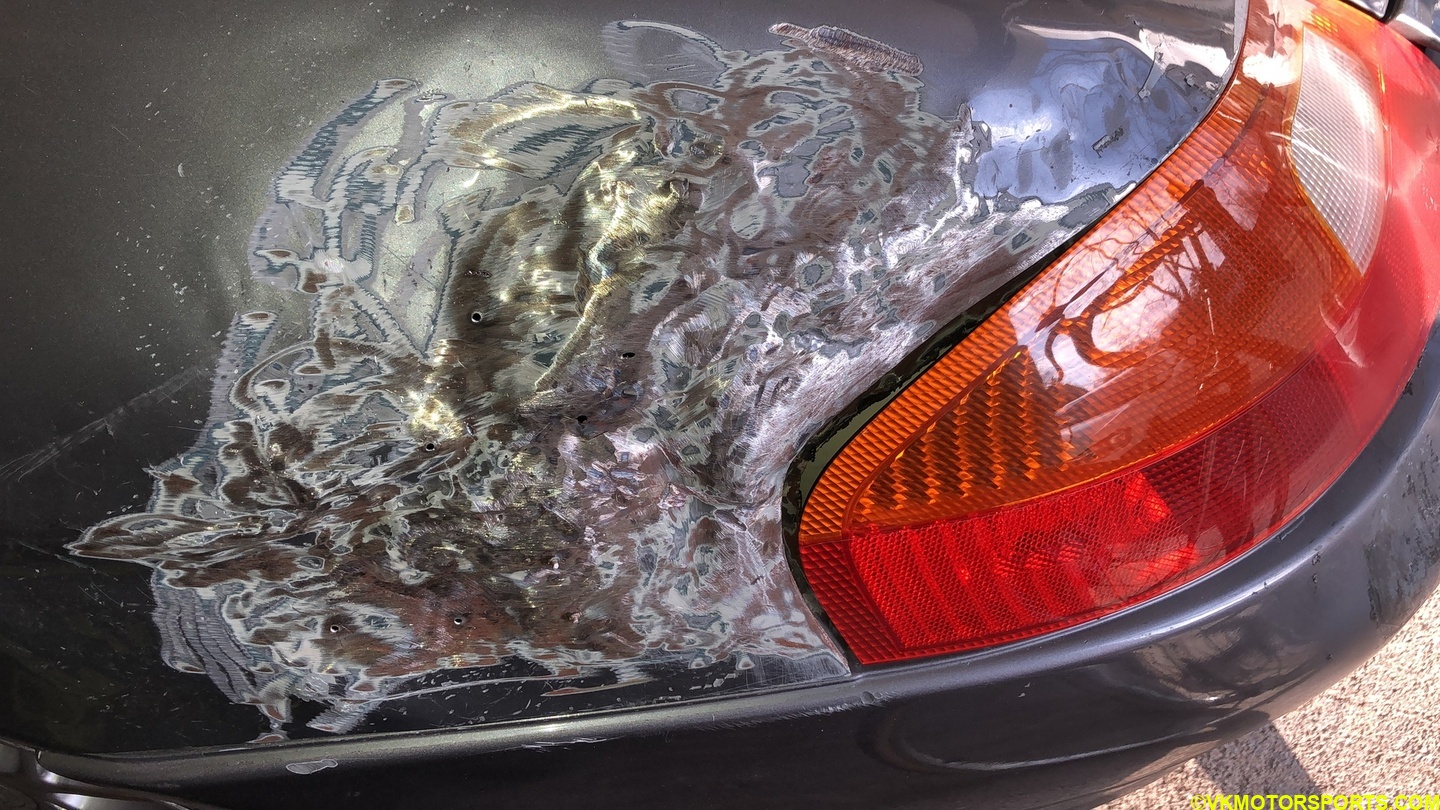 Figure 16. No changes done in a year
Hiring a professional
I gave in and hired a mobile body shop from CraigsList (Figure 17) who agreed to do the dent fixing and paint work for a reasonable cost of $1,050.
 Figure 17. Hired a mobile body shop
In two hours, what I couldn’t do over several days in 2019, he had completely streamlined the body using fiberglass and closed the gap (Figure 18). This is what 40 years of body work experience looks like - art.
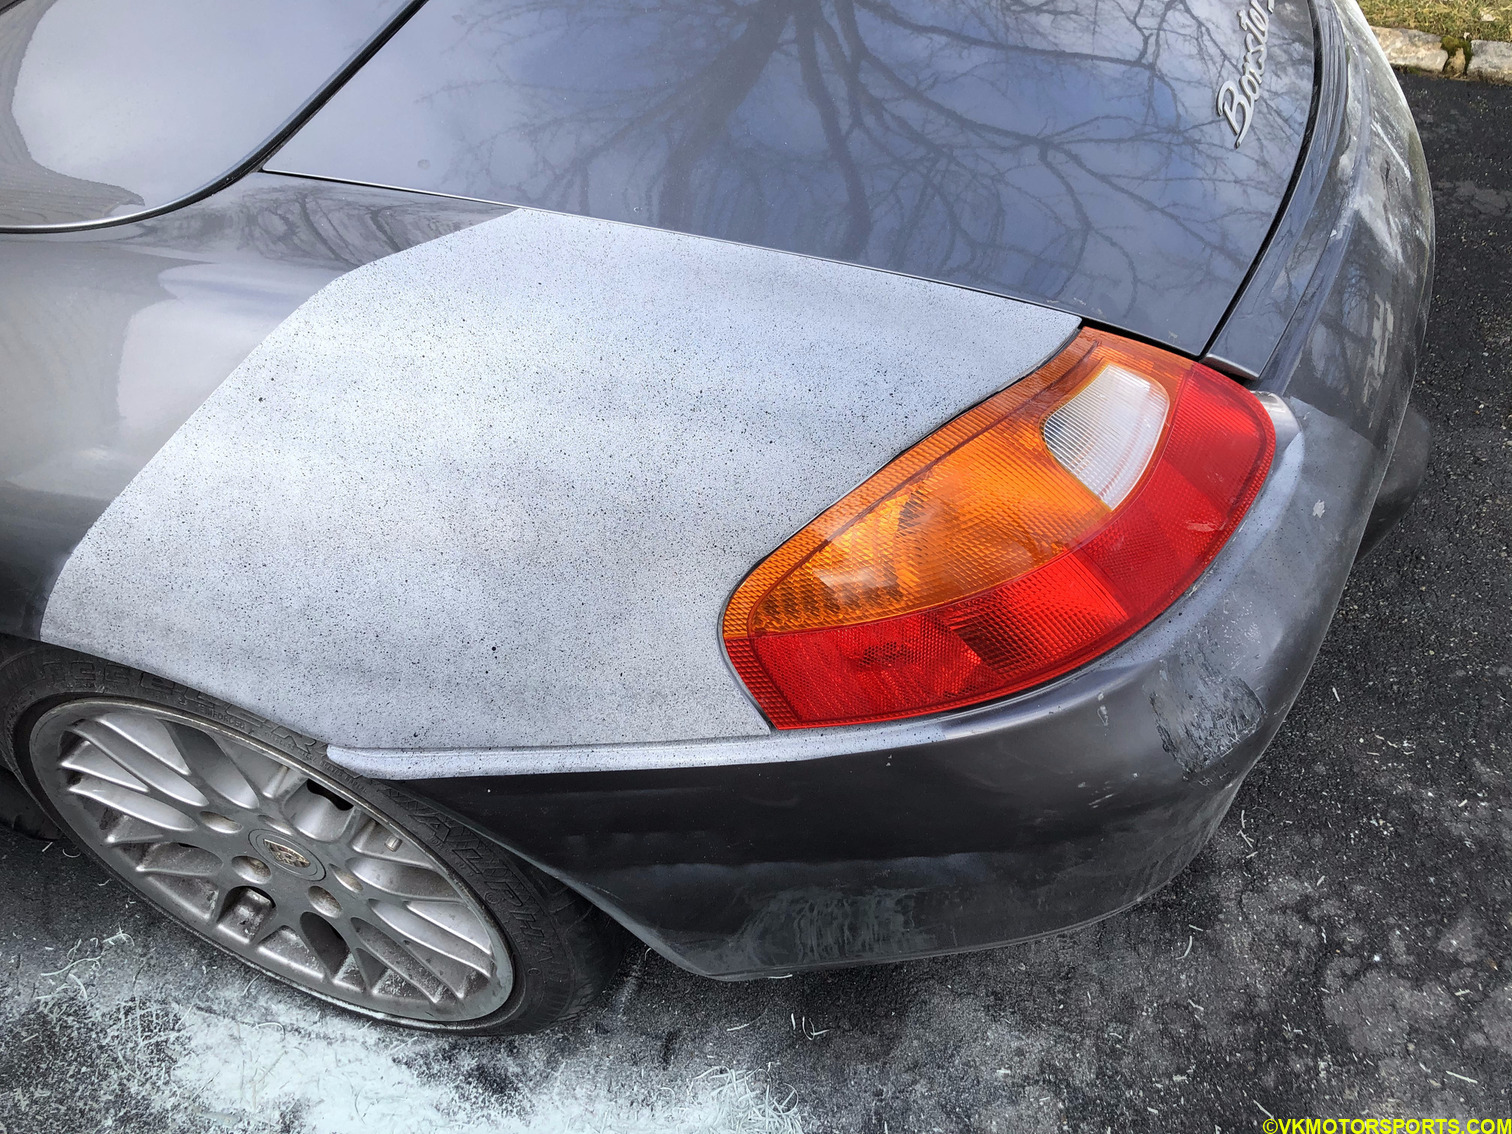 Figure 18. Two hours later - art !
He then prepped the car for one coat of primer (Figure 19), followed by two coats of matching paint based on the car’s VIN (Figure 20). He also touched up the bumper scuffs (Figure 21).
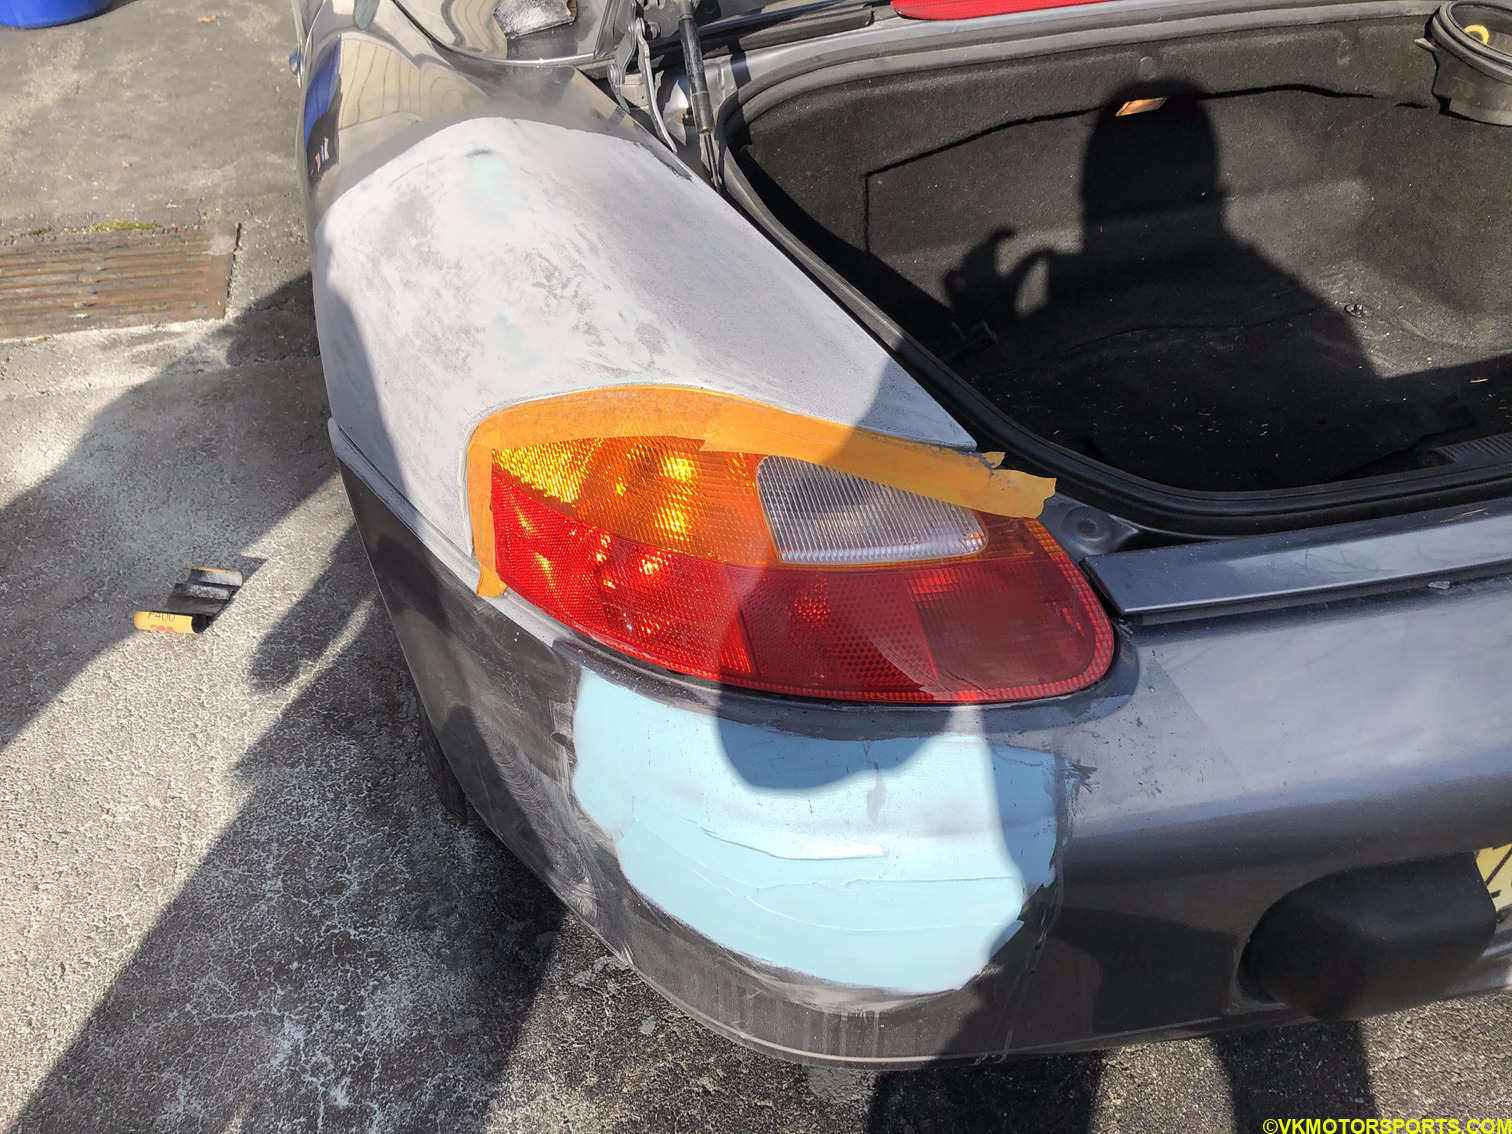 Figure 19. Preparing for paint
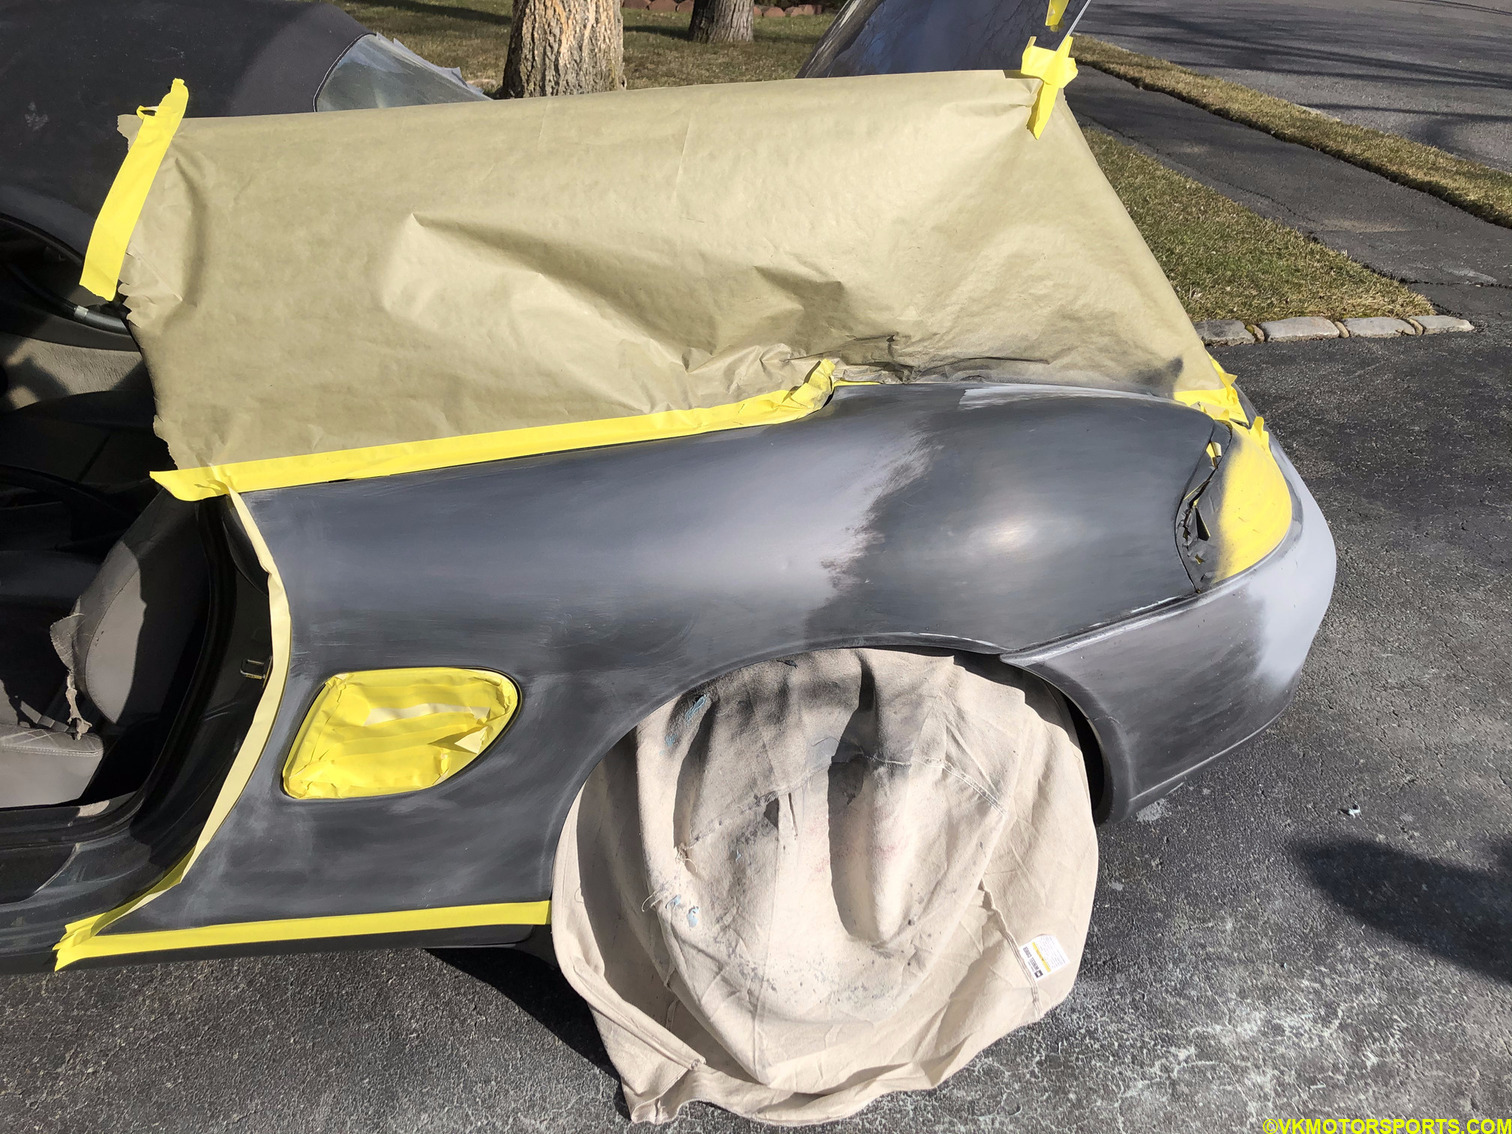 Figure 20. First paint coat
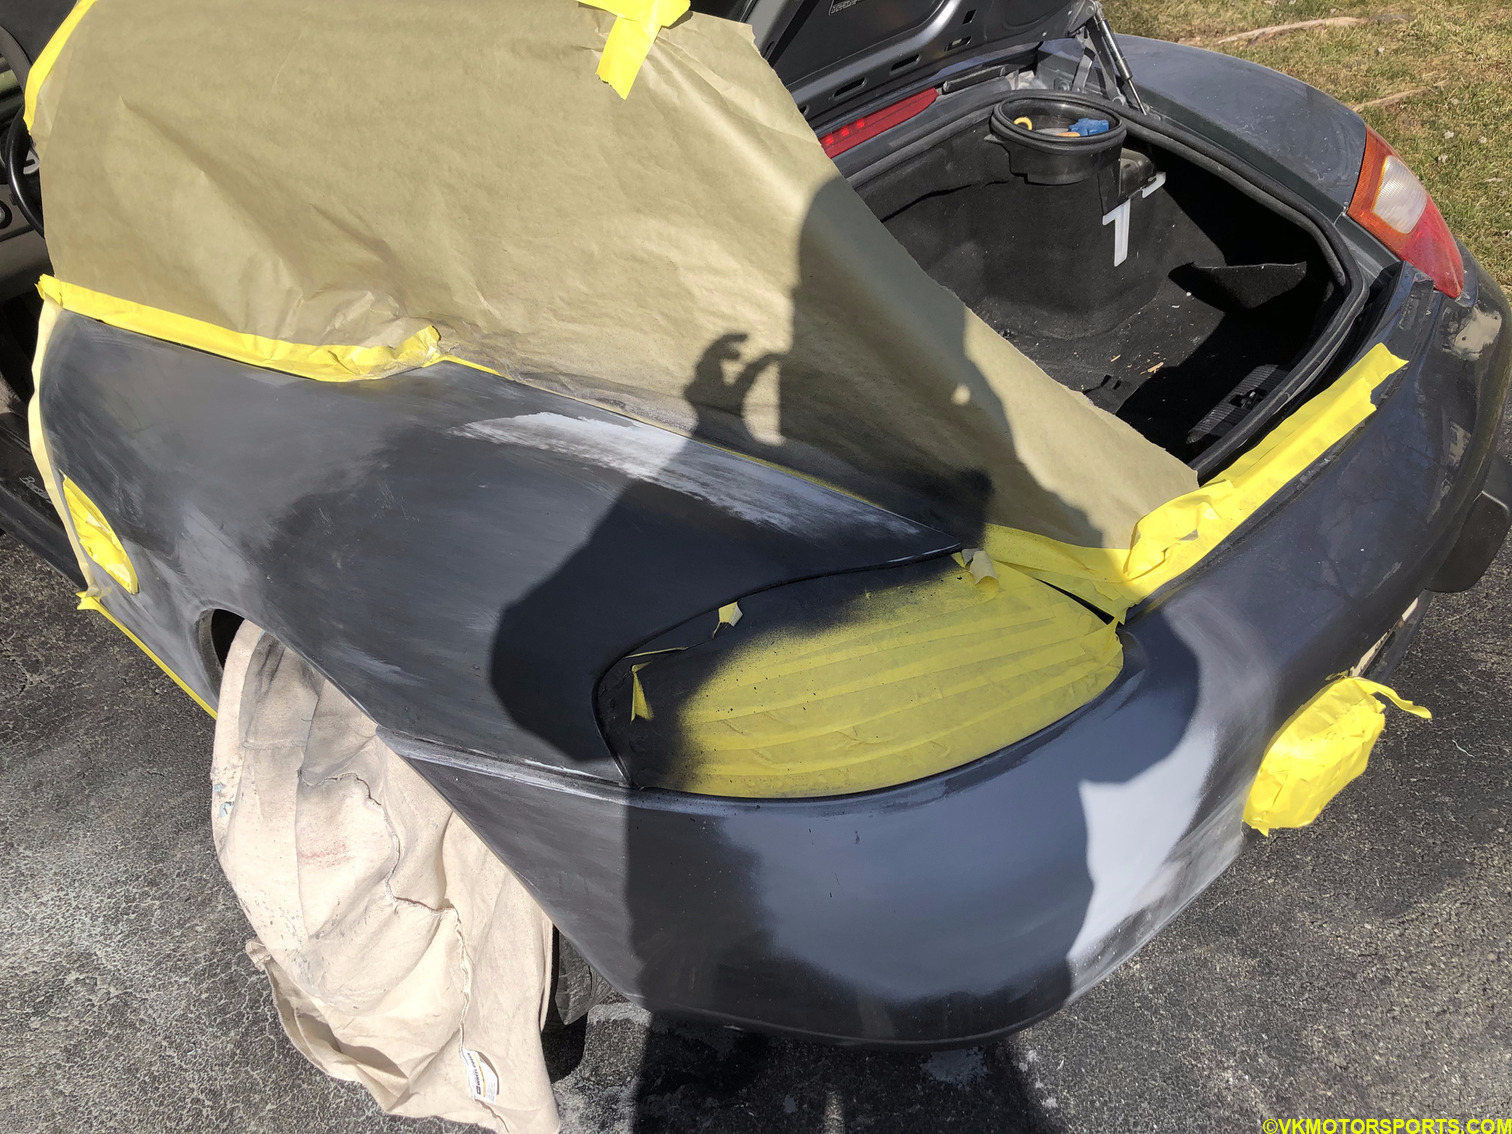 Figure 21. Touch-up the bumper
And three hours later it looked as good as new (Figure 22), and just needed to dry. I will polish it when it is not winter anymore.
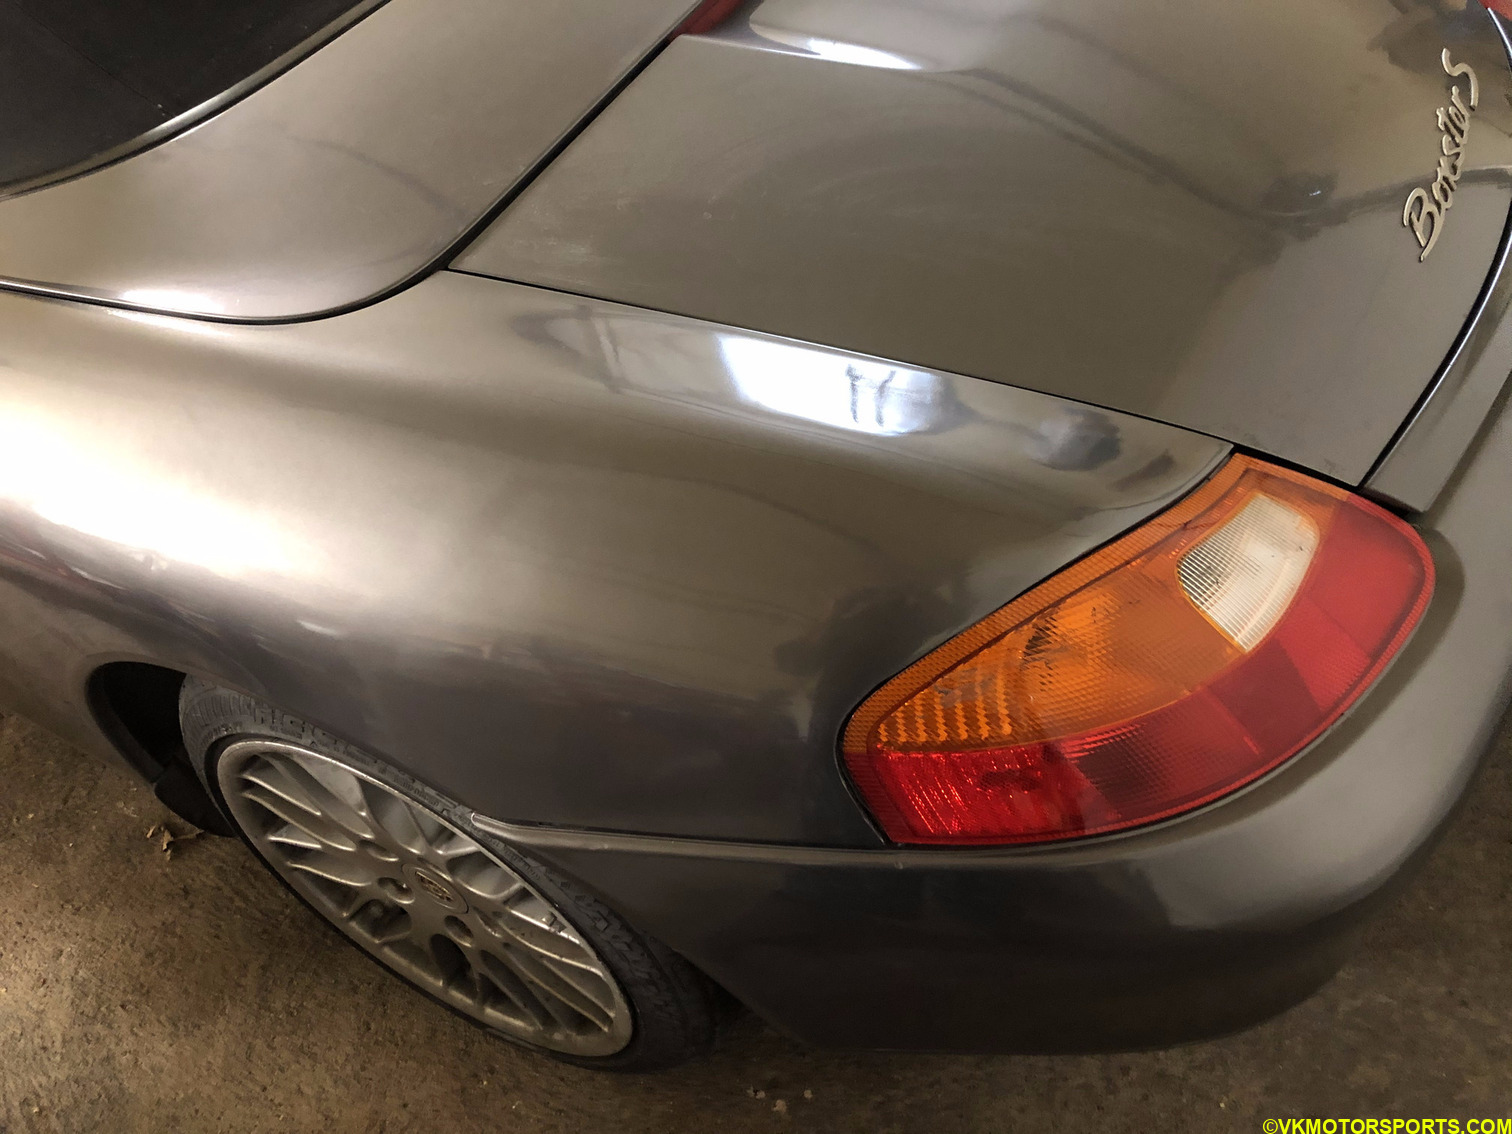 *Figure 22. Three hours later *
Clear coating the headlights
He also offered to fix up the dull headlights (Figure 23) with some sanding and clear coat. I got it done and it looks great as seen in Figures 24 and 25.
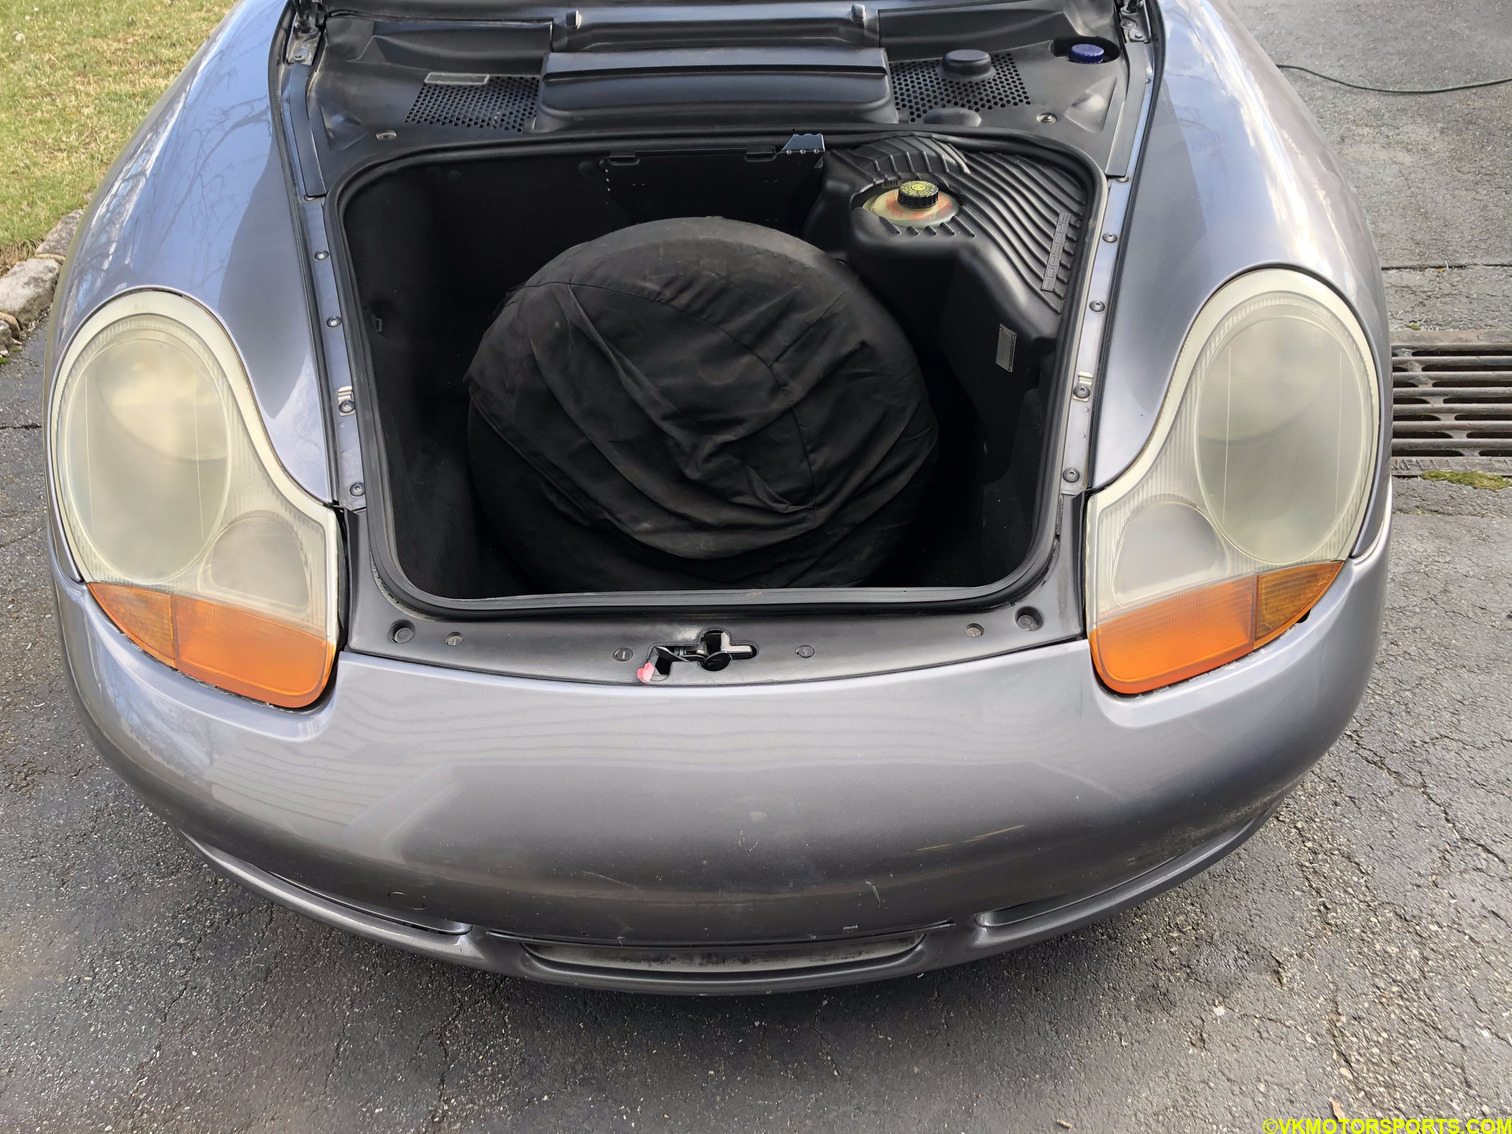 Figure 23. Dull headlights
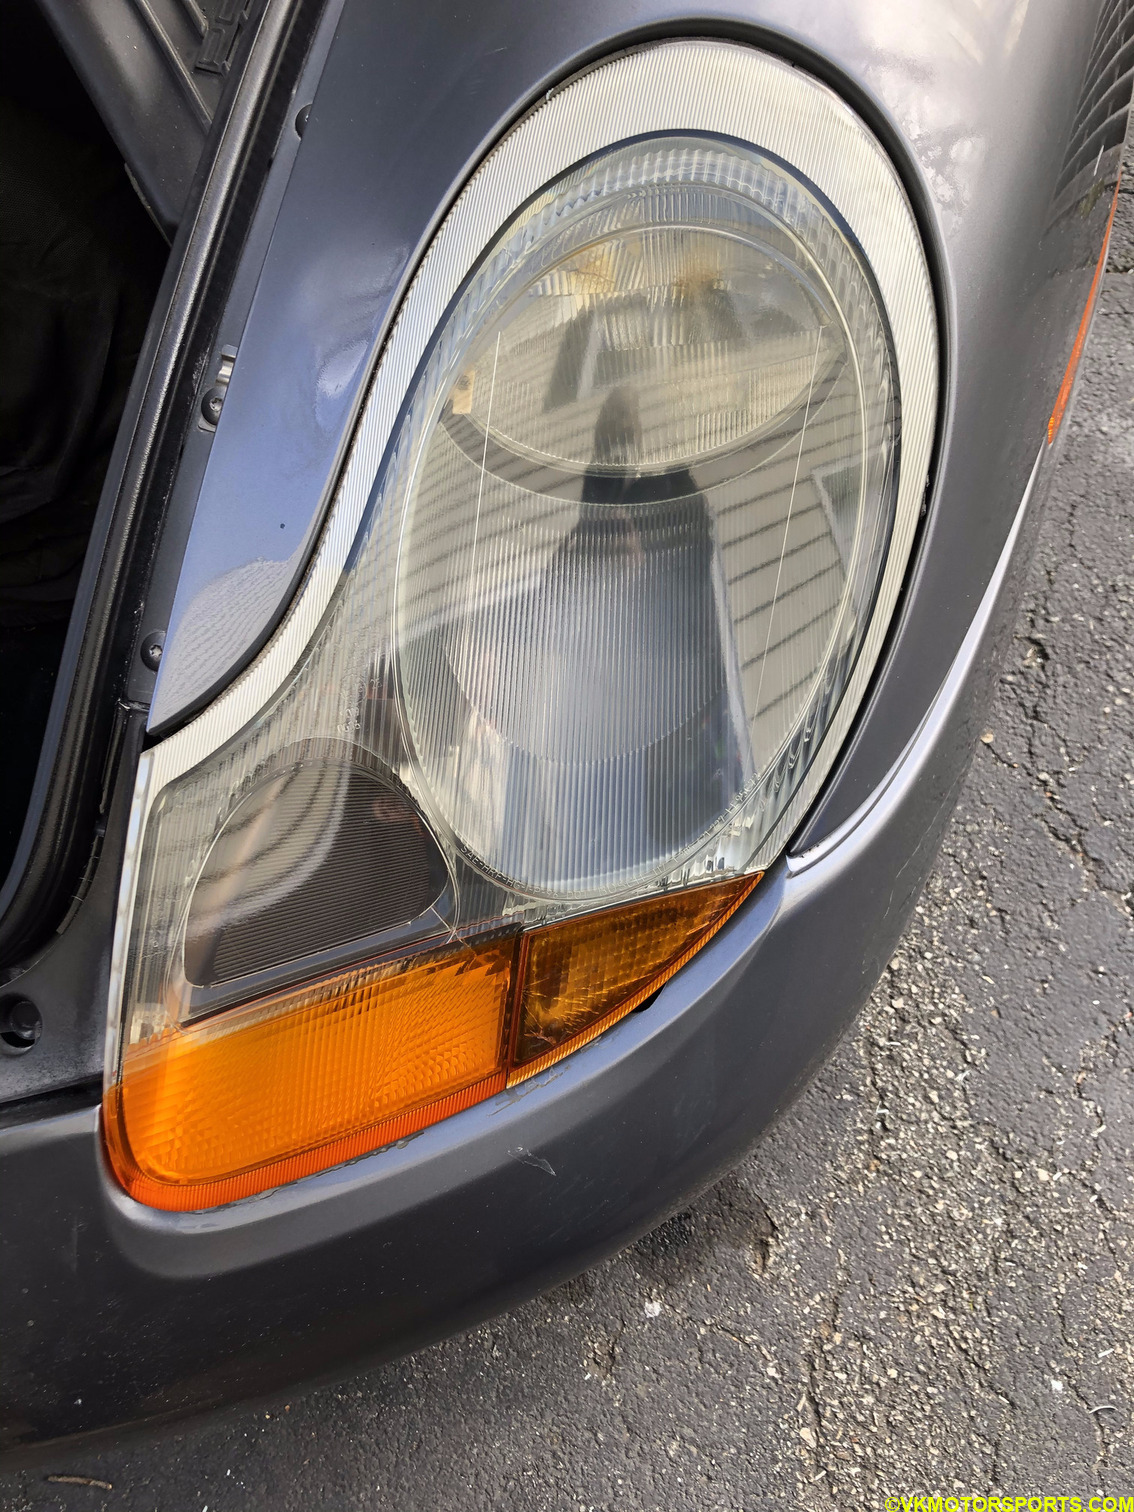 Figure 24. Driver light with clear coat
 Figure 25. Passenger light with clear coat
Time to get the title updated
I waited for a sunny day to take some good pictures of the final look of the car (Figure 26), that I would be using to get the salvage title converted to a rebuilt one. Fingers crossed !
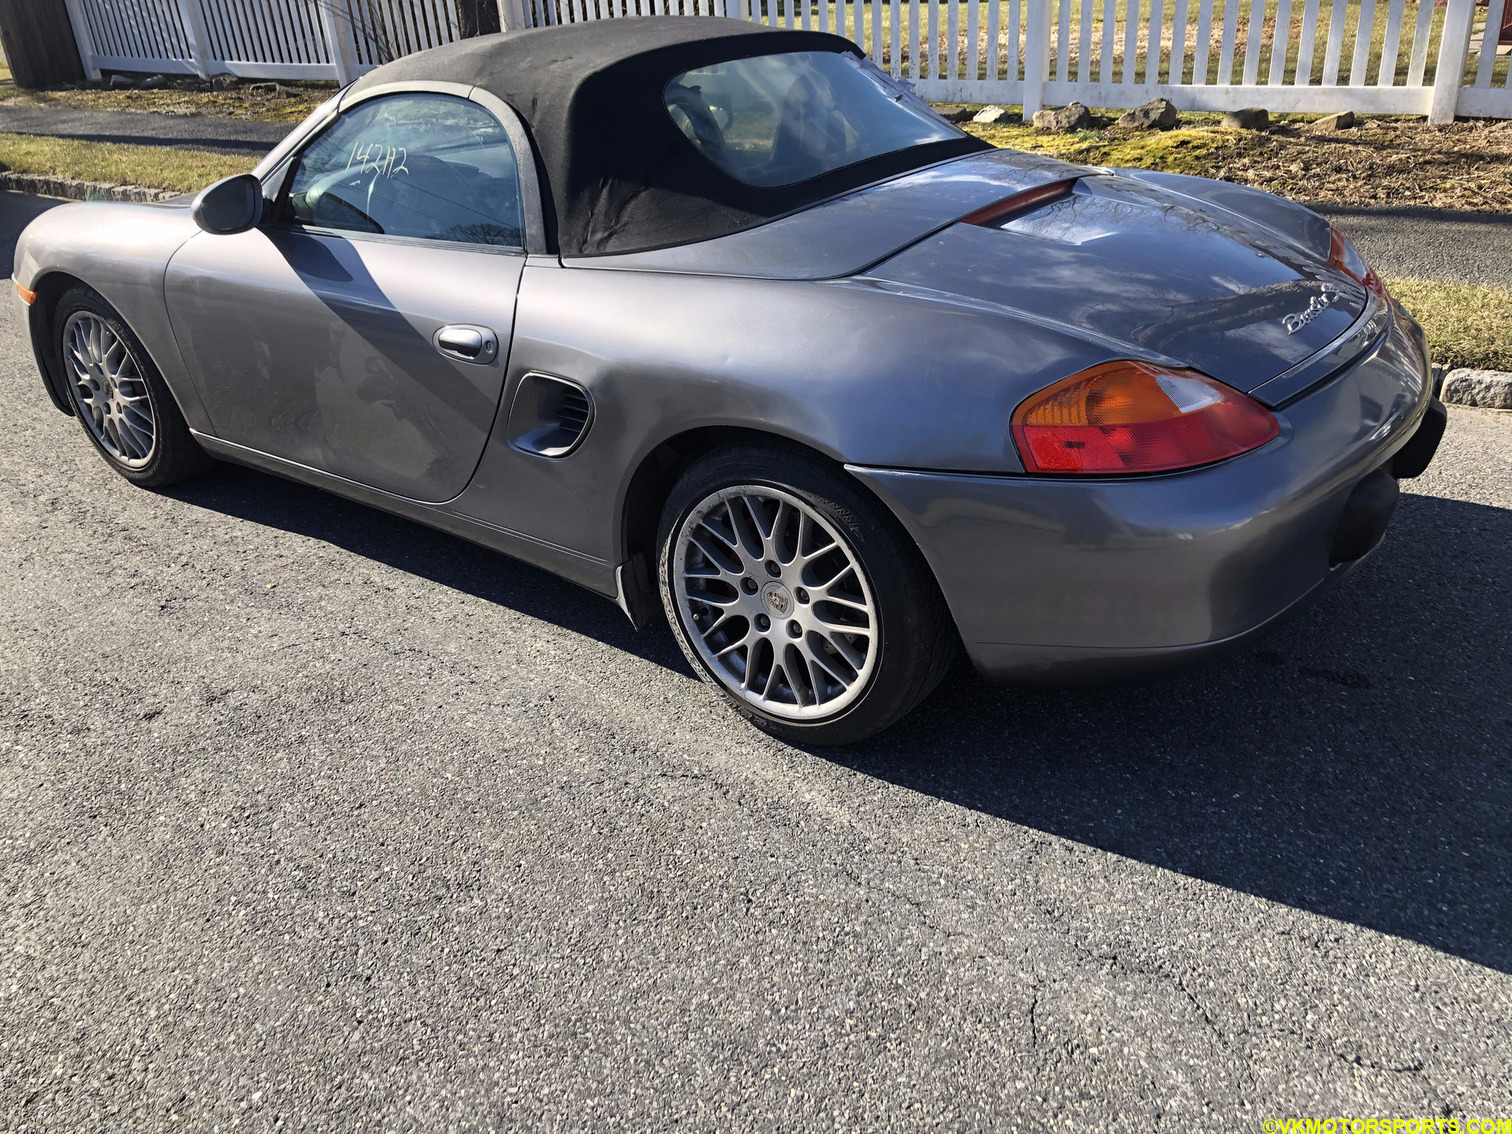 Figure 26. Final look in sunlight