The previous owner had used packaging tape on the 4 inch size tear in the vinyl window on the soft top (Figure 1). When I had washed the car in August 2019, I had taped it further with silver 3M duct tape which stayed on for quite a while. I decided to fix the vinyl window using Lamin-x transparent vinyl tape from Amazon for $14.
I also purchased a full replacement vinyl window and stitching kit for $99 from EMiata. Even though their website looks 20 years old, they do sell Boxster replacement windows and a full stitching kit. But this post is for the temporary fix, as the stitching requires about 4-5 hours of serious work. And it is still winter and too cold to be doing that outside.
First step to using the transparent vinyl tape was to clean out the previous tear and remove all residue, as seen in Figure 1.
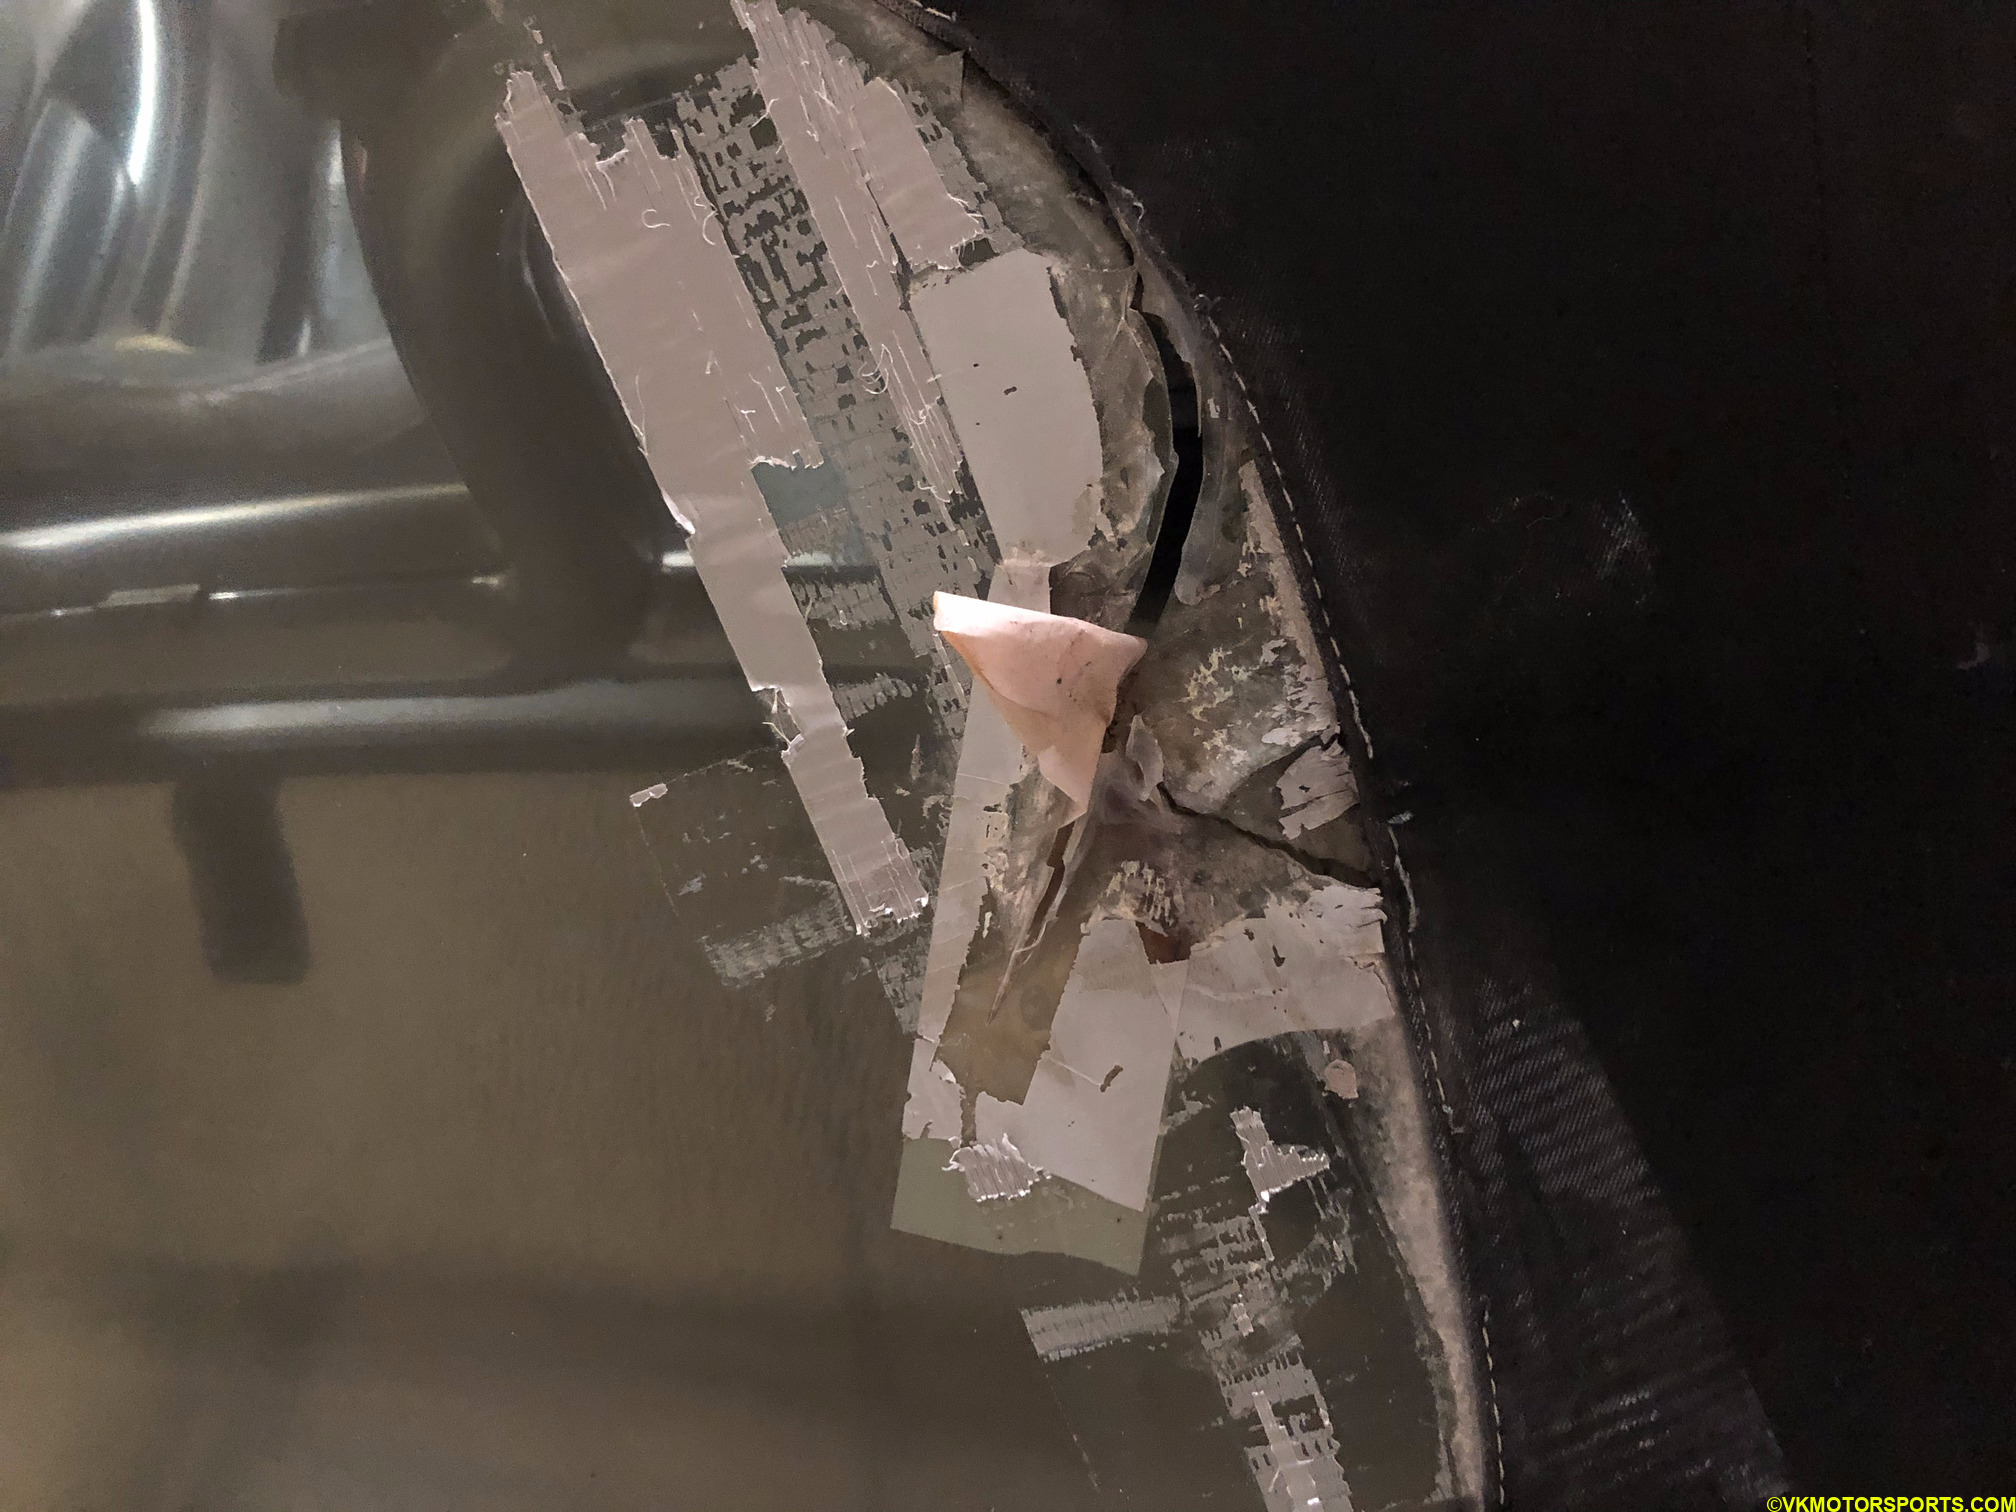 Figure 1. Residue from prior tape use
I first used a very sharp Xacto knife (or use a sharp box cutter) to scrape out all the prior tape and scratch out the thick residue from the duct tape.
I then used Goo Gone and sprayed it all over the sticky areas, both on the outside of the vinyl window and from the inside of the car. After 2-3 minutes, I tried wiping it off with a wet cloth but it did not come off. The sticky residue was very strongly set into the plastic.
Steel wool helped, and I scrubbed everything out with some elbow grease (i.e. hard scrubbing) and steel wool. It took about 2-3 hours to get this removed fully. Figure 2 shows the closeup of the sticky residue removed, and the full tear.
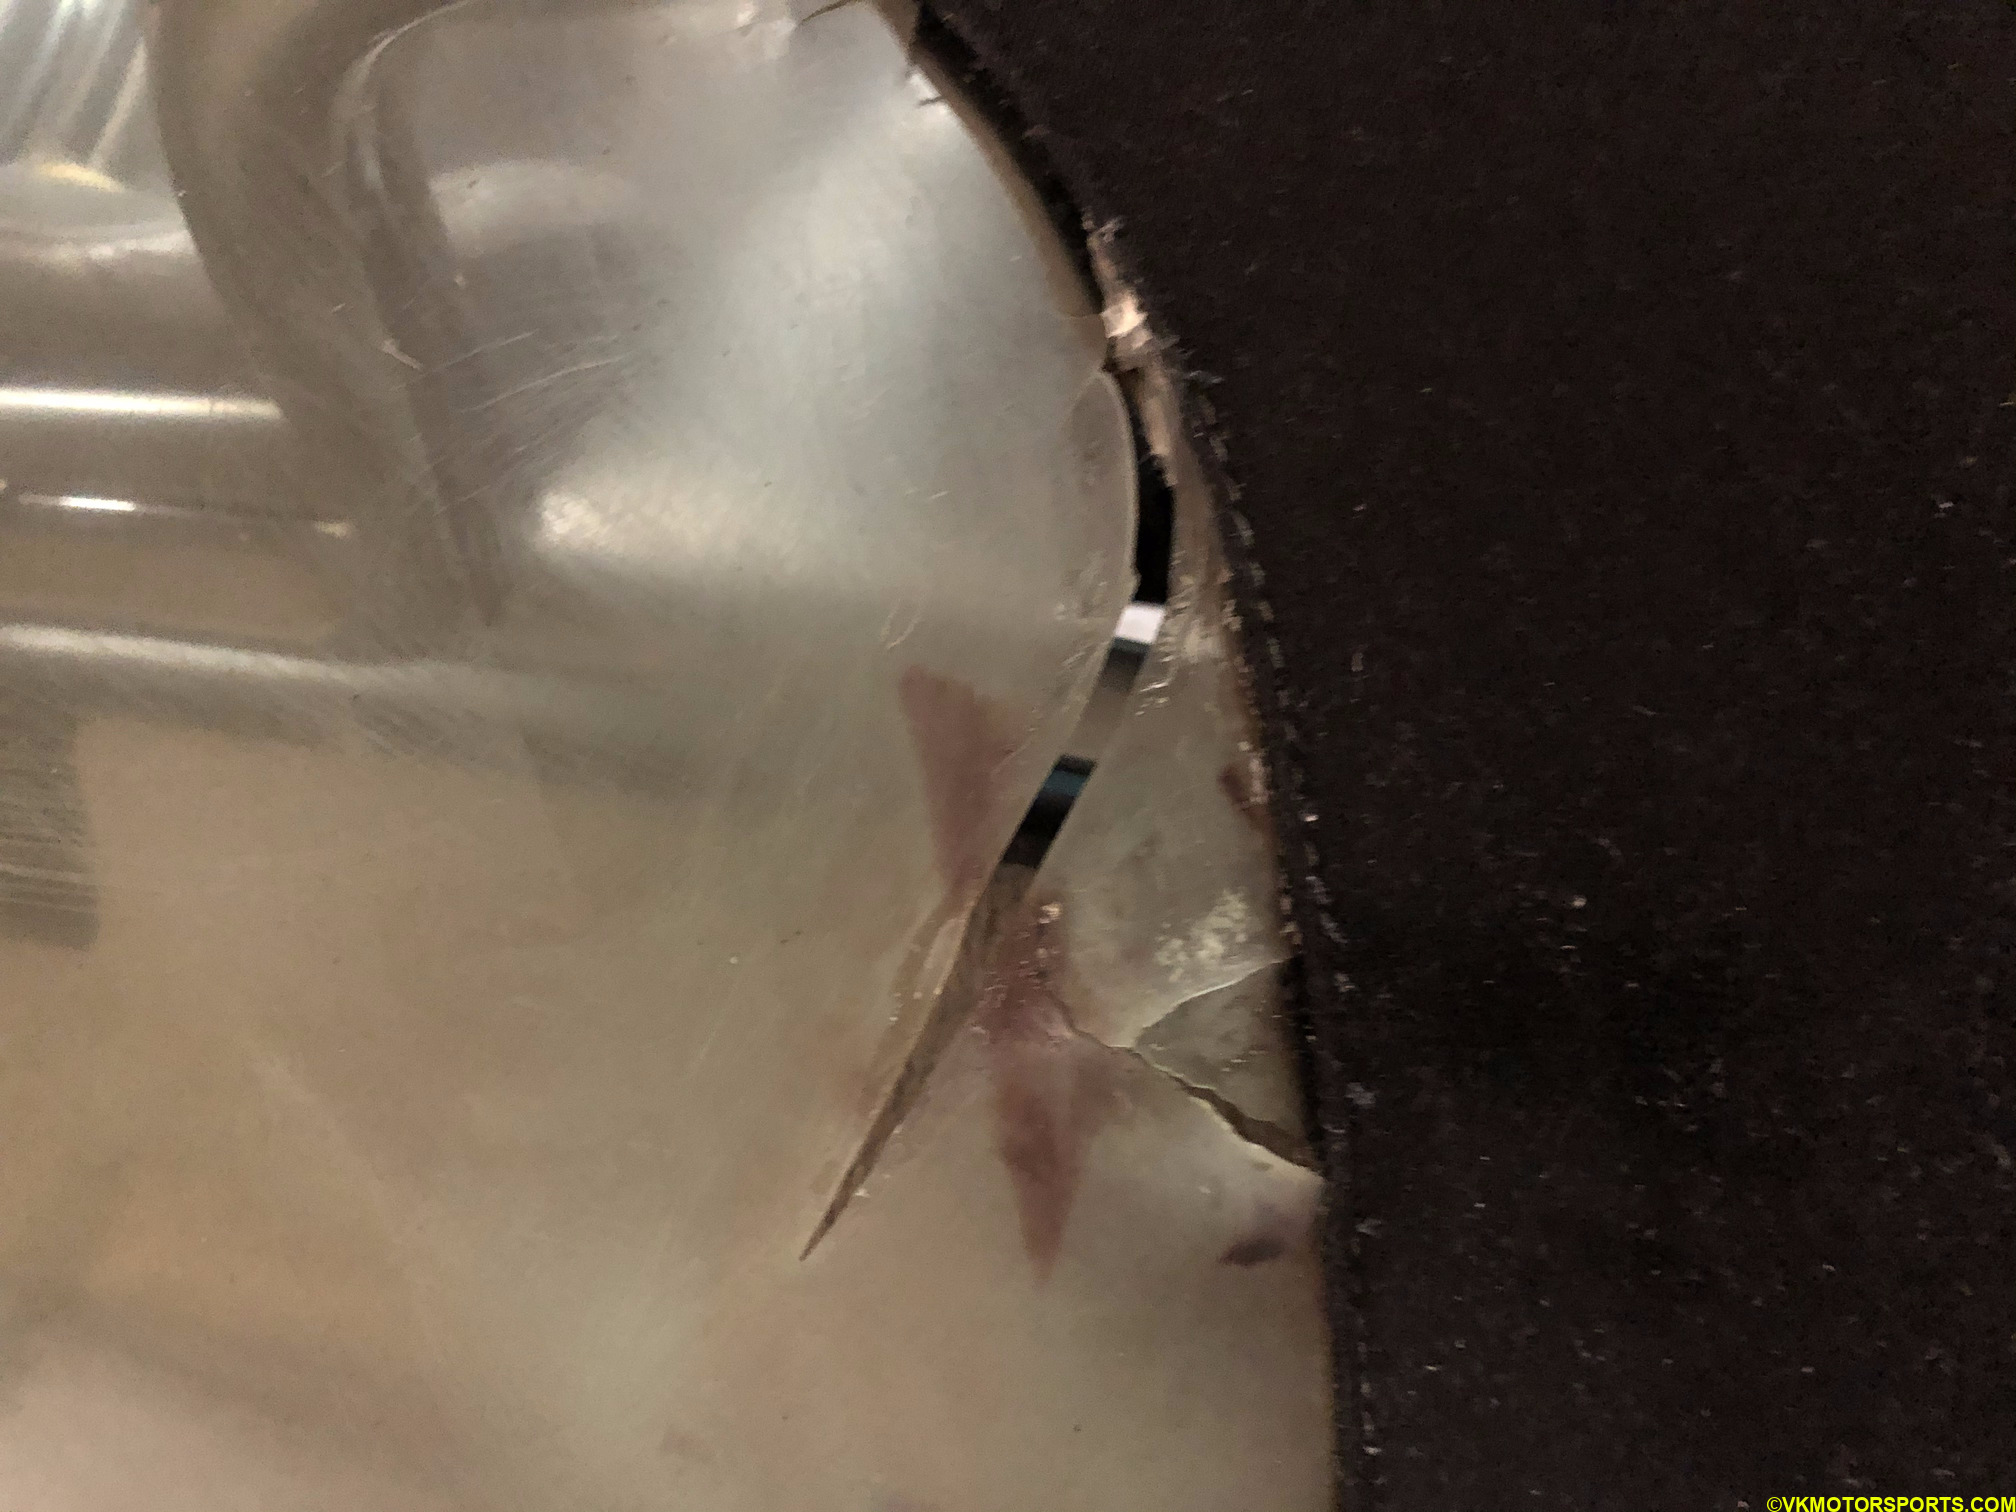 Figure 2. Vinyl window tear closeup
It looked clean enough, and then with some soap and water I cleaned the vinyl window both on the outside and inside (Figure 2) and let it dry.
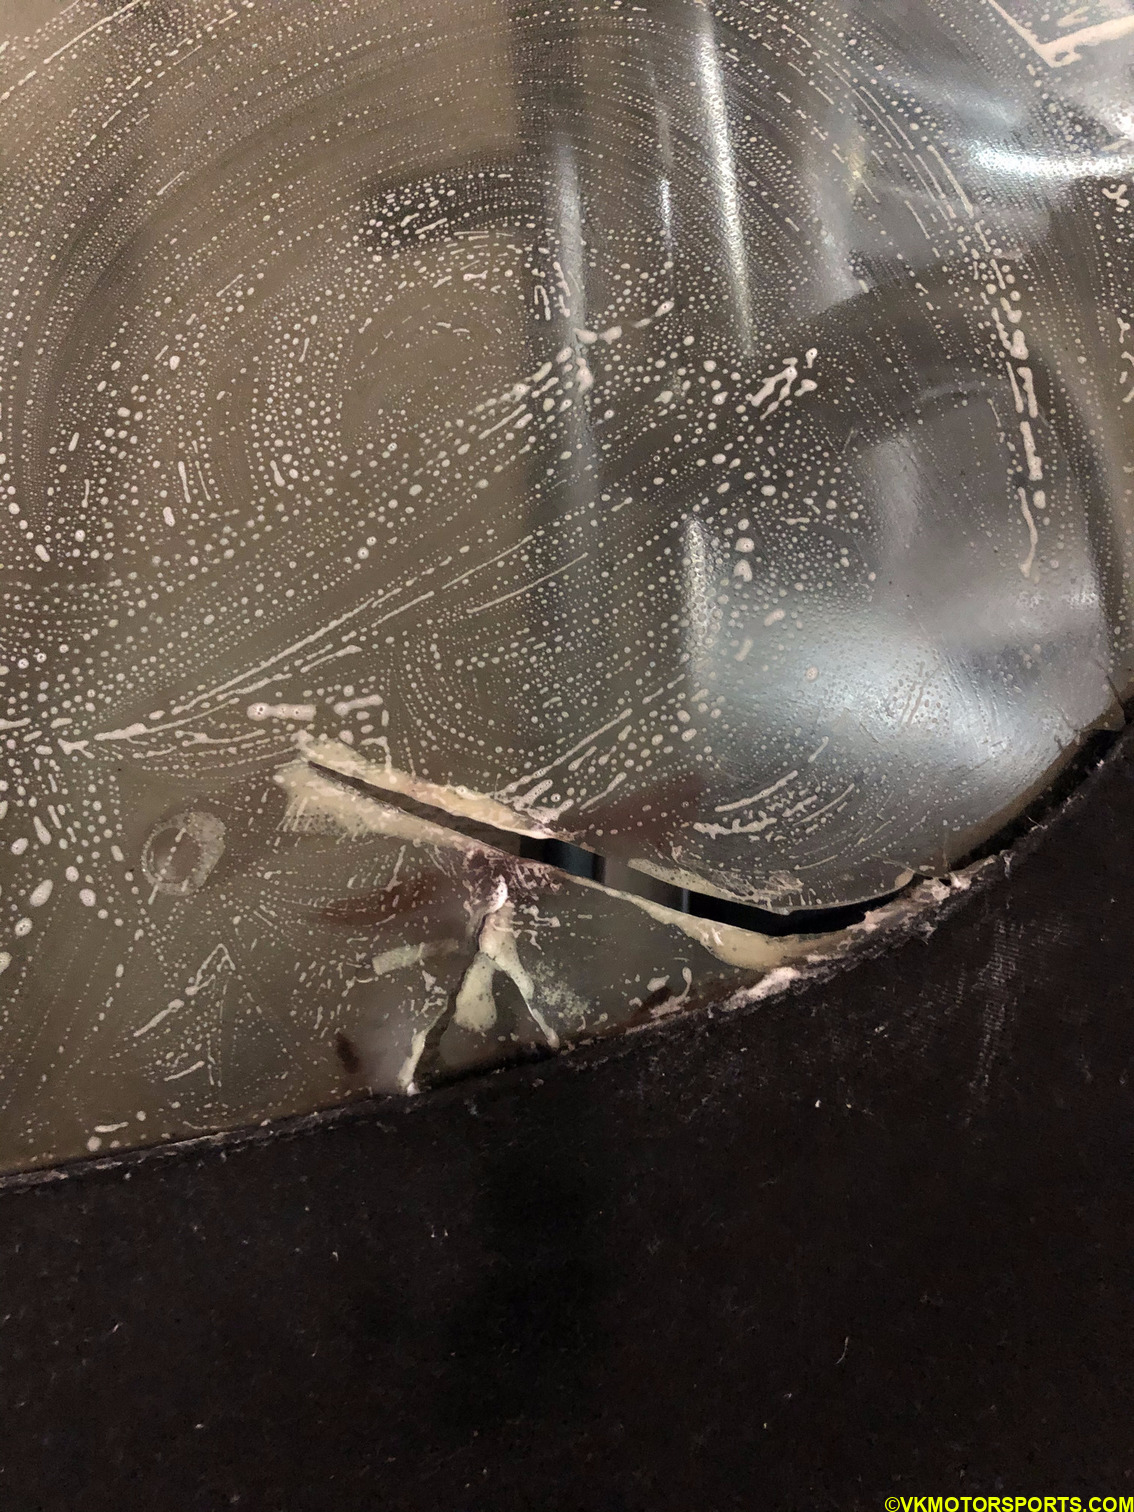 Figure 3. Cleaning the window with soap and water
After waiting a few hours for it to dry, I used glass cleaner to spray and wipe off with a microfiber towel.
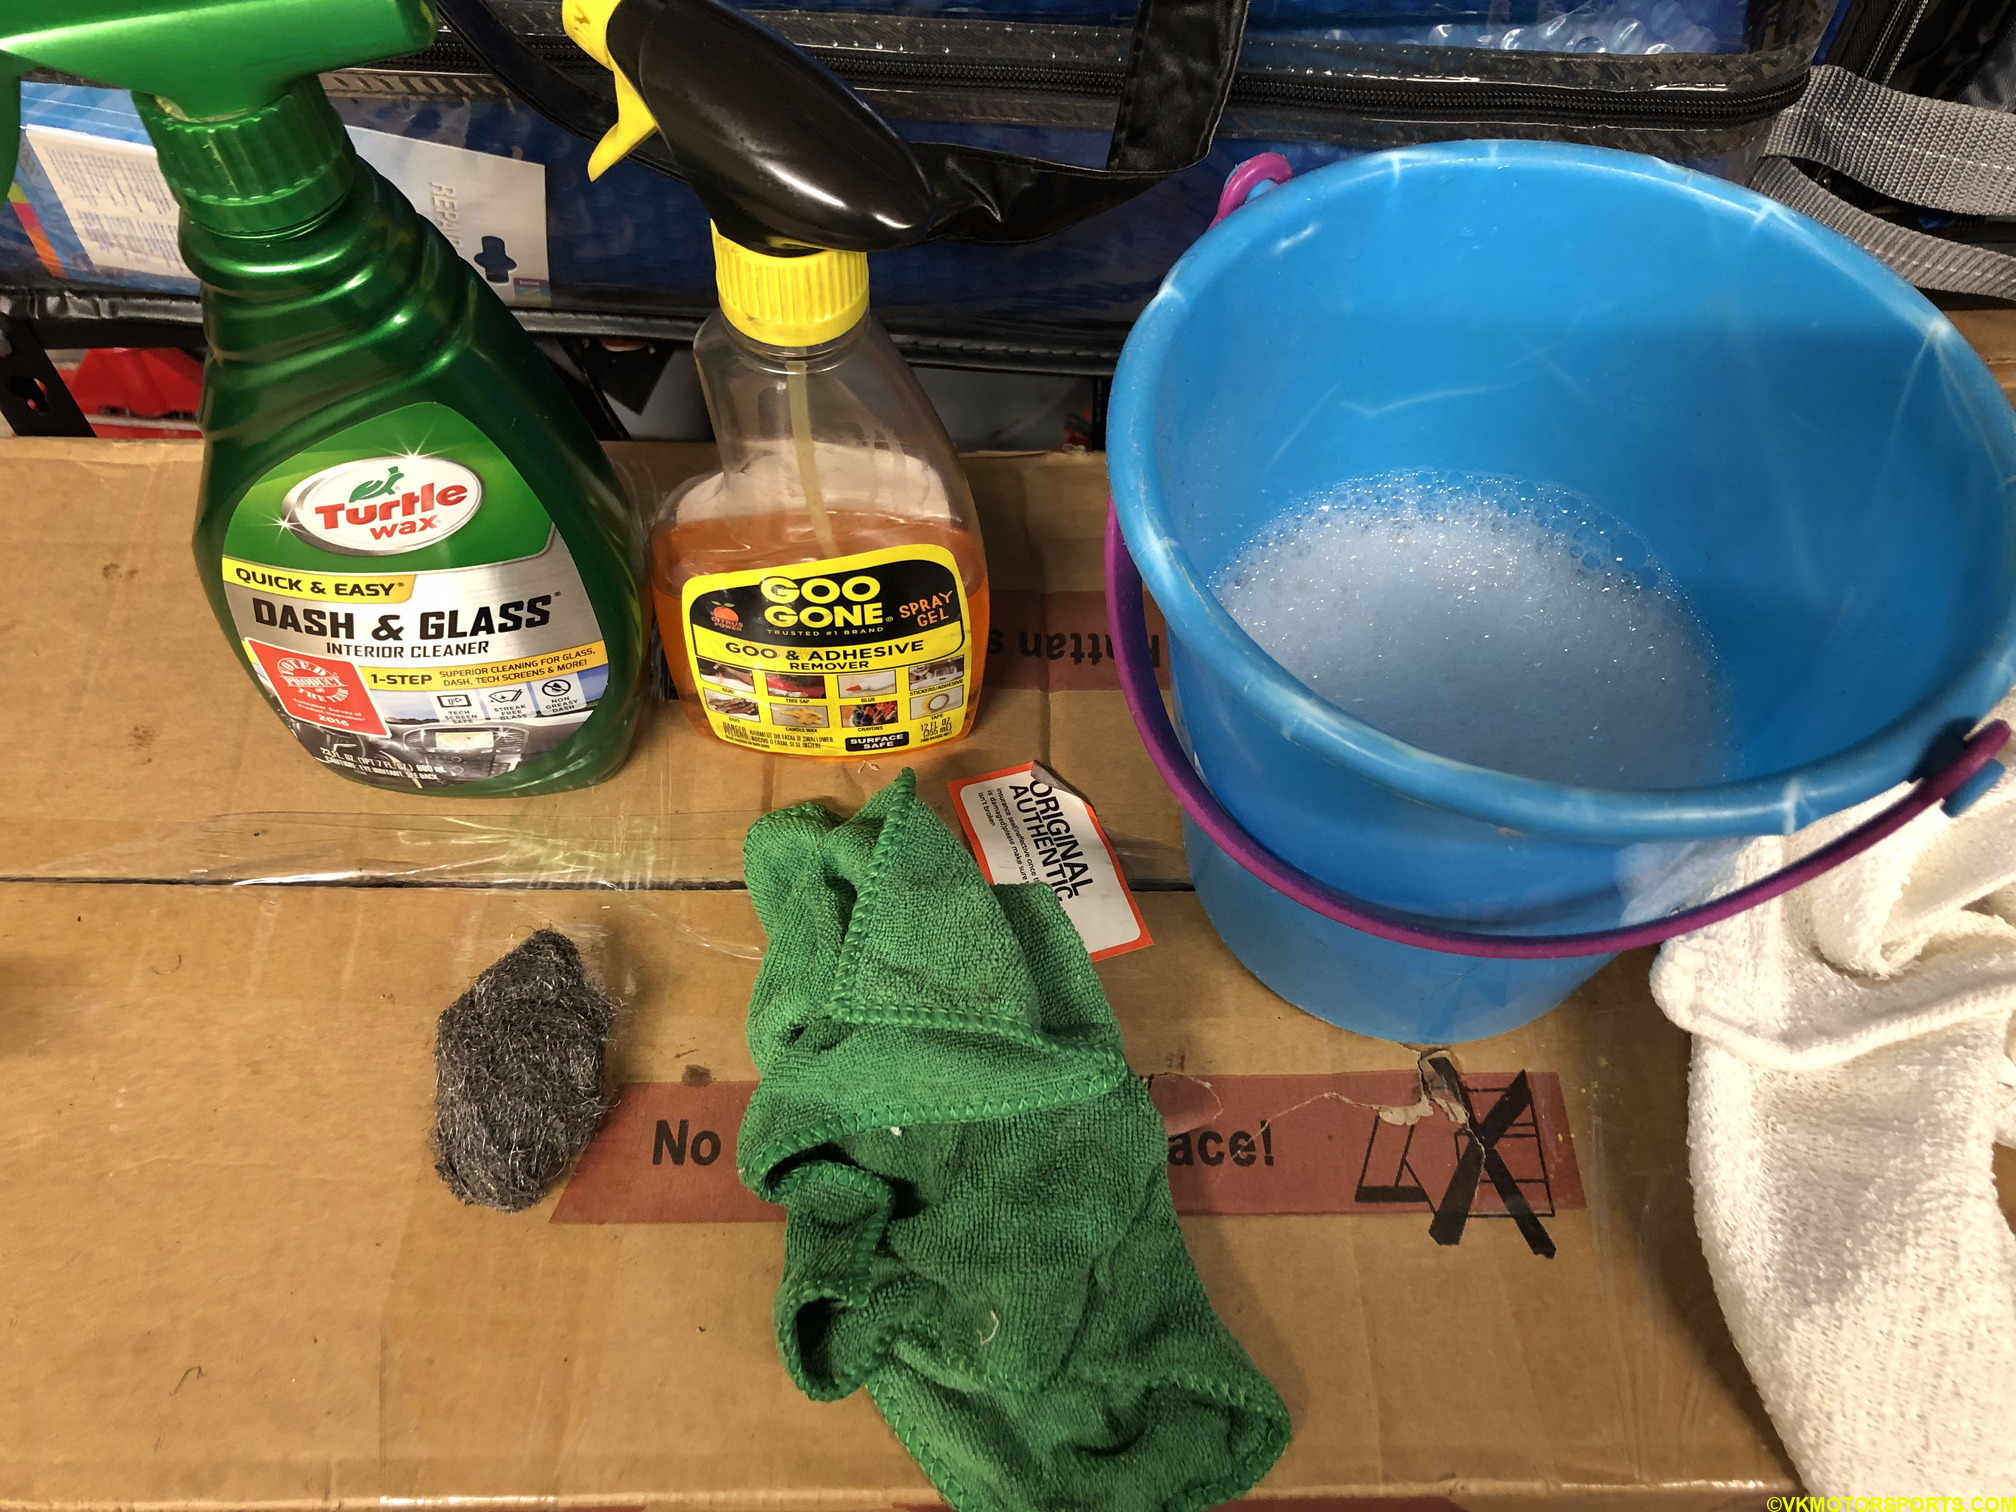 Figure 4. Cleaning Supplies: Goo Gone, Glass cleaner, Steel wool, soap & water in bucket, cotton and microfiber cleaning towels
When you look at the tear as a whole part of the window, it is quite small (Figure 5) and does not even bother me when I look out of the back window while reversing or in general. So the patching technique for now using transparent tape is good enough. Plus it is cheap, only a $14 cost.
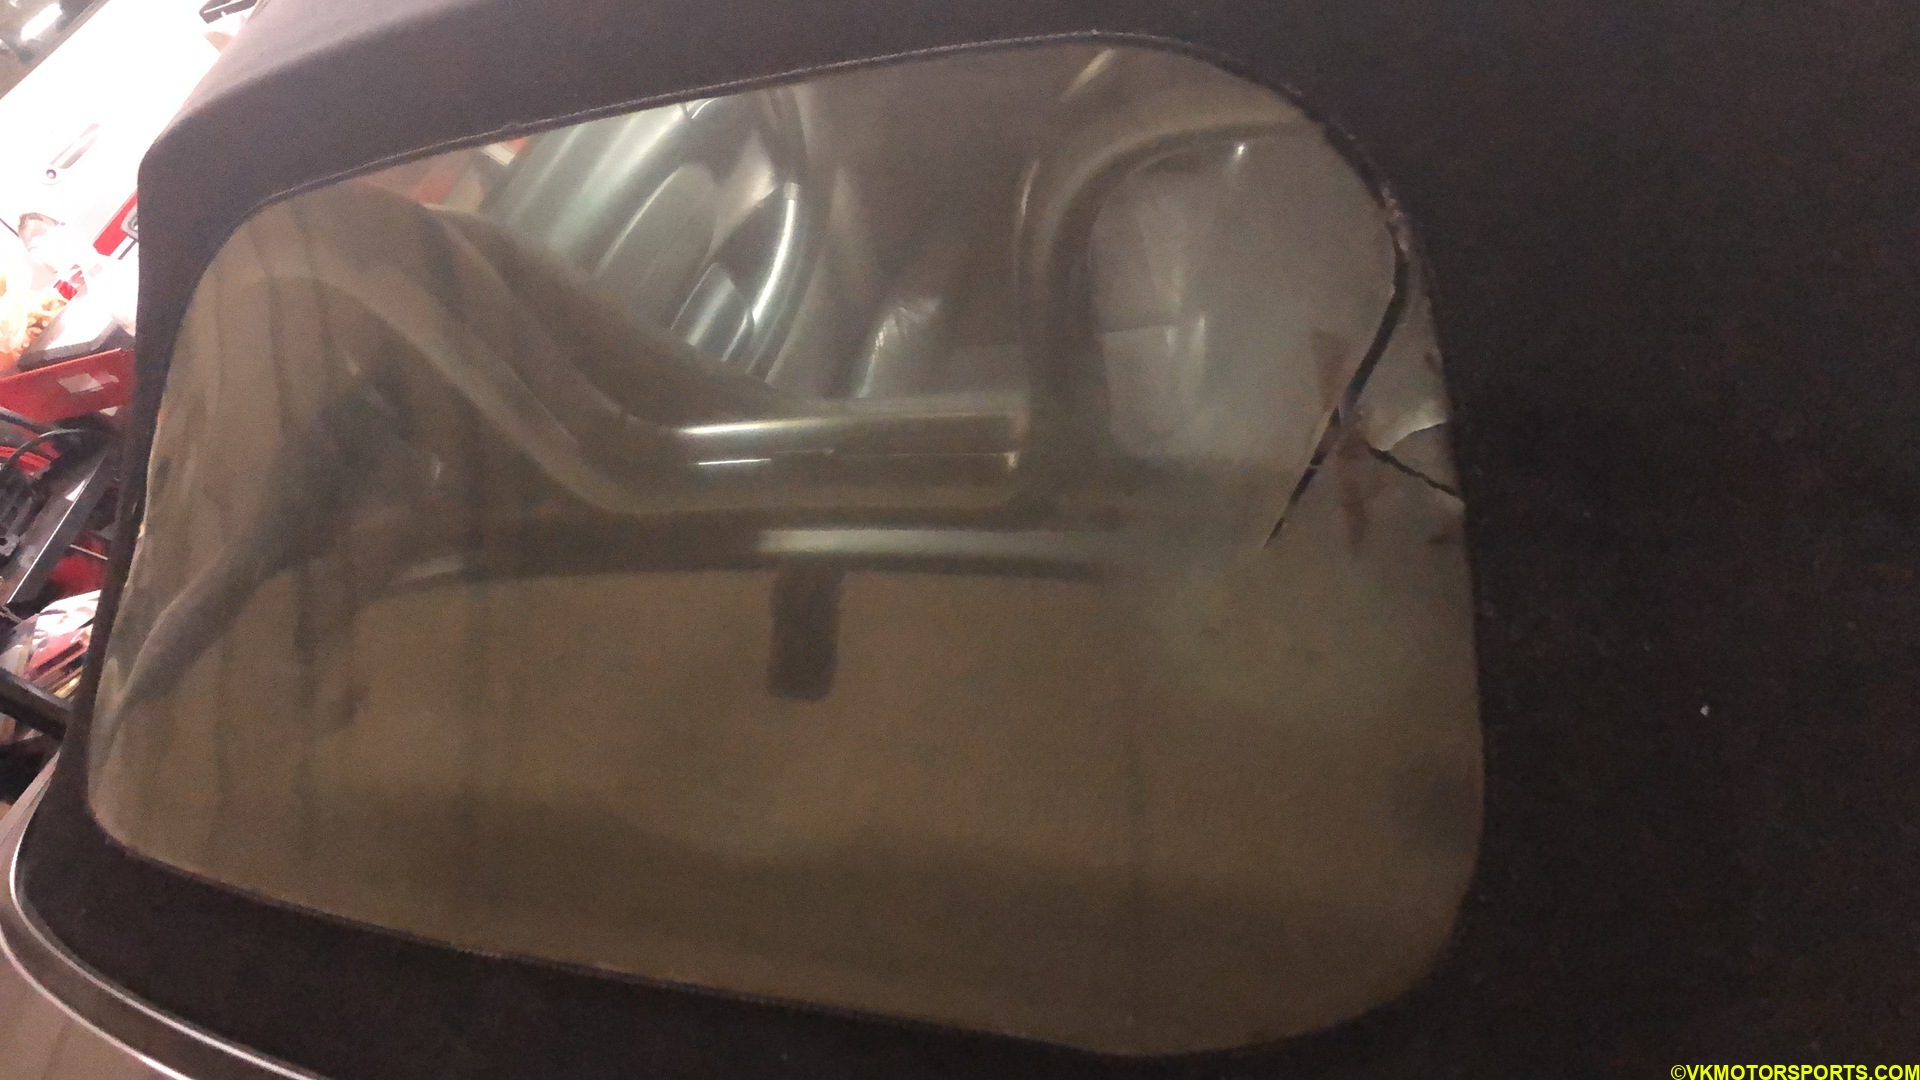 Figure 5. Cleaned soft top and vinyl window tear area
The tear was towards the corner of where the vinyl window met the canvas top. Some of the stitches had become loose and/or disappeared. Either way after waiting 24 hours for the whole window and soft top to dry out fully, I used the transparent vinyl tape to patch the vinyl window tear. Then for the portion of the tear that was closer to the canvas, I used black duct tape made by the Gorilla brand to patch up that area.
I also used tape on the other side of the vinyl window, i.e. from the inside of the car, so that it would stay stuck from both sides. I duct tape both sides of the canvas too.
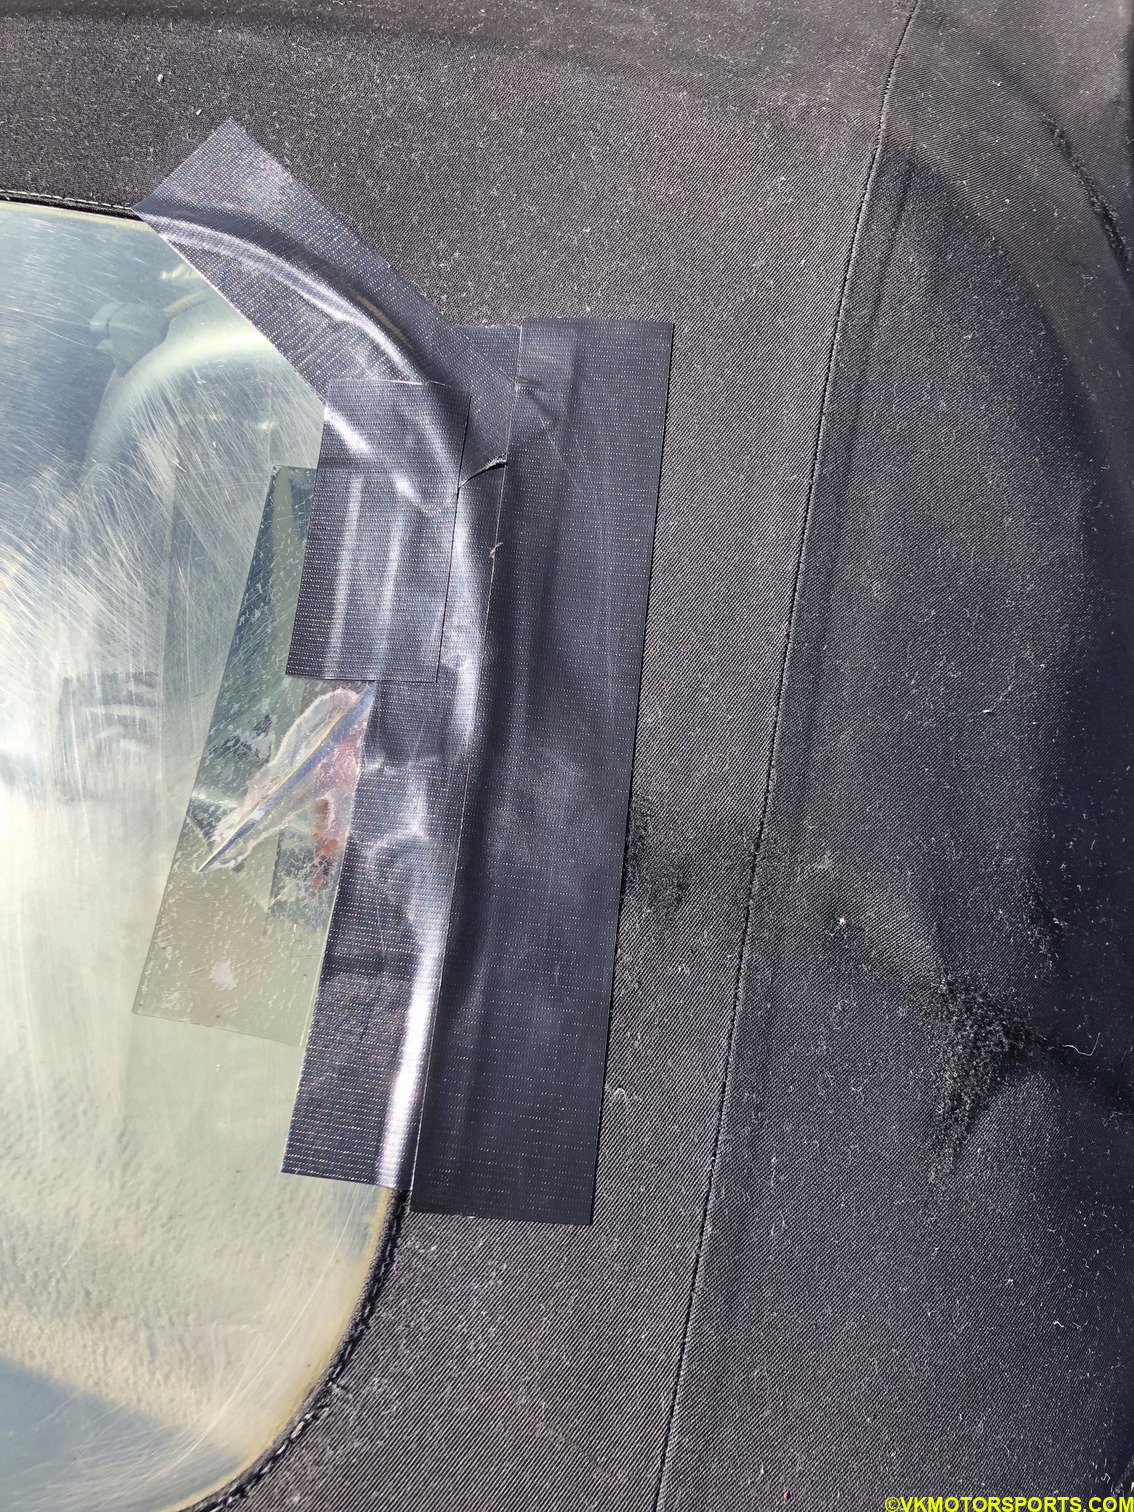 Figure 6. Patched soft top
This is now good enough to drive and does not leak any air through while driving. When summer time arrives, I will be doing the full vinyl window replacement by stitching a new one in. Need to practice a lot of stitching first, and looking forward to it.