In the previous post, I installed aftermarket seats in the 2005 G35 coupe.
However, the center console lid was still a faded beige color, so I purchased a red cover for the center console lid (Figure 5) from eBay for about $25.
This post describes how to re-upholster or install that red cover permanently to your center console lid to match the seats color.
HARDWARE REQUIREMENTS
- eBay center console lid cover
- 3M automotive double sided tape
- Titebond Multi-surface Glue or similar
- Phillips screwdriver
- Large Binder Clips: at least a pack of 20 maybe necessary.
- Magnetic Parts Tray
REMOVE THE CENTER CONSOLE
Step 1: Removing the center console lid is very easy. There are 7 Phillips-head screws (Figure 1) that you can open with a Phillips screwdriver, and the console lid comes off the interior body as shown in Figure 2.
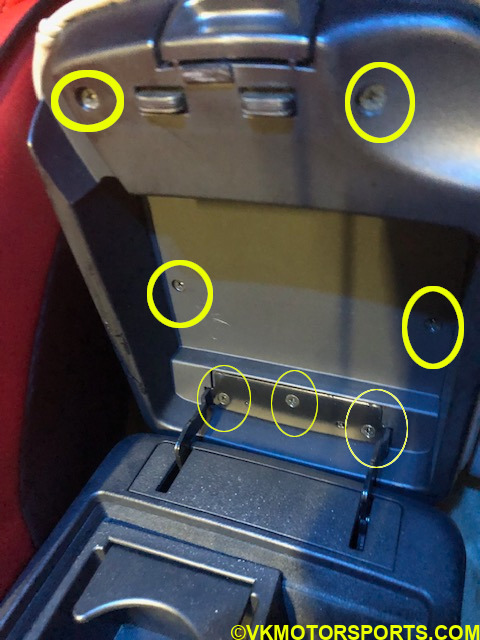
Figure 1. 7 screws in the center console lid
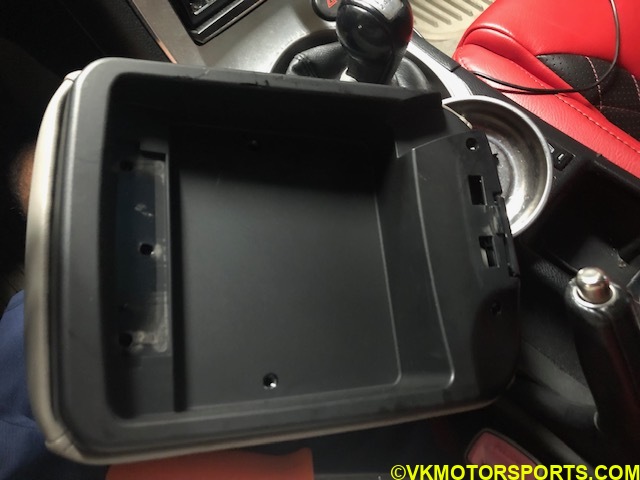
Figure 2. Center console lid off the center console
Keep your screws safely in a magnetic parts tray as shown in Figure 3.
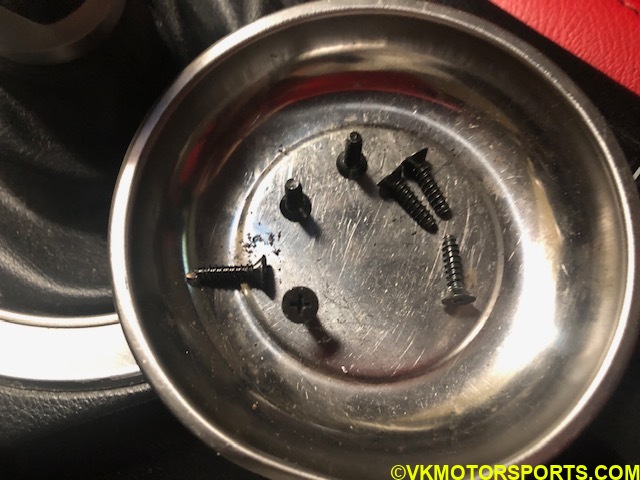
Figure 3. Screws kept in a magnetic parts tray
Step 2: With your hands you can pull out the internal black cover in that lid, and you can see the screw holders (Figure 4). This exposes the part where the new leather material will be glued to the lid.
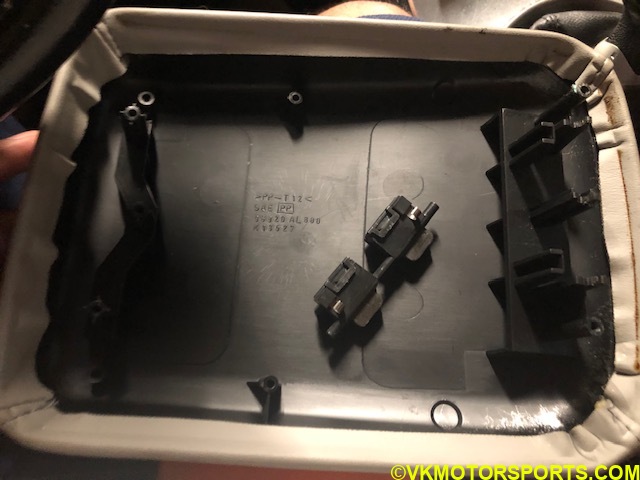
Figure 4. The lid’s black cover comes off
INSTALL THE LEATHER COVER
Step 3: Gather the new leather material and start covering the lid in the right way so that the stitching of the leather material matches the stitching of the existing lid material.
I did not remove the old material as it has foam in it, and the red leather material was large enough to cover the old material.
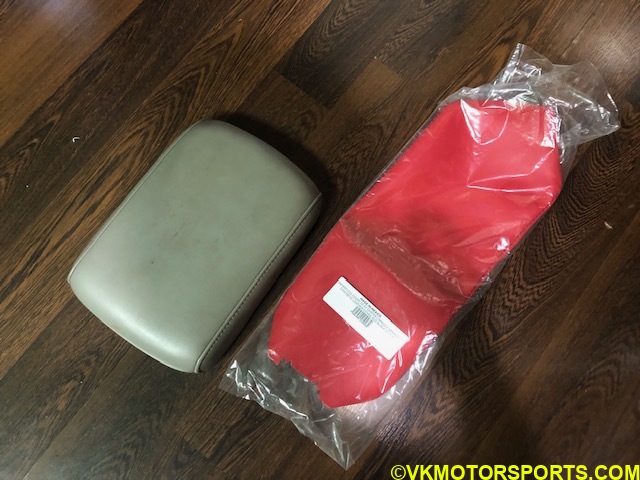
Figure 5a. Red leather material next to the center console lid
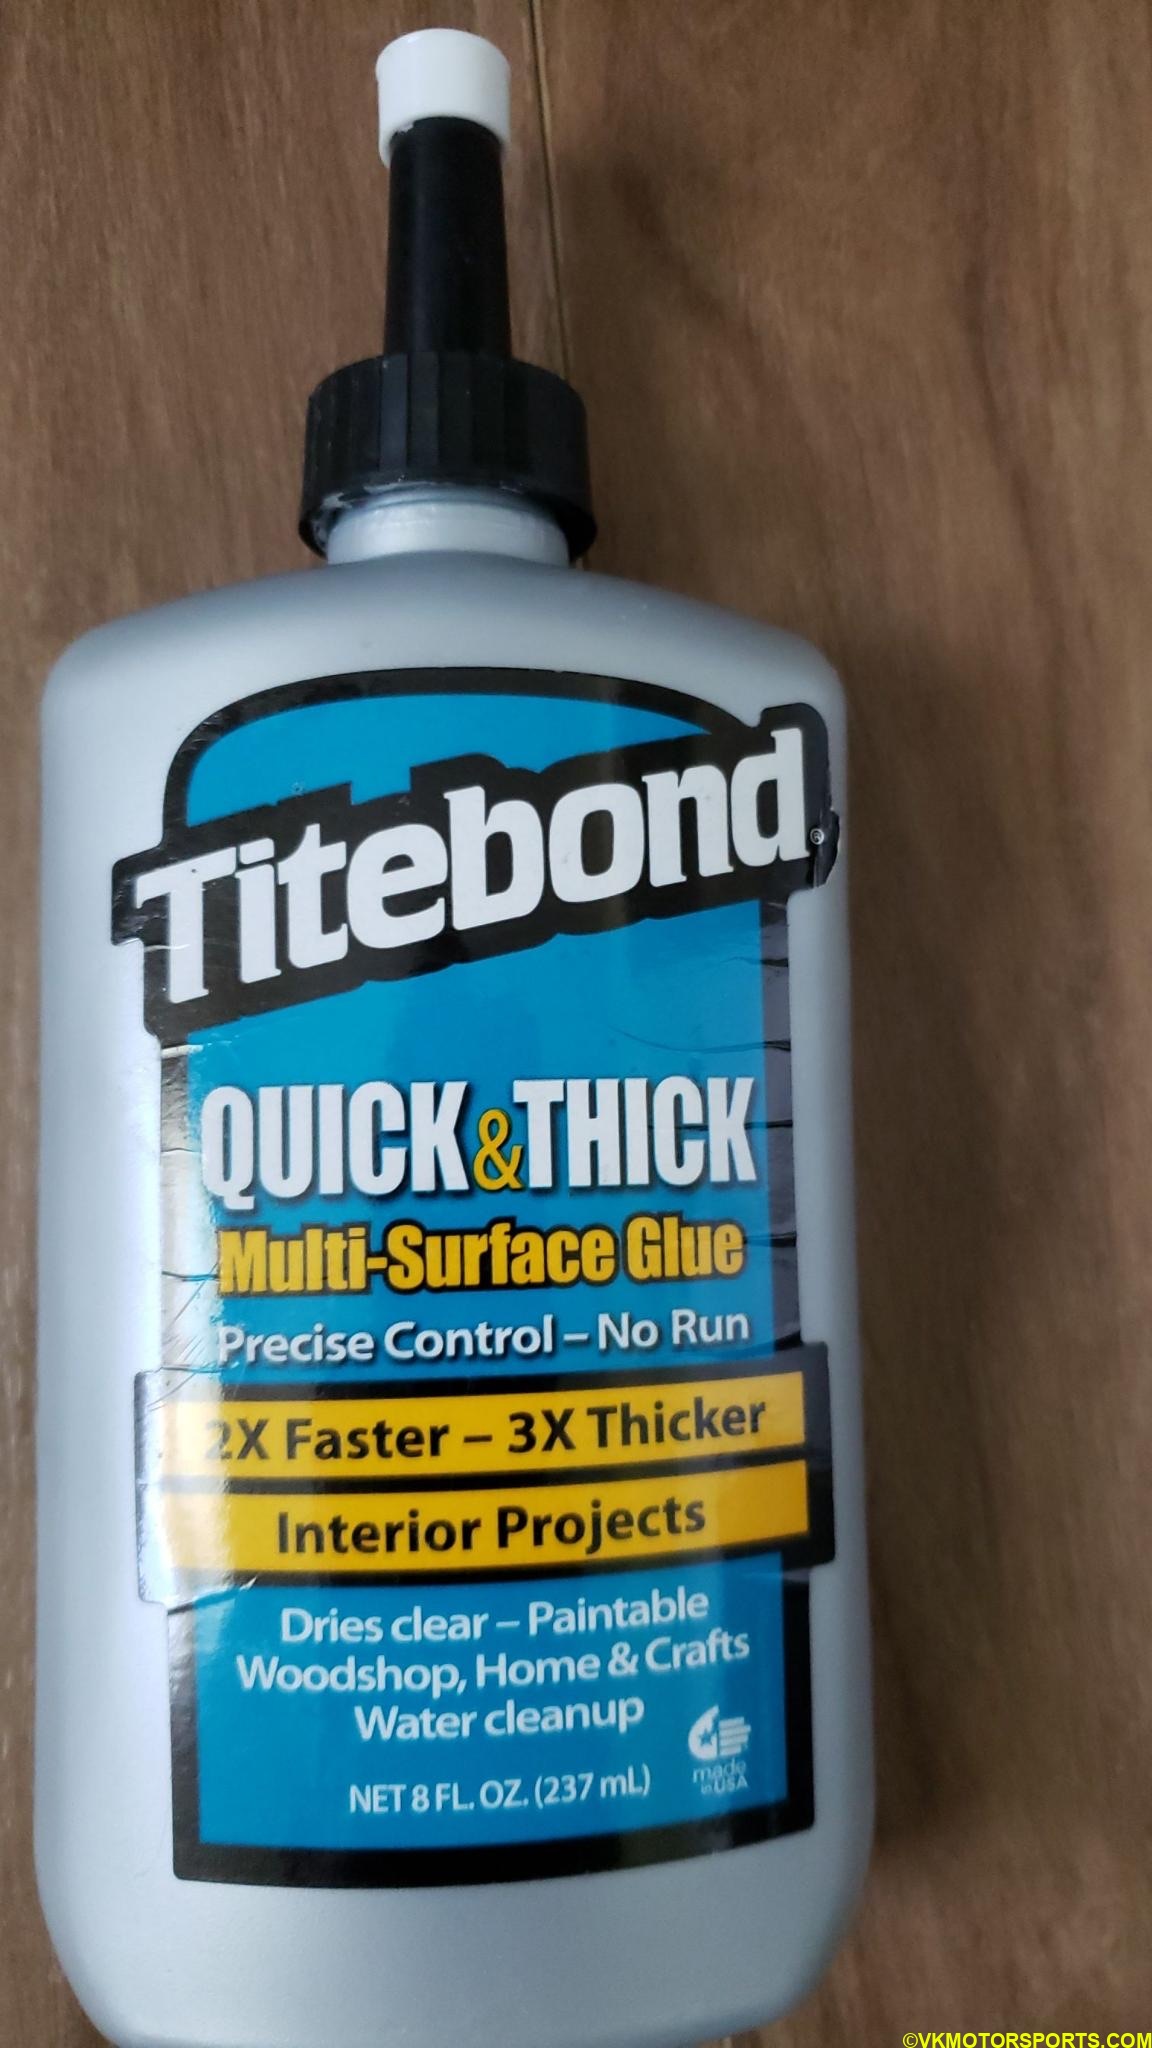
Figure 5b. The glue I used
Measure the material correctly before cutting. I recommend leaving a large portion available for adjustment of the shape later.
Step 4: Apply glue to all the surfaces and stick the leather material to the console lid. Then using double sided tape, stick the edges into the interior black lid surface. The glue and double sided tape should hold the red leather onto the console lid. Now using large binder clips you can hold the glued cover in place for 24 hours.
Figures 6-10 show the process I followed for this step. Remember to glue one side at a time, clip the side and then glue the other sides. Trim the leather only in the last step (Figure 9 and 10).
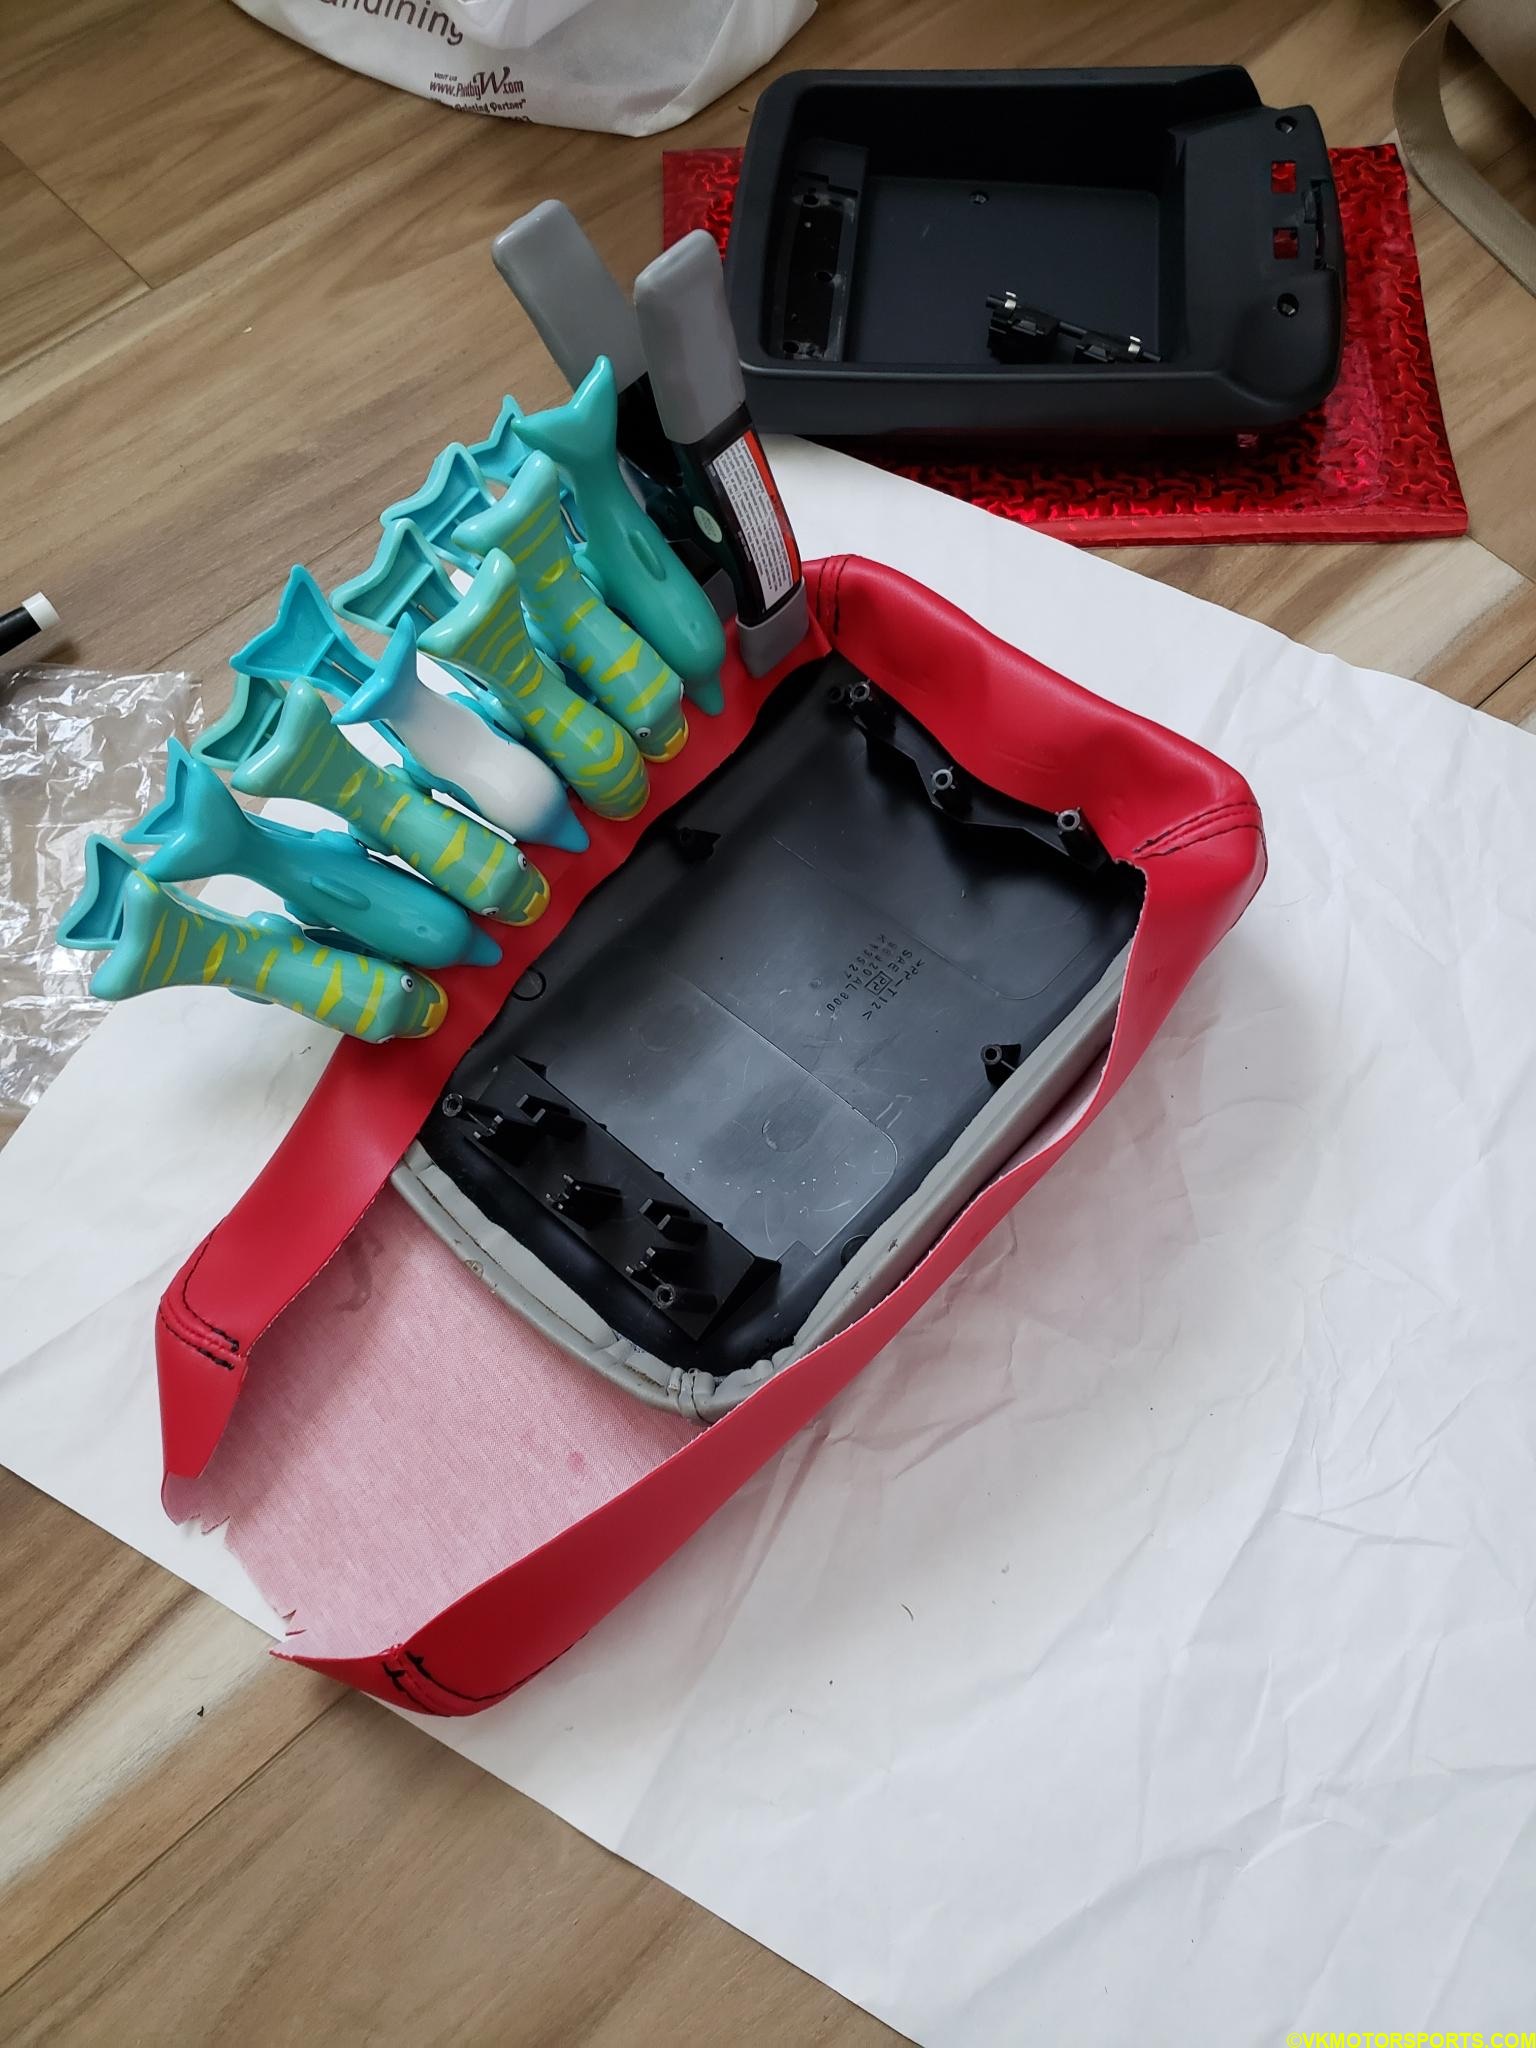
Figure 6. Glue the red leather to the console lid and hold with clips
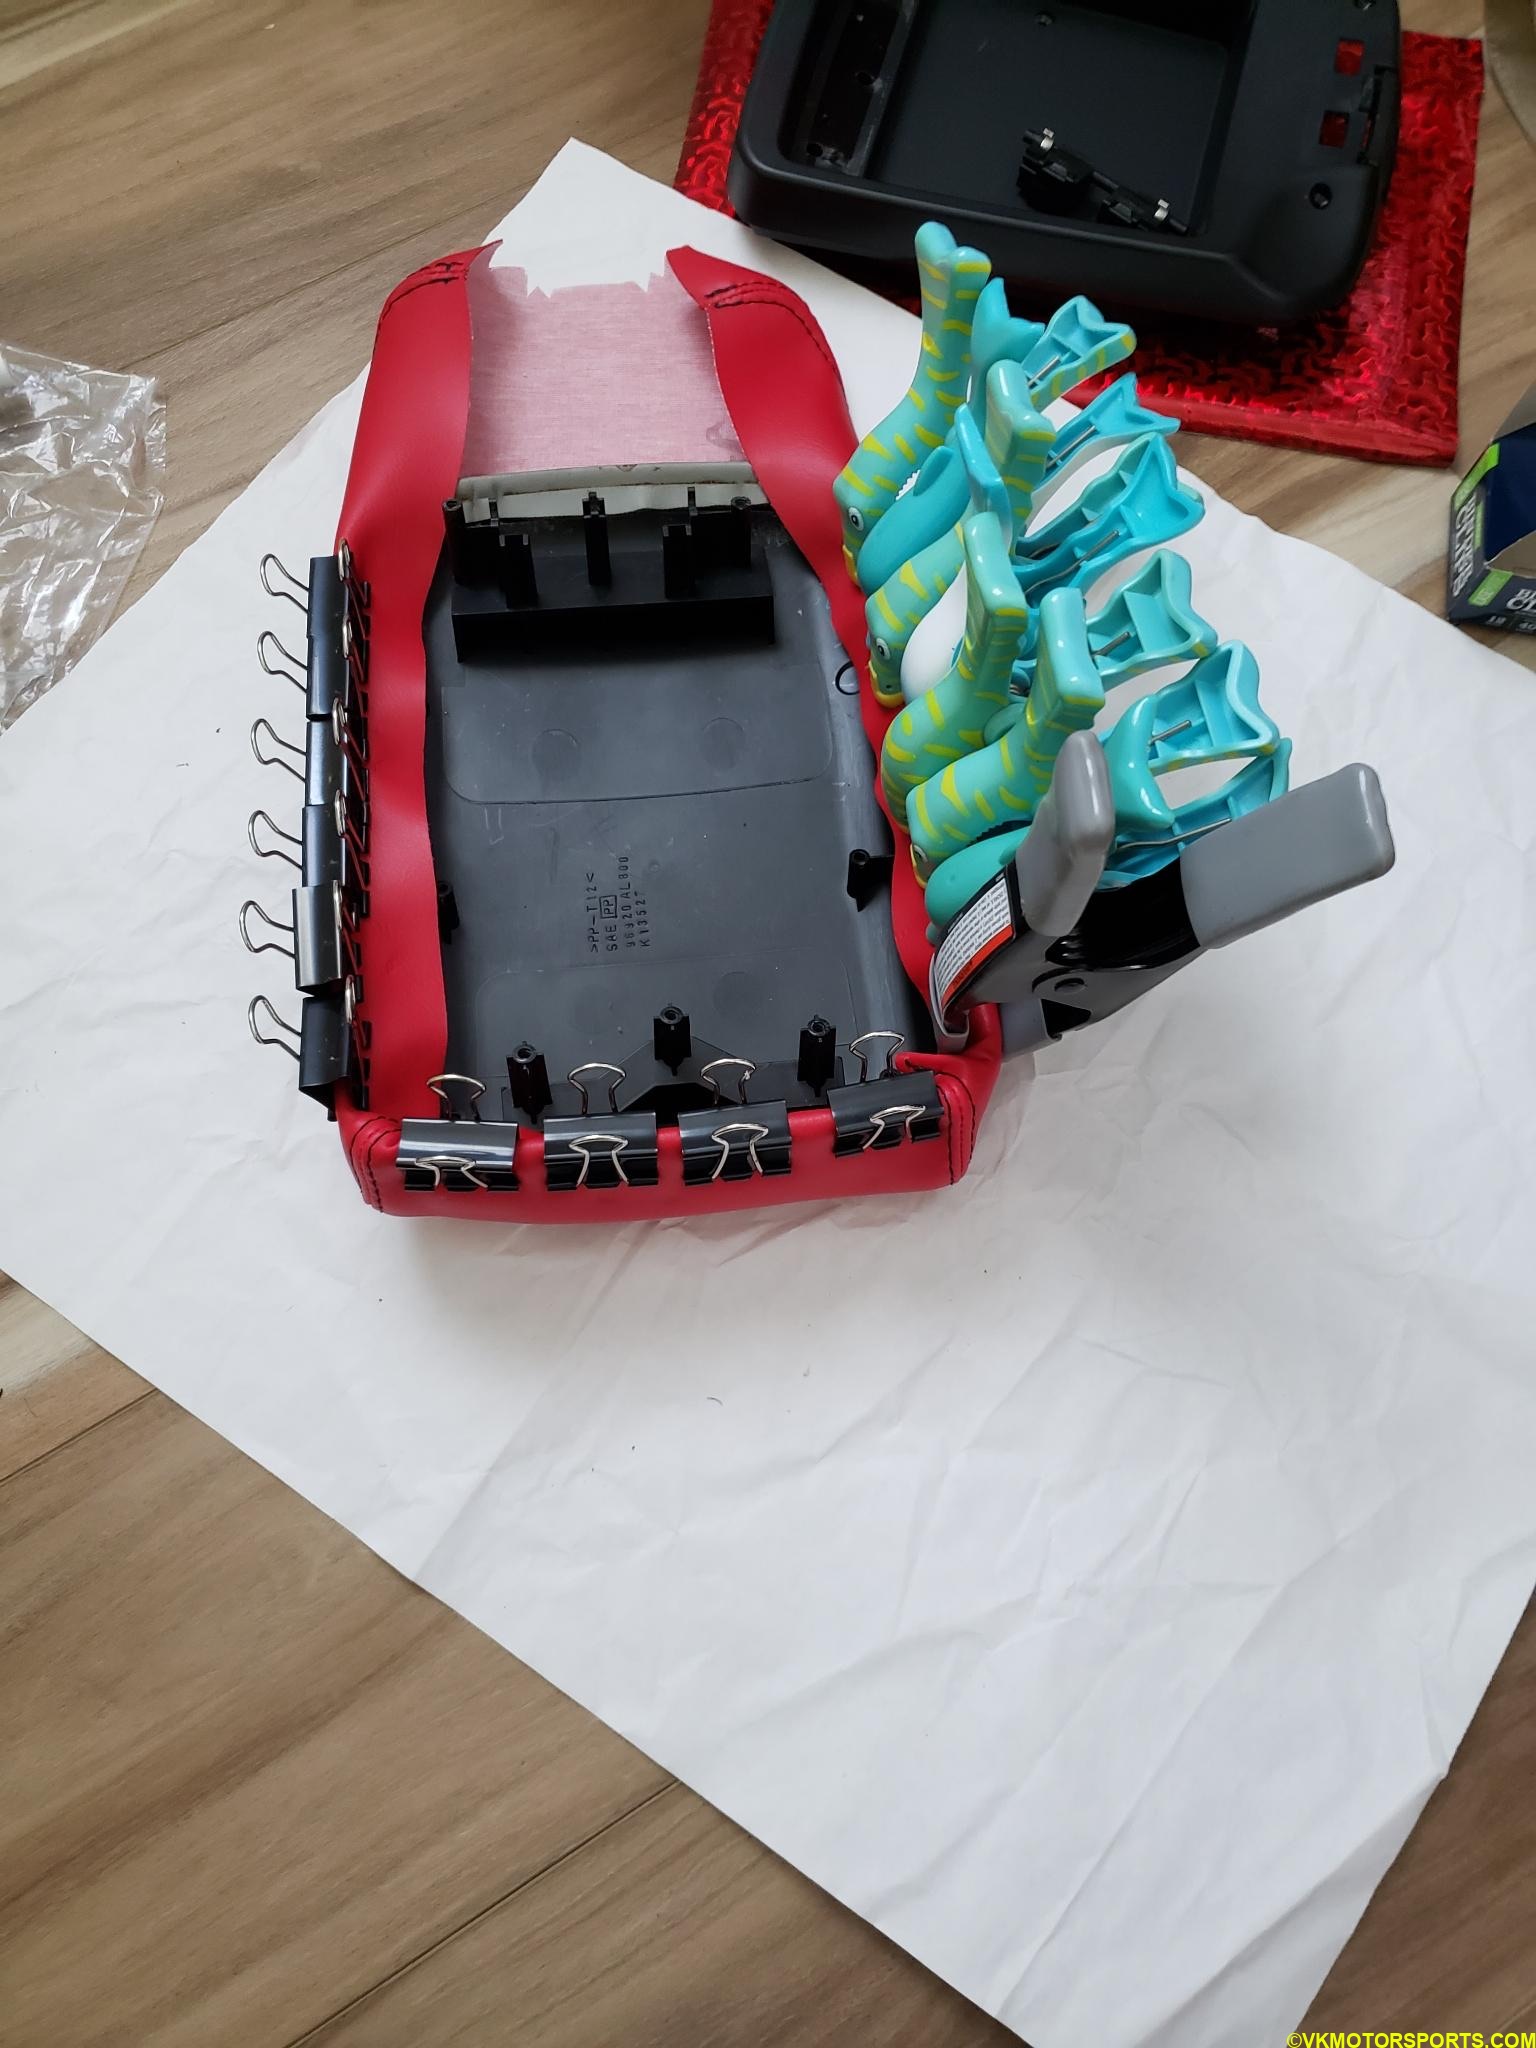
Figure 7. Glue the red leather to the console lid and hold with clips
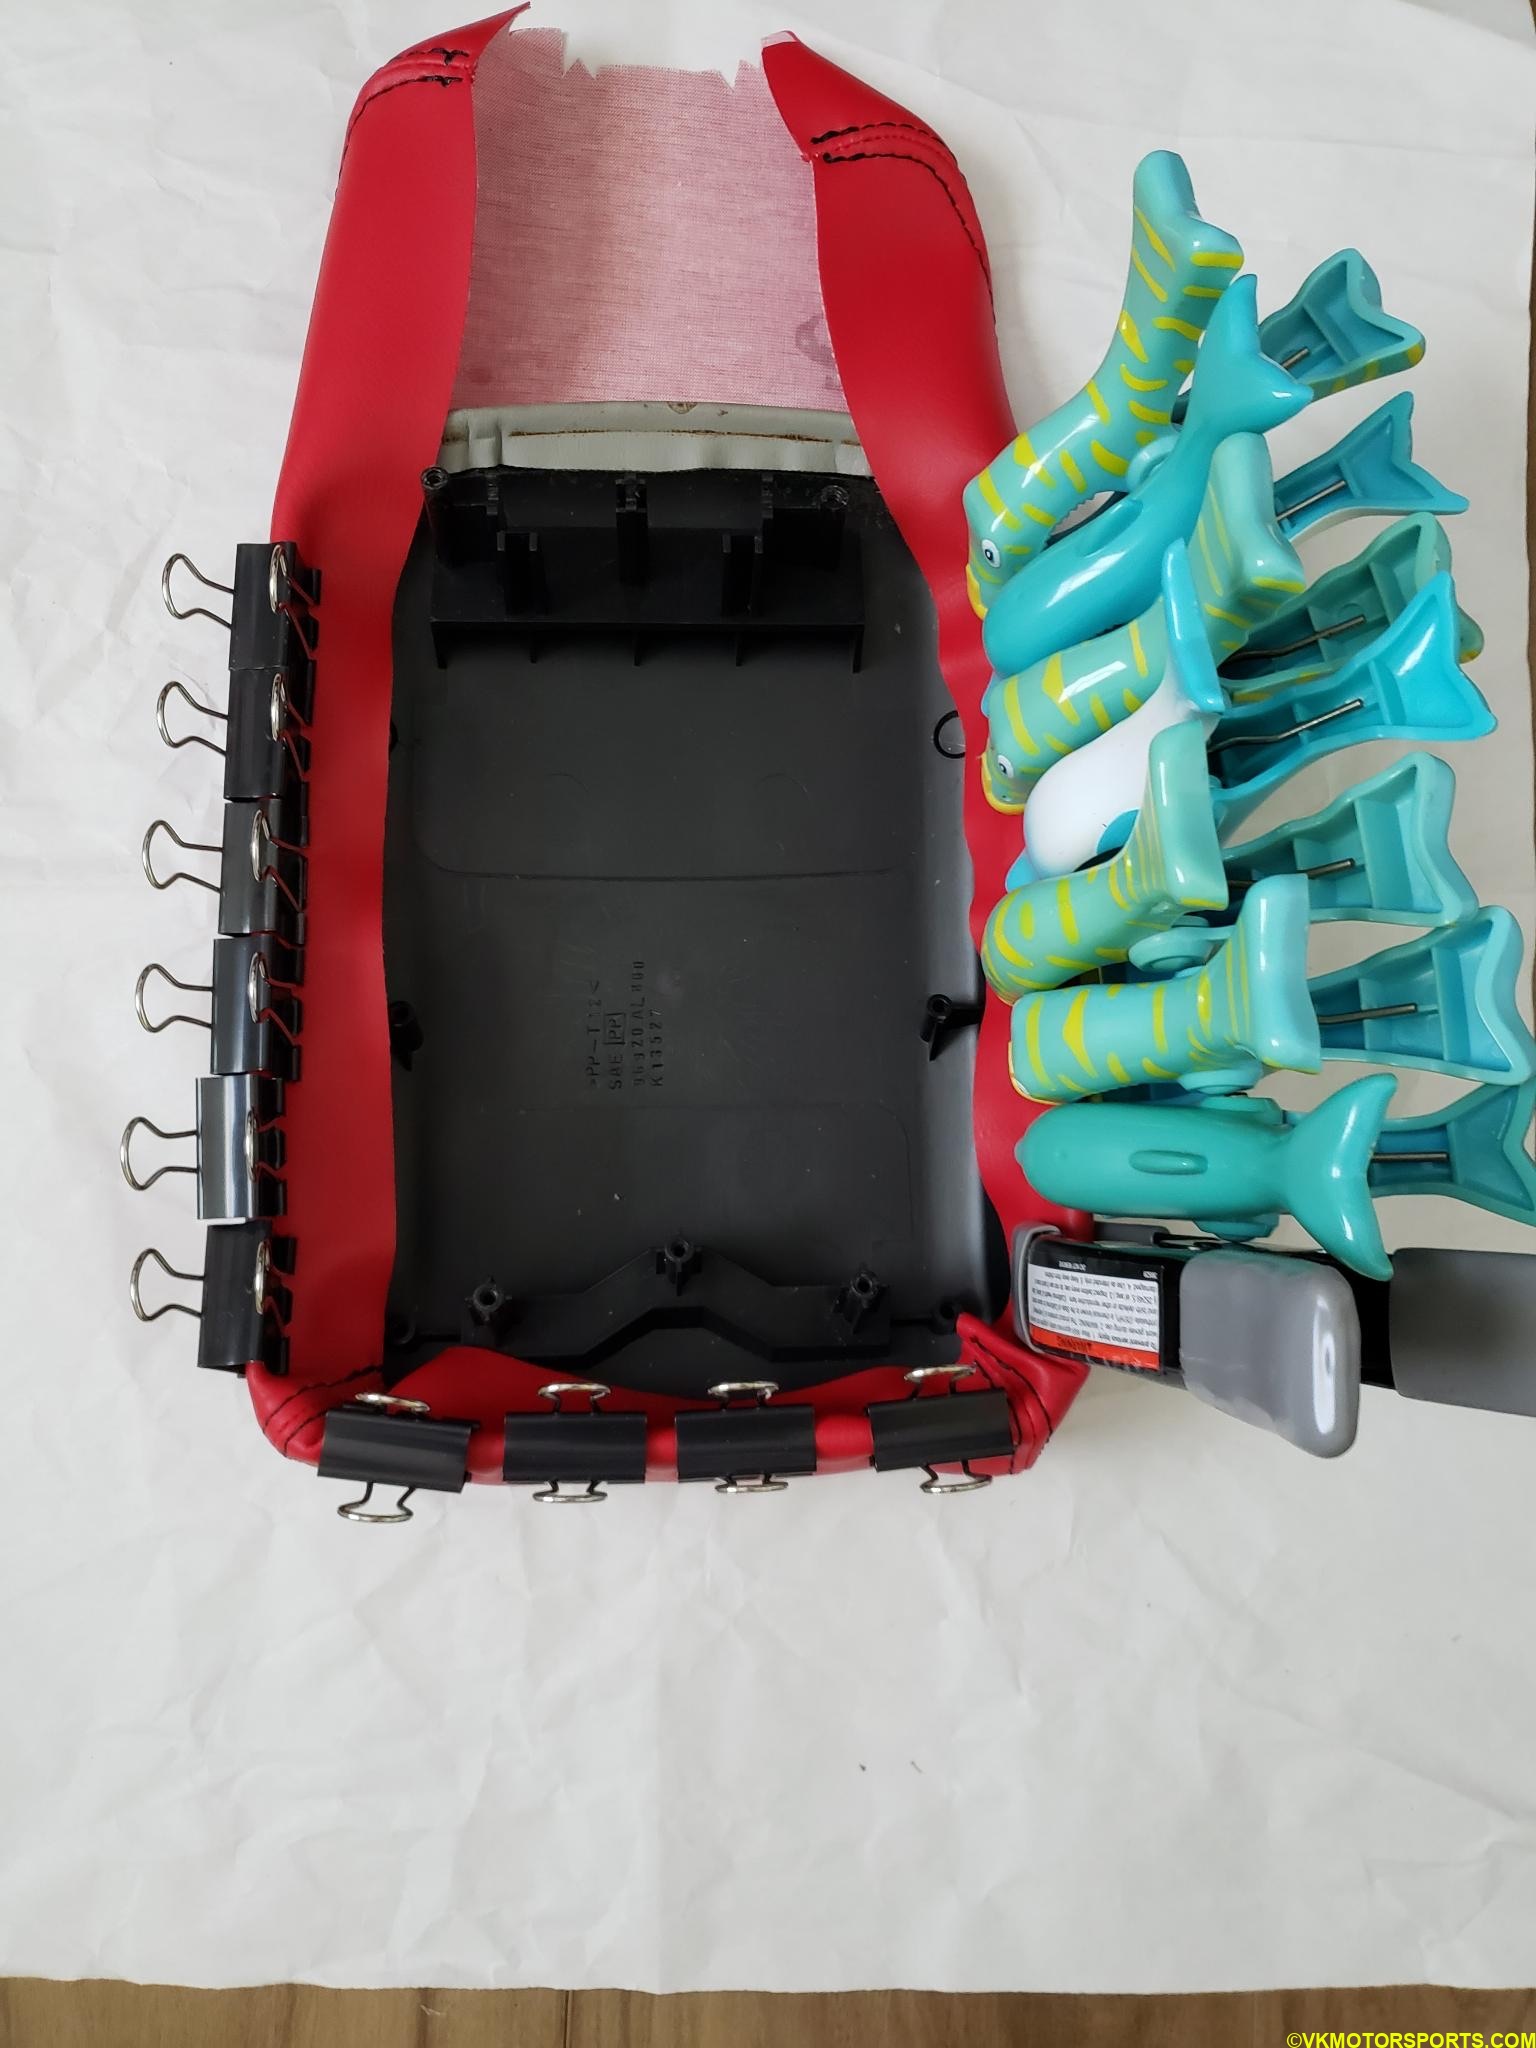
Figure 8. Glue the red leather to the console lid and hold with clips
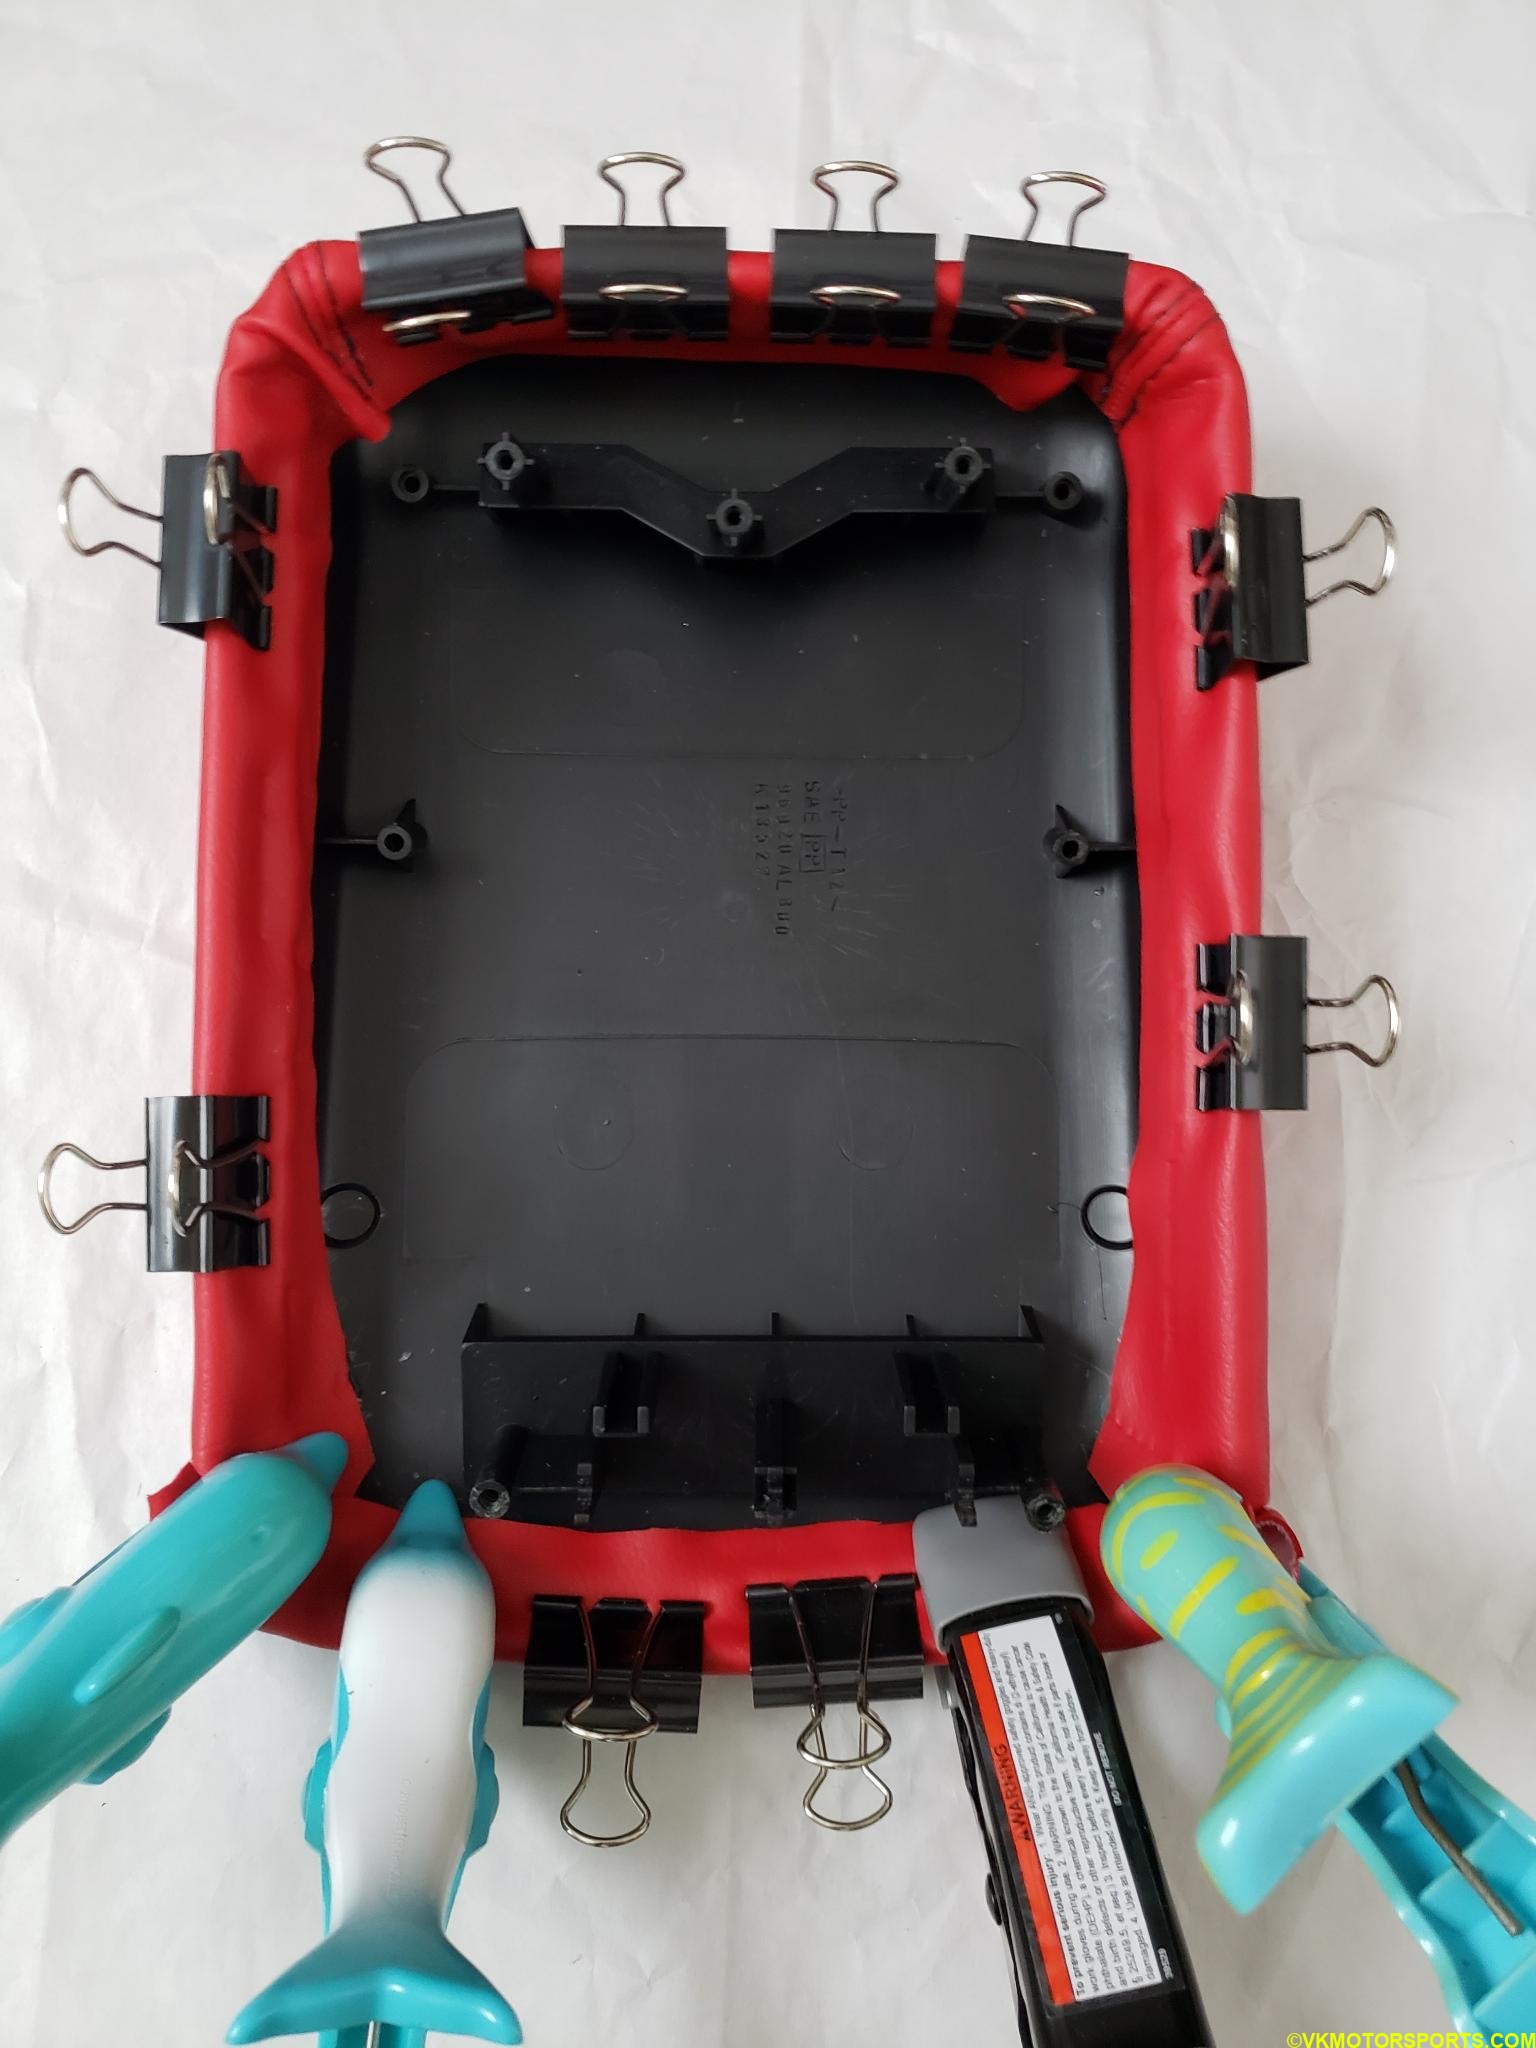
*Figure 9. Red leather has been glued and extra trimmed out *
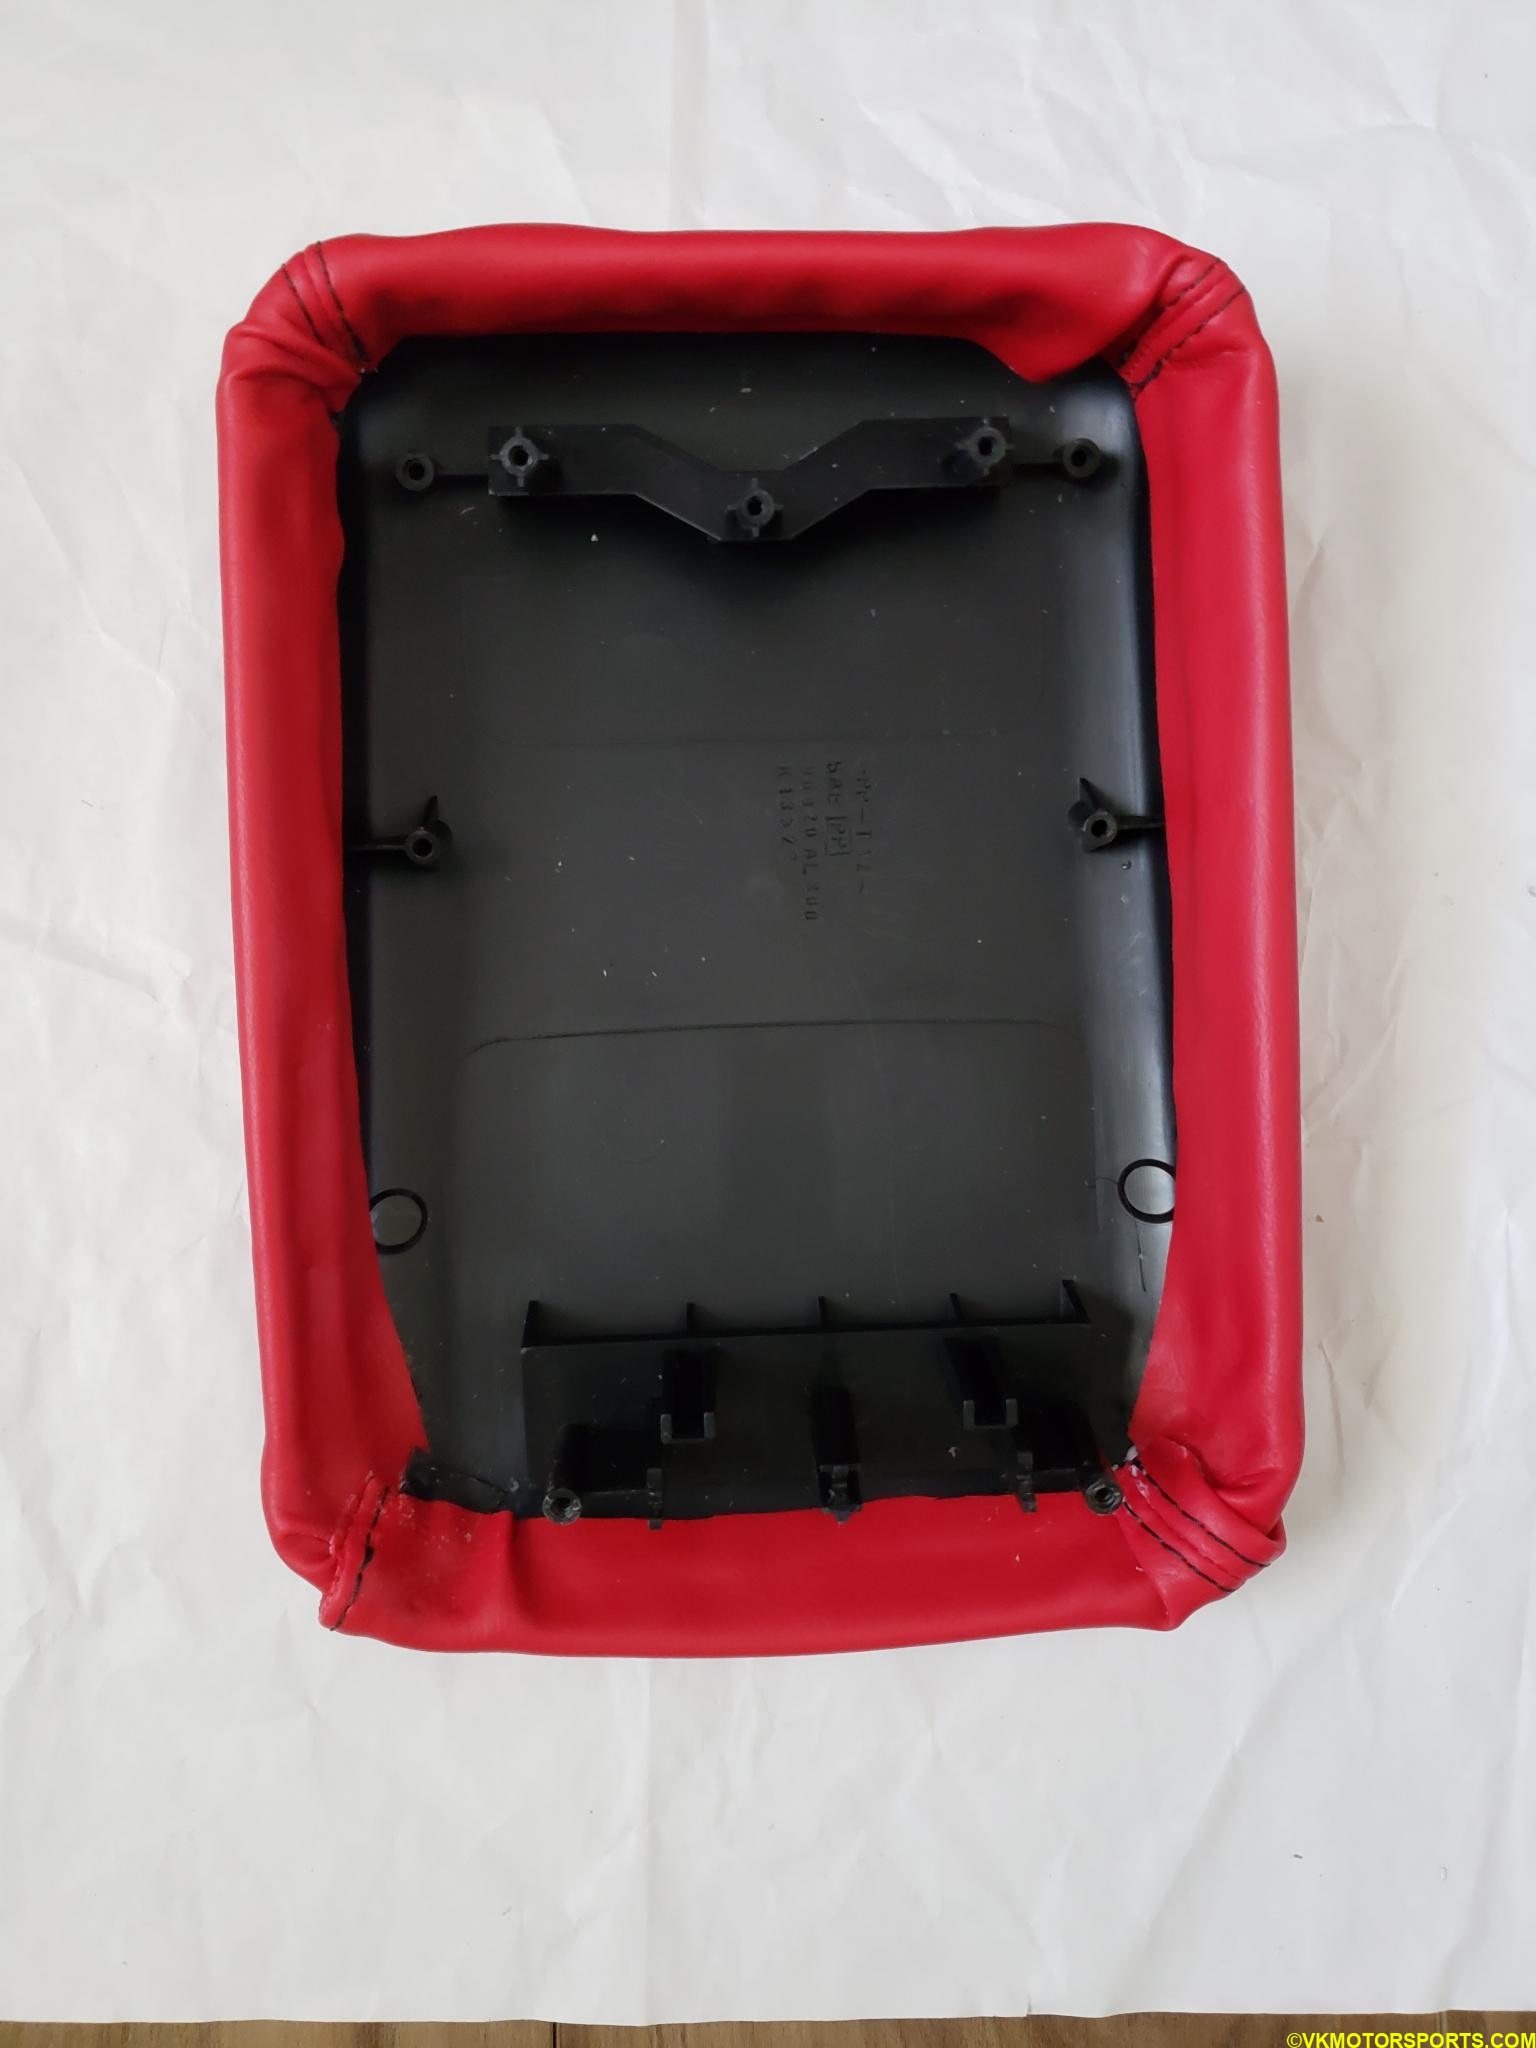
Figure 10. Red leather fully dried up after 24 hours
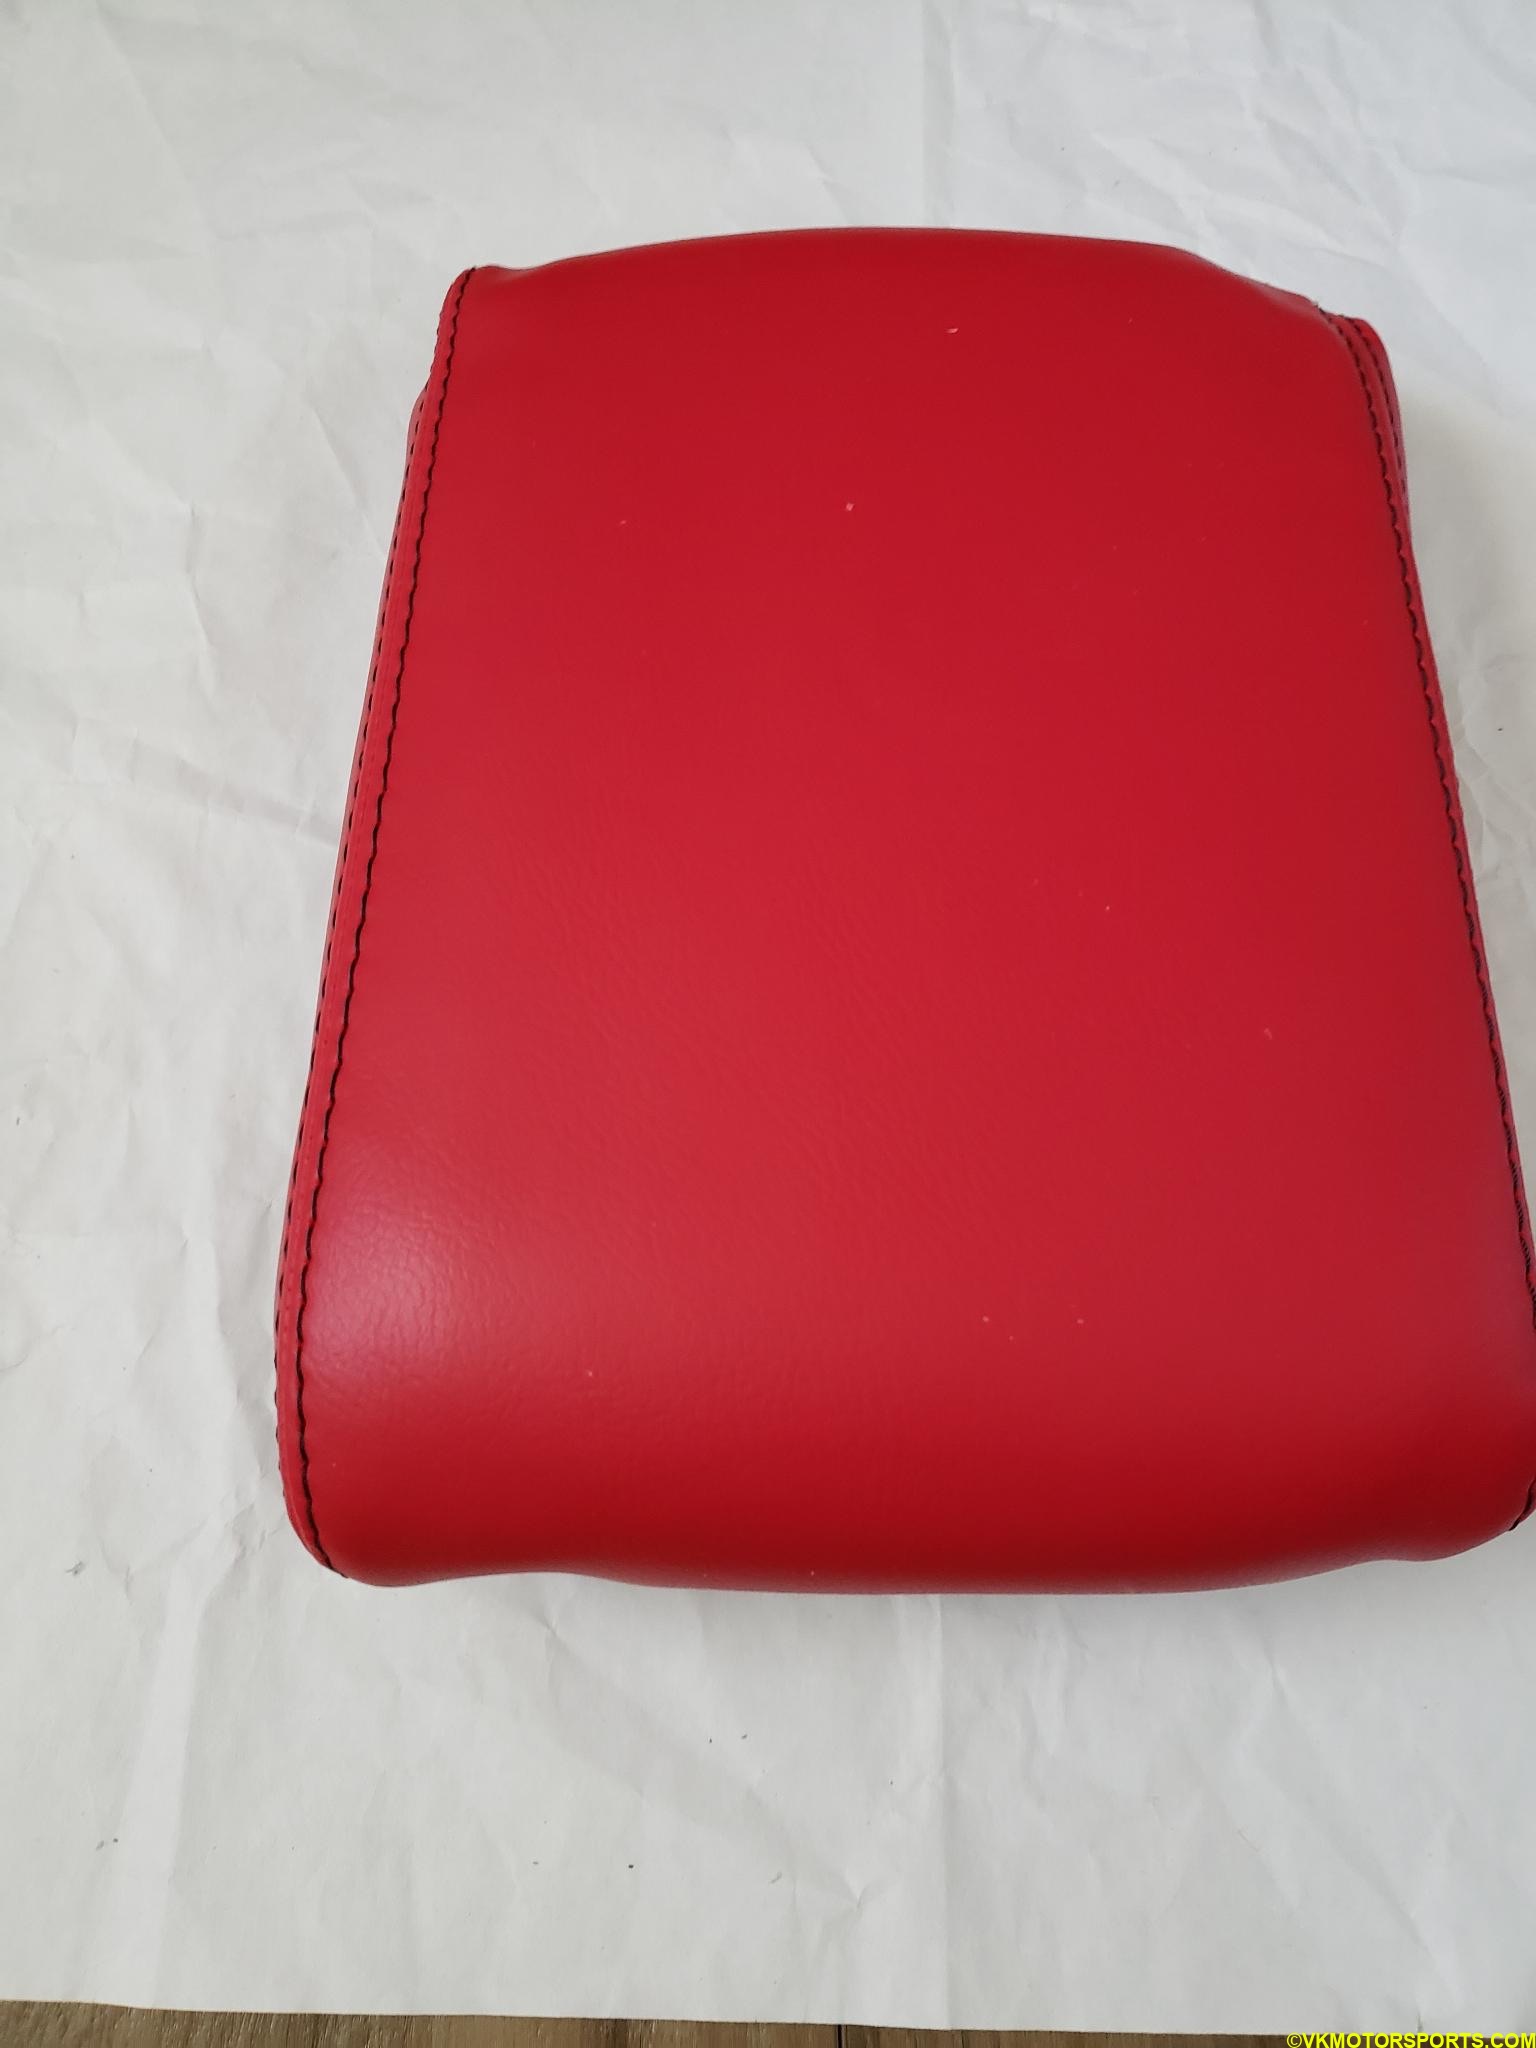
Figure 11. Fully finished cover
Step 5: Now that the glue is dry, install the black inner cover (removed in Step 2) back using 4 out of the 7 screws that you had removed in Step 1. Remember the 3 bottom screws (Figure 1) are for the hinge in the center console.
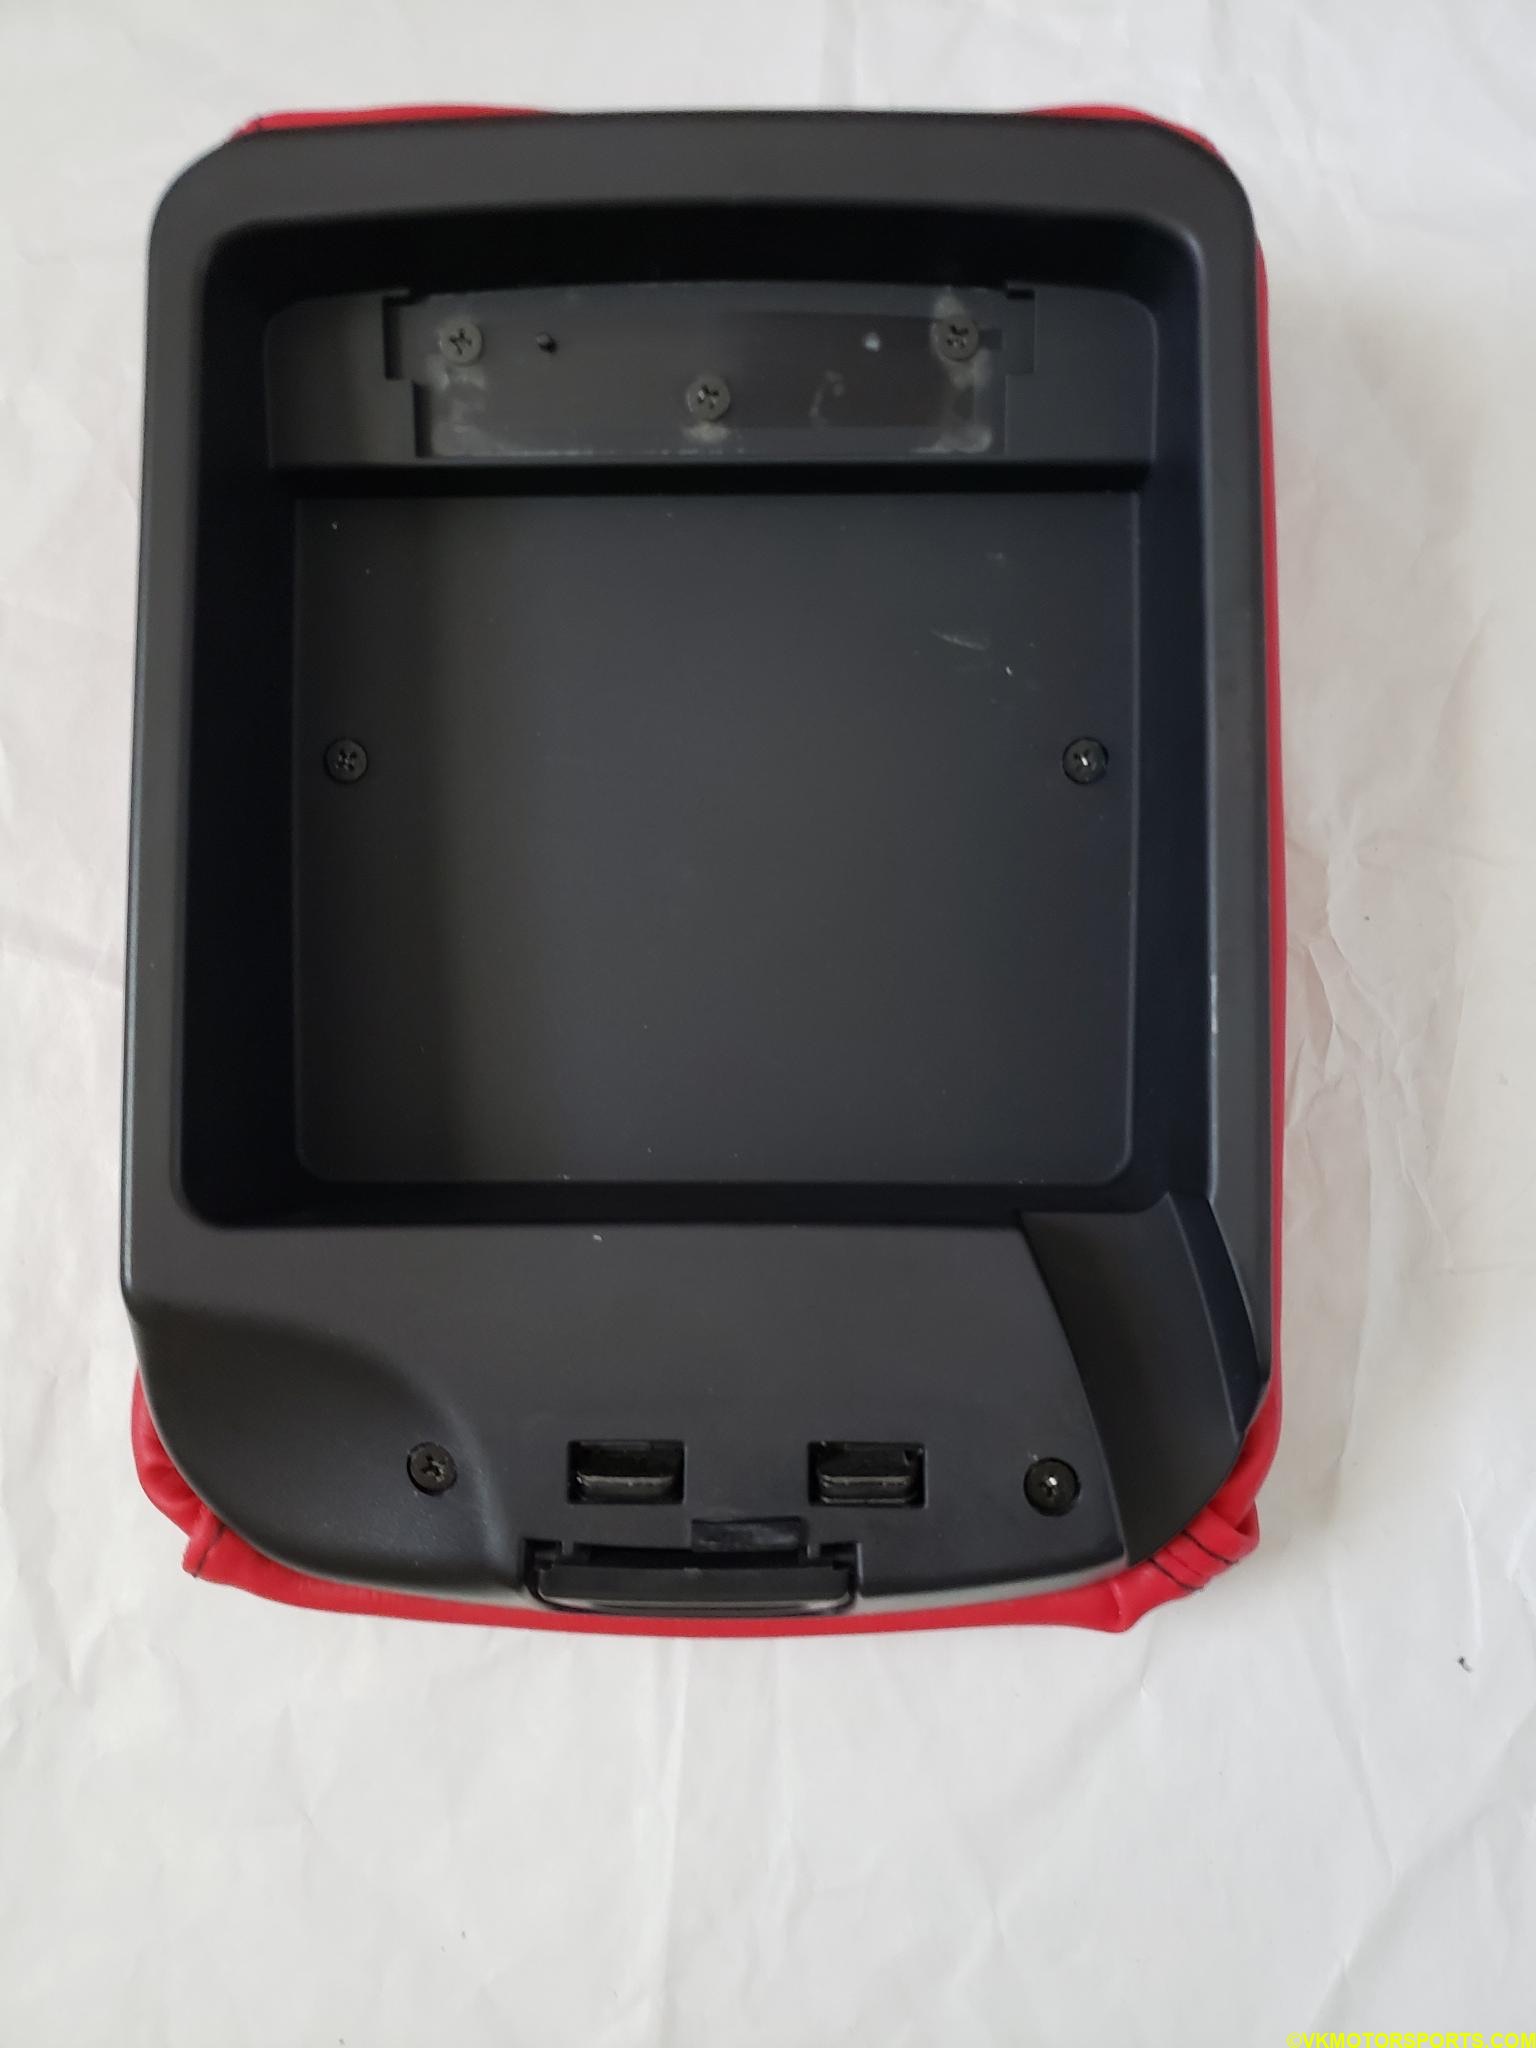
Figure 12. Install the inner black cover
INSTALL THE CENTER CONSOLE
Step 6: Install the now red console lid onto the center console using the remaining 3 screws on the hinge as shown in Figure 13.
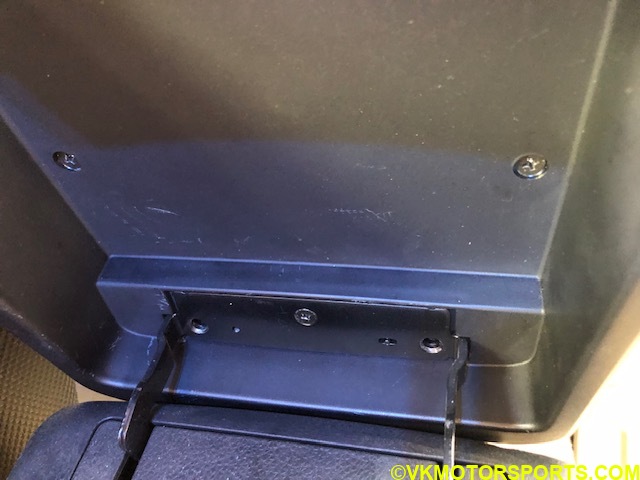
Figure 13. Install the console lid on the hinge using the 3 screws
The final look is shown in Figures 14 and 15.
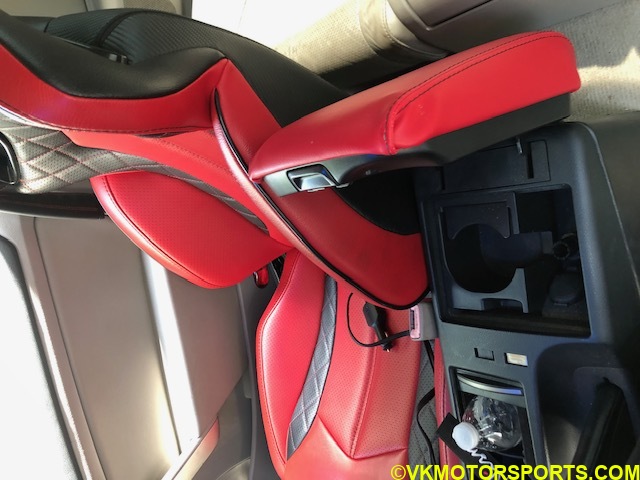
Figure 14. Red center console lid open
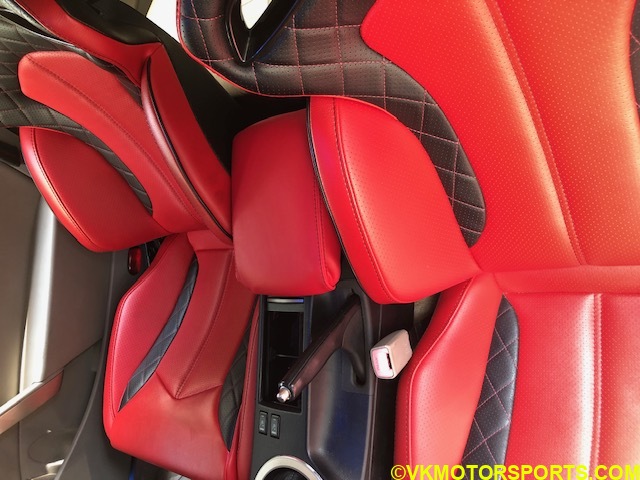
Figure 15. Red center console lid closed


