I described the Miata’s valve cover gasket replacement earlier. At the time I had not replaced the PCV valve, however, now that the car has aged further and received a code P0106, I chose to change both the PCV valve and the purge valve. This post describes the changes. I chose not to change the boost solenoid, which is also recommended for fixing the P0106 code.
HARDWARE REQUIREMENTS
- 10mm wrench or socket
- Hose clamp pliers
- Beck Arnley PCV Valve 045-0277
- Beck Arnley PCV grommet 039-6428
- Dorman Purge Valve 911-706
You need to purchase all the valves and grommets in advance. All you need in tools is a hose clamp pliers or generic pliers with some tape around the teeth to protect the valves.
As you can see in the figures below, I show the model numbers of the valves and grommets purchased.
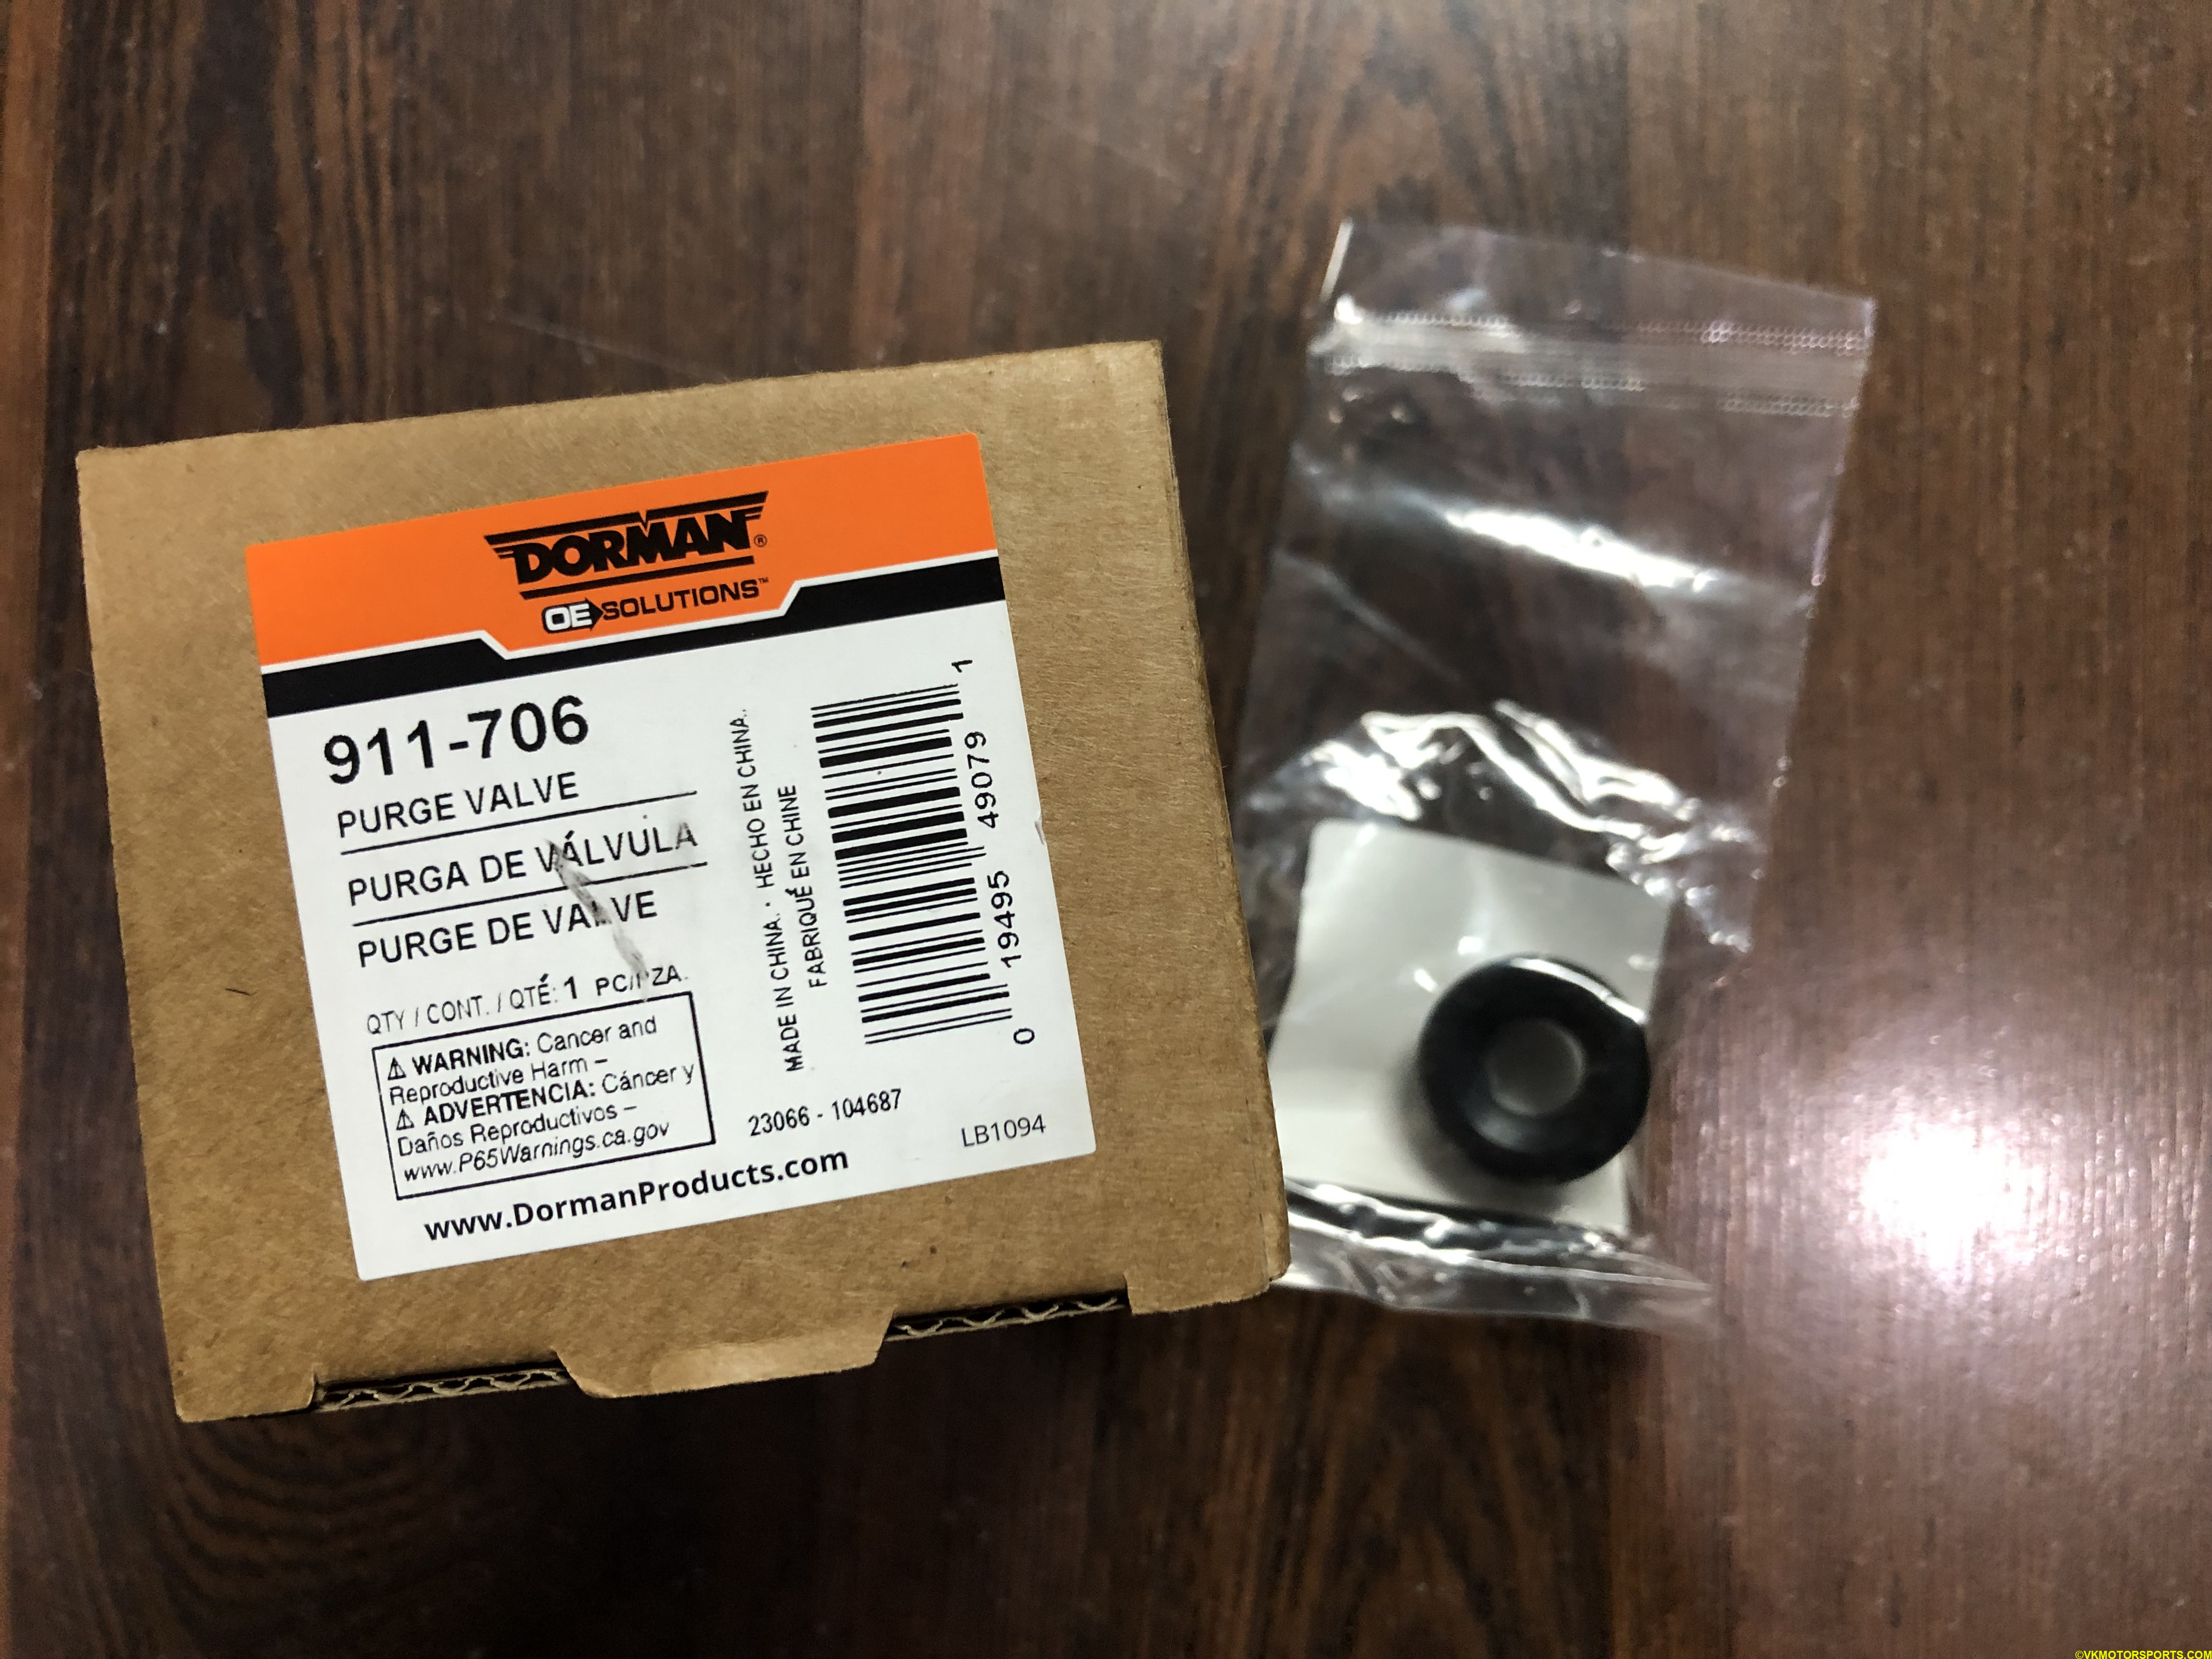
Figure 1. Dorman Purge Valve 911-706 and Beck Arnley Grommet 039-6428
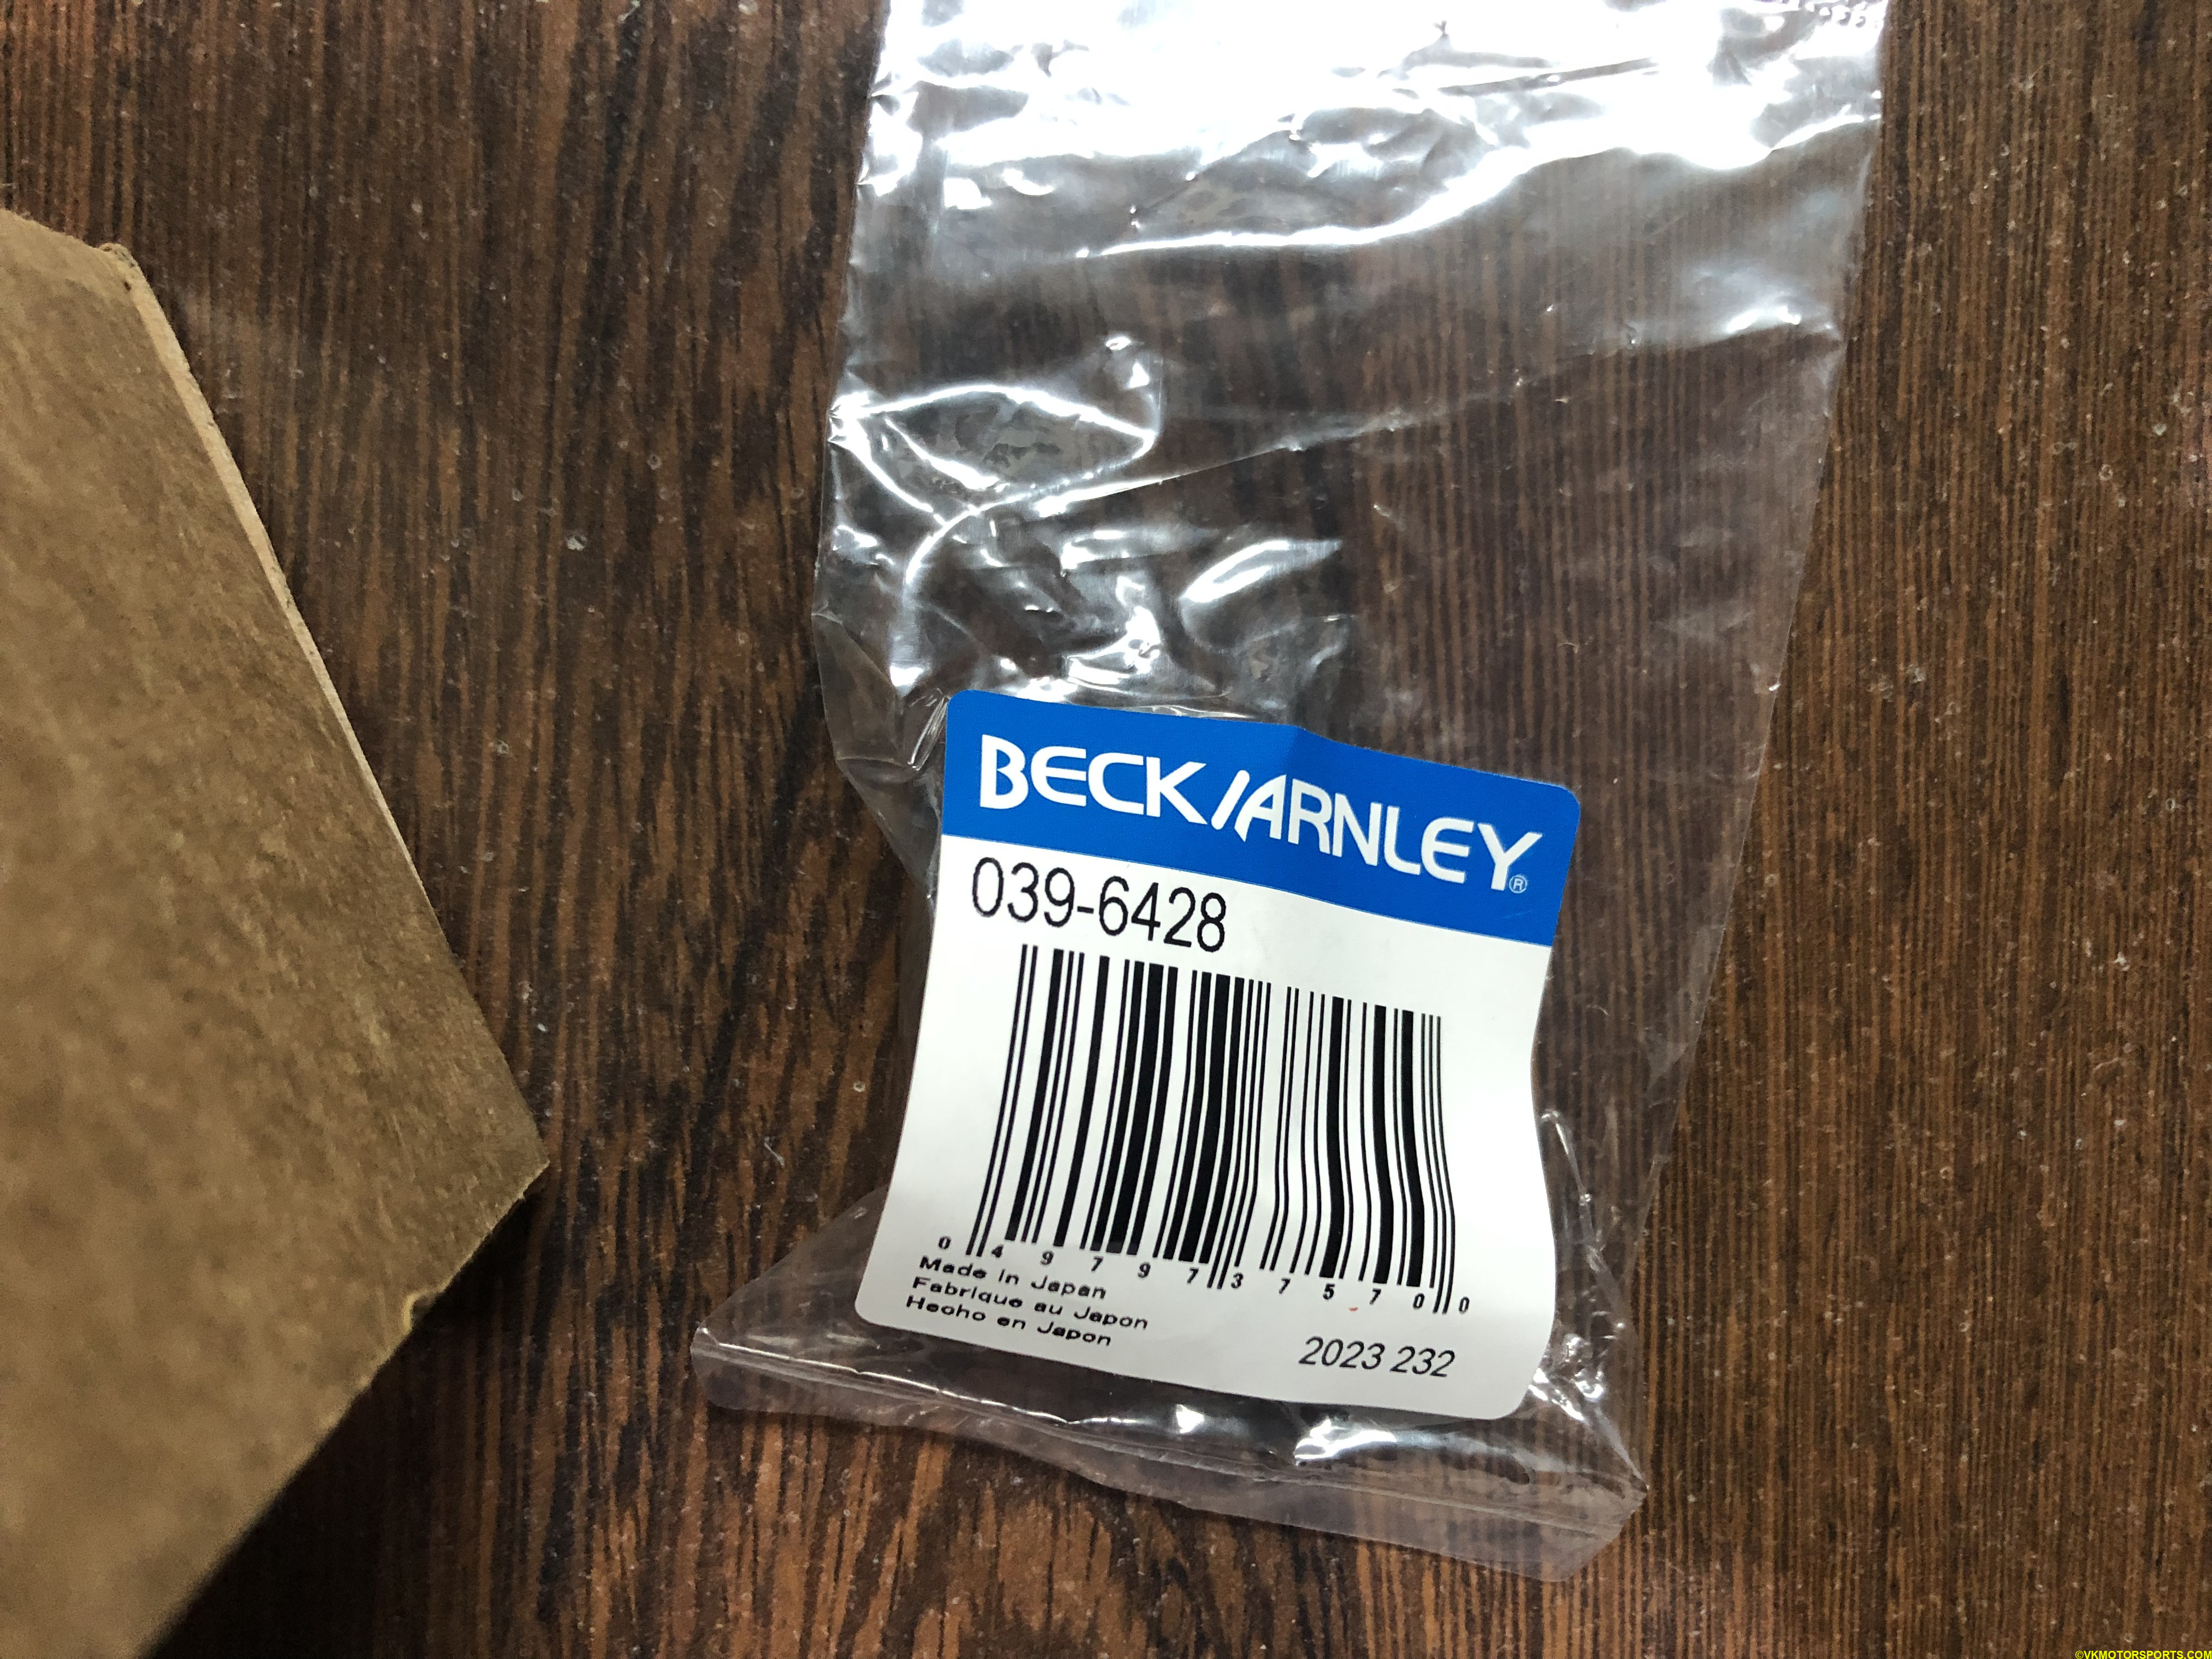
Figure 2. Beck Arnley Grommet 039-6428 (model)
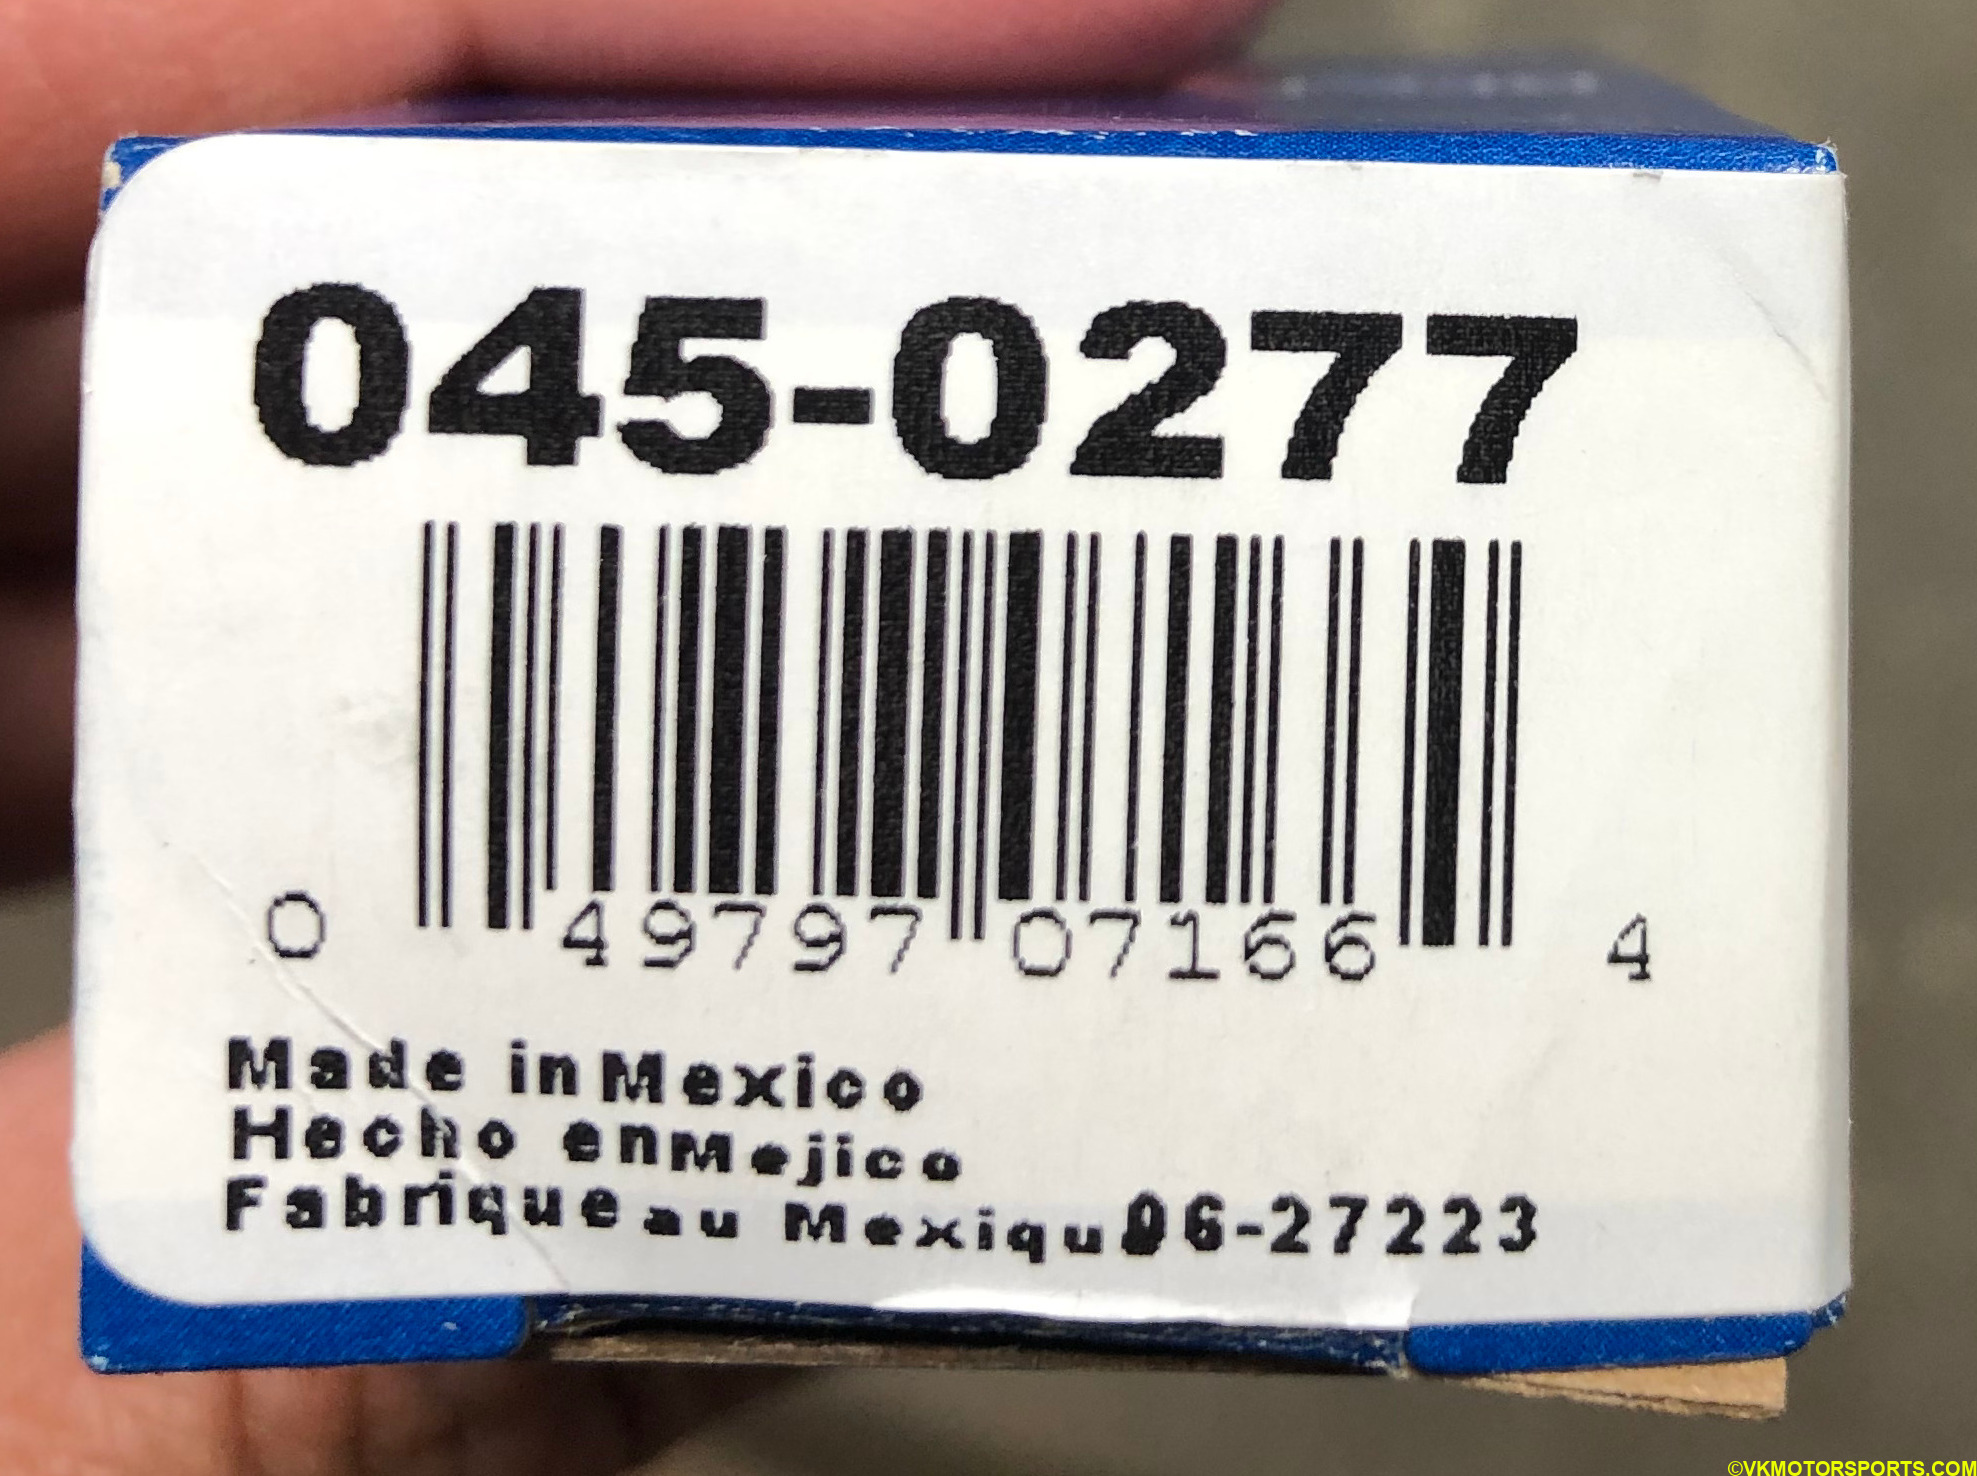
Figure 3. Beck Arnley PCV Valve 045-0277 (model)

Figure 4. Beck Arnley PCV Valve 045-0277 (box)
PROCESS
Step 1: Locate the PCV valve in the engine, on top of the valve cover gasket as shown in figure 5. You will need a pliers to pull the PCV valve out slowly as shown in figure 6.
The PCV valve is in very tight so be careful and it will take some effort. You will also need to loosen the hose clamps in the hose connected to the PCV valve here.
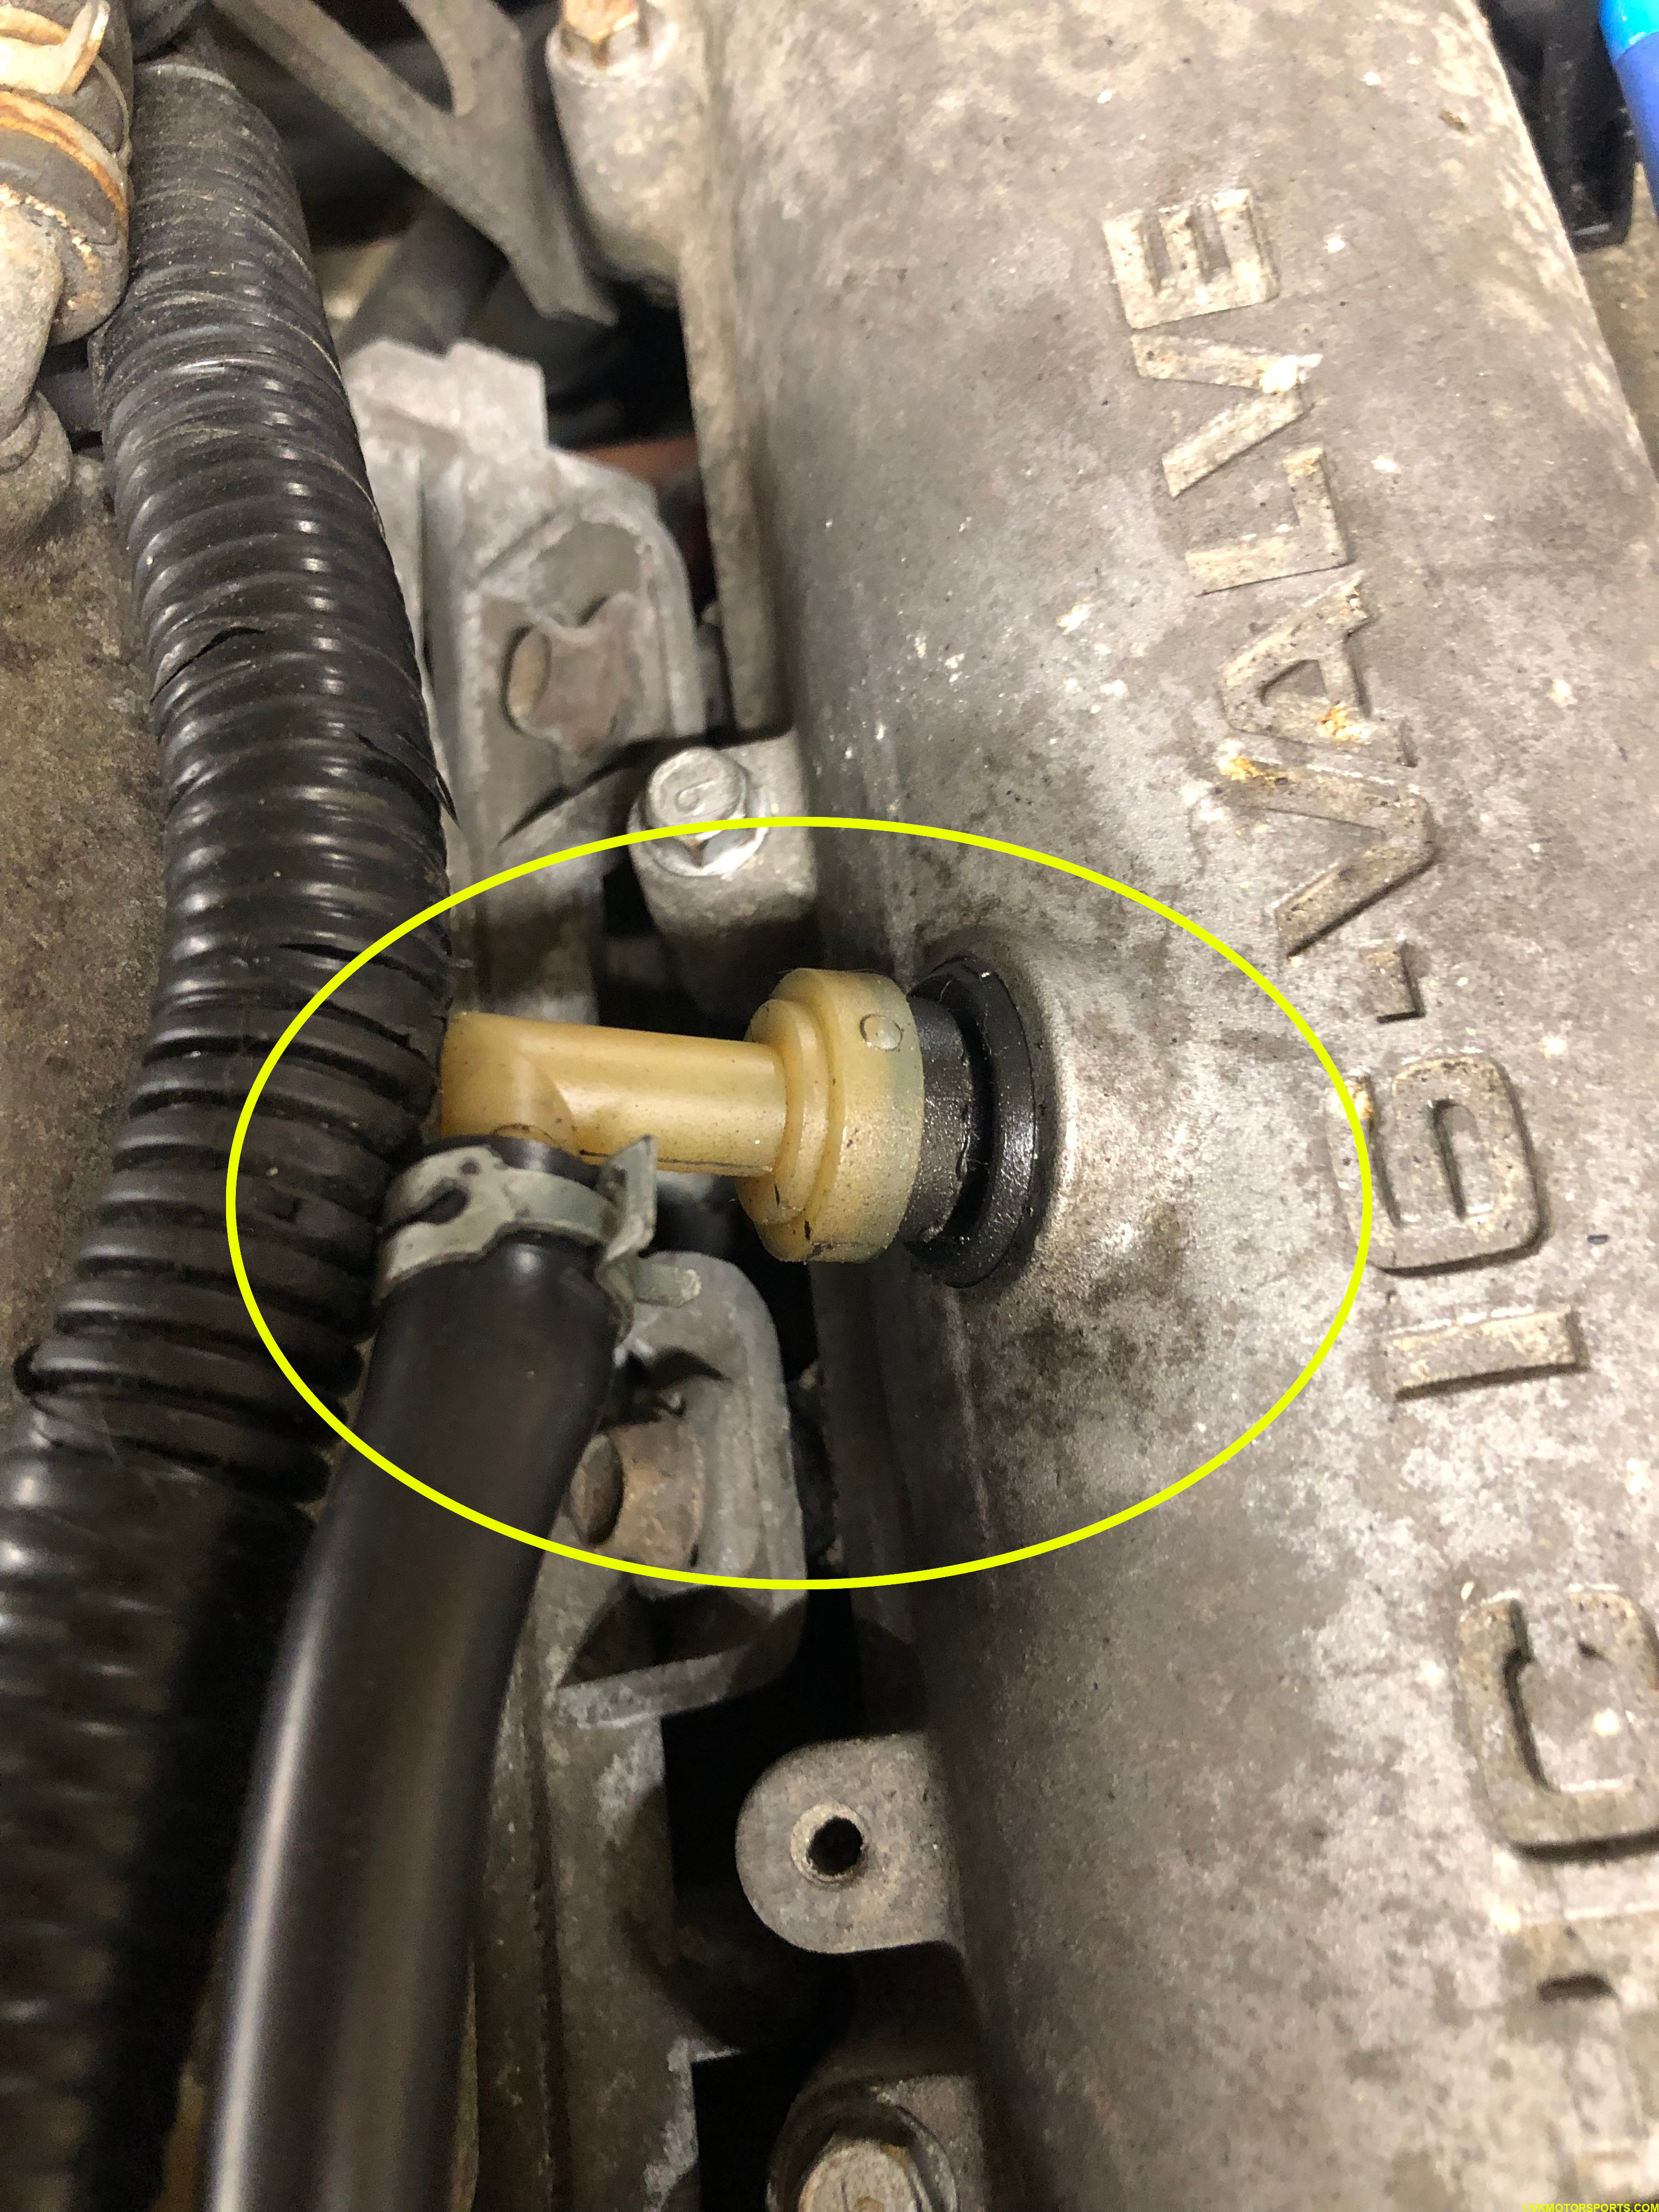
Figure 5. Old PCV Valve in the engine
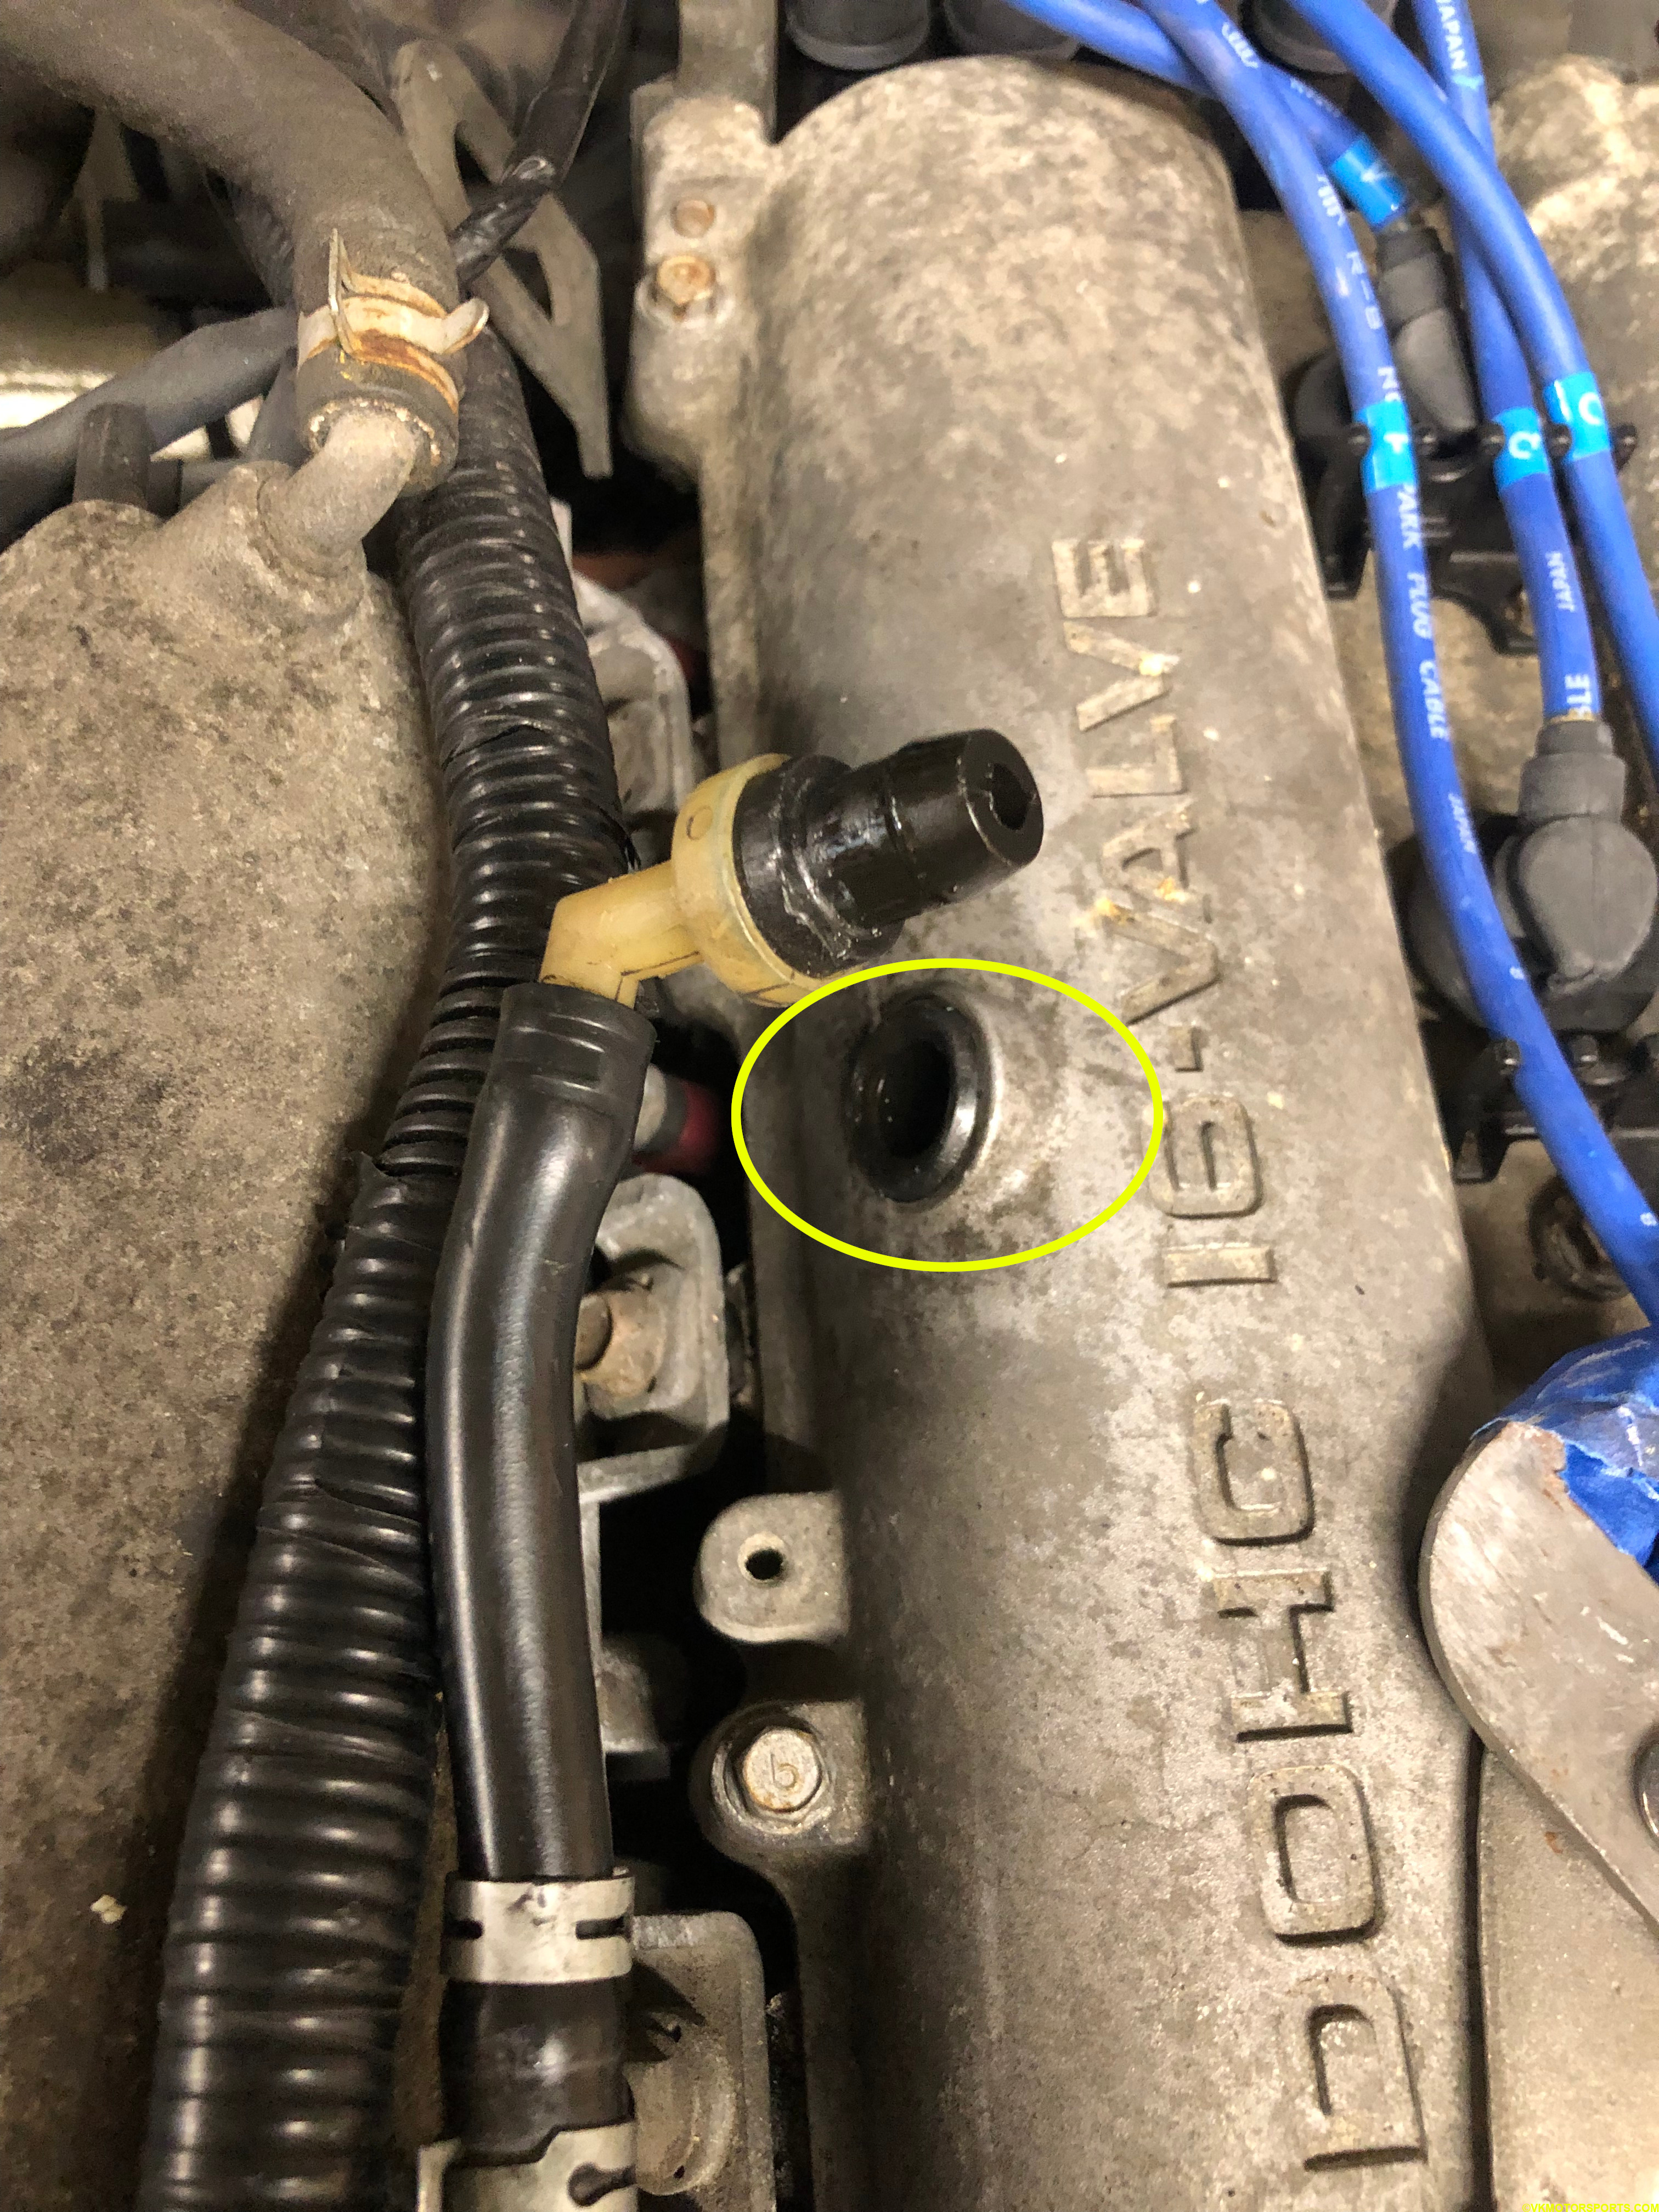
Figure 6. Old PCV Valve removed
Step 2: Next step is to replace the grommet. The grommet is even harder to get out, but it comes out or you can cut it up and pull it out faster. Figure 7 shows the PCV valve removed from the hose and the engine, with the grommet also removed.
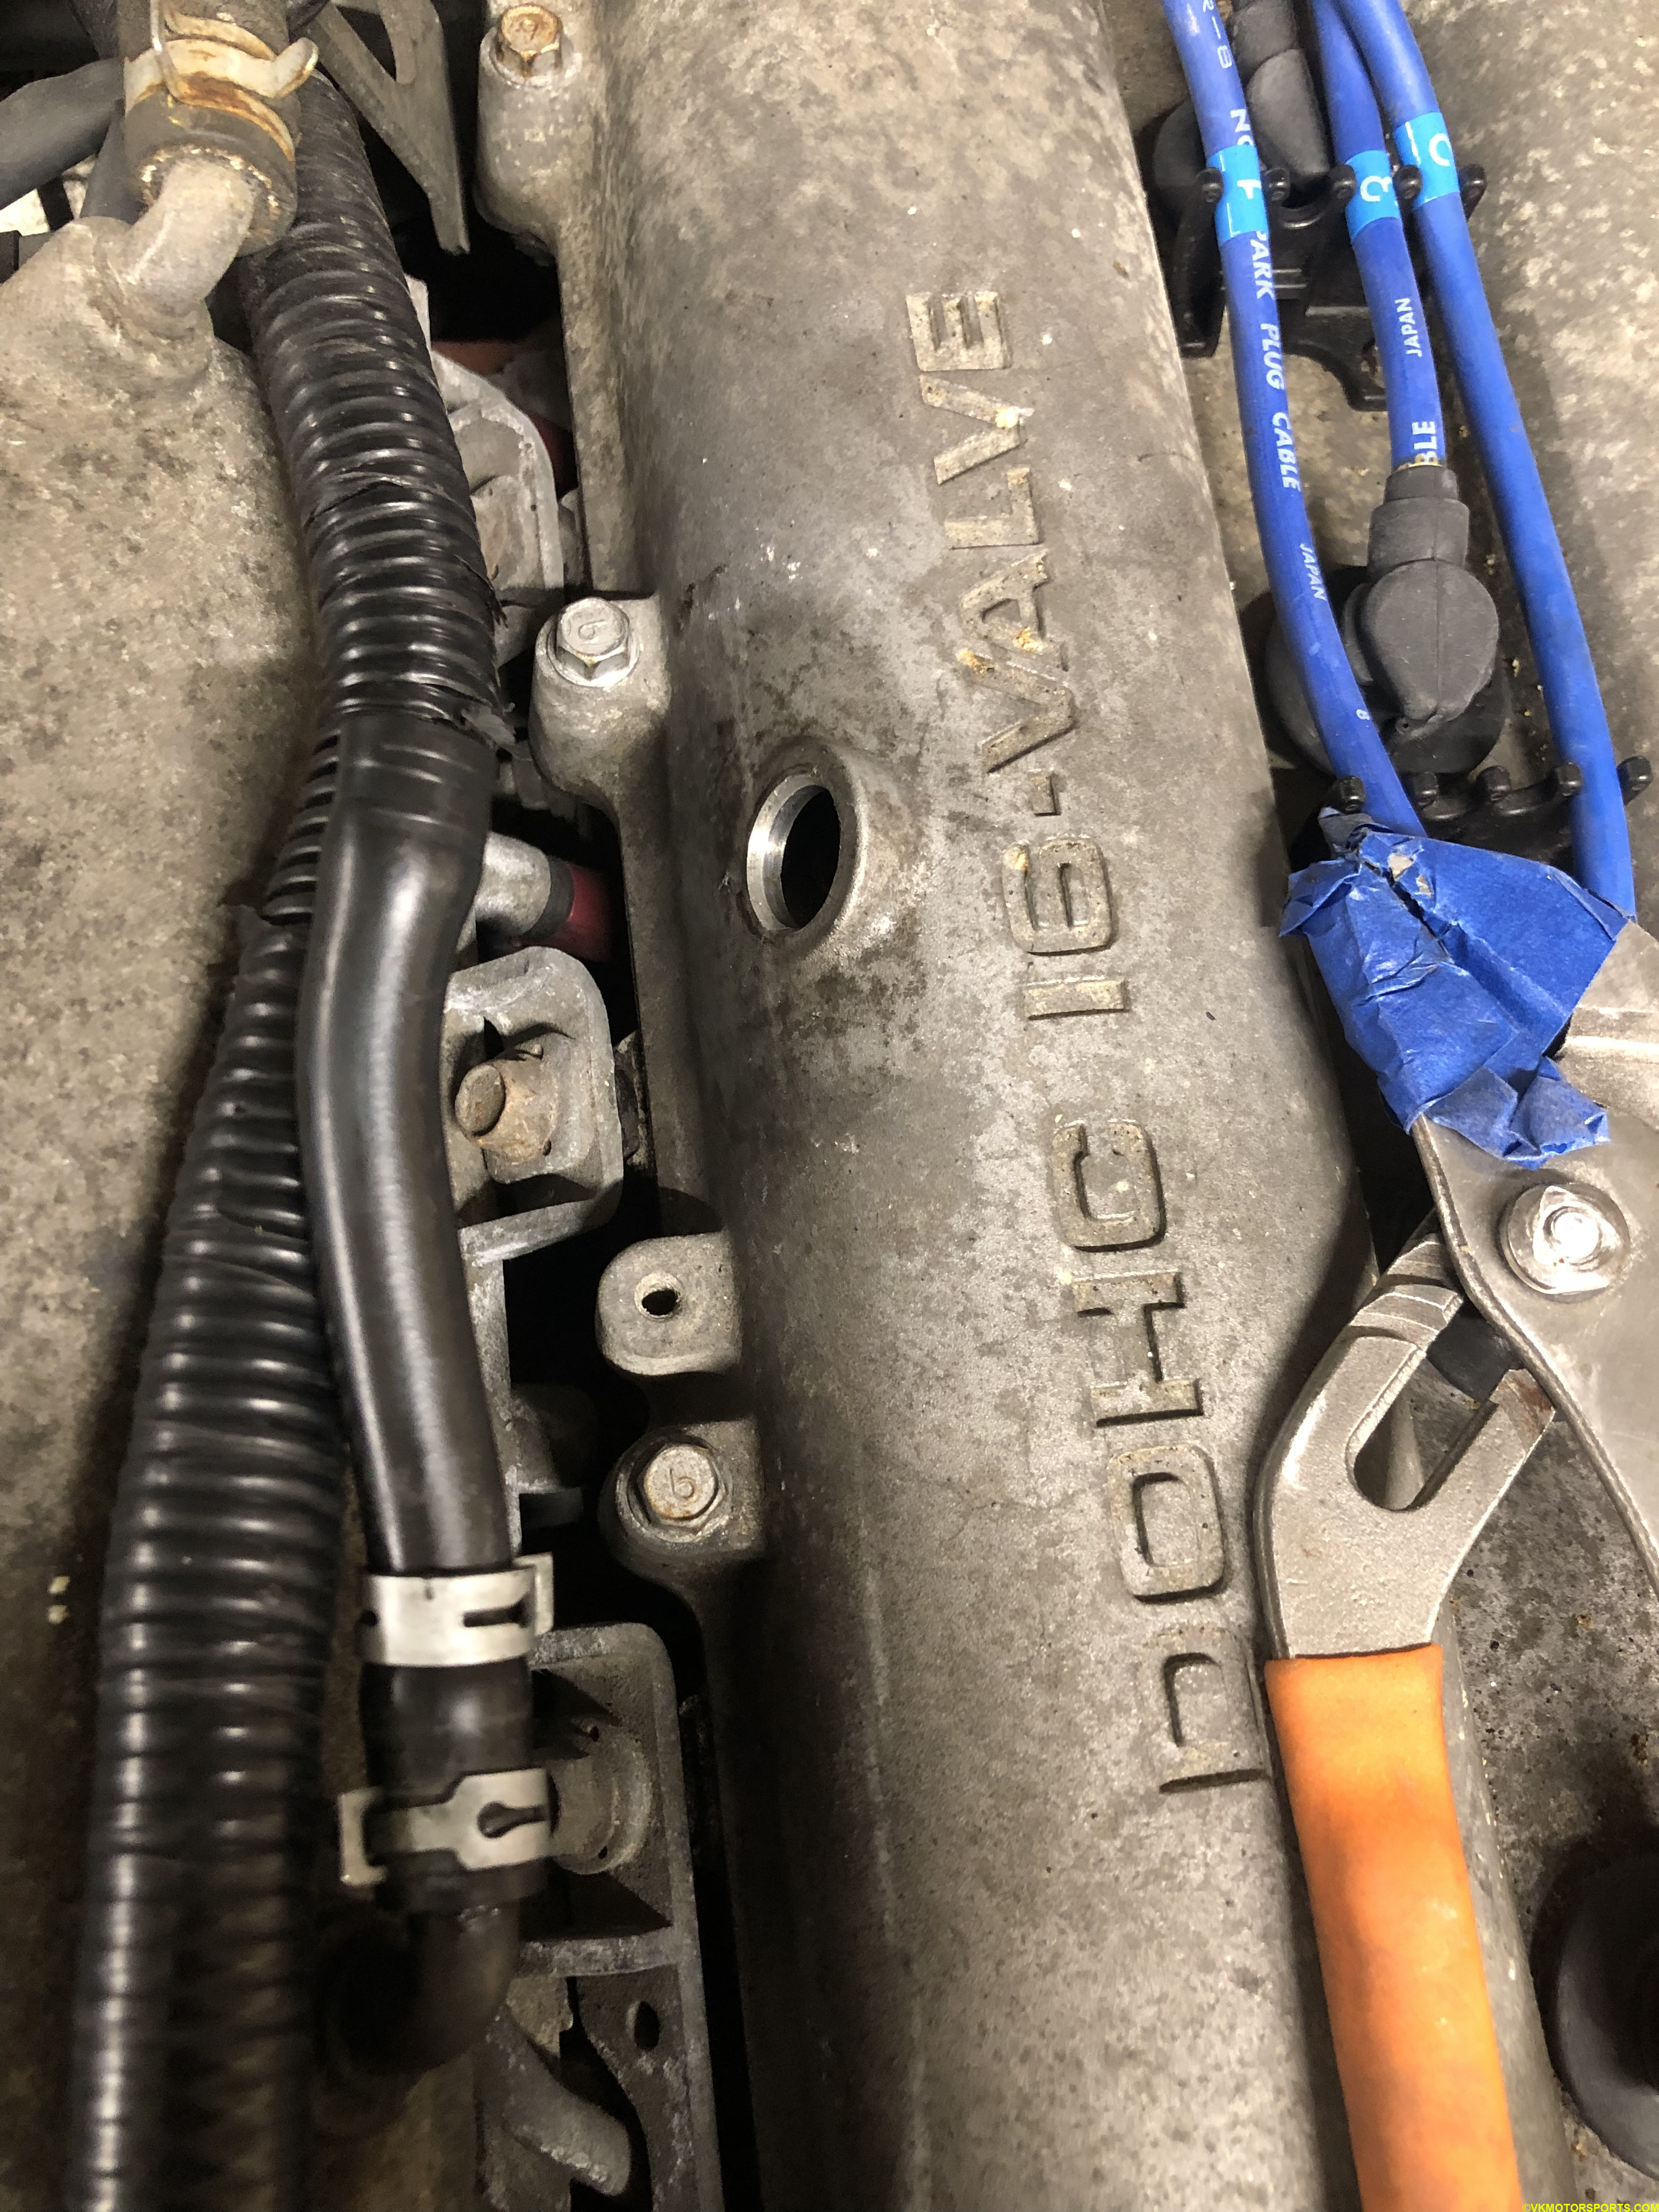
Figure 7. Old grommet removed
Step 3: Next step is to install the new grommet, Beck Arnley 039-6428 first by hand. Once that is in, you can then push in the Beck Arnley PCV valve 045-0277 into the grommet. This can take quite some effort, so you can apply some dish soap to the PCV valve and insert it into the grommet. Once that is done, connect the hose back to the PCV valve and tighten the hose clamp. Figure 8 shows the final view.
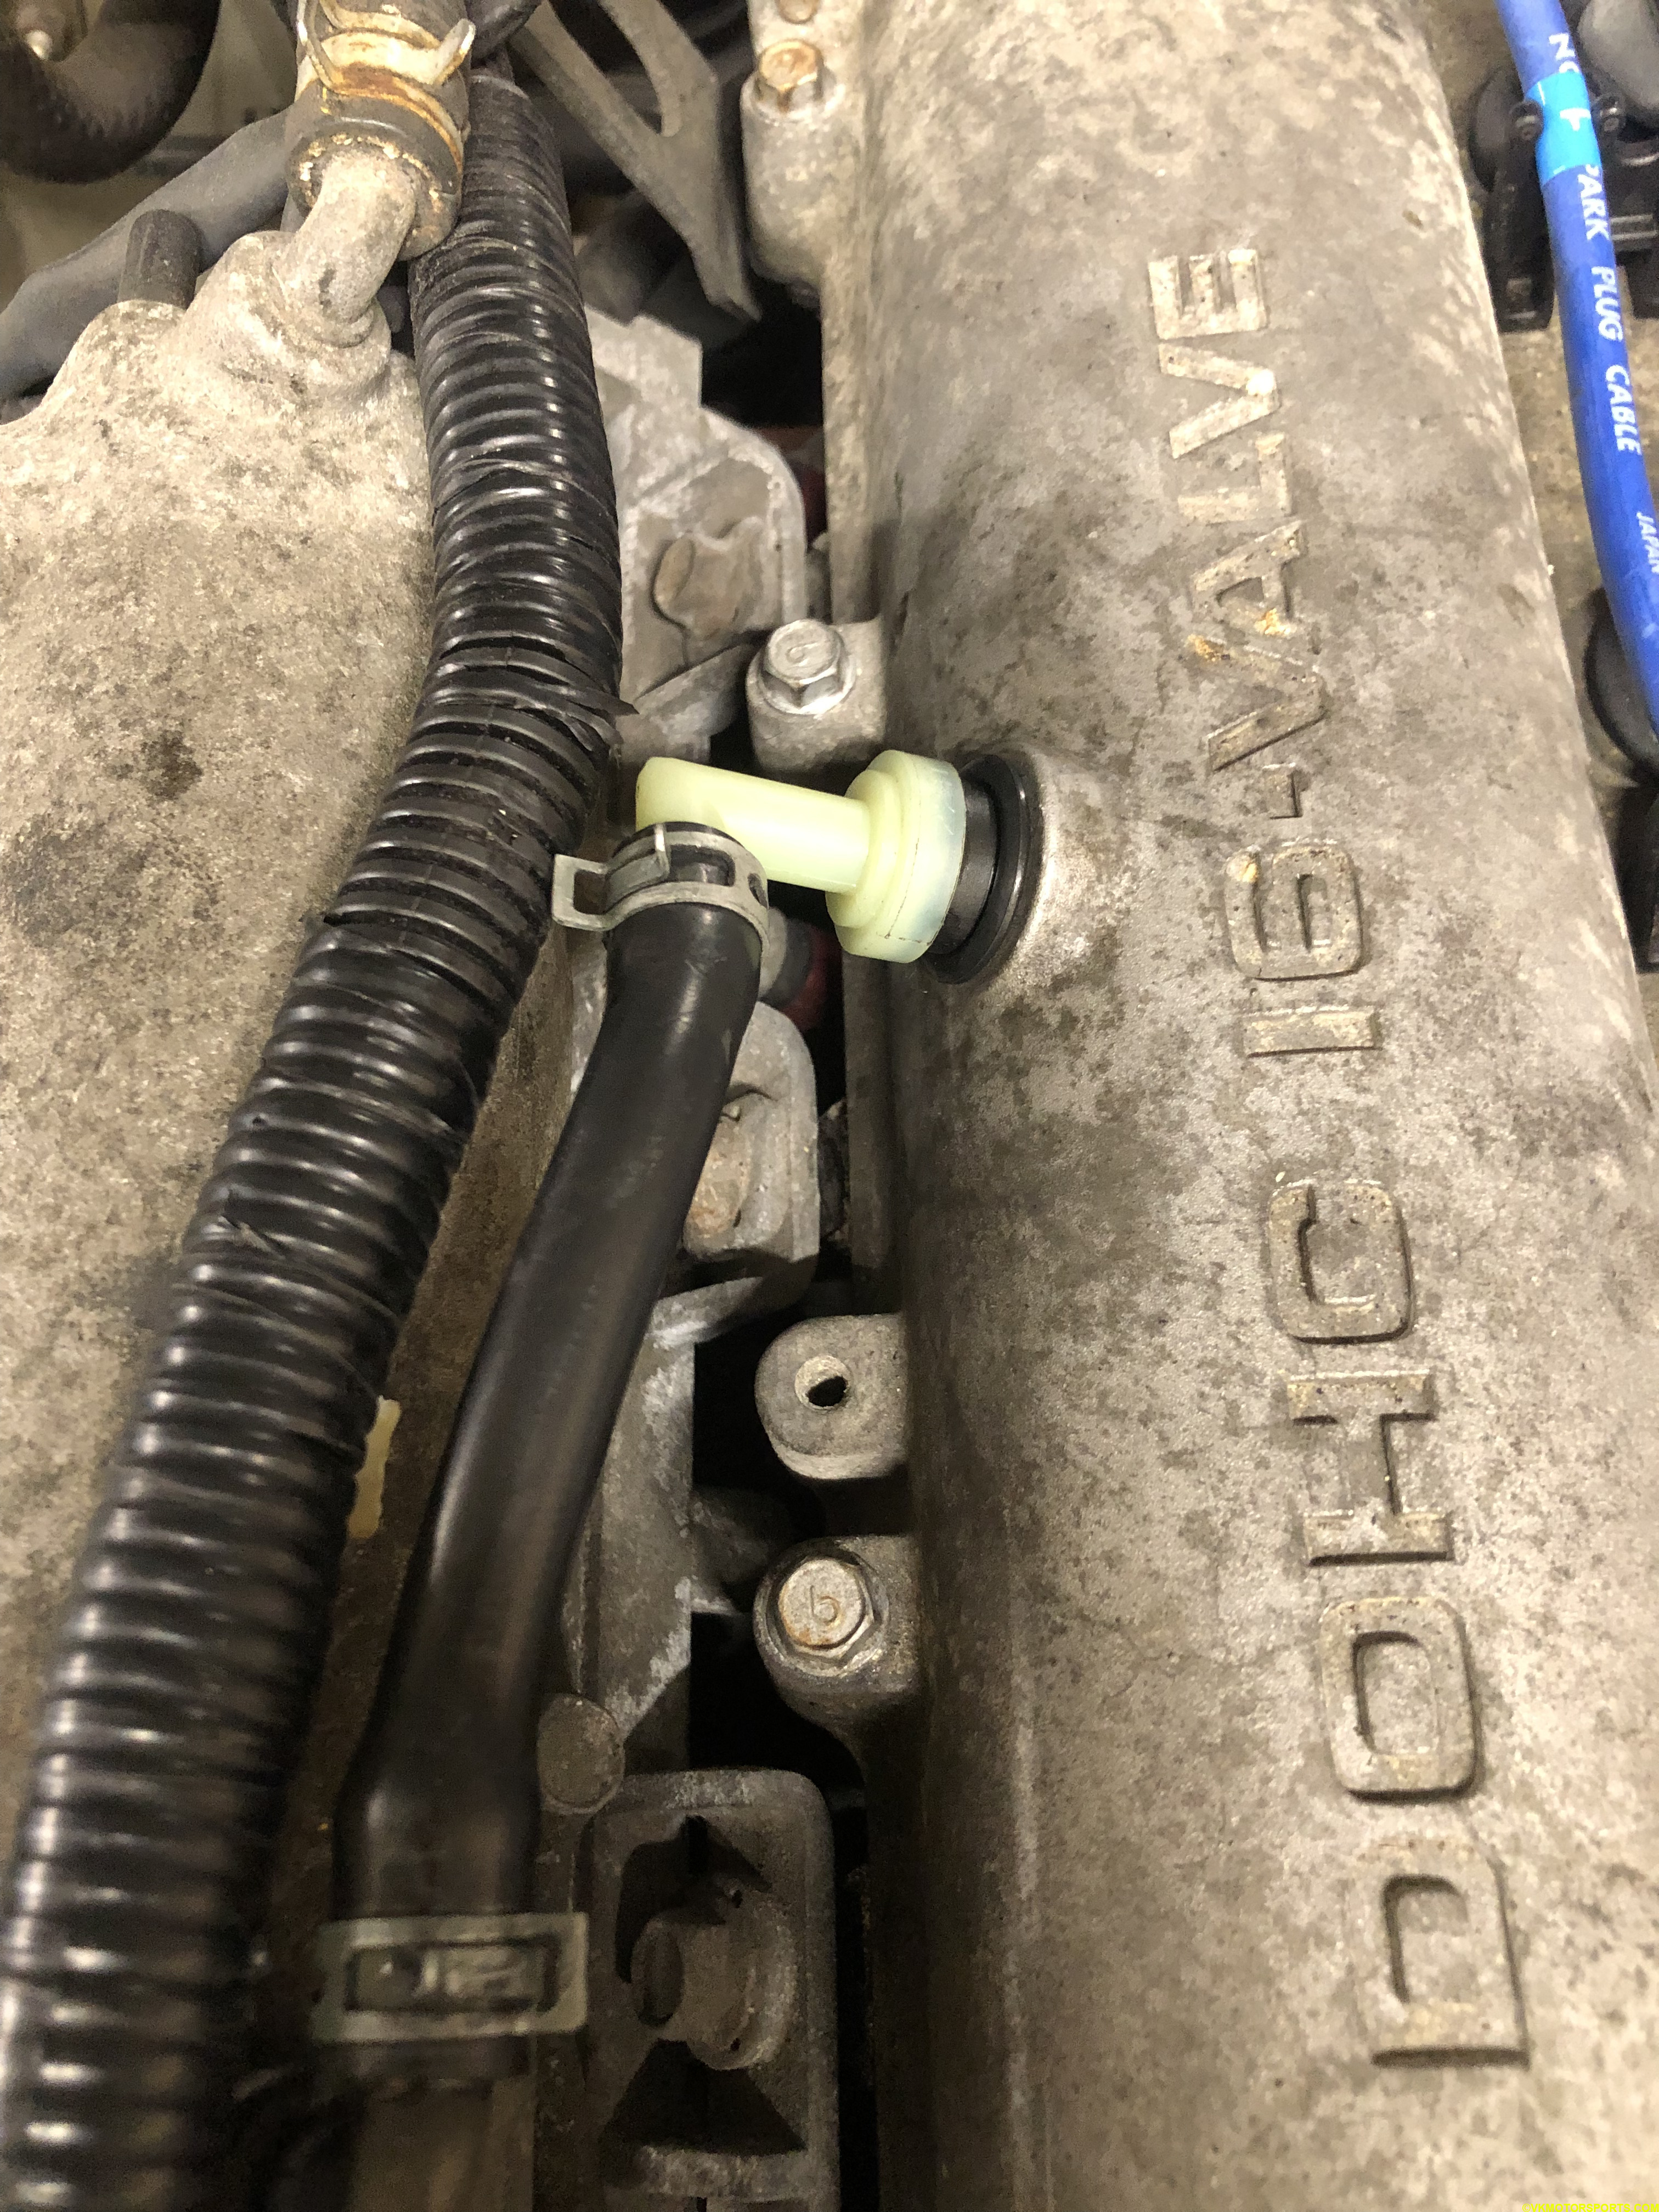
Figure 8. New PCV valve and grommet installed
Step 4: Next we tackle the purge valve as shown in figure 9. The purge valve is connected to the body via a bracket and two 10mm nuts which you will need to open with a 10mm wrench or socket. You can see the bracket removed in Figure 10. Next unplug the electrical port and the two hoses and take out the old purge valve. This is really easy to do.
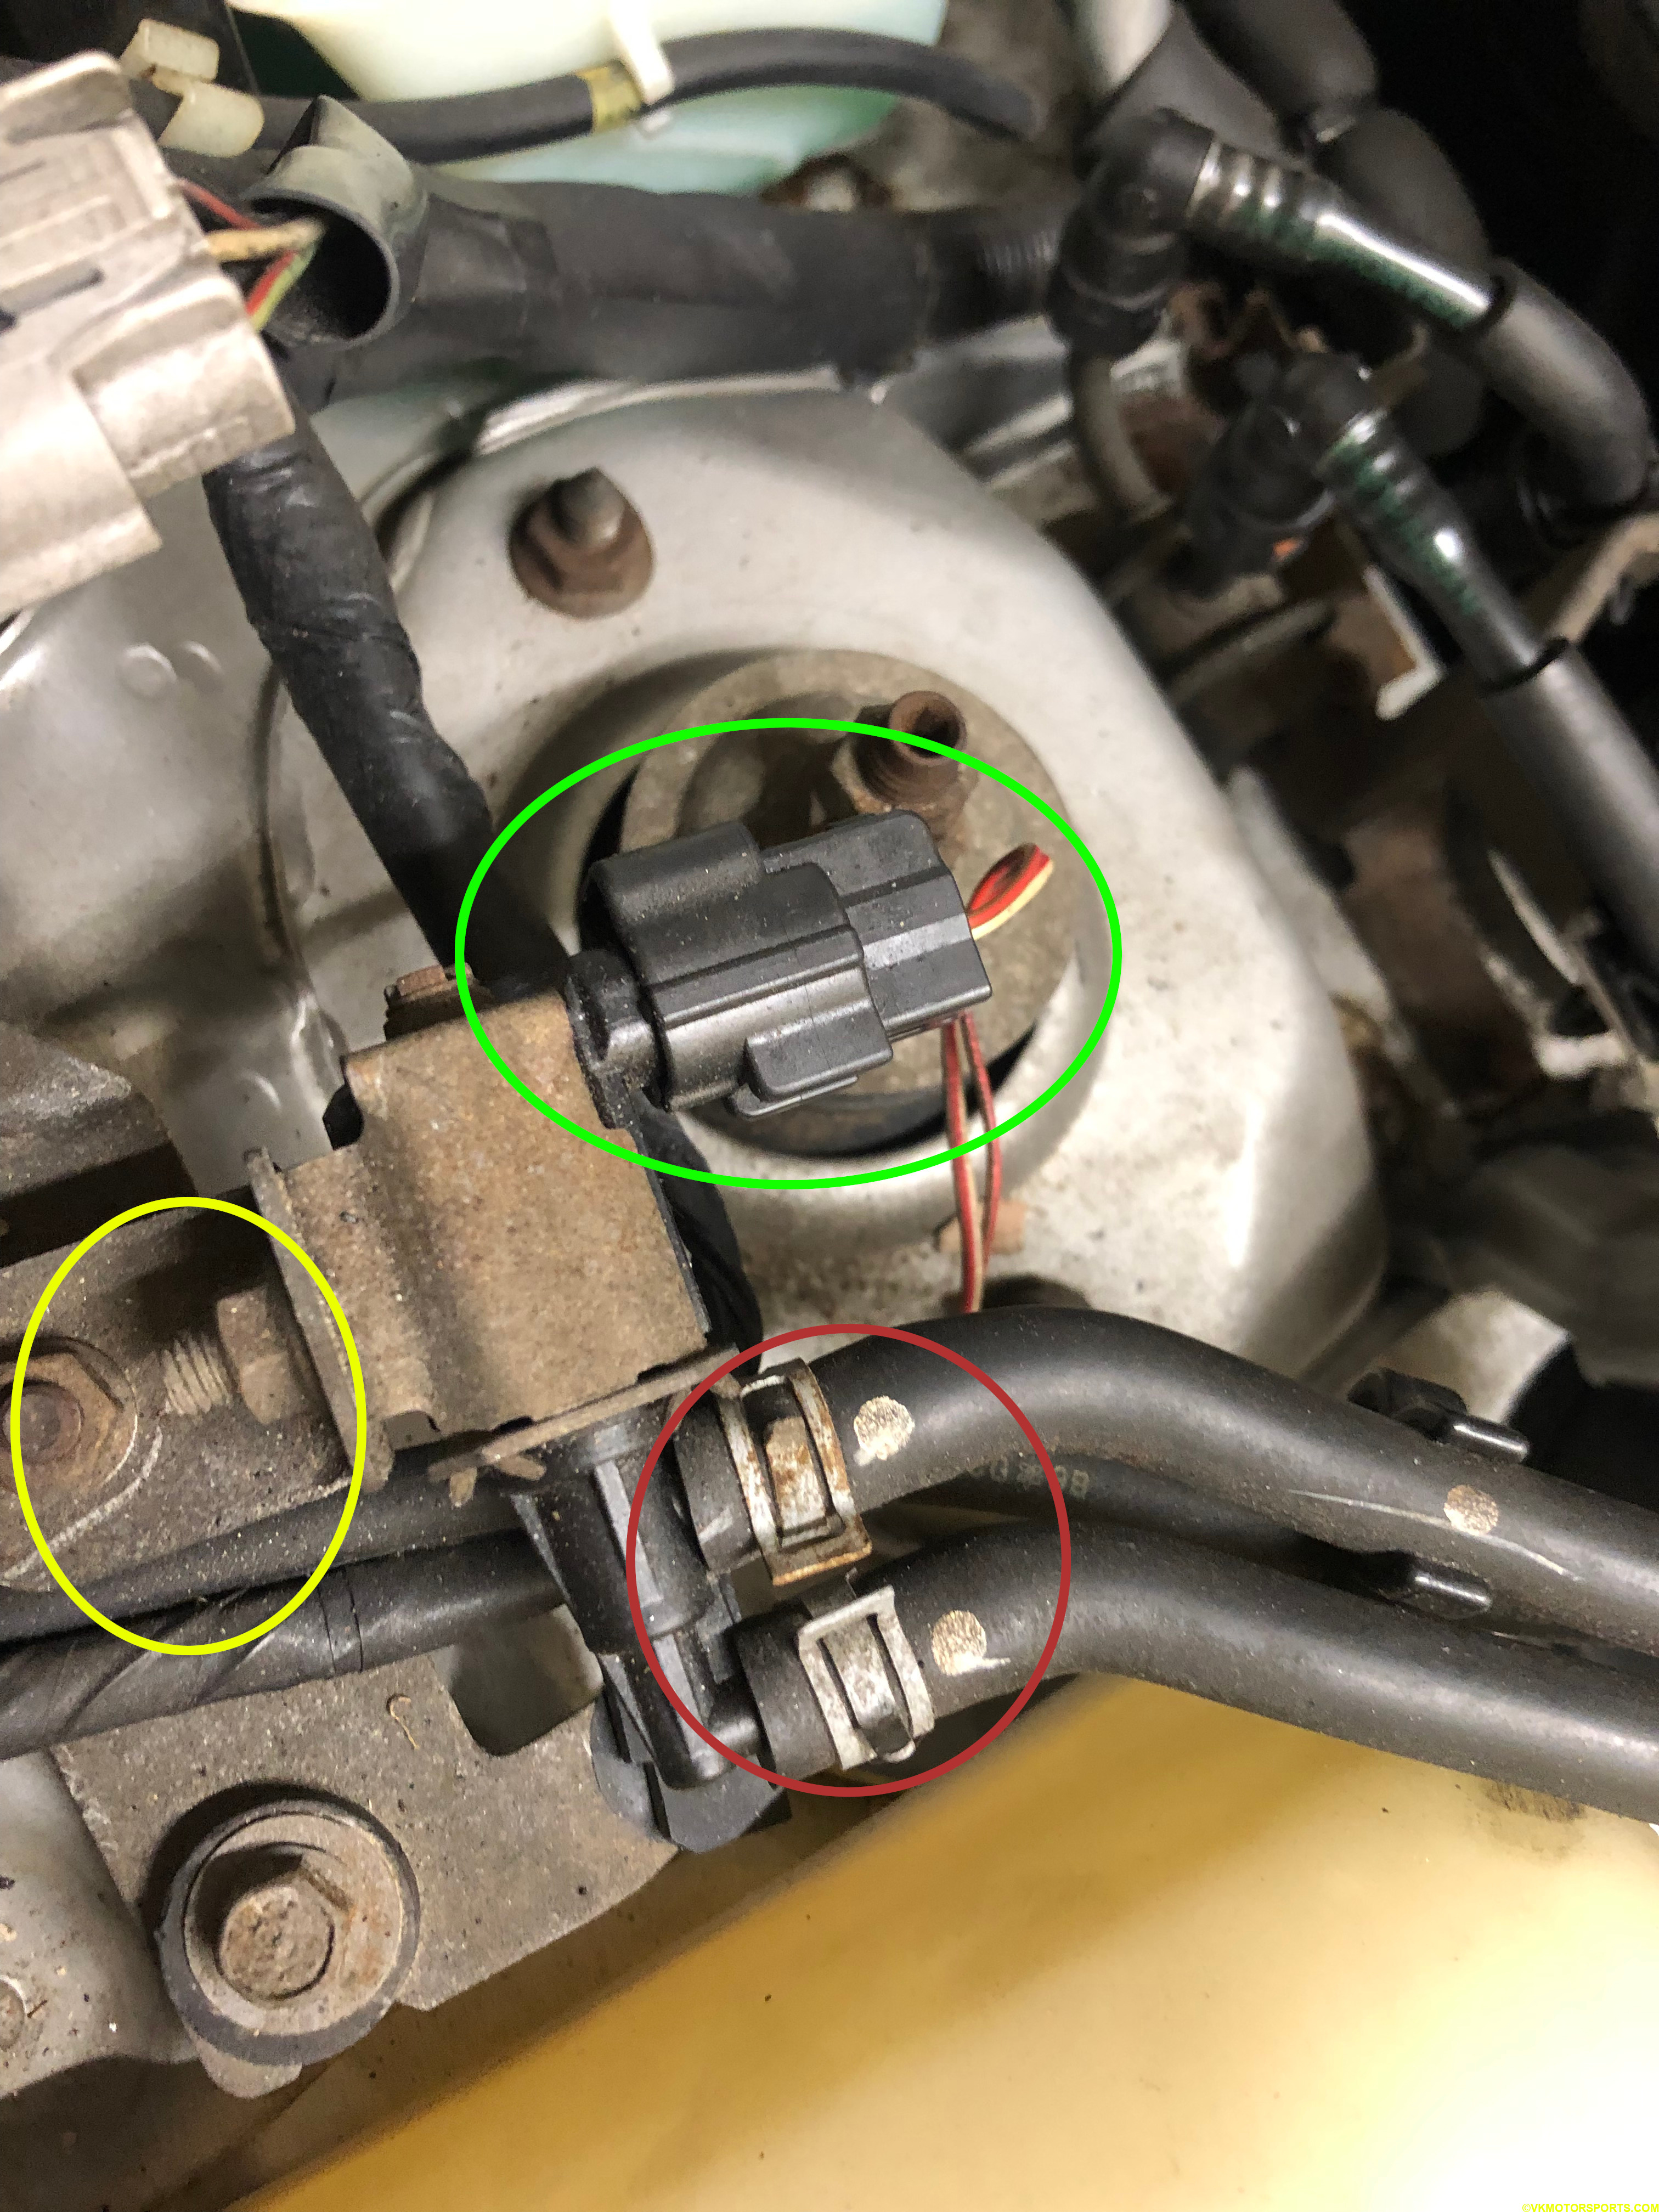
Figure 9. Old purge valve
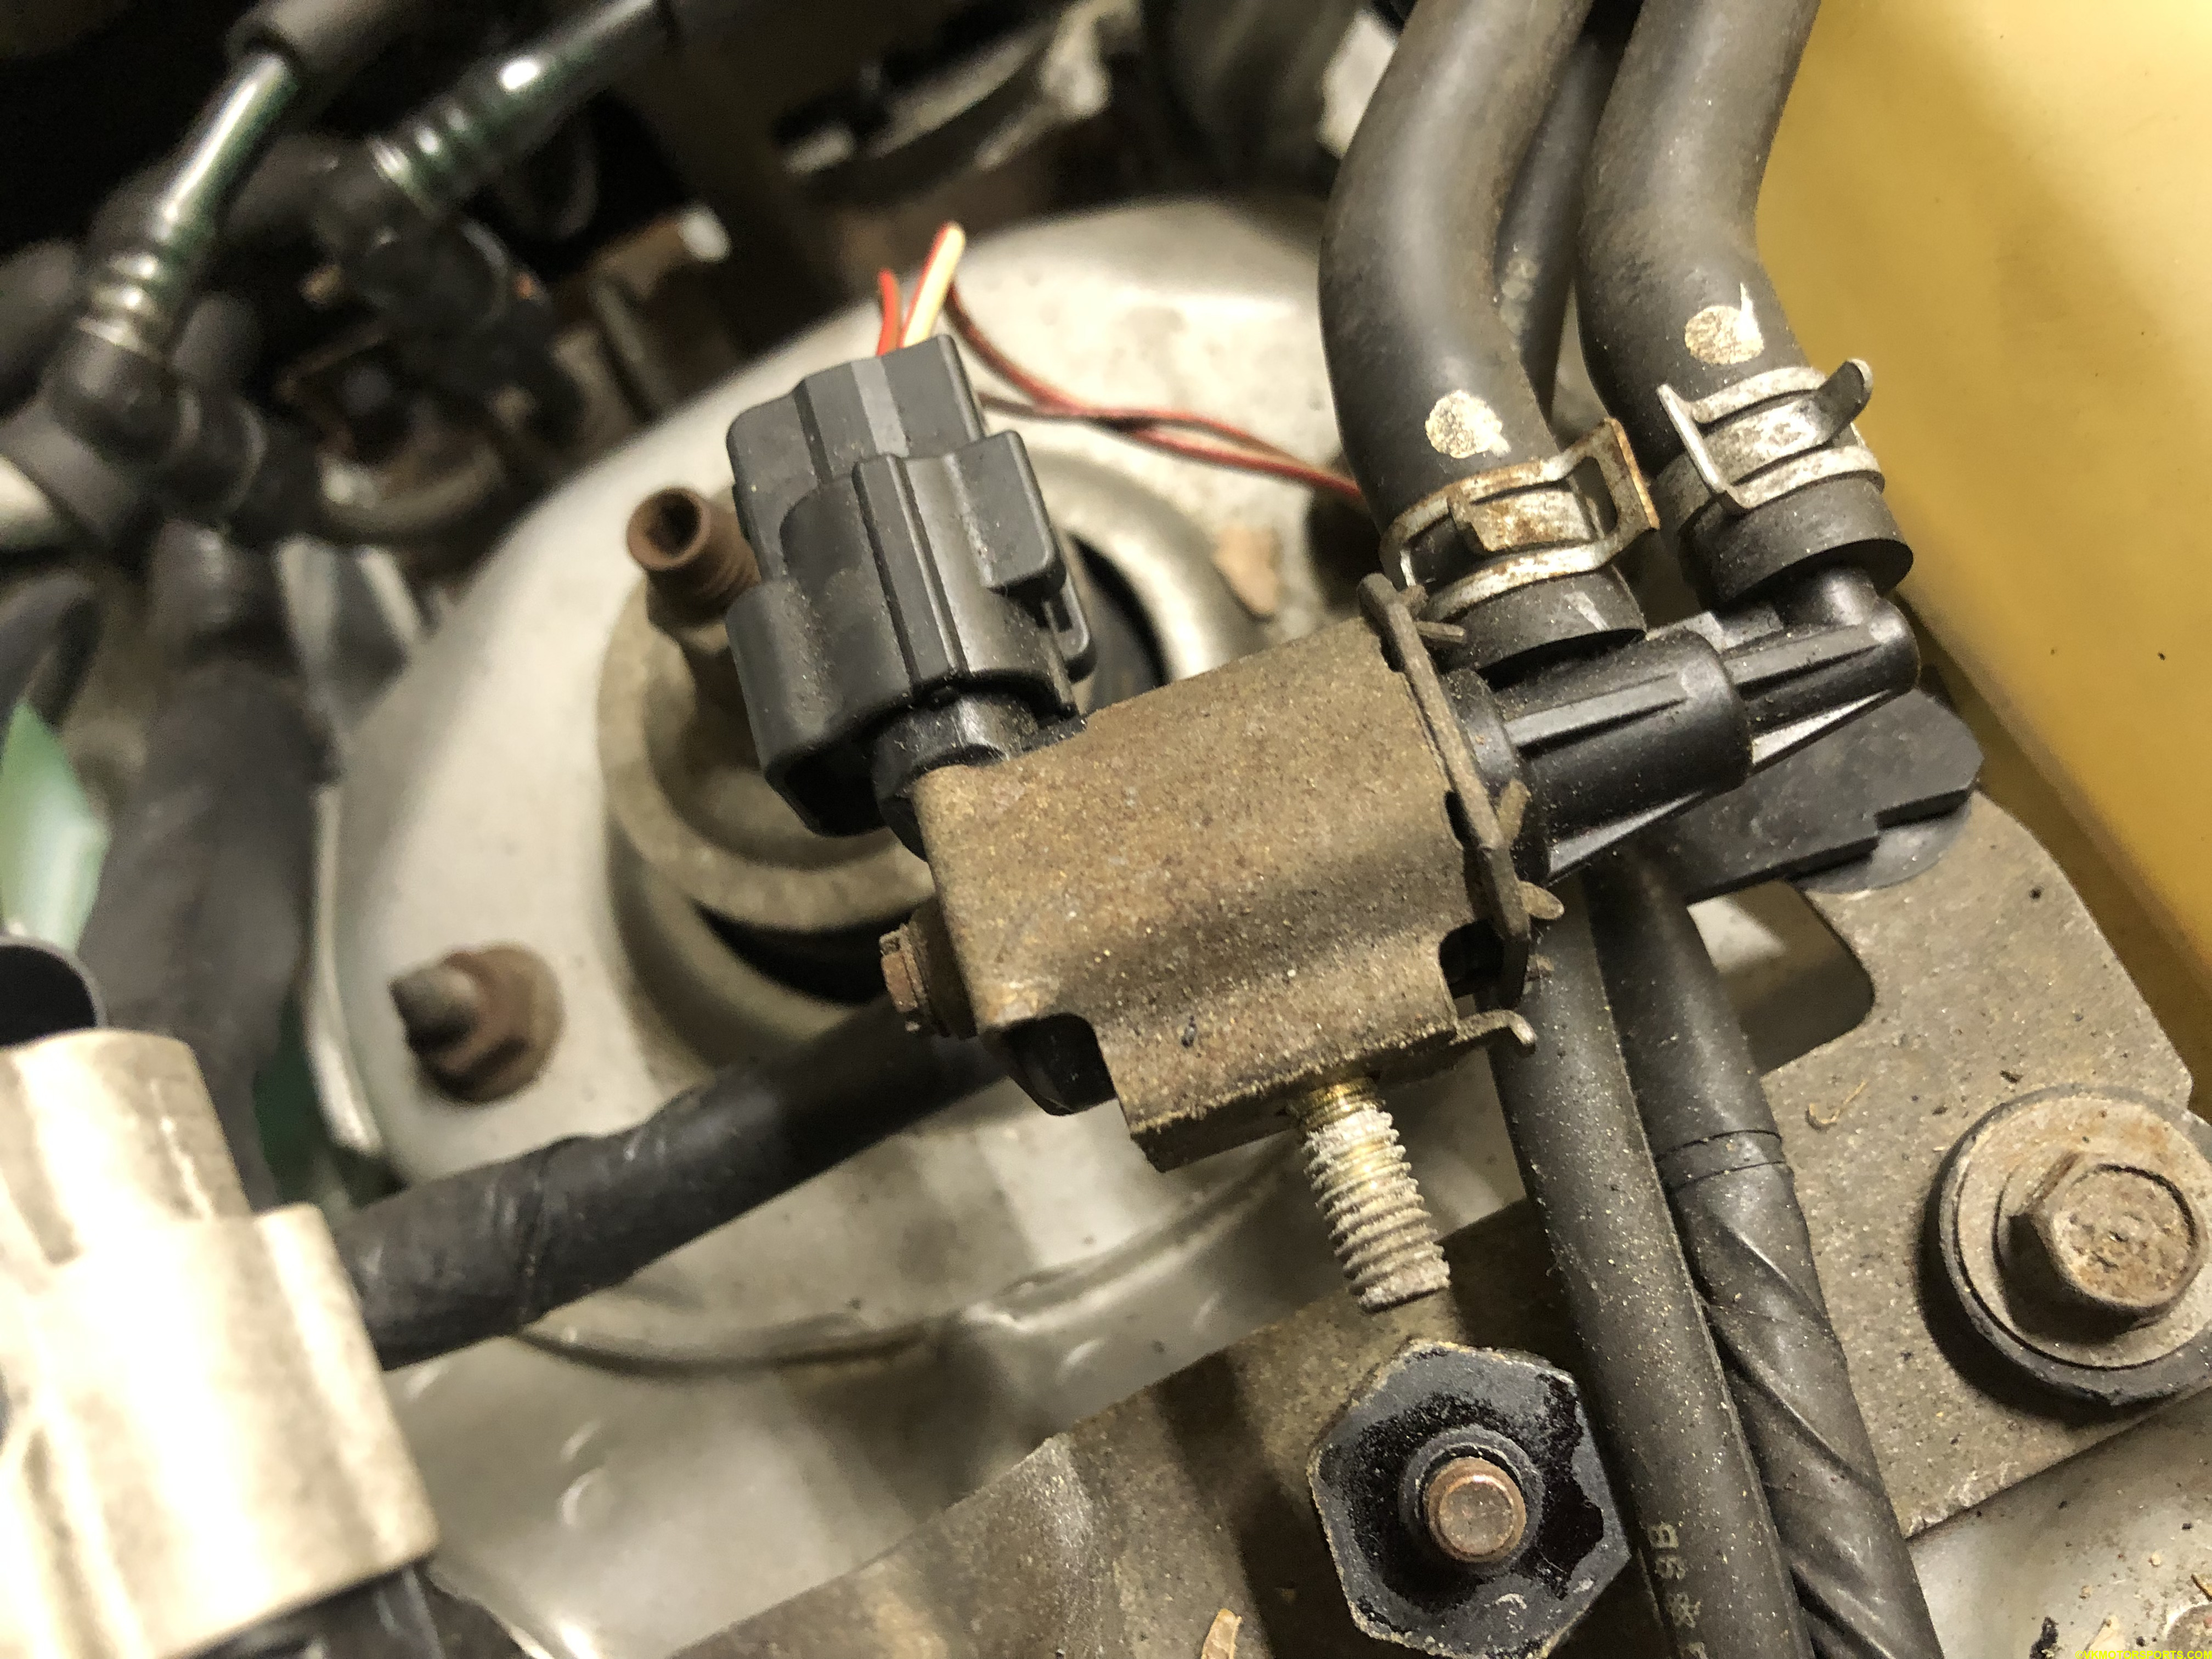
Figure 10. Purge valve bracket removed
Step 5: Insert the replacement purge valve (Dorman Purge Valve 911-706 seen in Figure 11) in the same way as you removed the old one and install the bracket back in place. Connect all the hoses and the electrical connector back in place as seen in Figure 12.
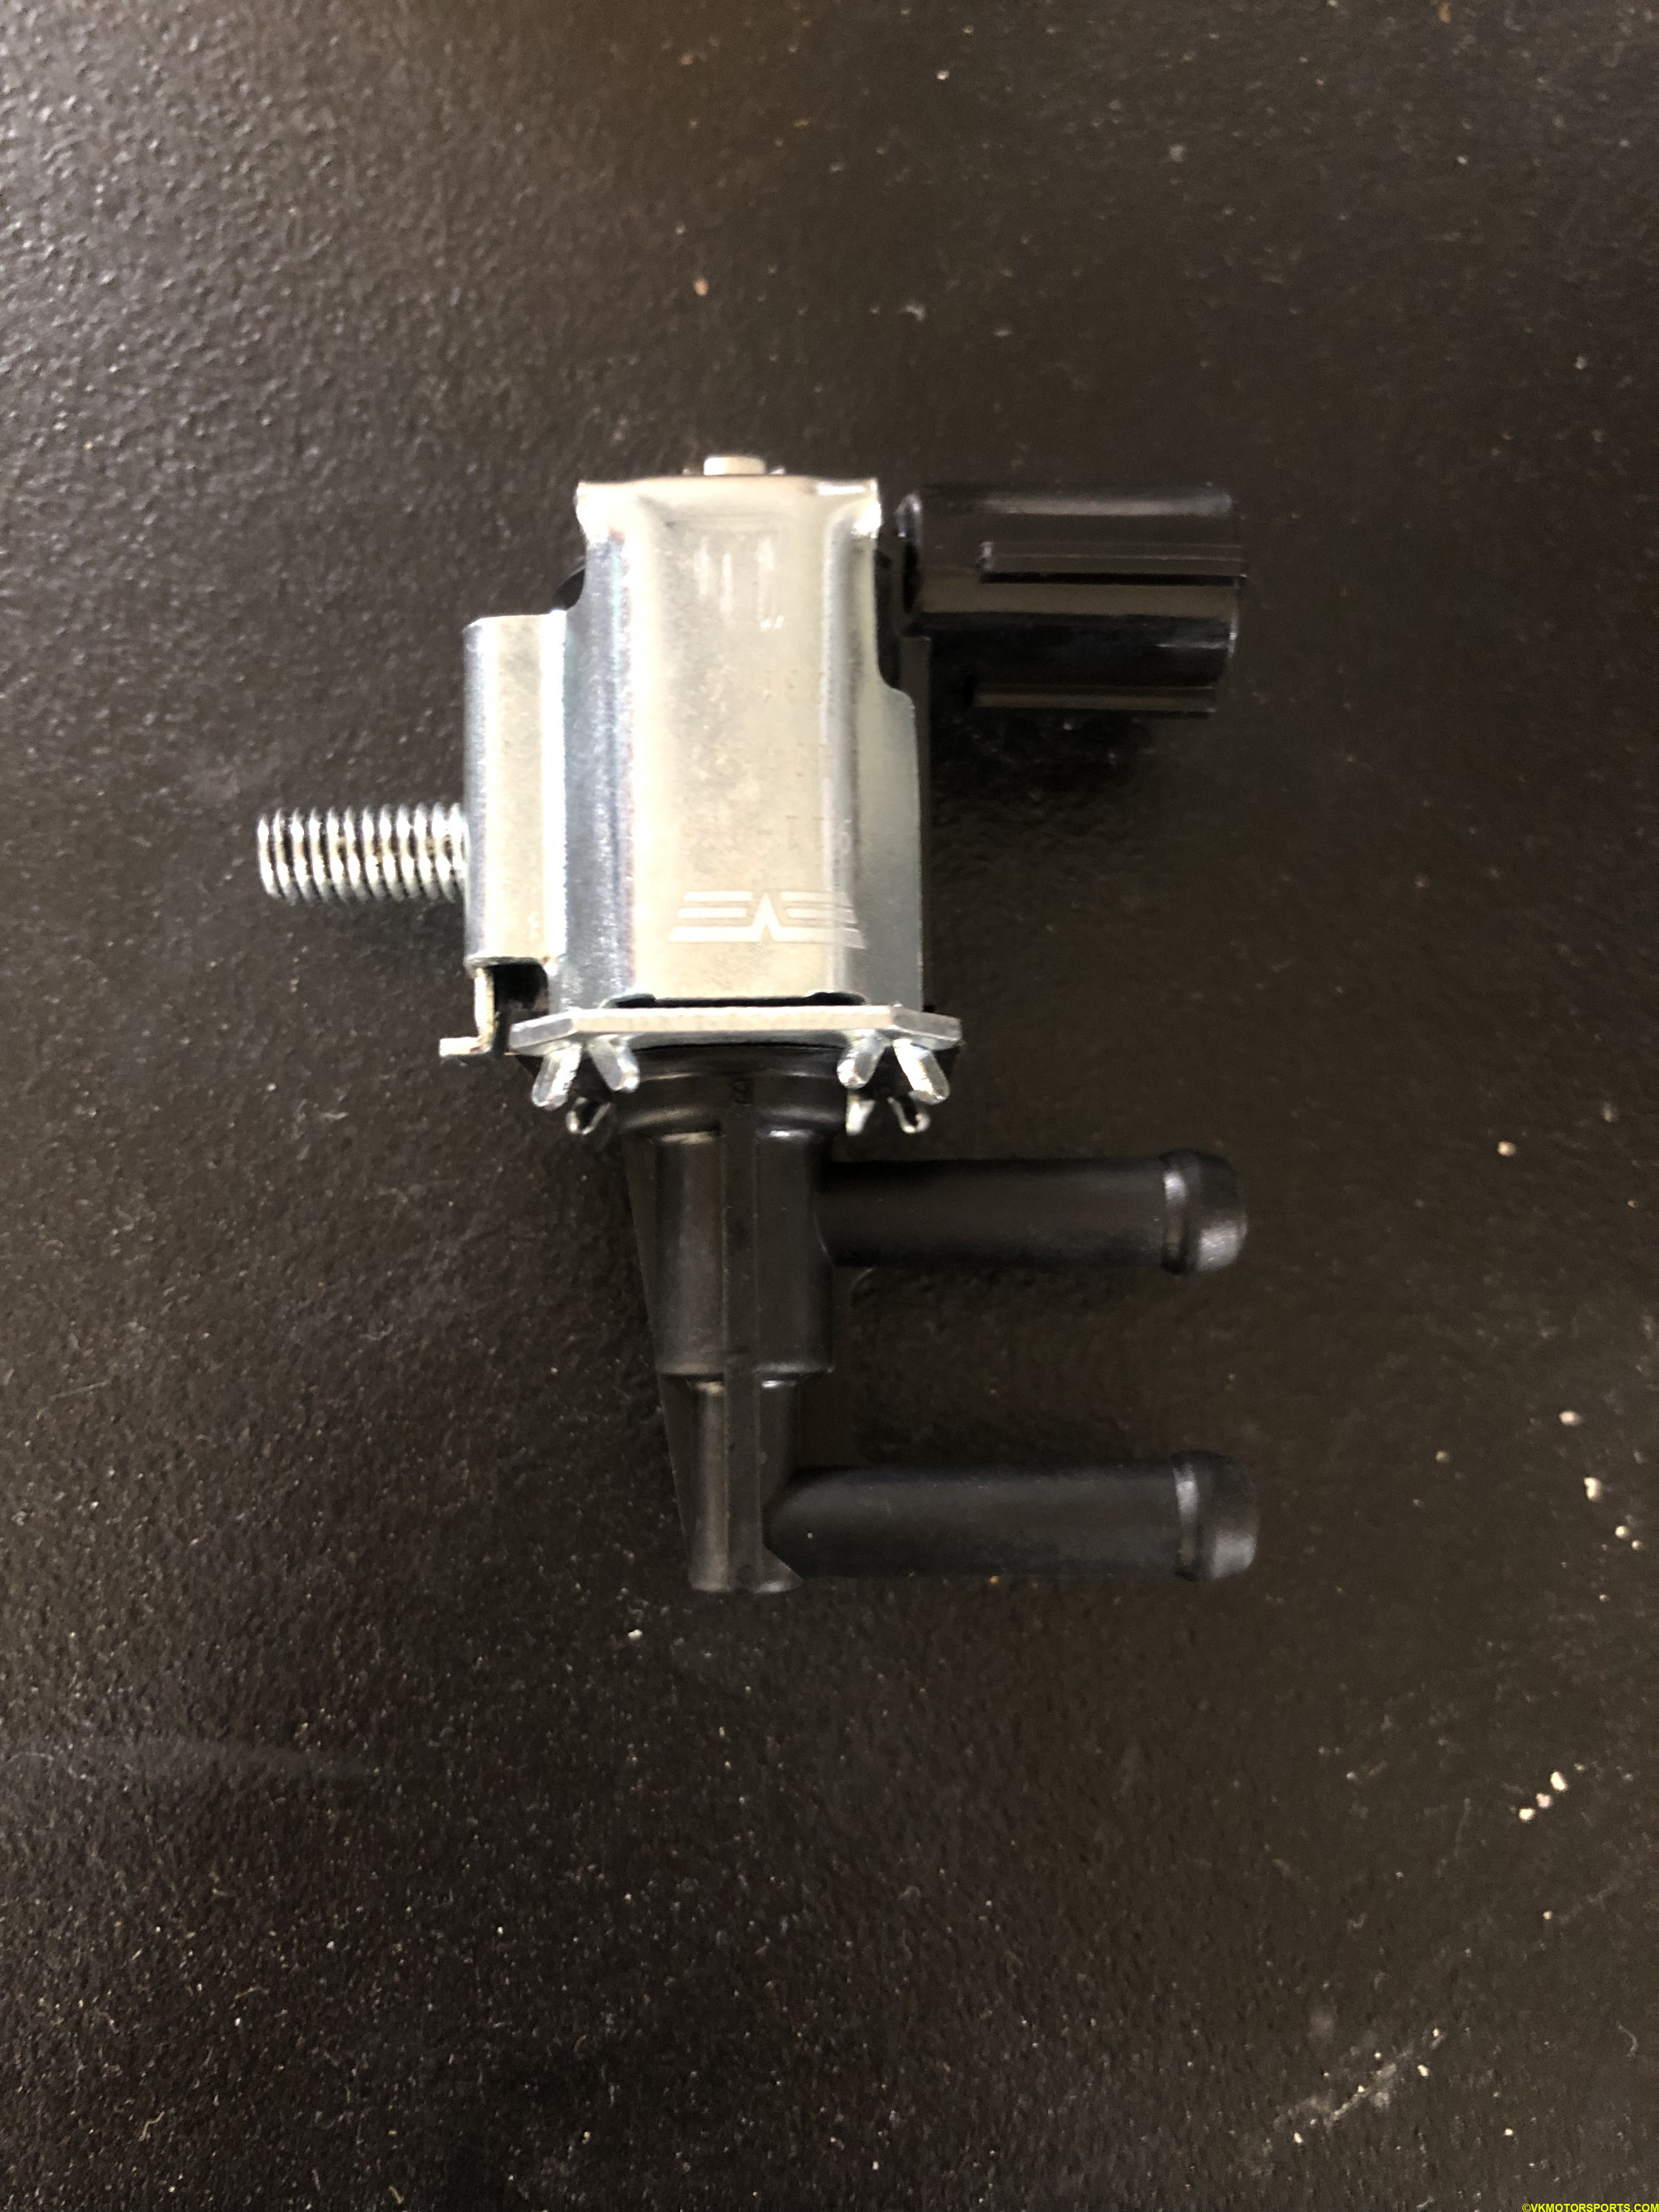
Figure 11. Replacement purge valve
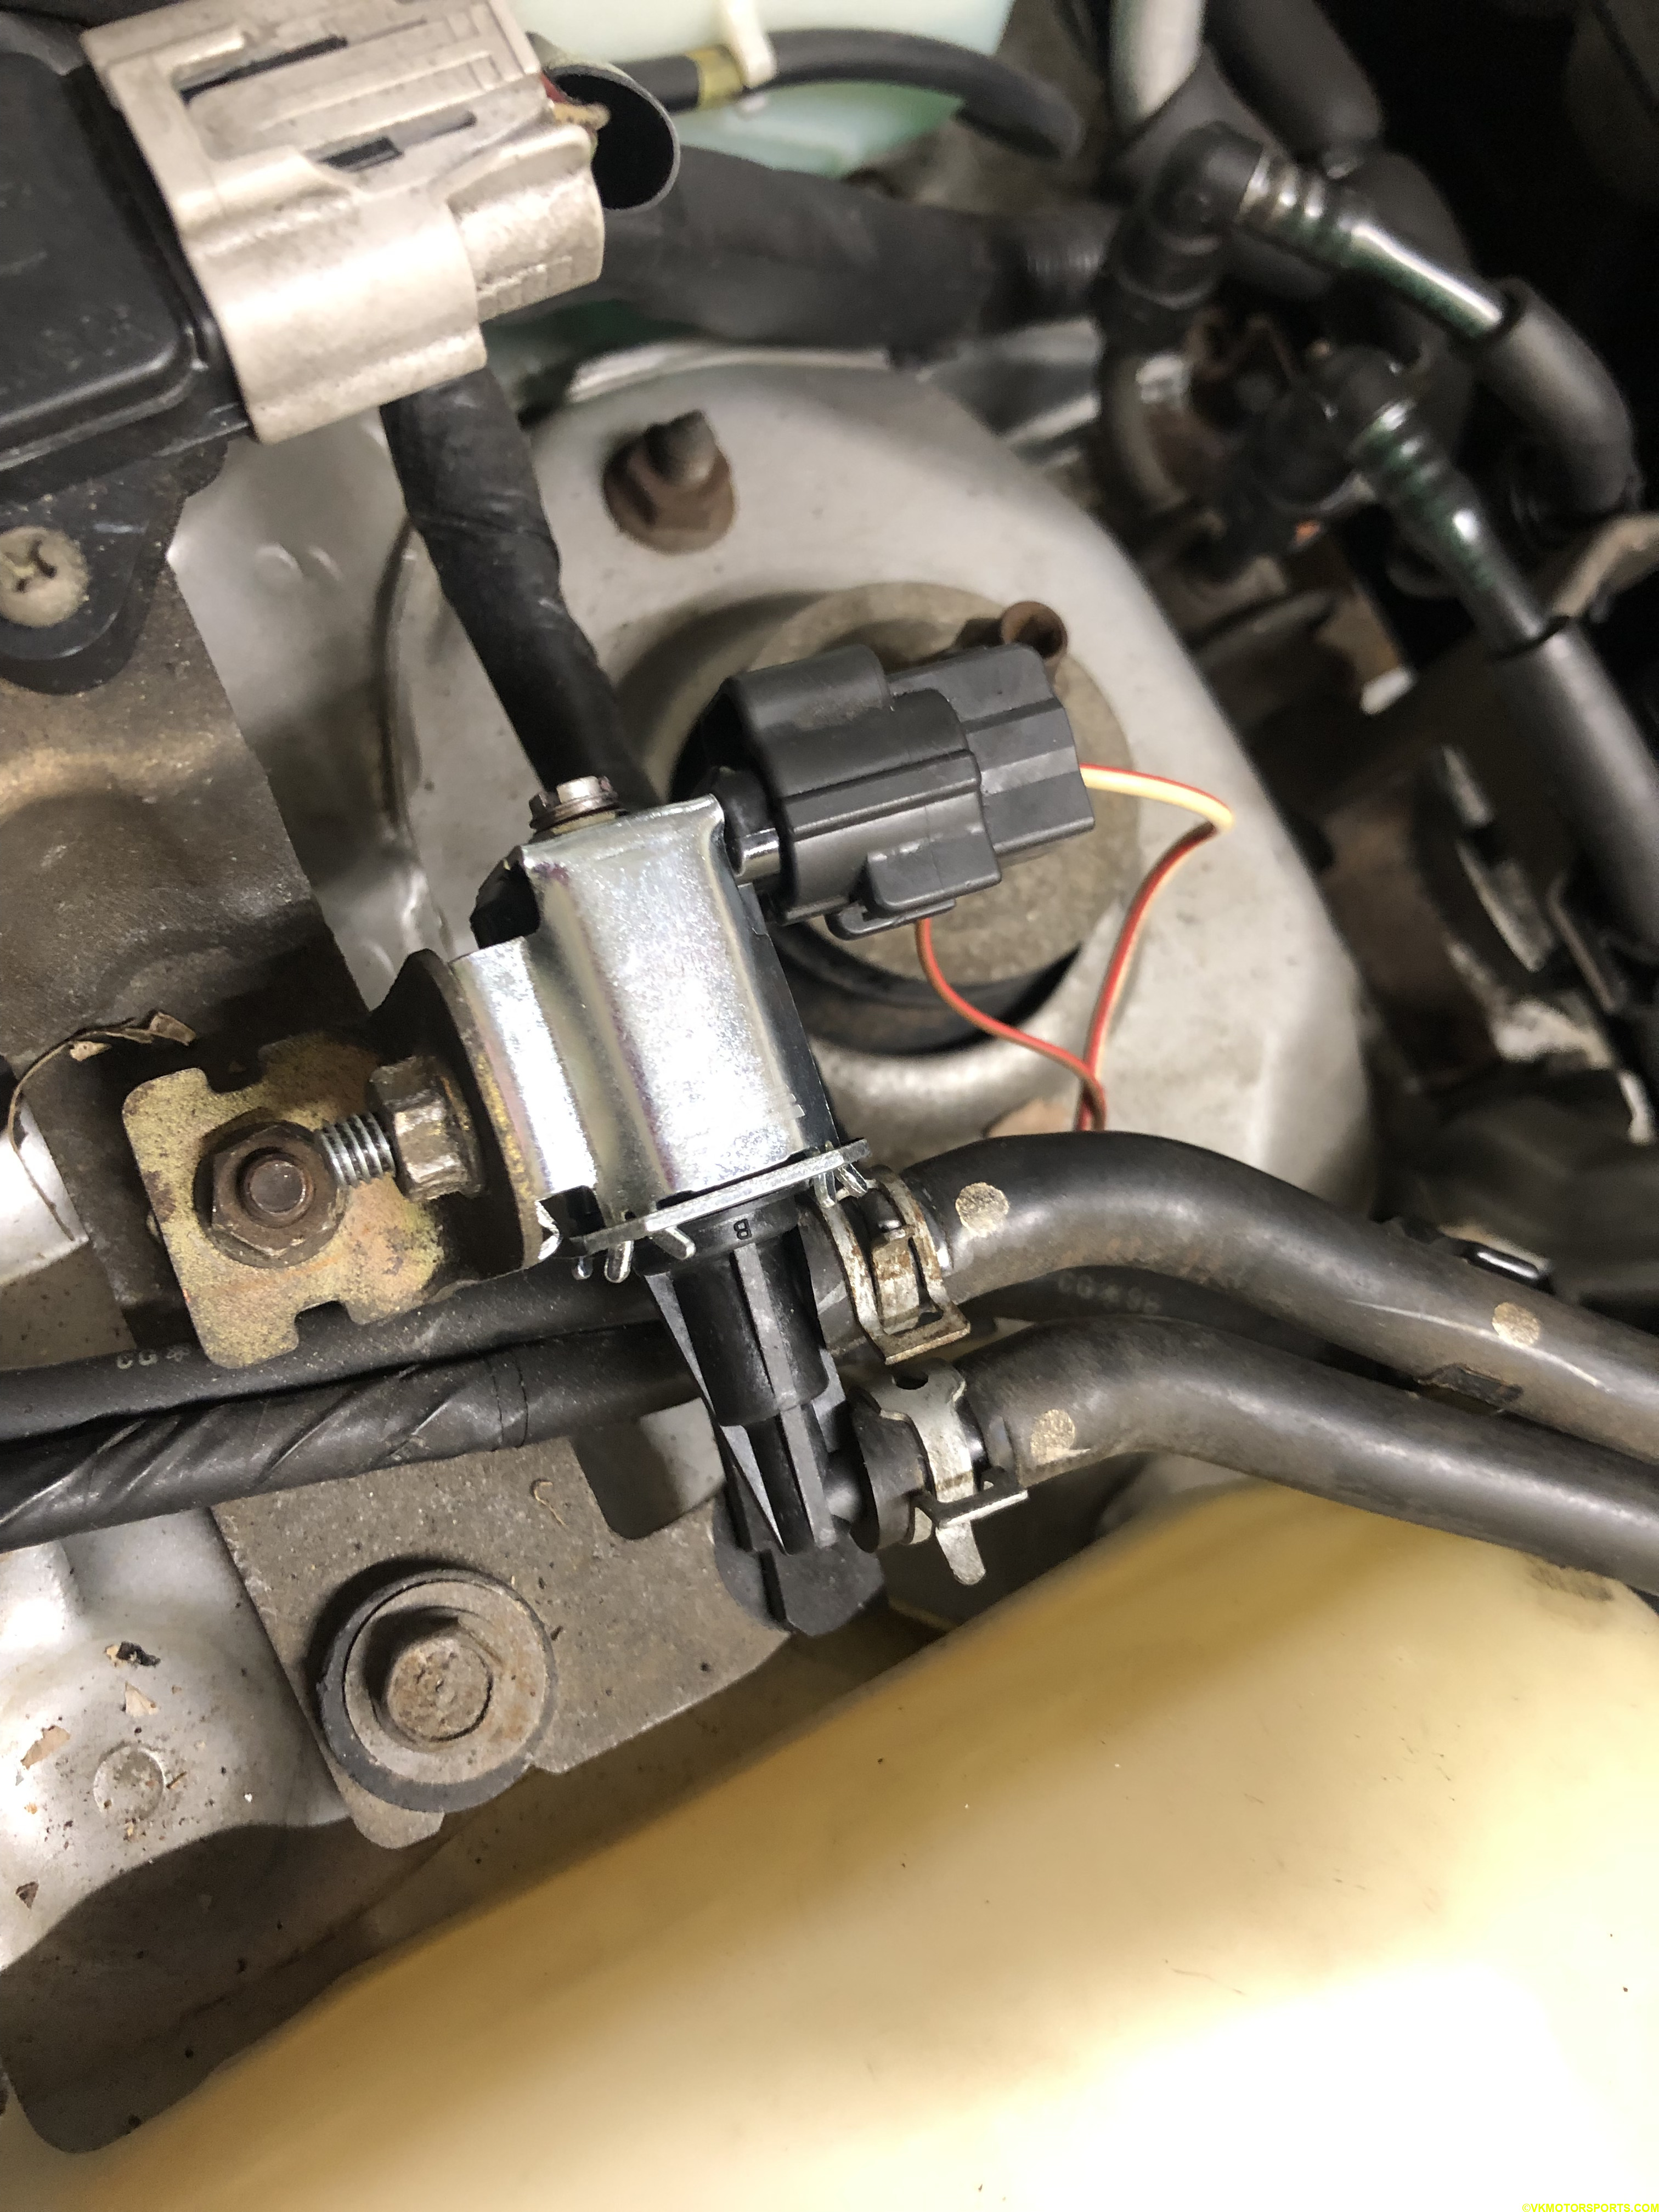
Figure 12. New purge valve installed
Step 6: Start the car and clear the codes and go for a drive.