Since buying the Porsche Boxster S, I had driven it for at least a 1000 miles in the last 2 years. However, I had never changed the air filter or the cabin filter. The Boxster was sitting for a few weeks in a dusty area in Texas before I got it, so I decided to do this change and reduce the smelliness in the cabin as well.
This is one of the easier changes to do in the Boxster and requires no tools. I recommend purchasing the Hengst Air Filter E458L (Figure 14) and Hengst Cabin Filter E951LC (Figure 17) for this task. These are the OEM filters that Porsche uses on the 986 model cars and it is best to stick to OEM versions for a perfect fit.
Accessing the Engine Bay
The first step is to open the engine cover for accessing the air filter housing. This procedure is standard for any 986 Boxster and is useful to know for any engine work that you may want to do in the future. Be cautious when you open the cover and remember to not break any parts that hold the cover in place.
Remember that the Boxster is a rear-engine car so all these steps are different from a standard front engine car.
Step 1: First close up the convertible top partially such that the front of the top is at least 10 inches away from the windshield (Figure 1) and the rear cover for the convertible top is open (Figure 2). Make sure your car is in parking gear and the e-brake lever is pulled up before you do this.
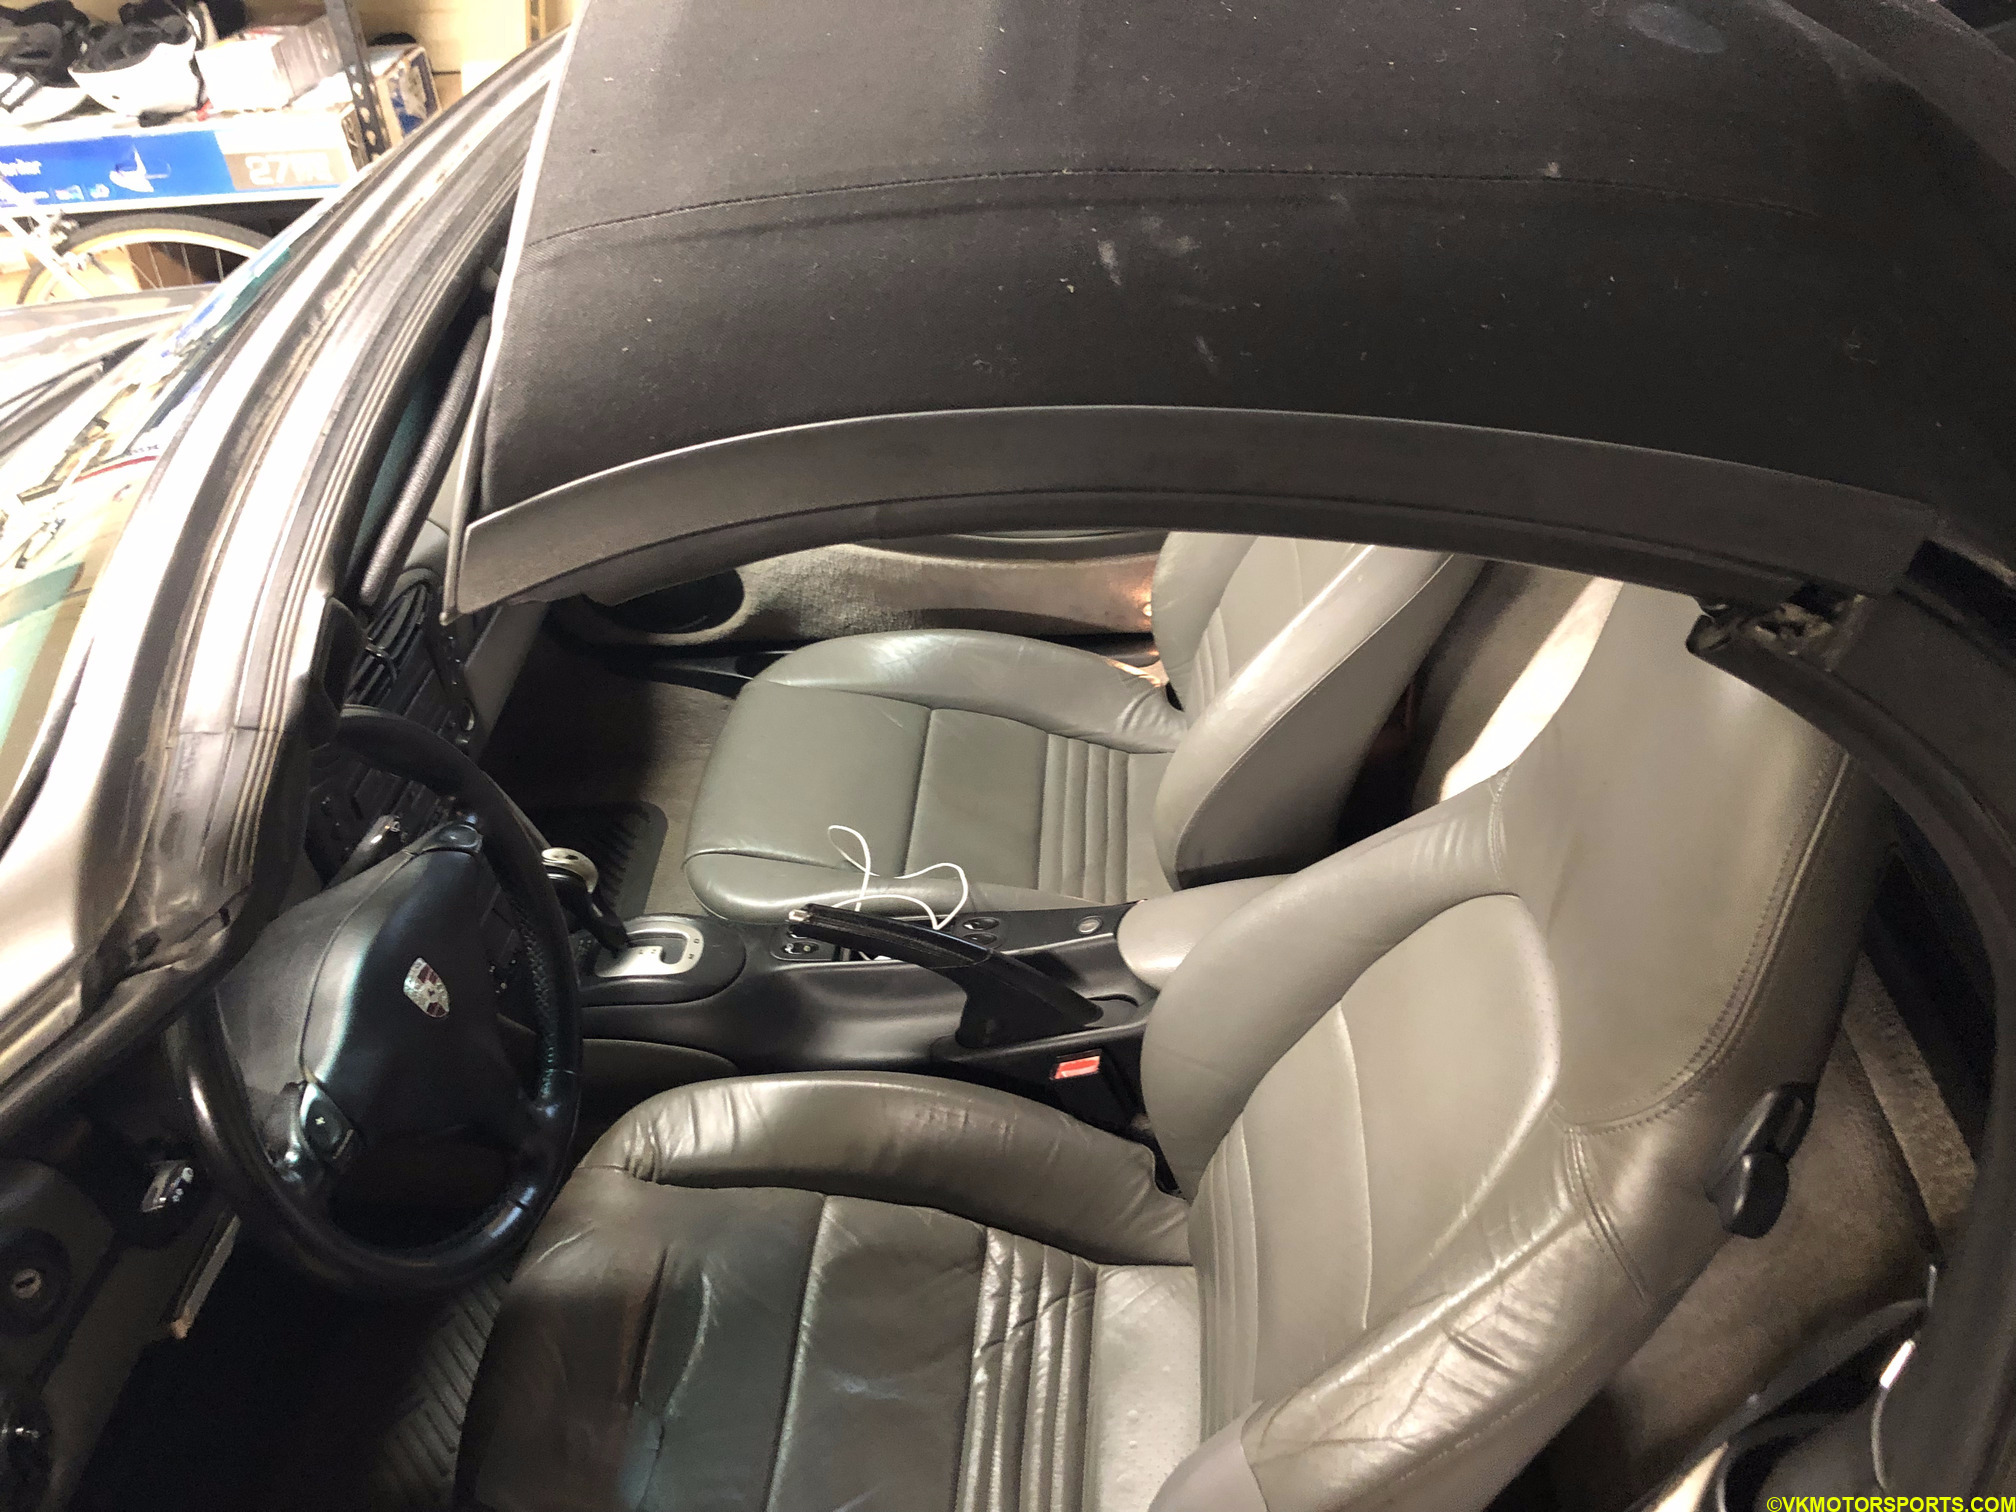 Figure 1. Partially close the convertible top
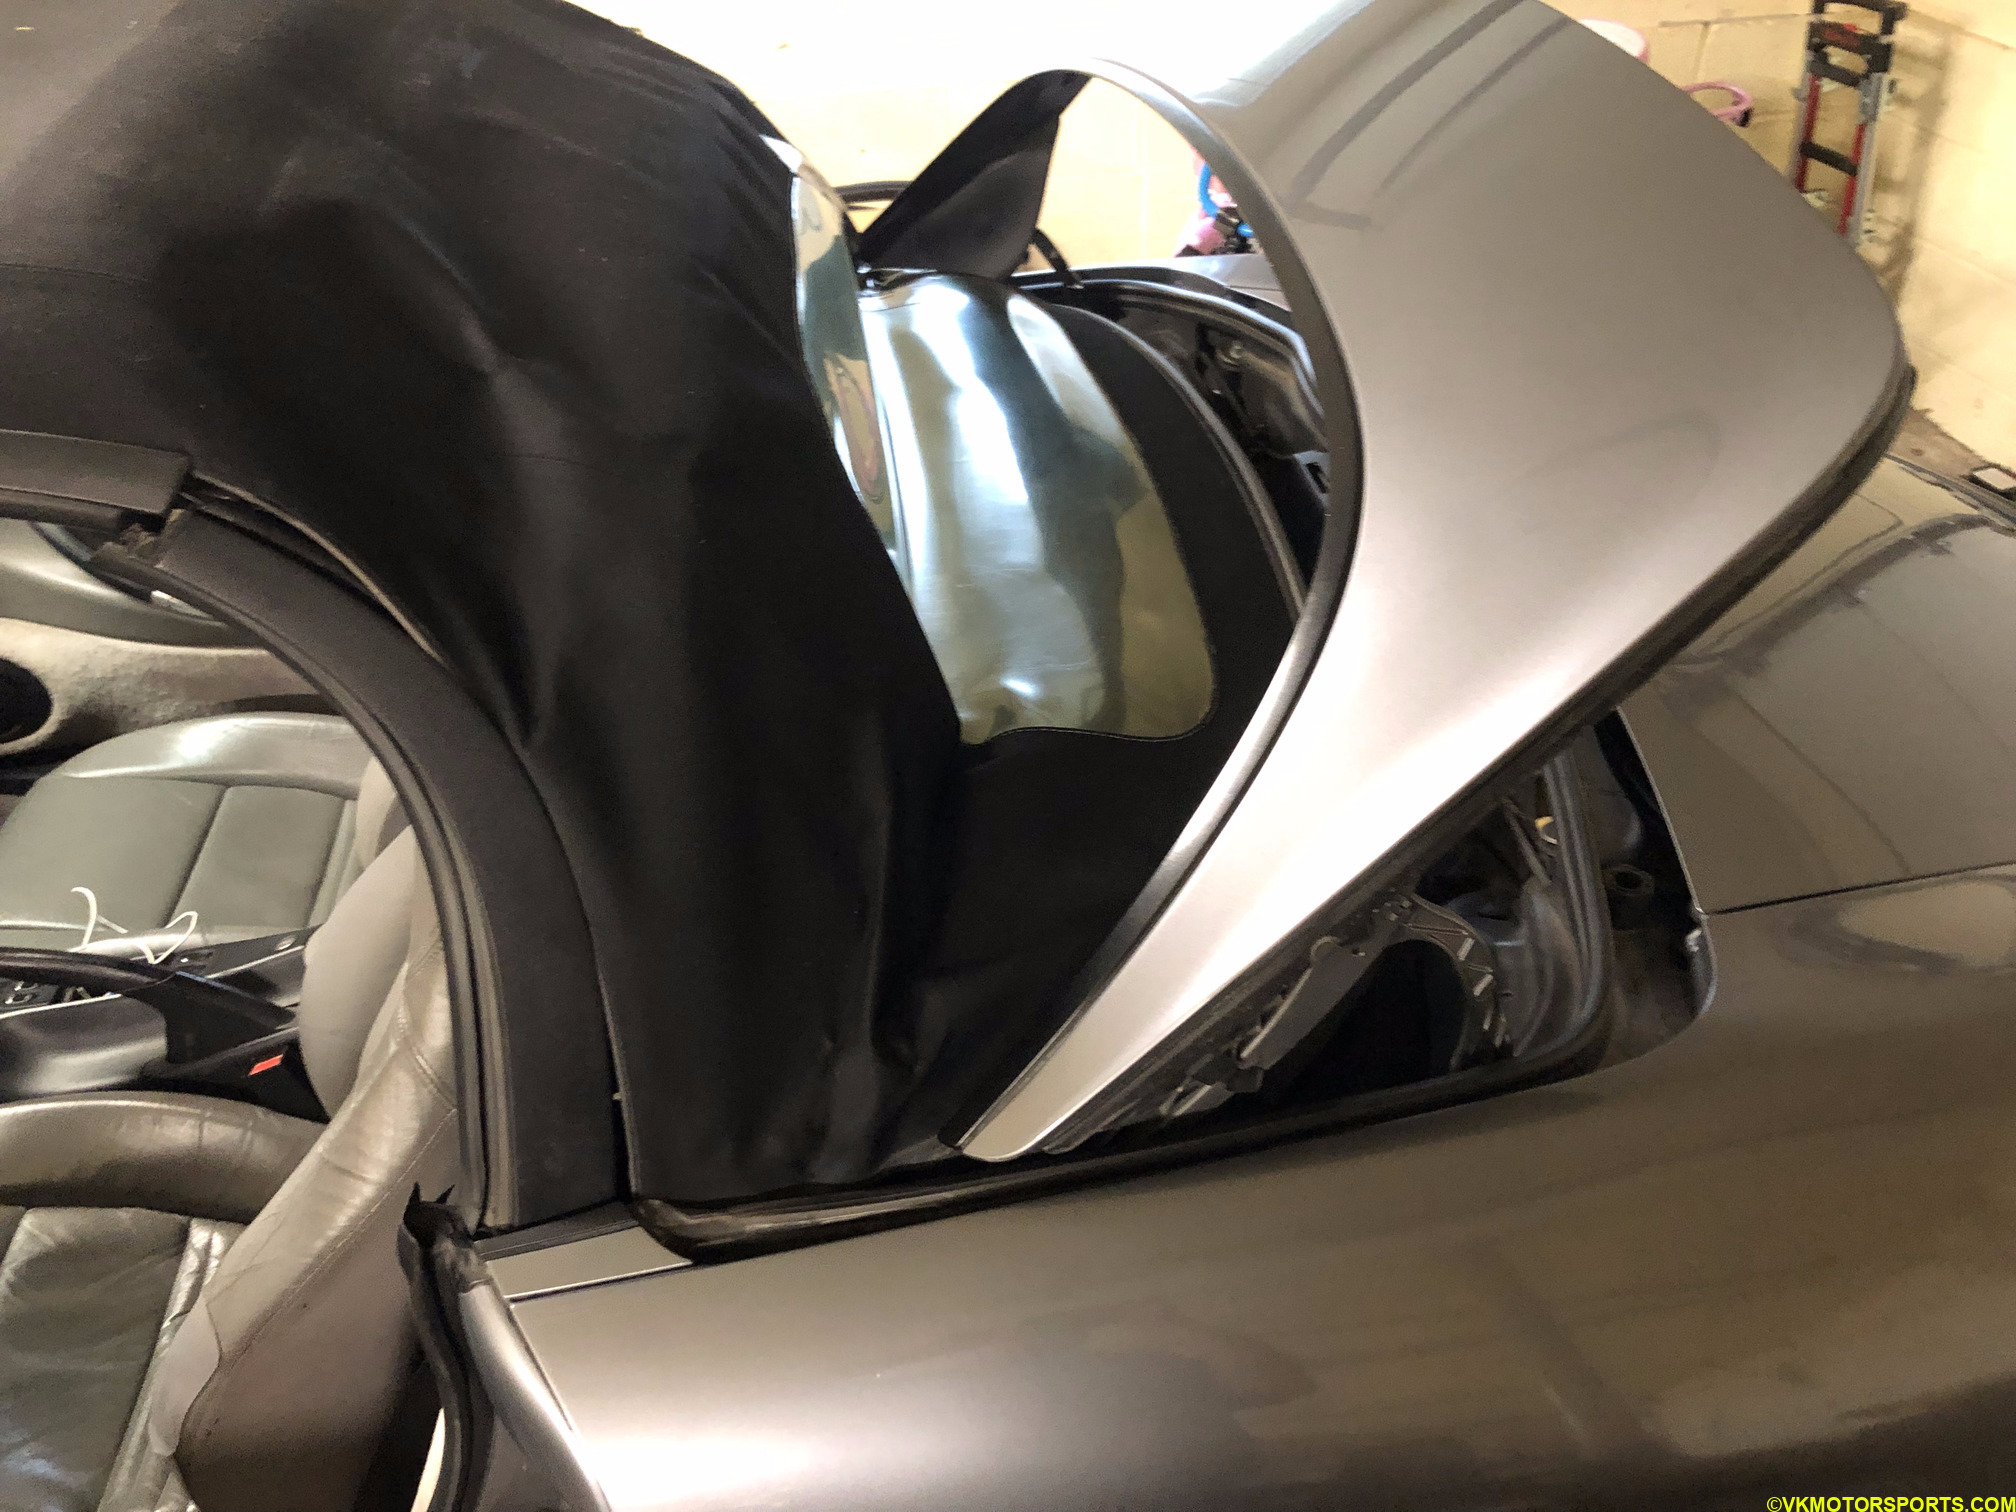 Figure 2. The rear cover must stay open
Step 2: Next disconnect the latching cable on both the driver and passenger sides of the rear window as shown in Figure 3. In my case, the cable is frayed slightly, and I may replace it next time. When both the cables are disconnected, fold up the top fully to get it out of the way as shown in Figure 4.
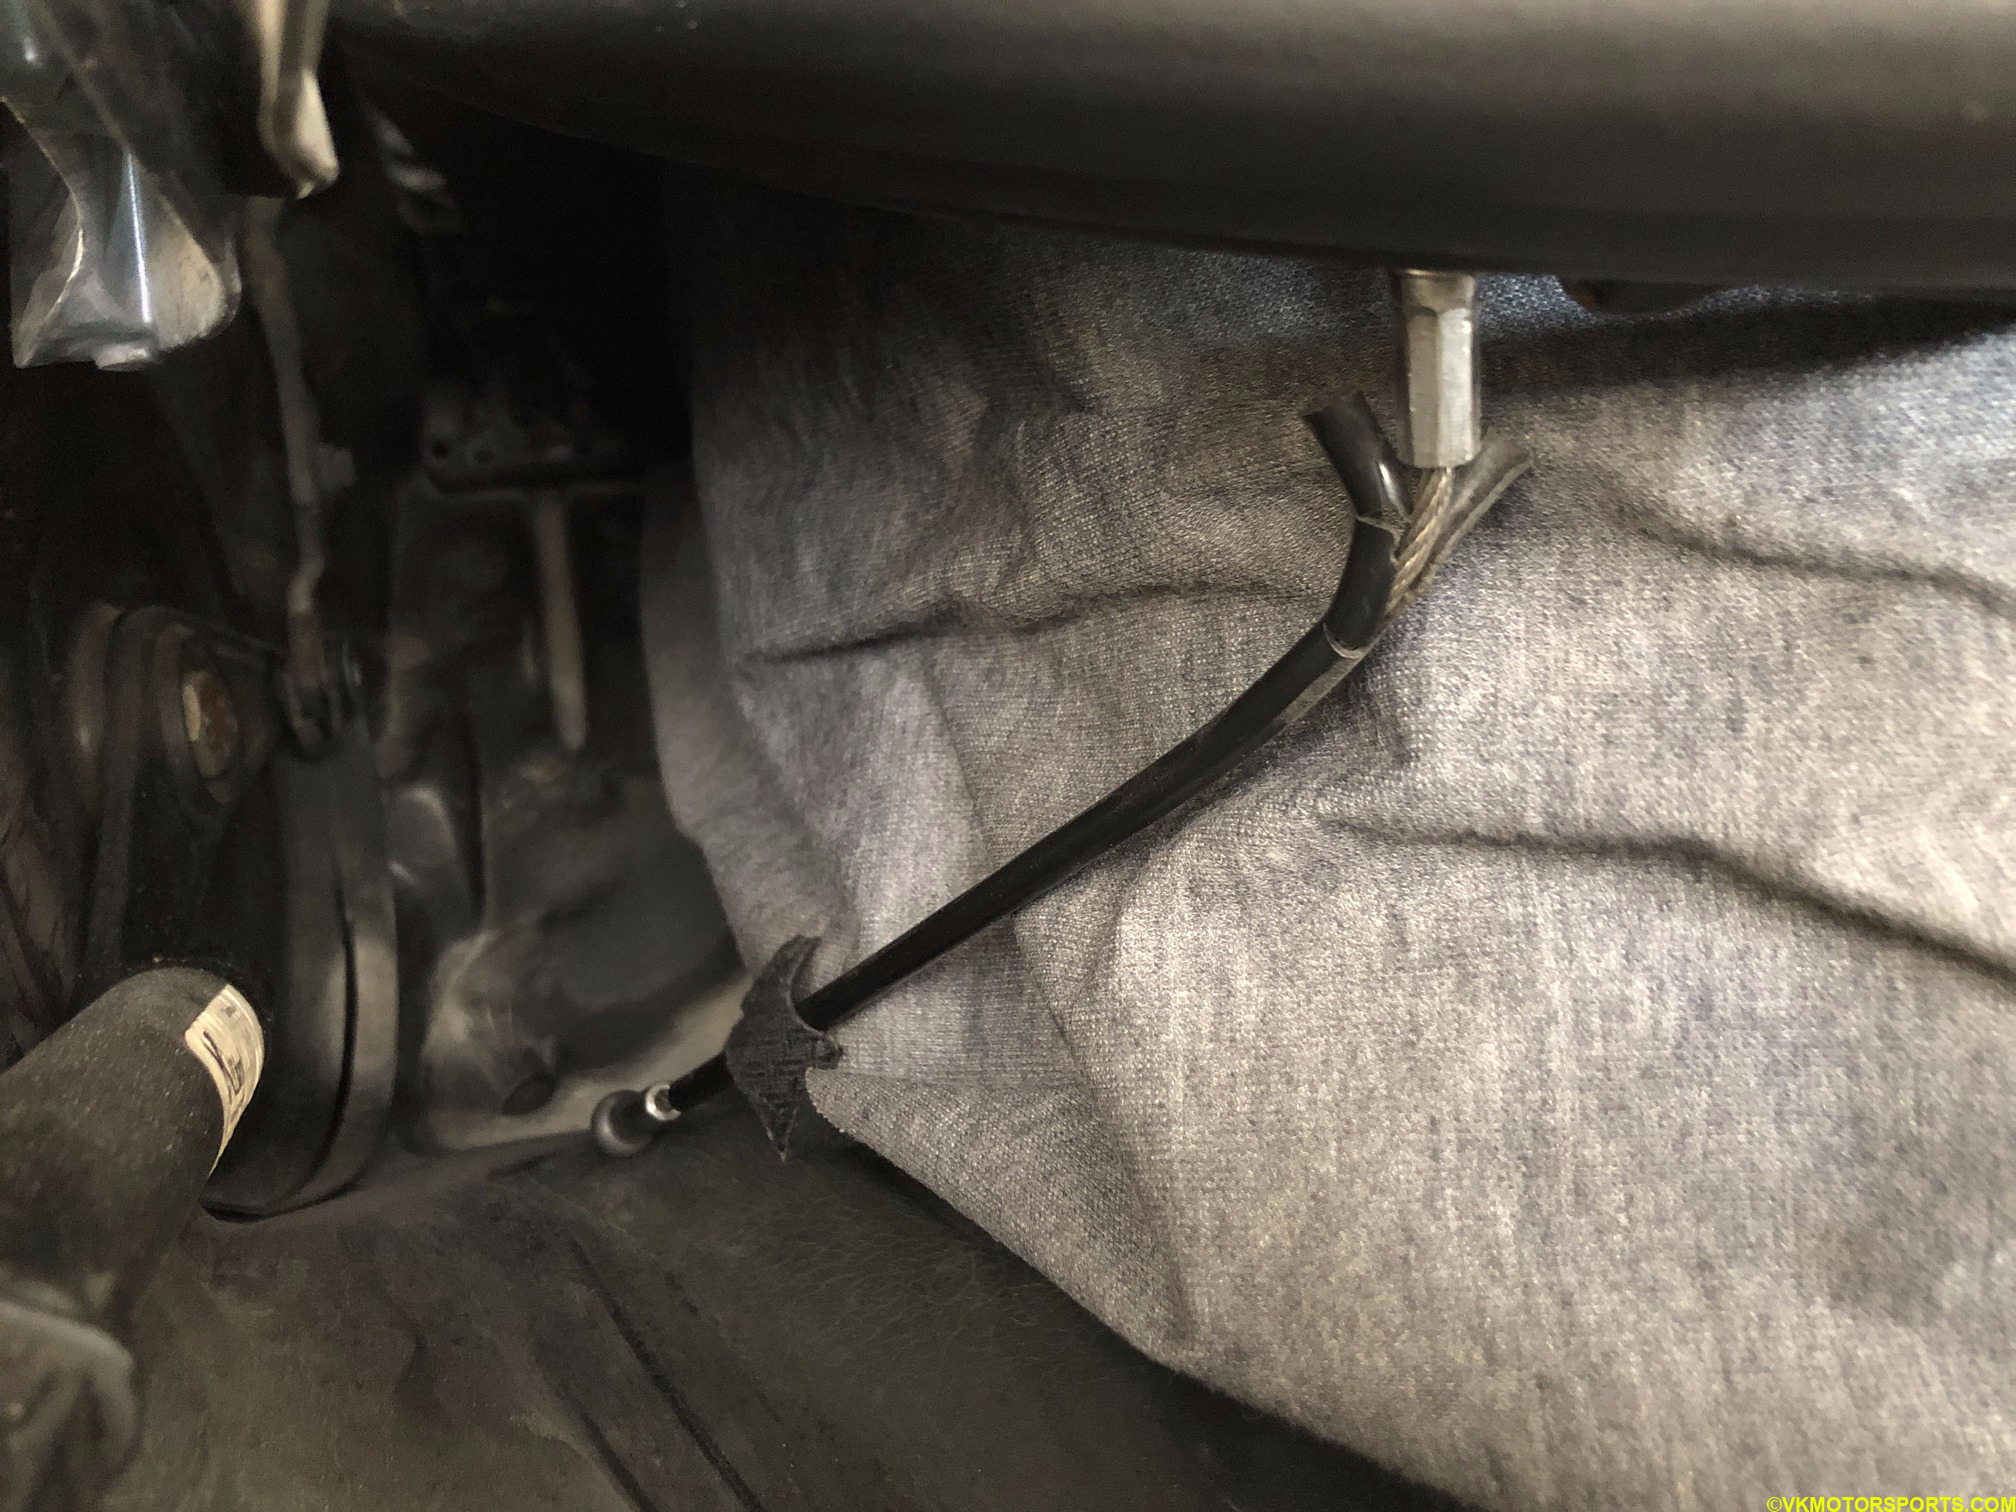 Figure 3. Disconnect the latching cables
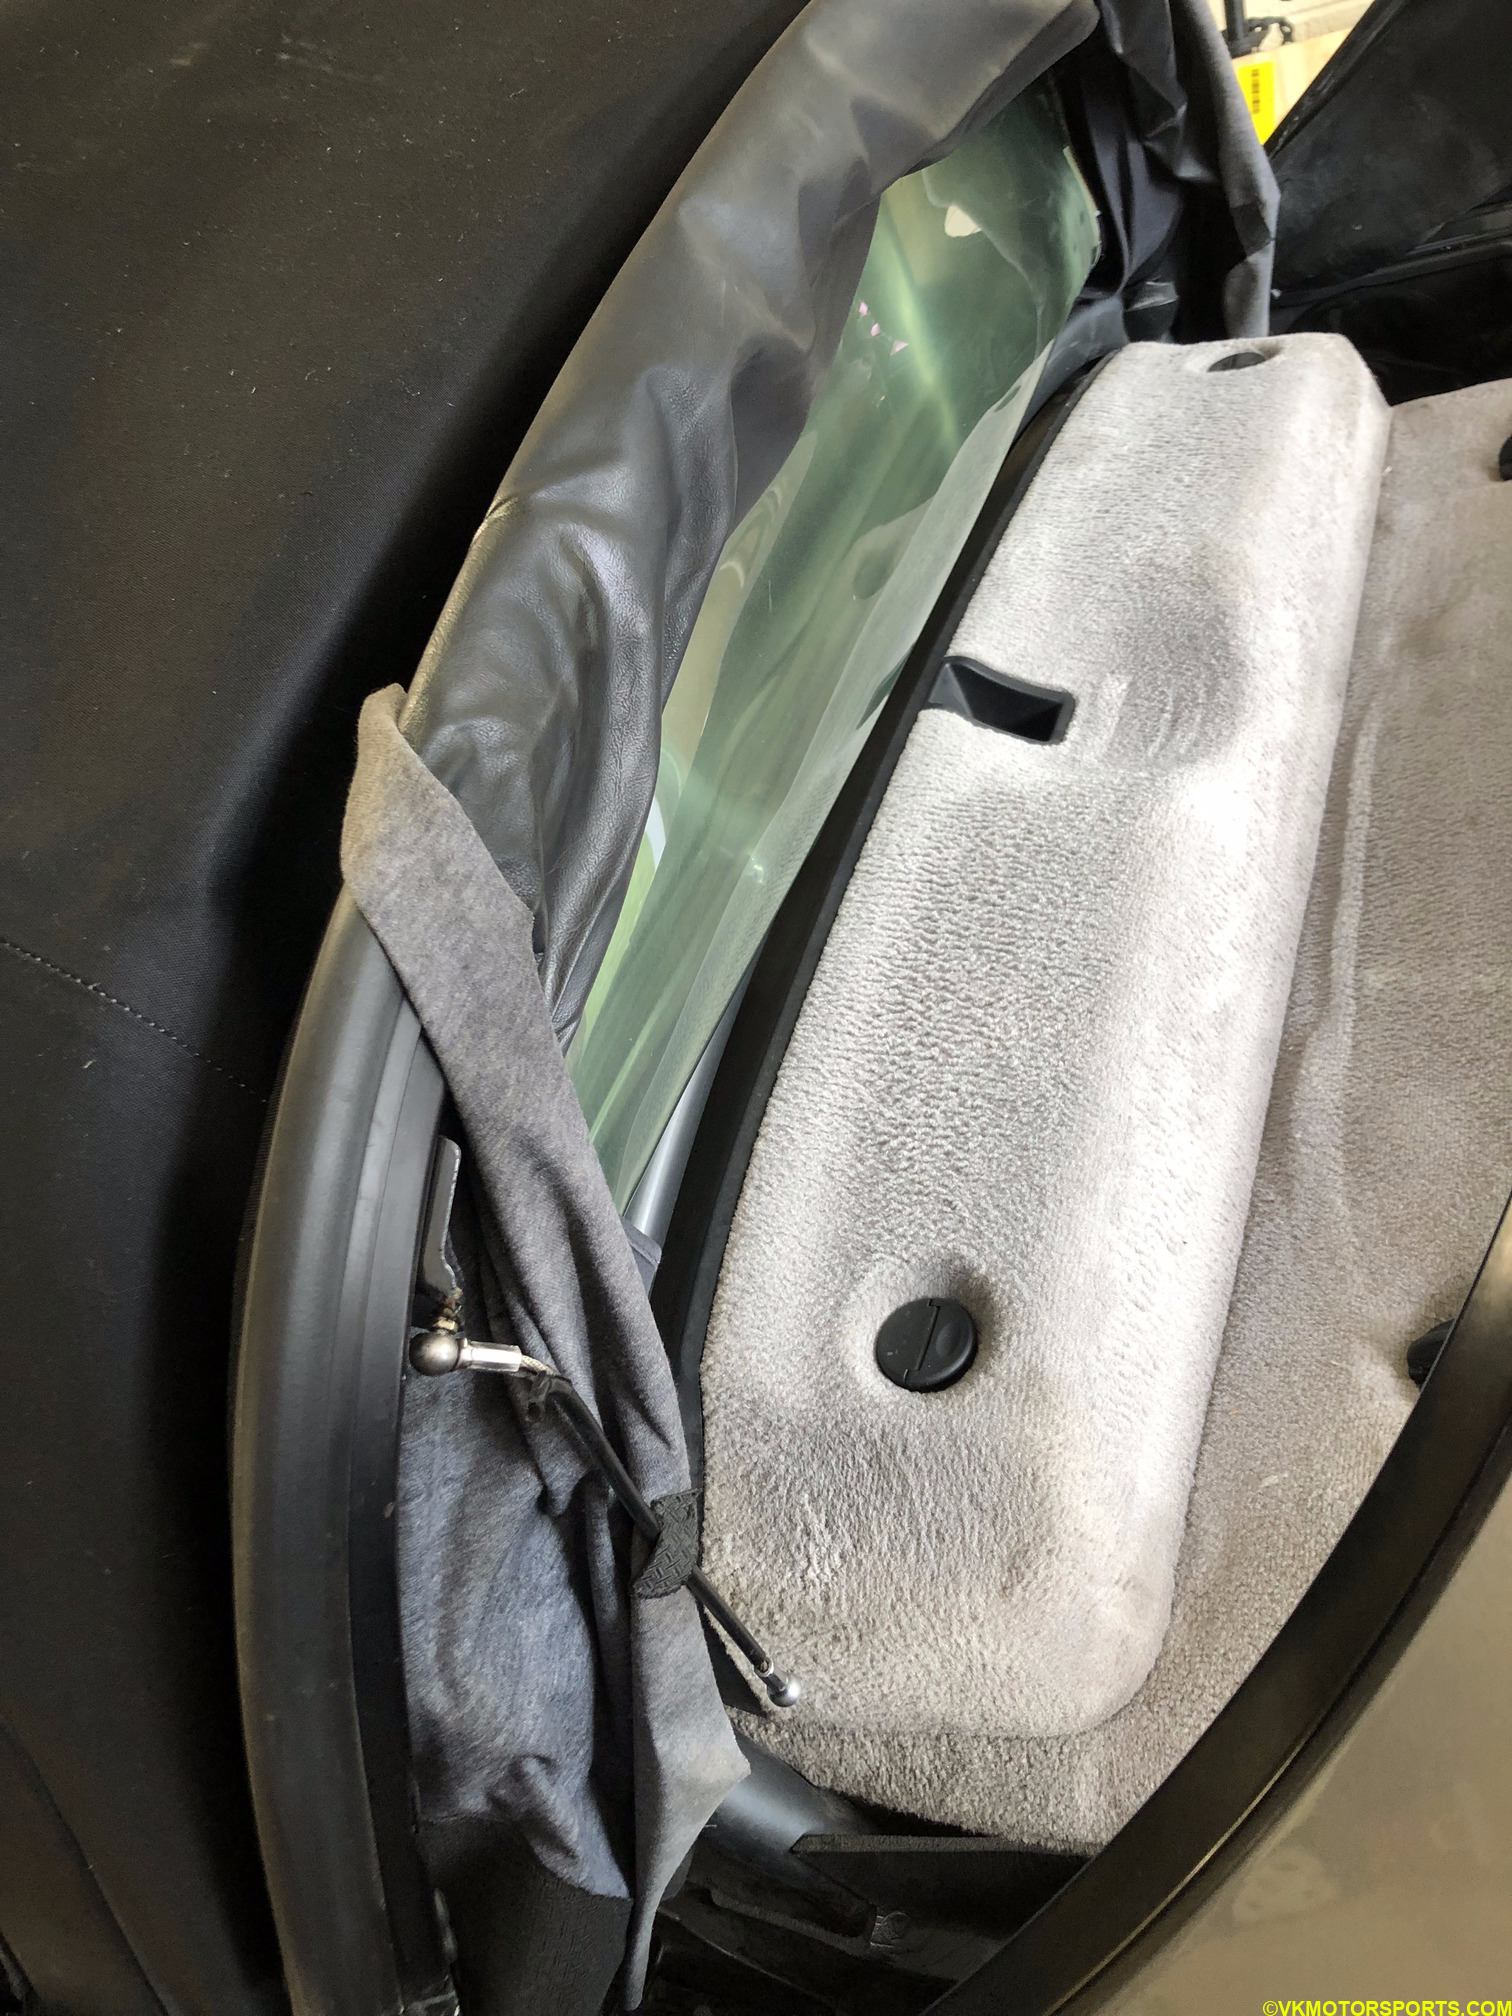 Figure 4. Fold up the top all the way
Step 3: Now we need to access the engine itself. For that we need to remove the carpeting that covers the engine cover, followed by the engine cover itself. Pull the 4 black tabs (or clips) (Figure 5) up and lift the carpeting out (Figure 6). Be relatively gentle and this will come out pretty easily.
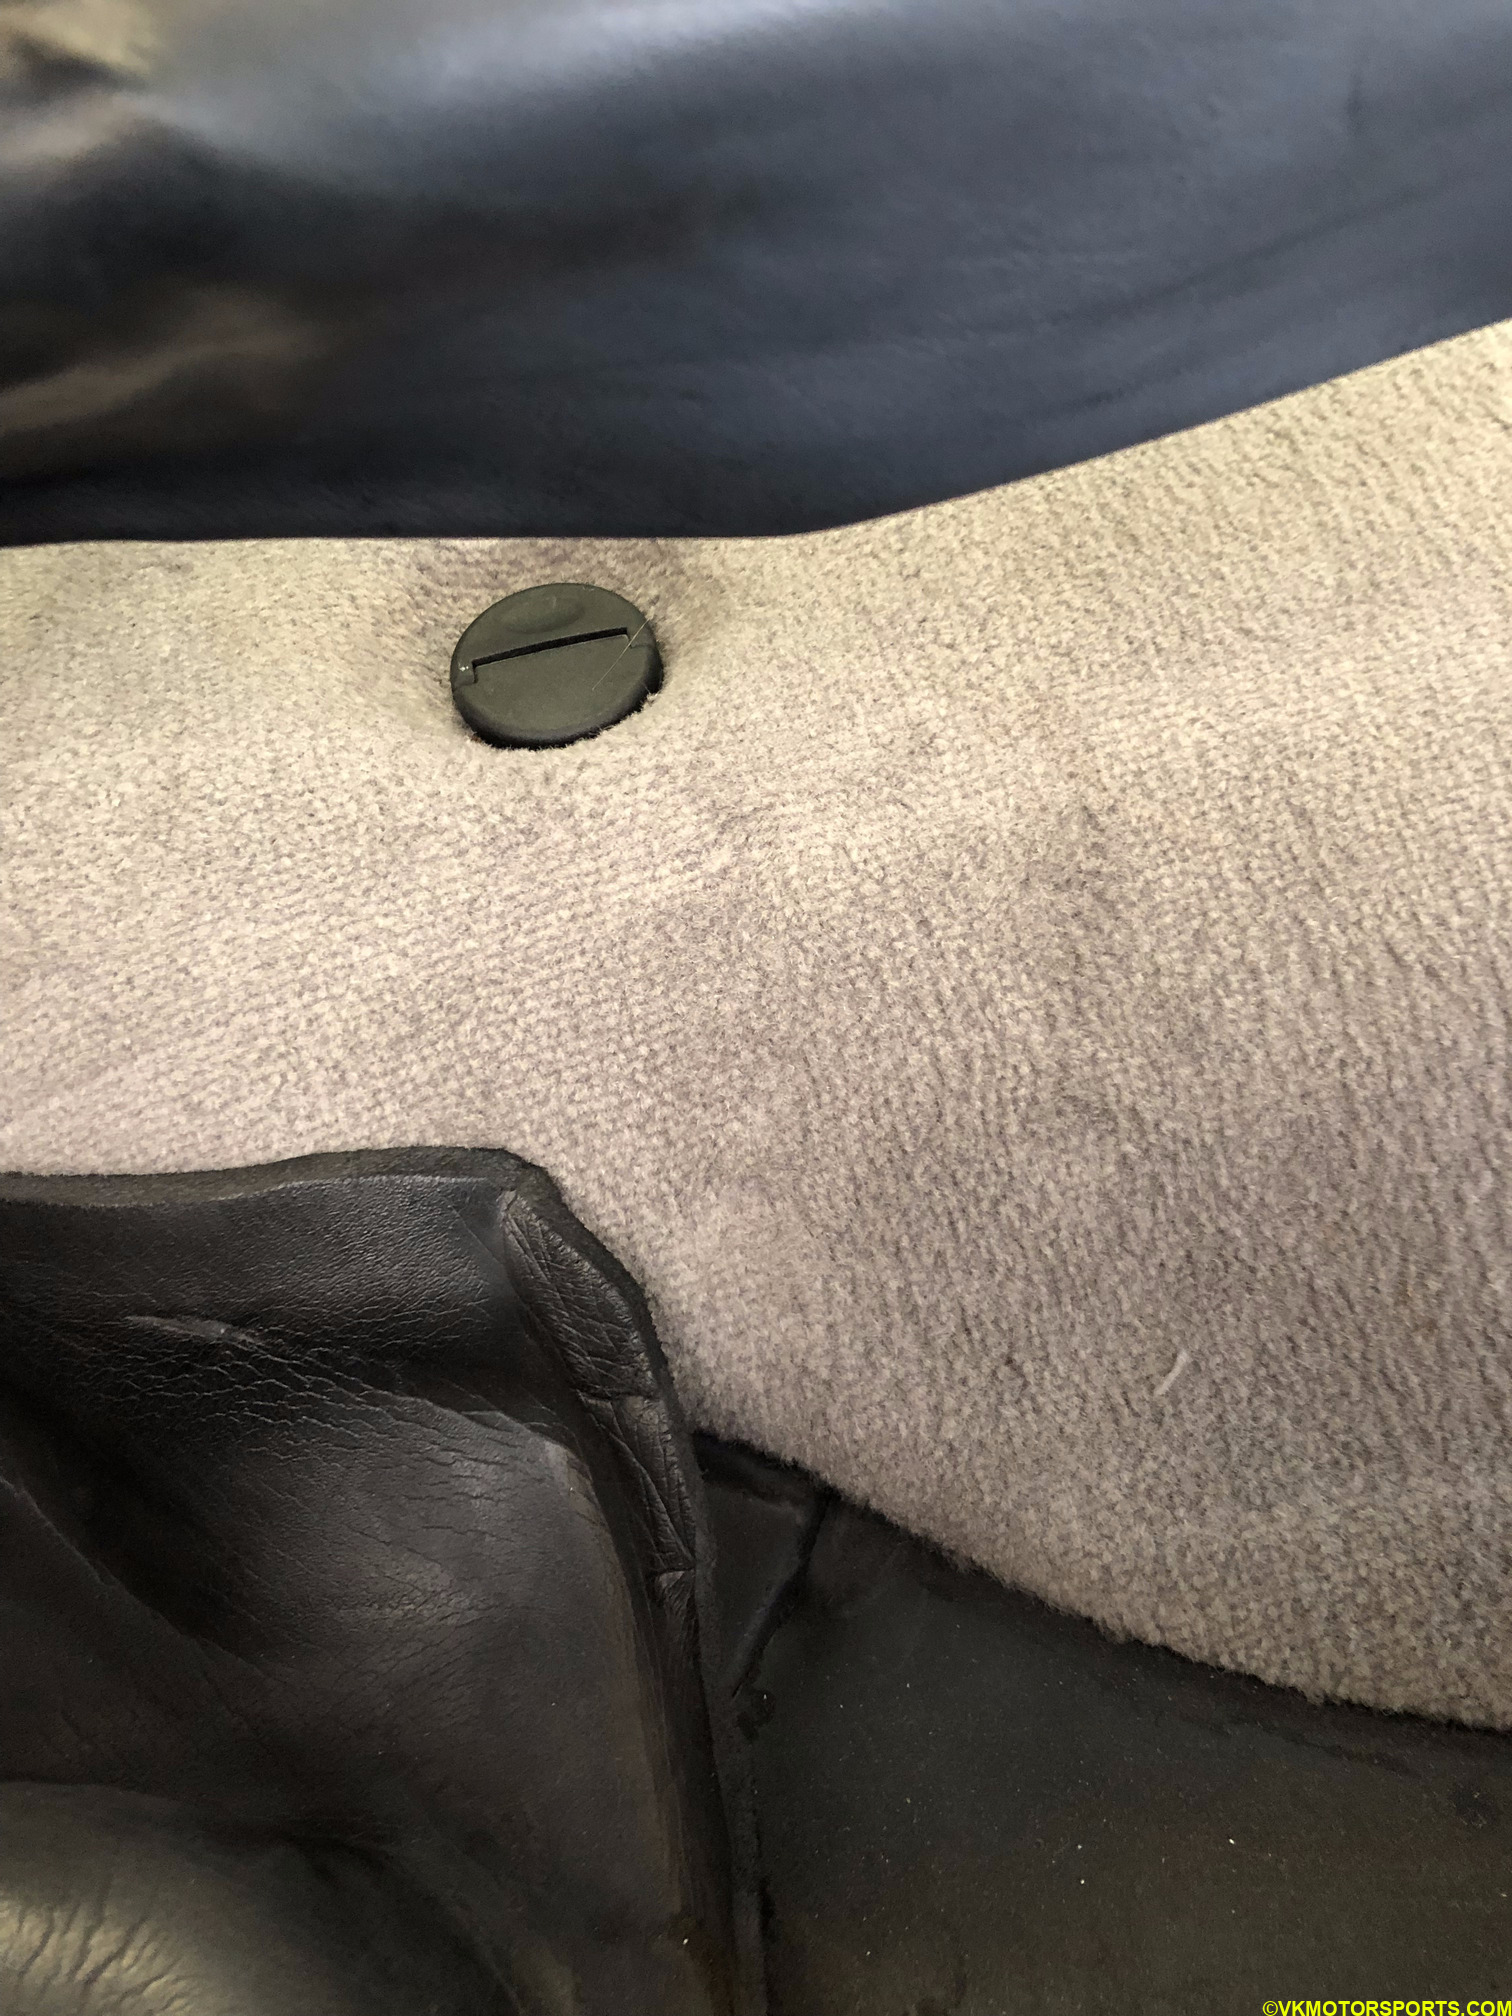 Figure 5. Pull black tabs (or clips) up
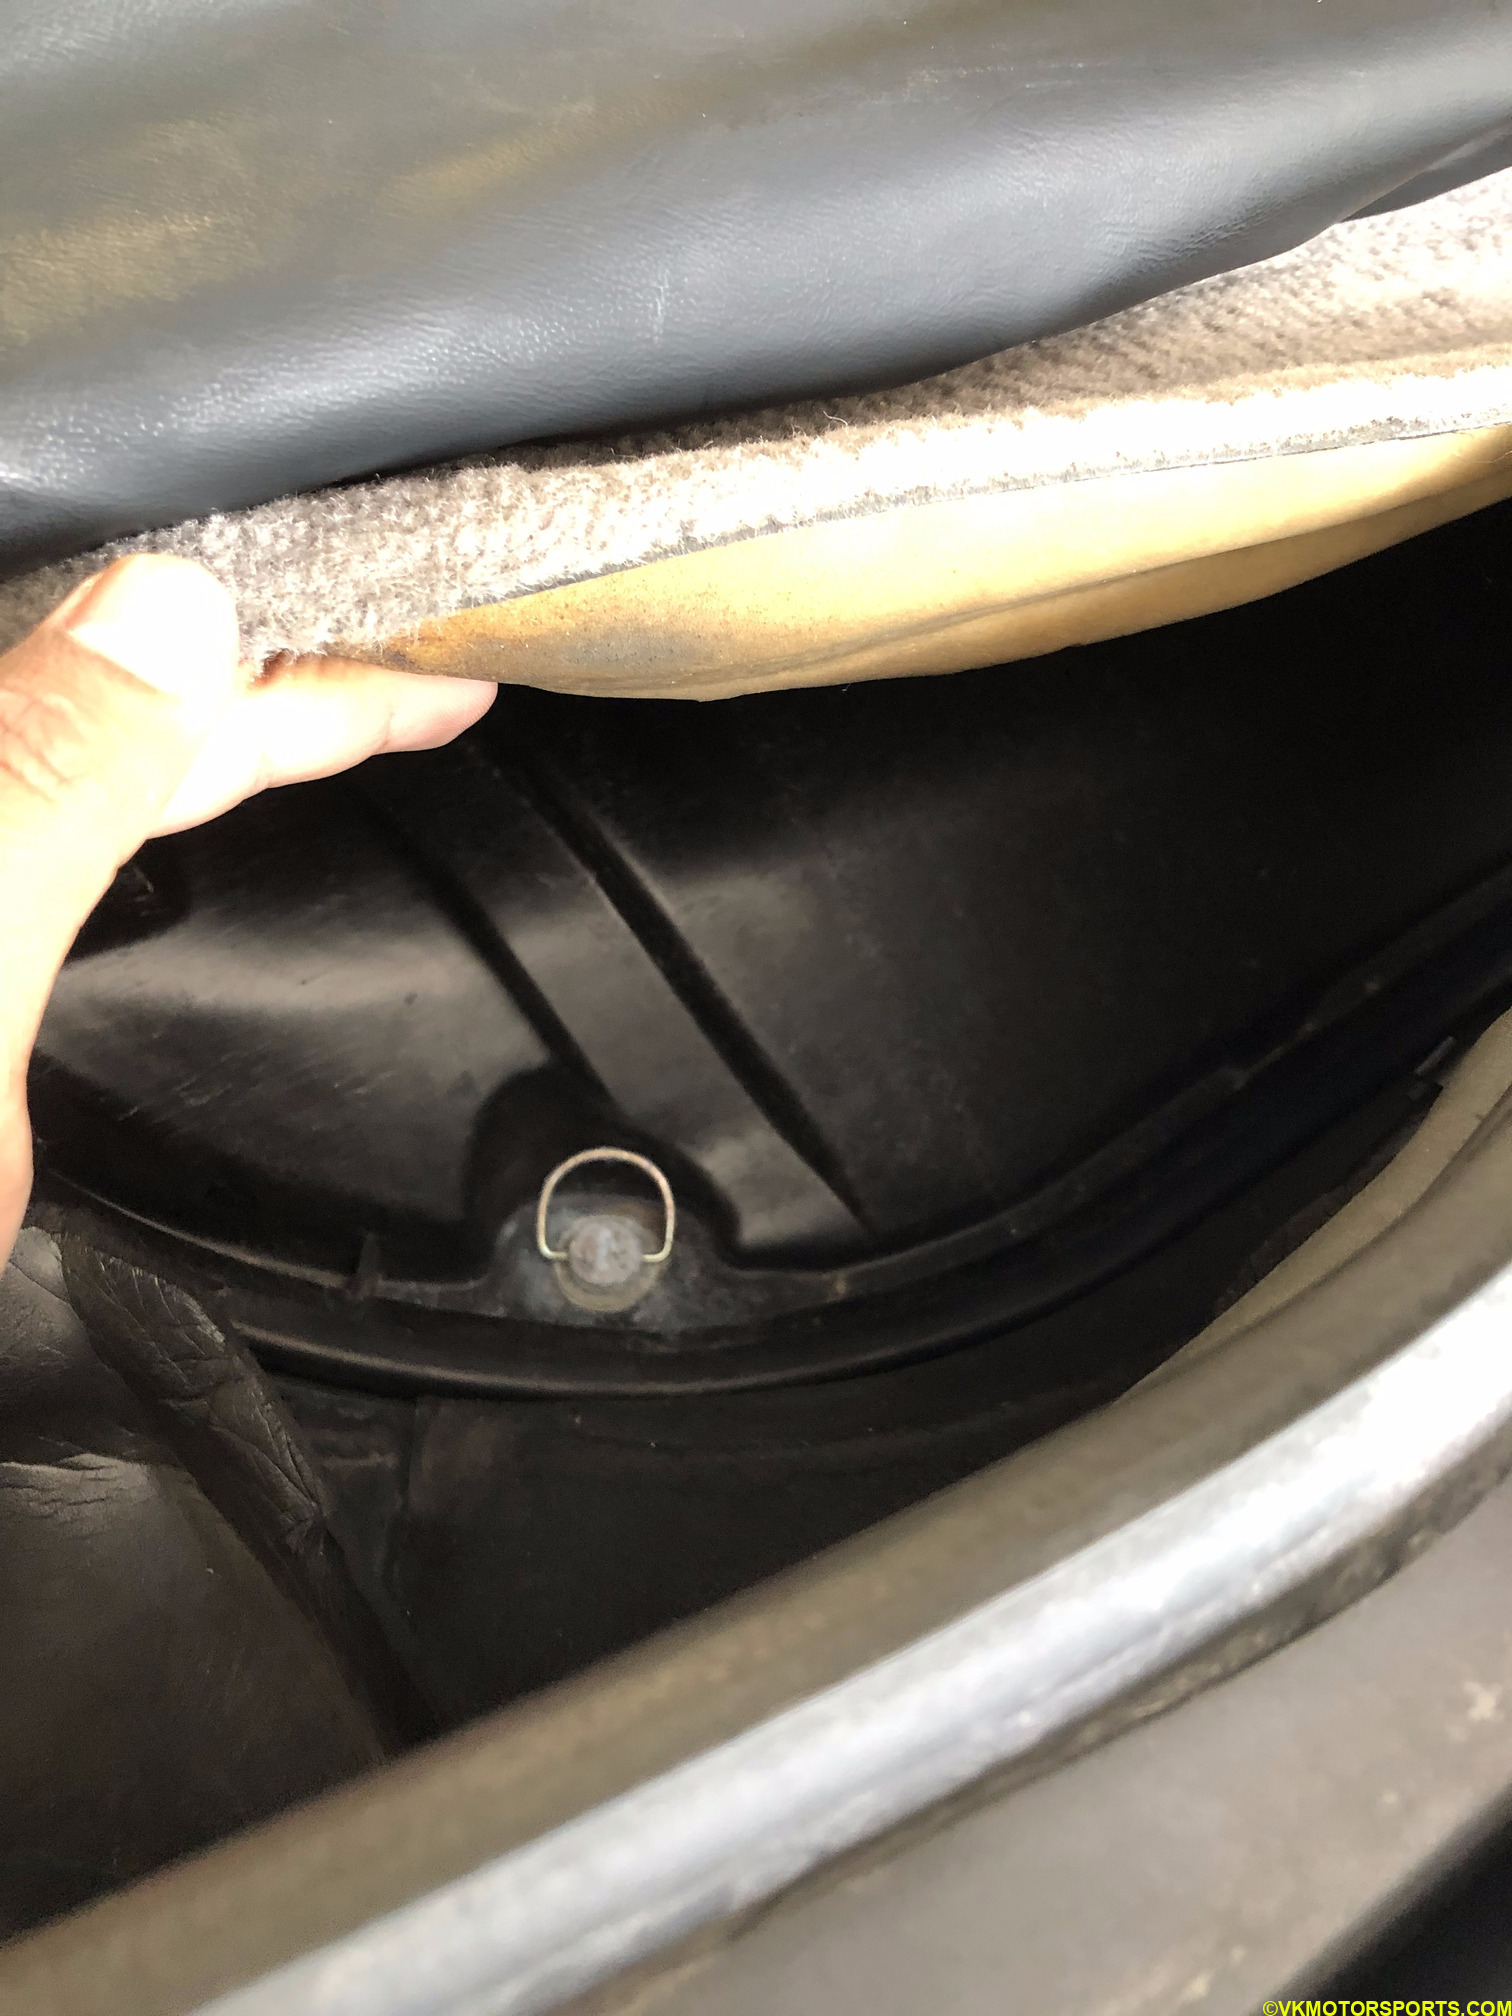 Figure 6. Lift carpeting out
Step 4: Now that the carpet cover has been removed, you can now see the full engine cover which is black in color (Figure 7). You may notice 5 screws that hold this cover down into the engine bay, and the handles for these are folded down. Figure 8 shows a closeup of the screw handle and you need to lift the handle up, and pull the screw out by rotating the handle anti-clockwise. Figure 9 shows all the handles have been lifted up before pulling the engine cover out. Once all the screws have been pulled out, you can lift the engine cover off to show the engine as in Figure 10.
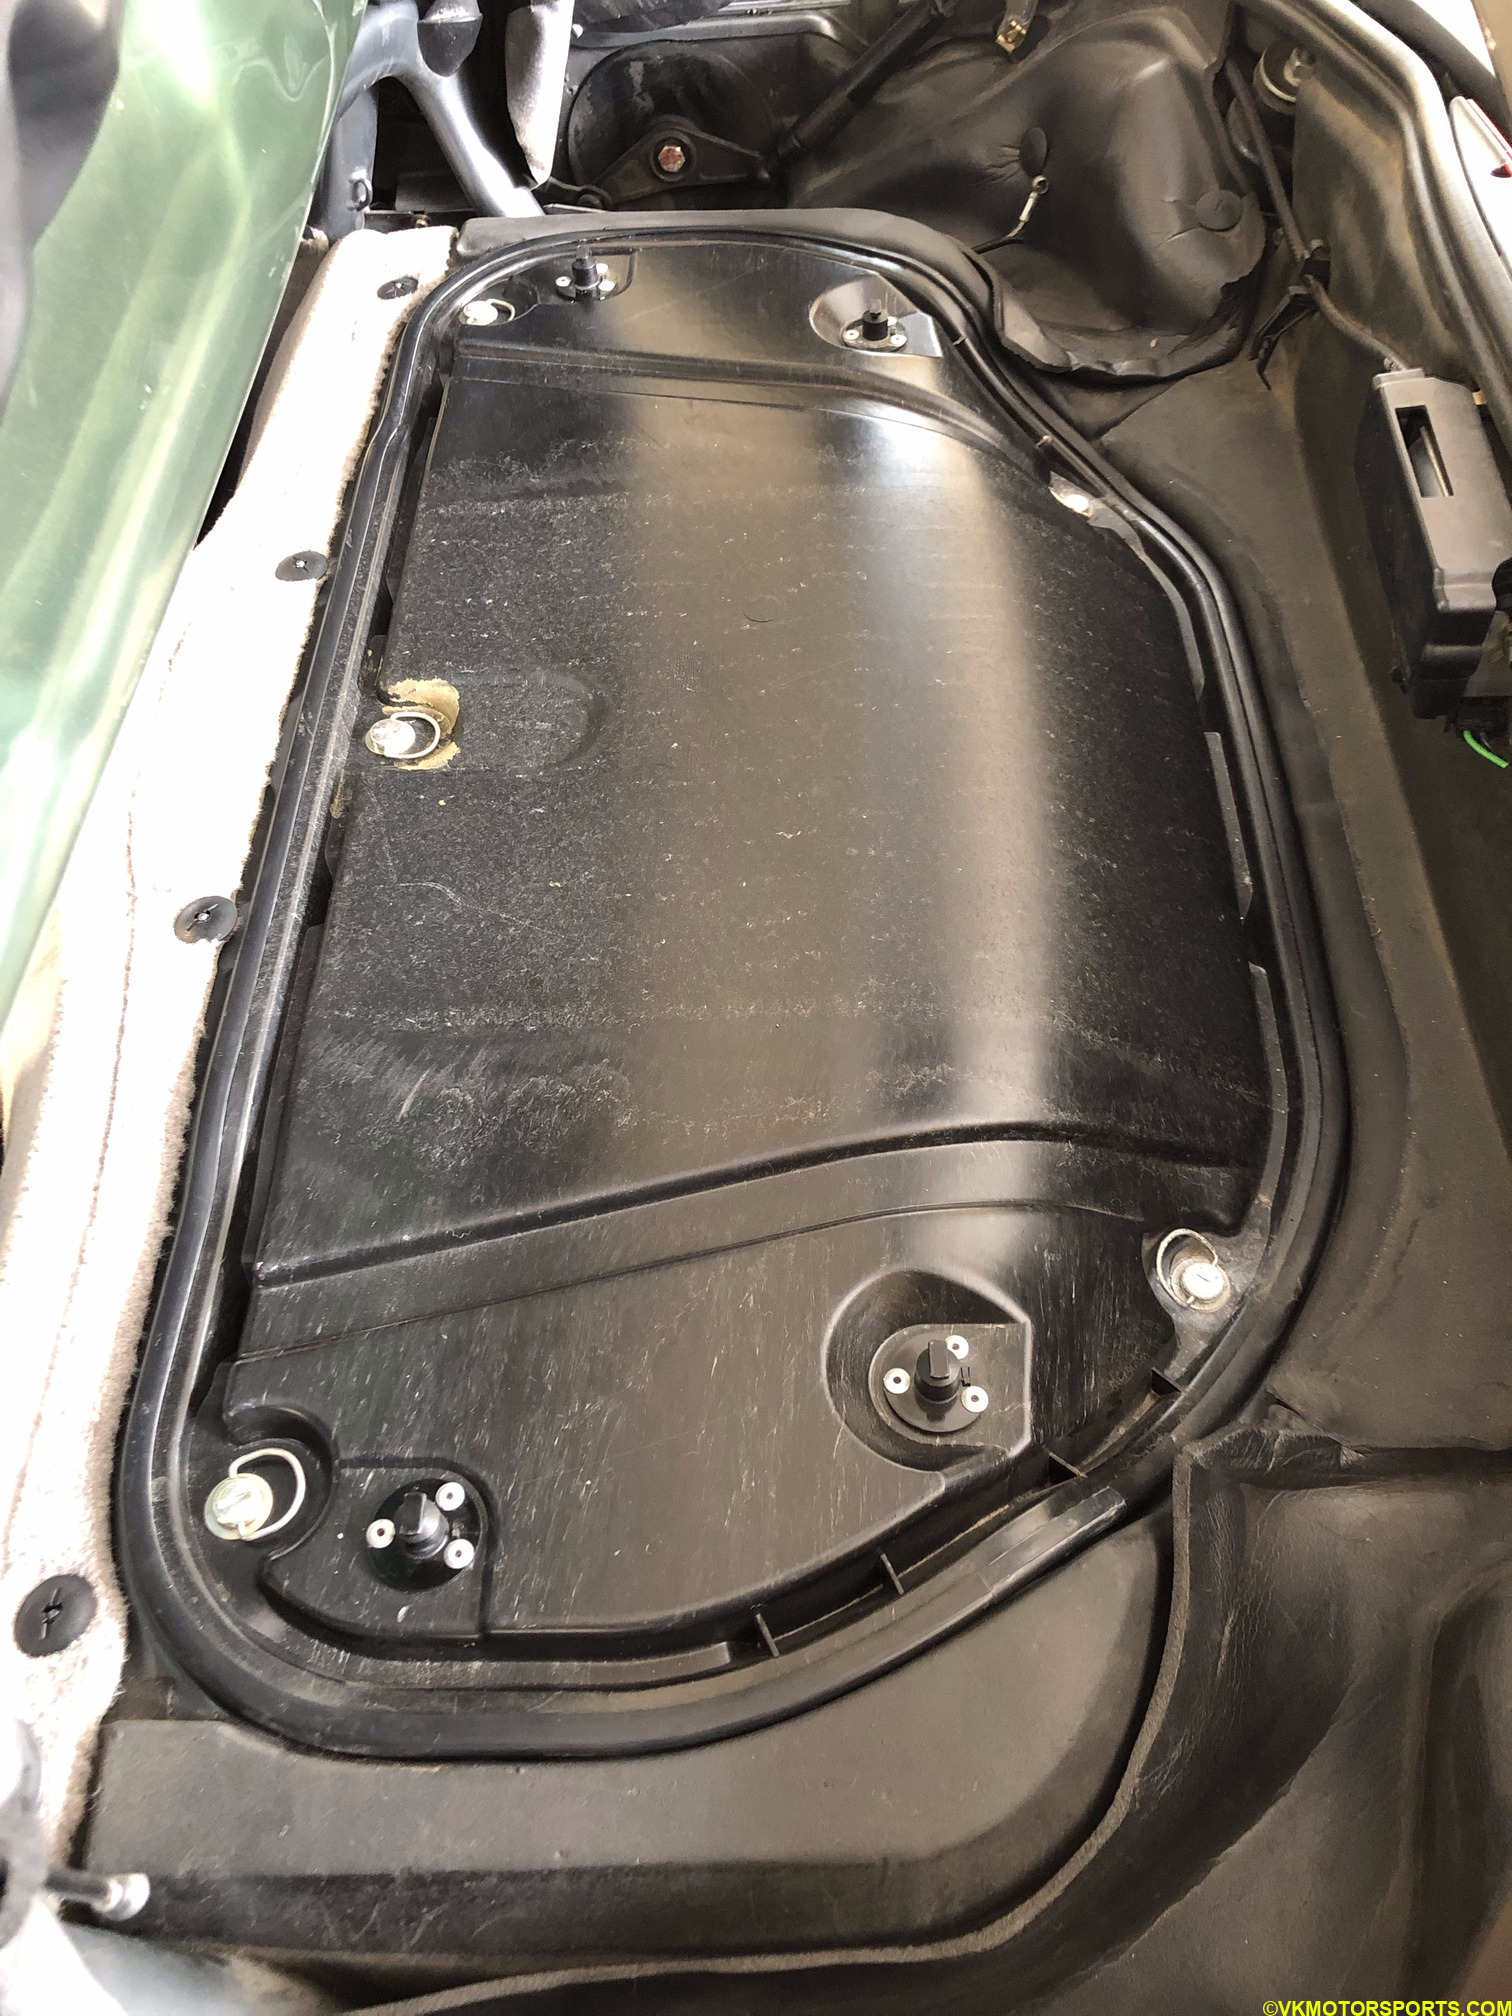 Figure 7. Carpeting fully removed showing the engine cover
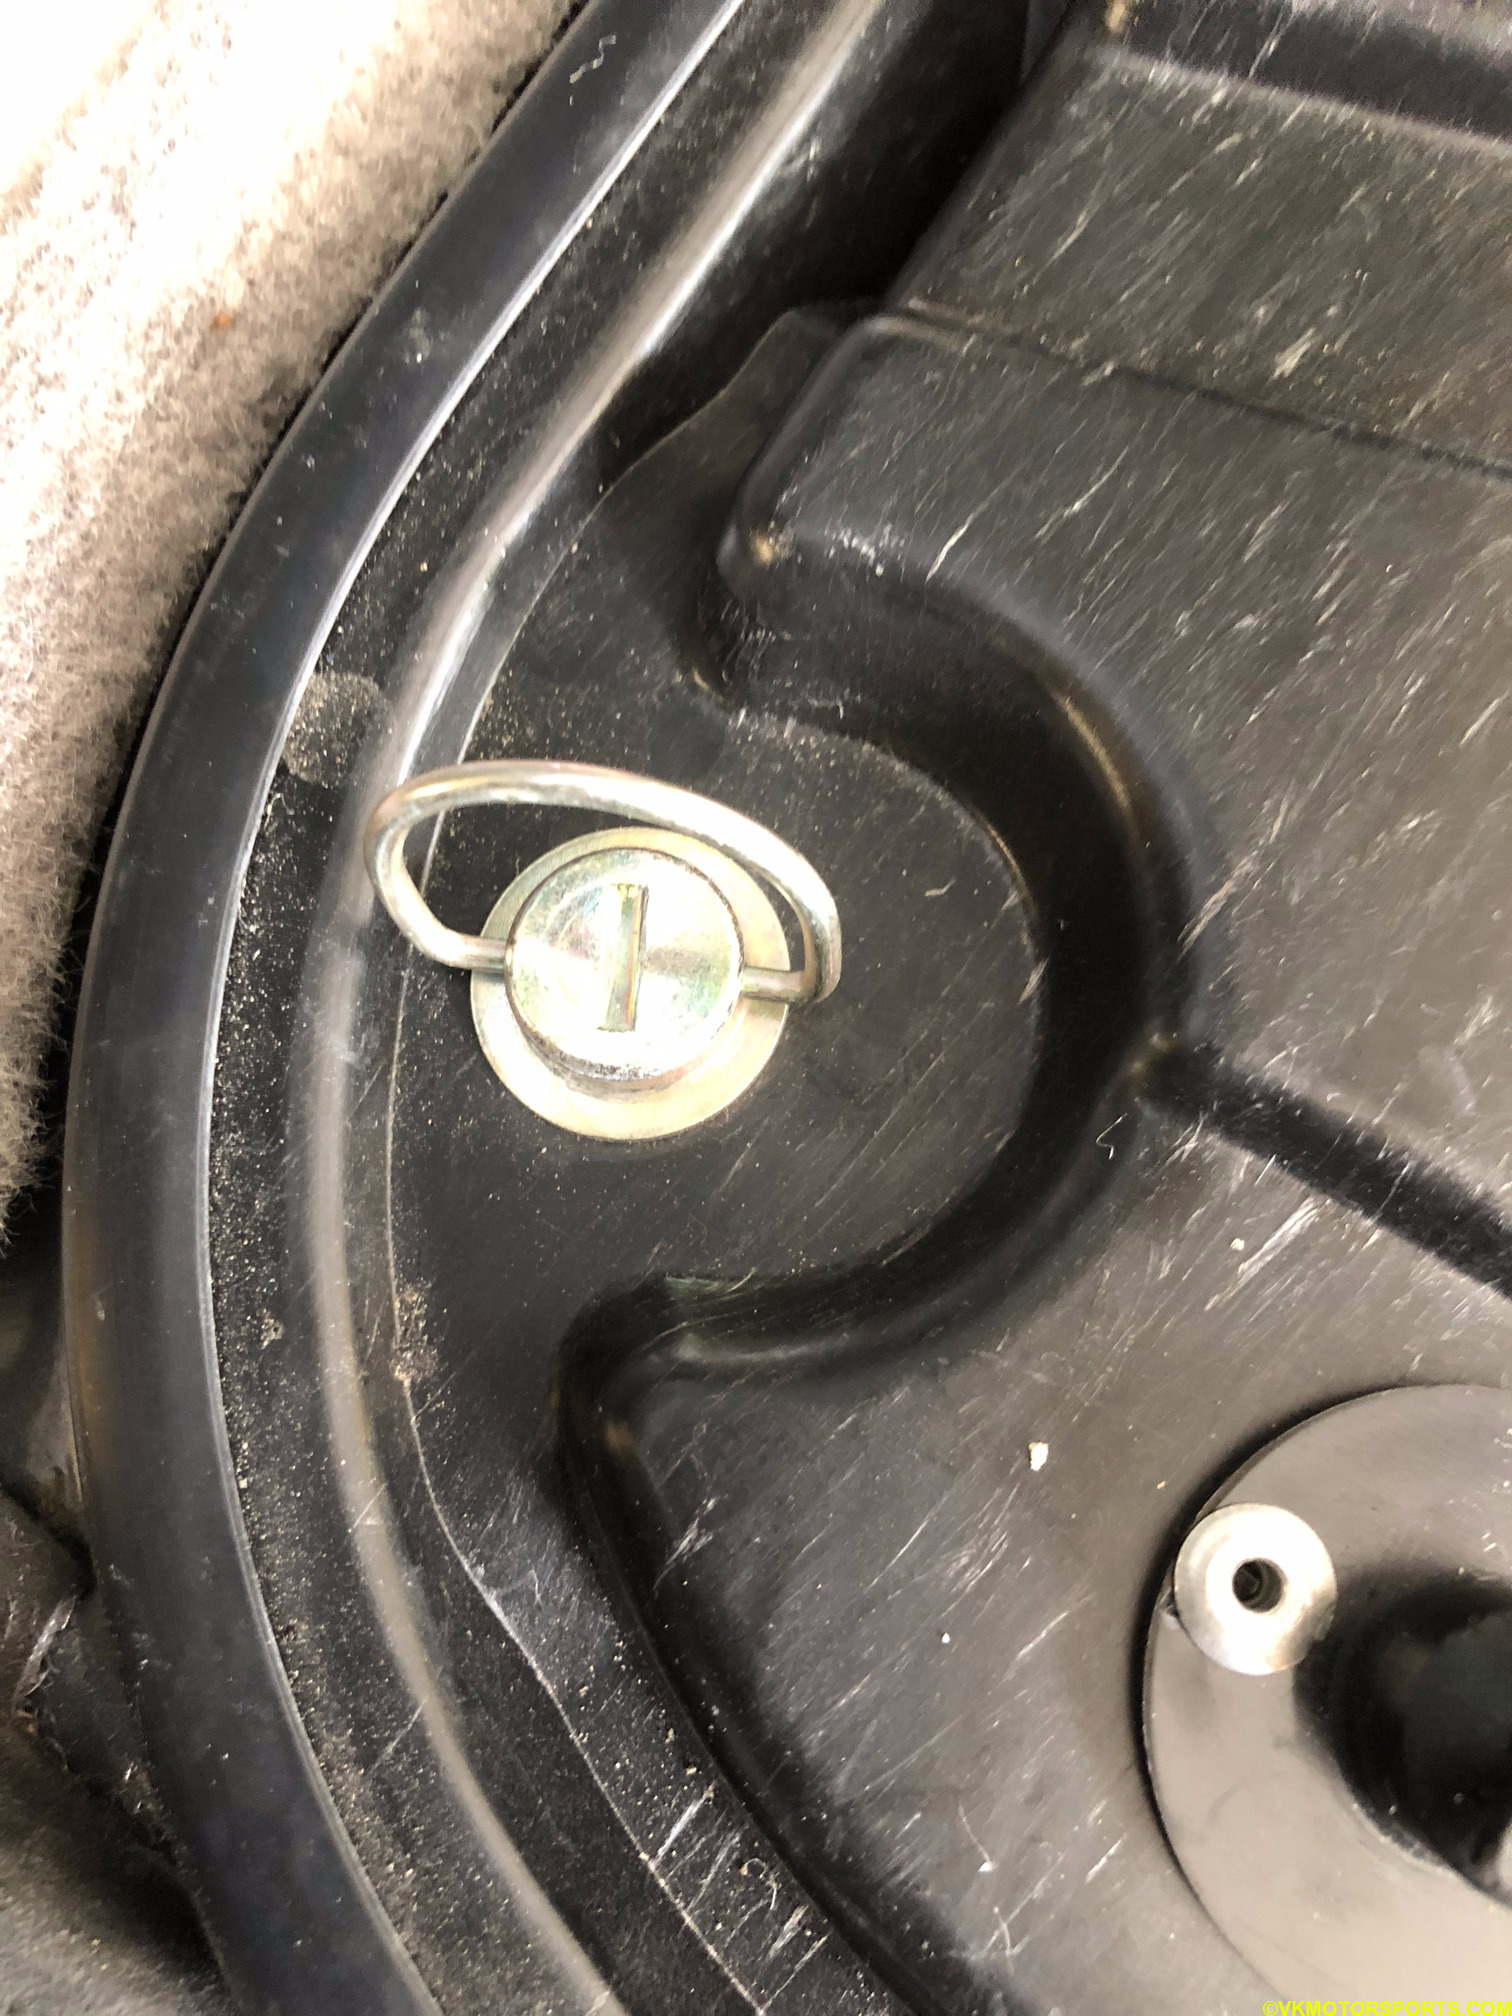 Figure 8. Engine cover screw handle closeup
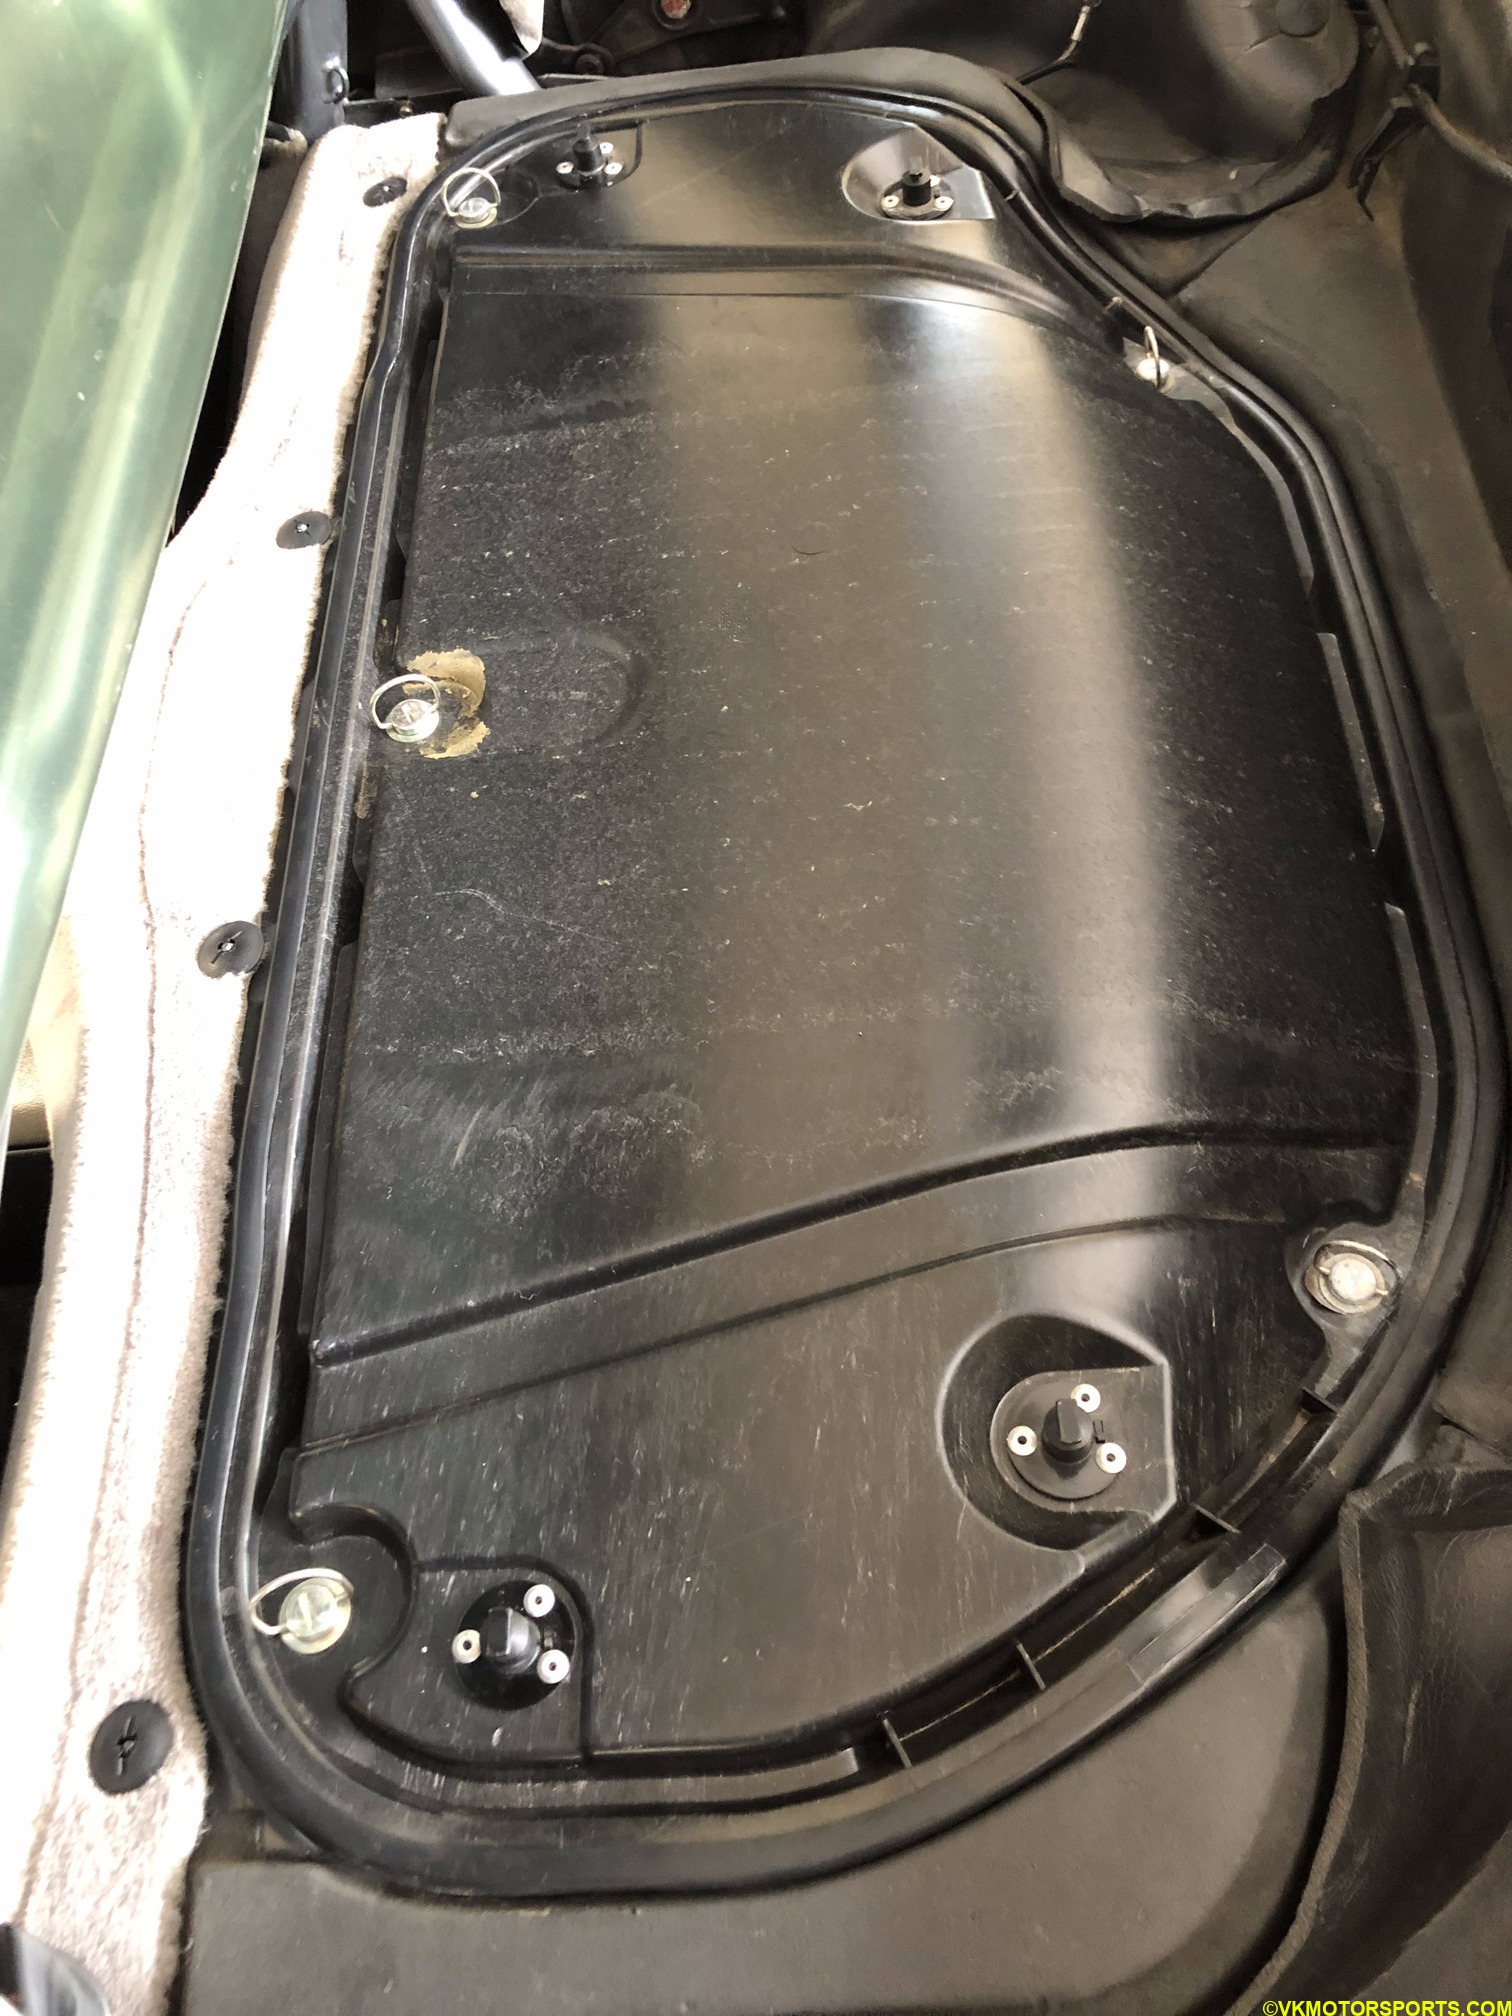 Figure 9. Lift all the handles up
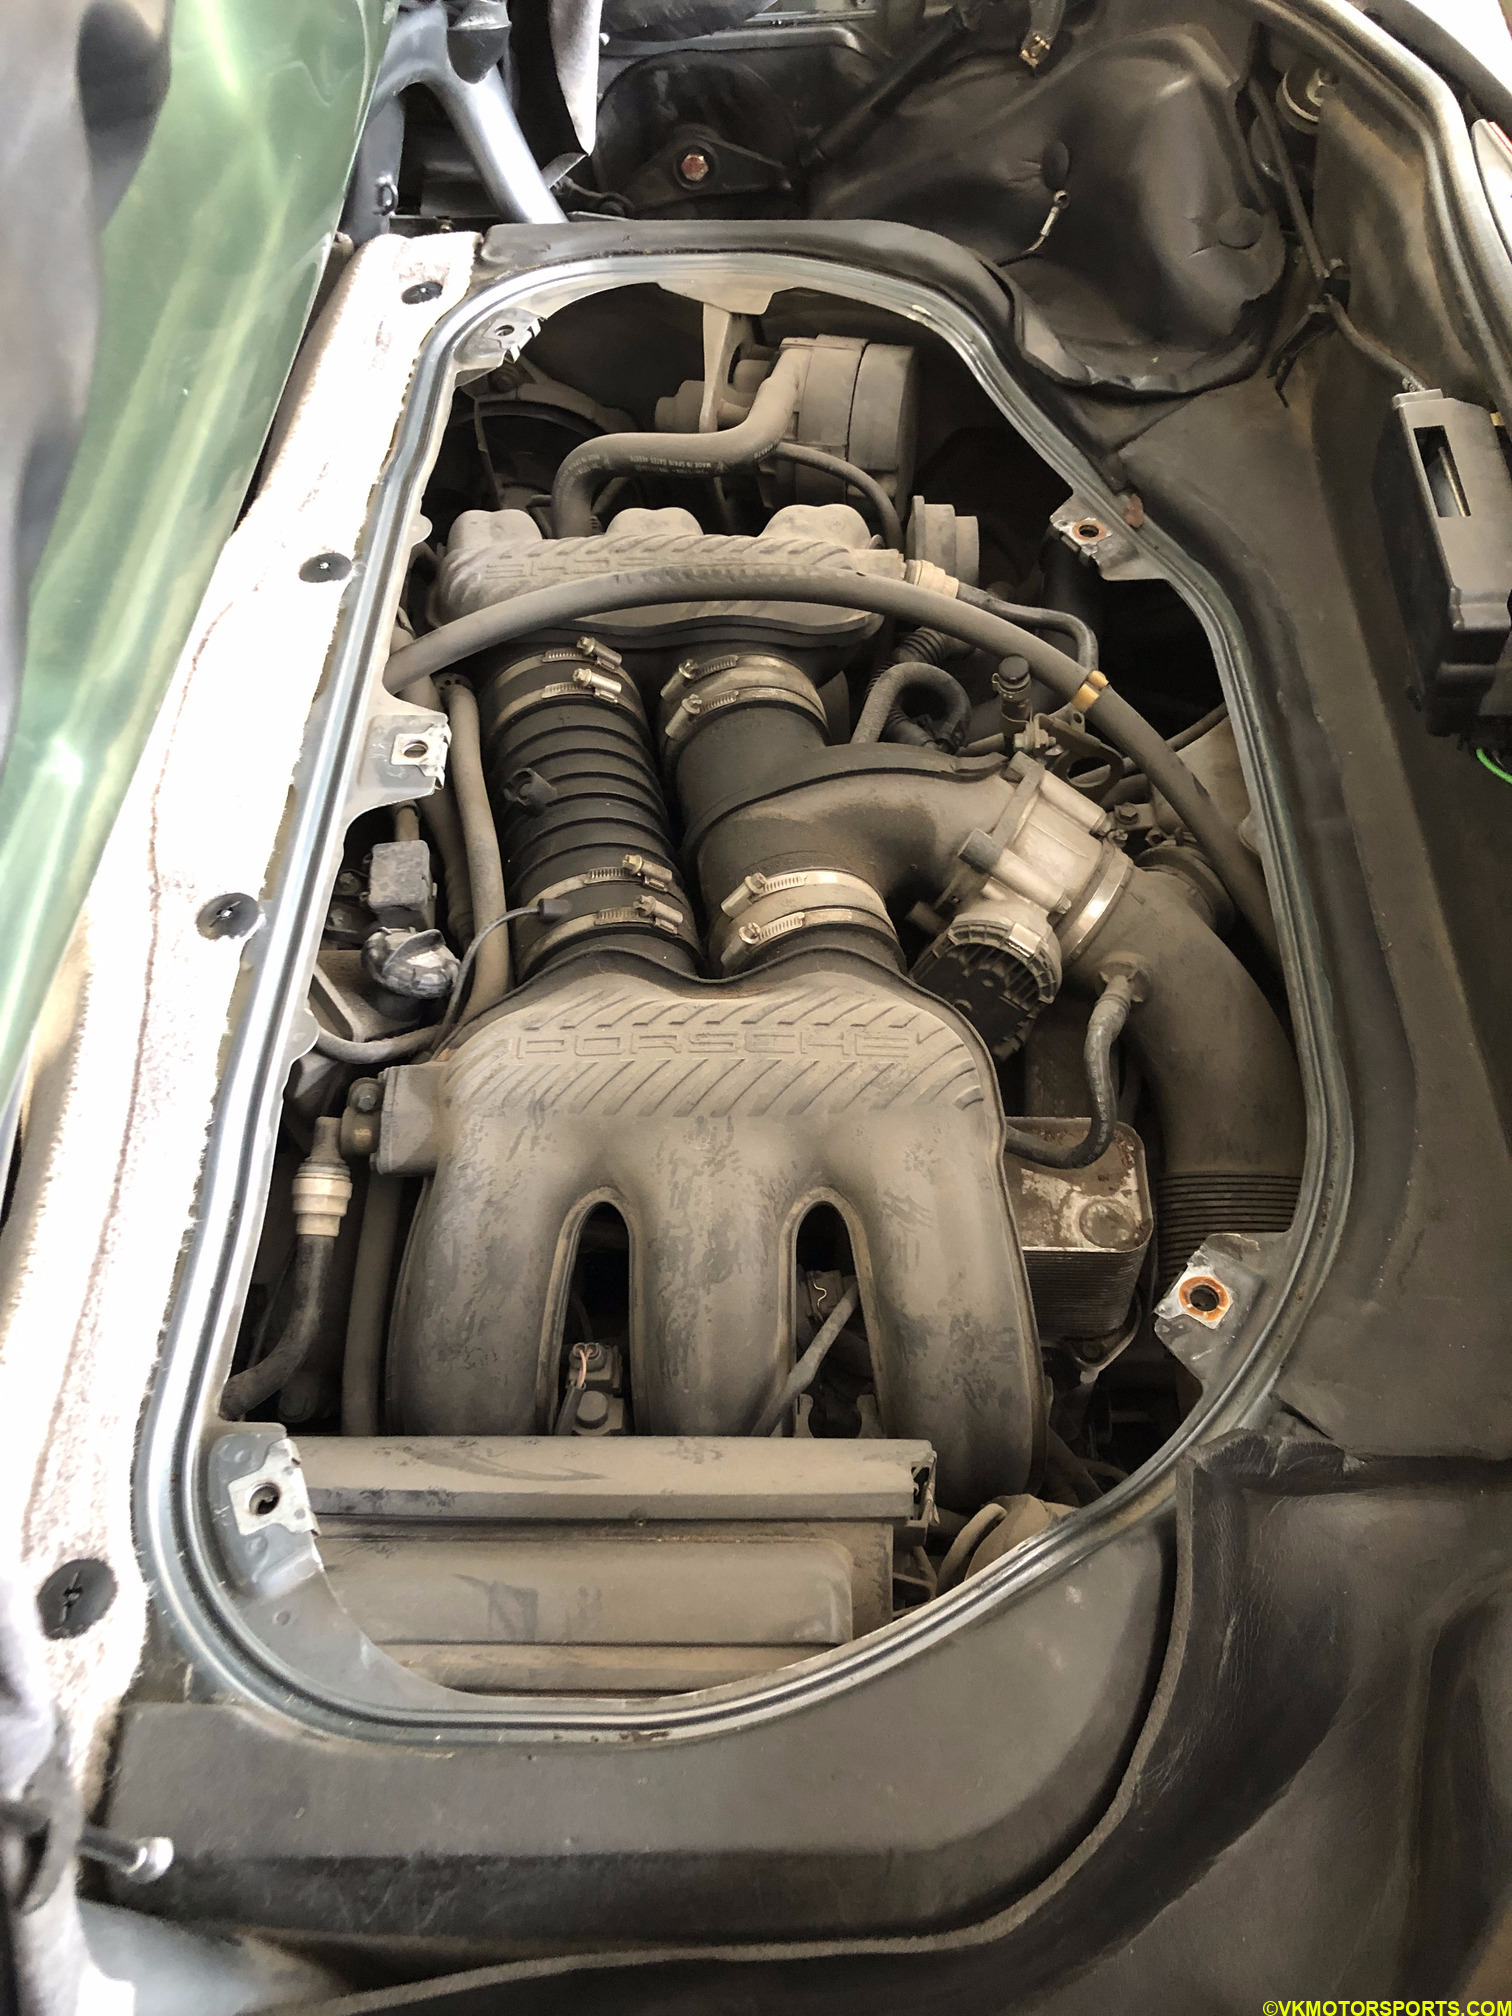 Figure 10. Engine cover removed
Step 5: As you can very well see that the engine in Figure 10 is quite dirty. Note the dirty air filter housing in Figure 11. Using a wet microfiber cloth, and maybe a light dish soap and water spray, you can wipe down the engine and the air filter housing to remove the dust covering as in Figure 12.
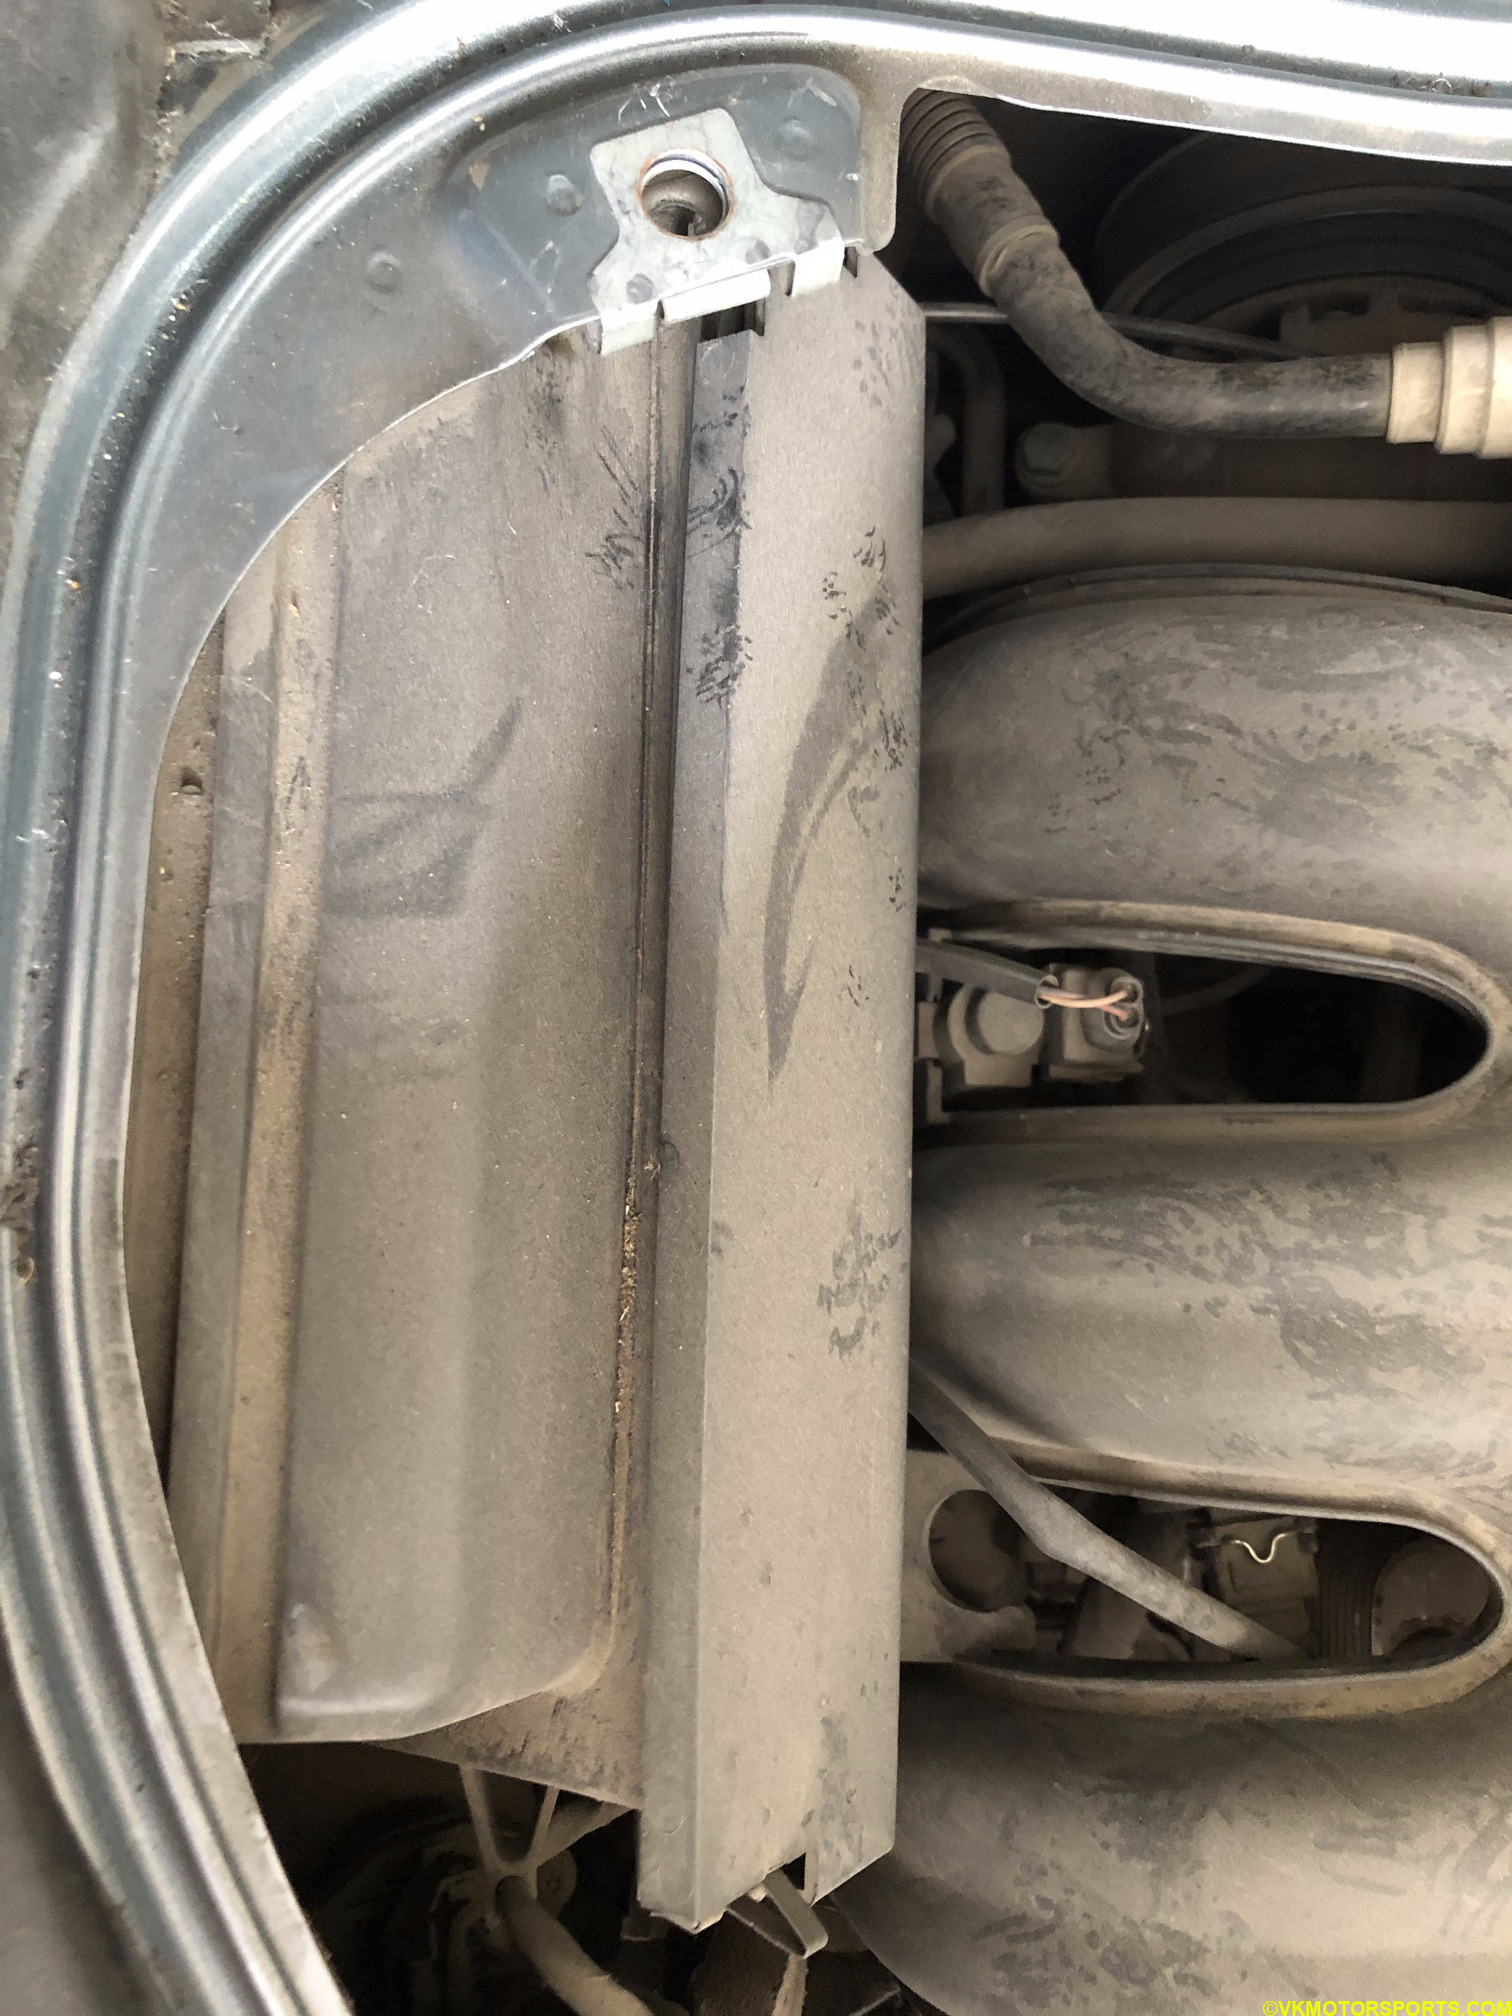 Figure 11. Air filter housing is dirty
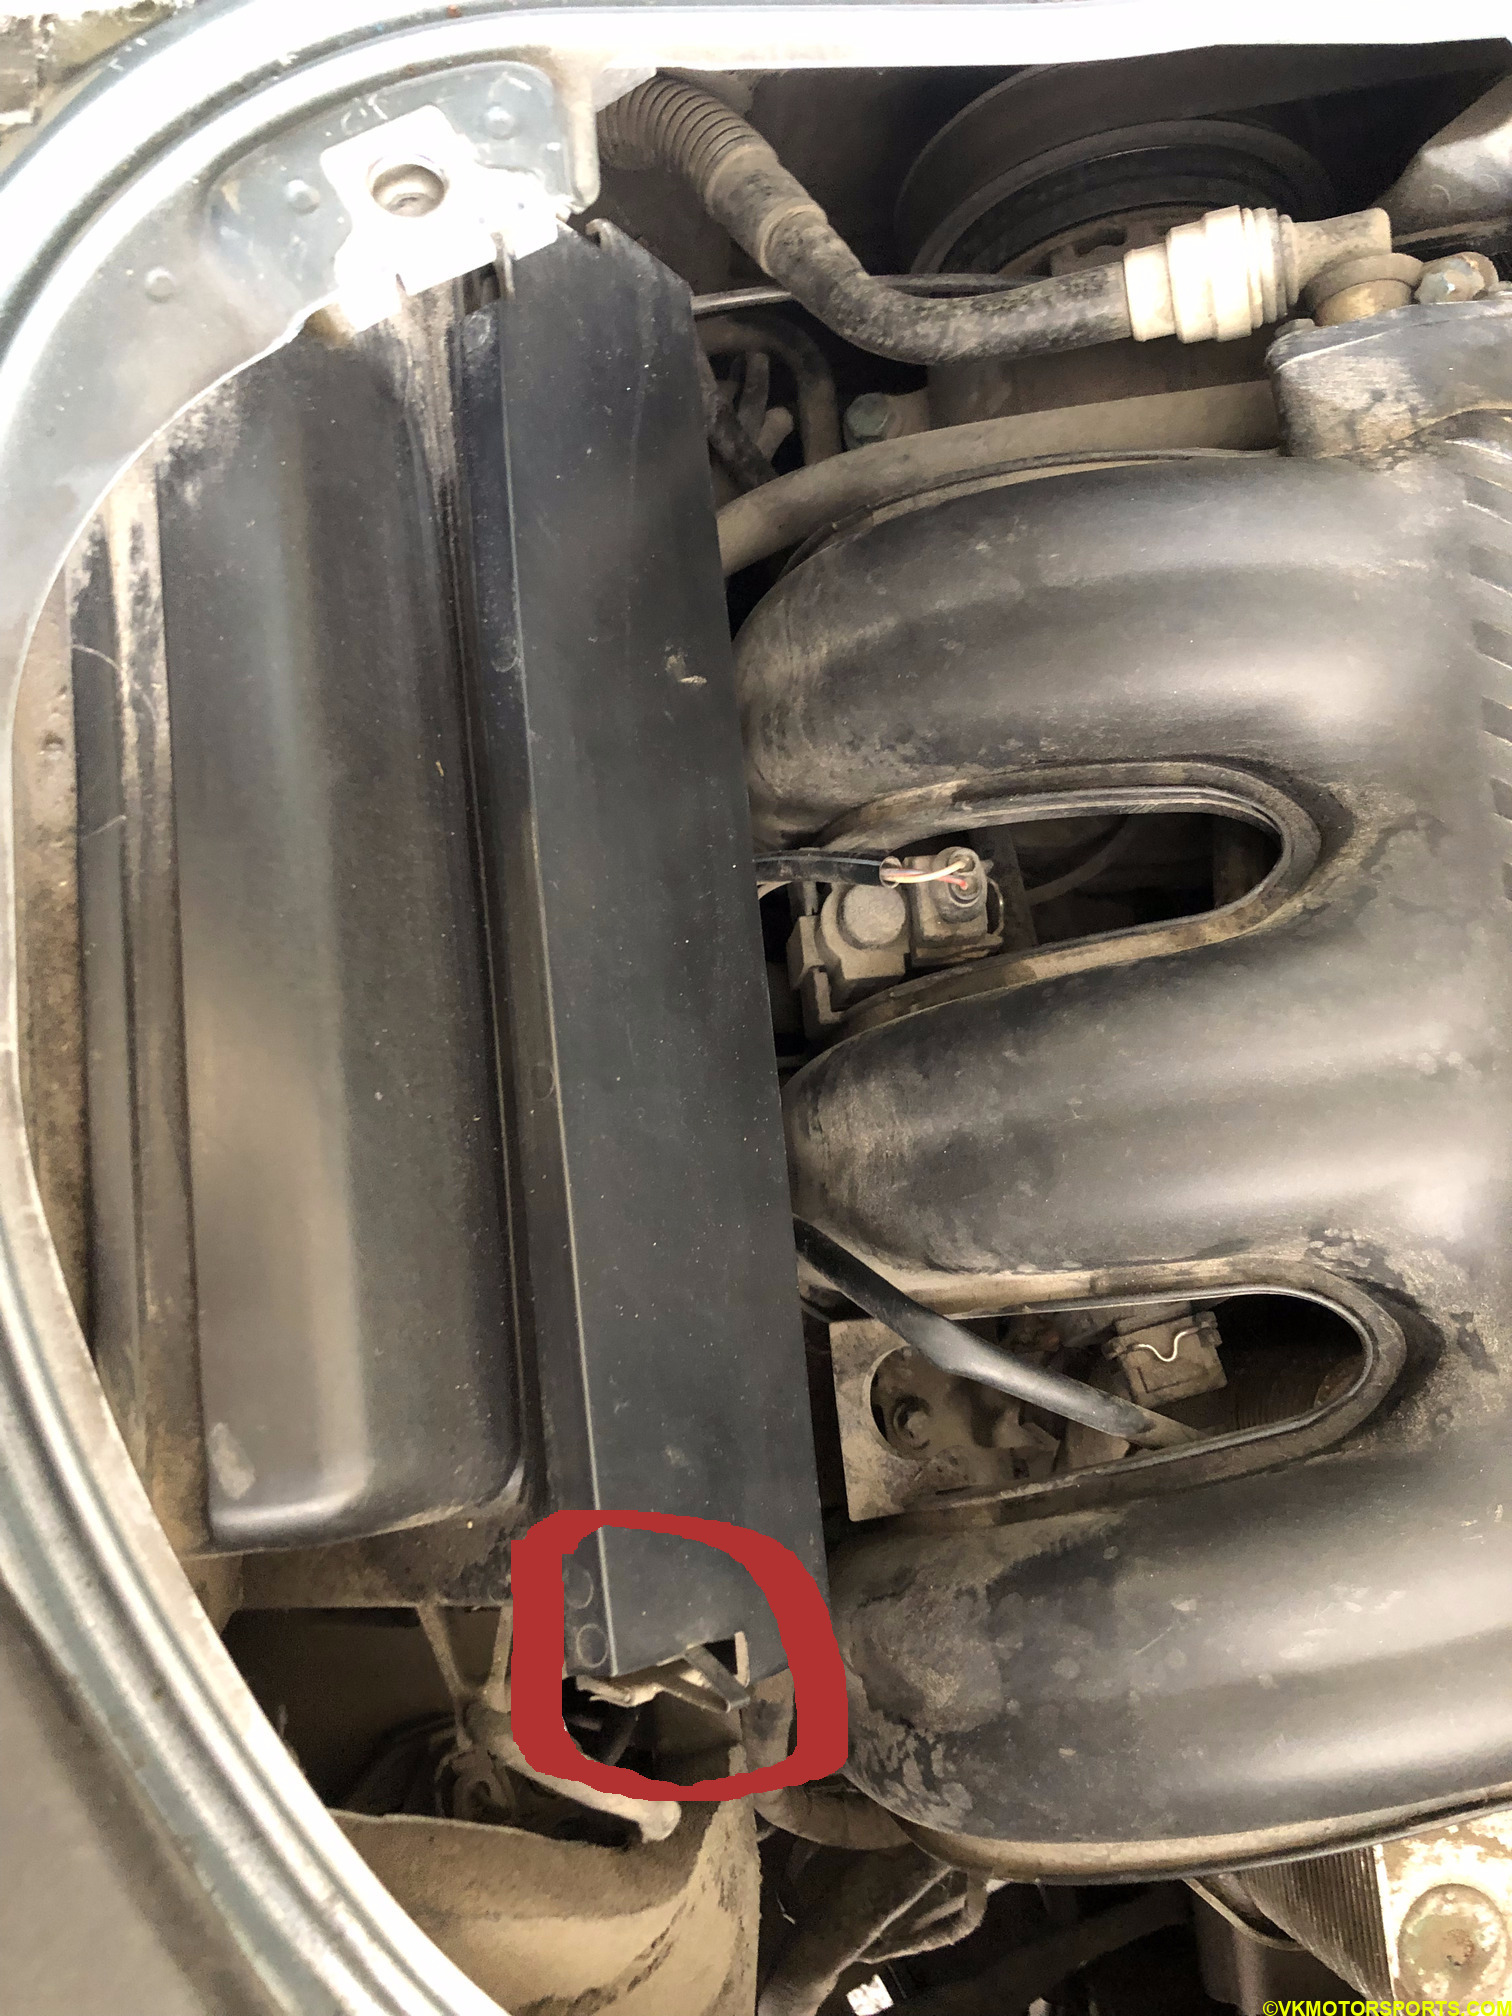 Figure 12. Air filter housing is clean. Note the clip marked with a red circle
Changing the Air Filter
Step 6: Note the red circle marking the clips on the air filter housing in Figure 12. Pull the air filter housing out by pressing on those clips as seen in Figure 13. Now take out the new Hengst Air Filter E458L from its box (Figure 14) to replace the old one that sits in the housing.
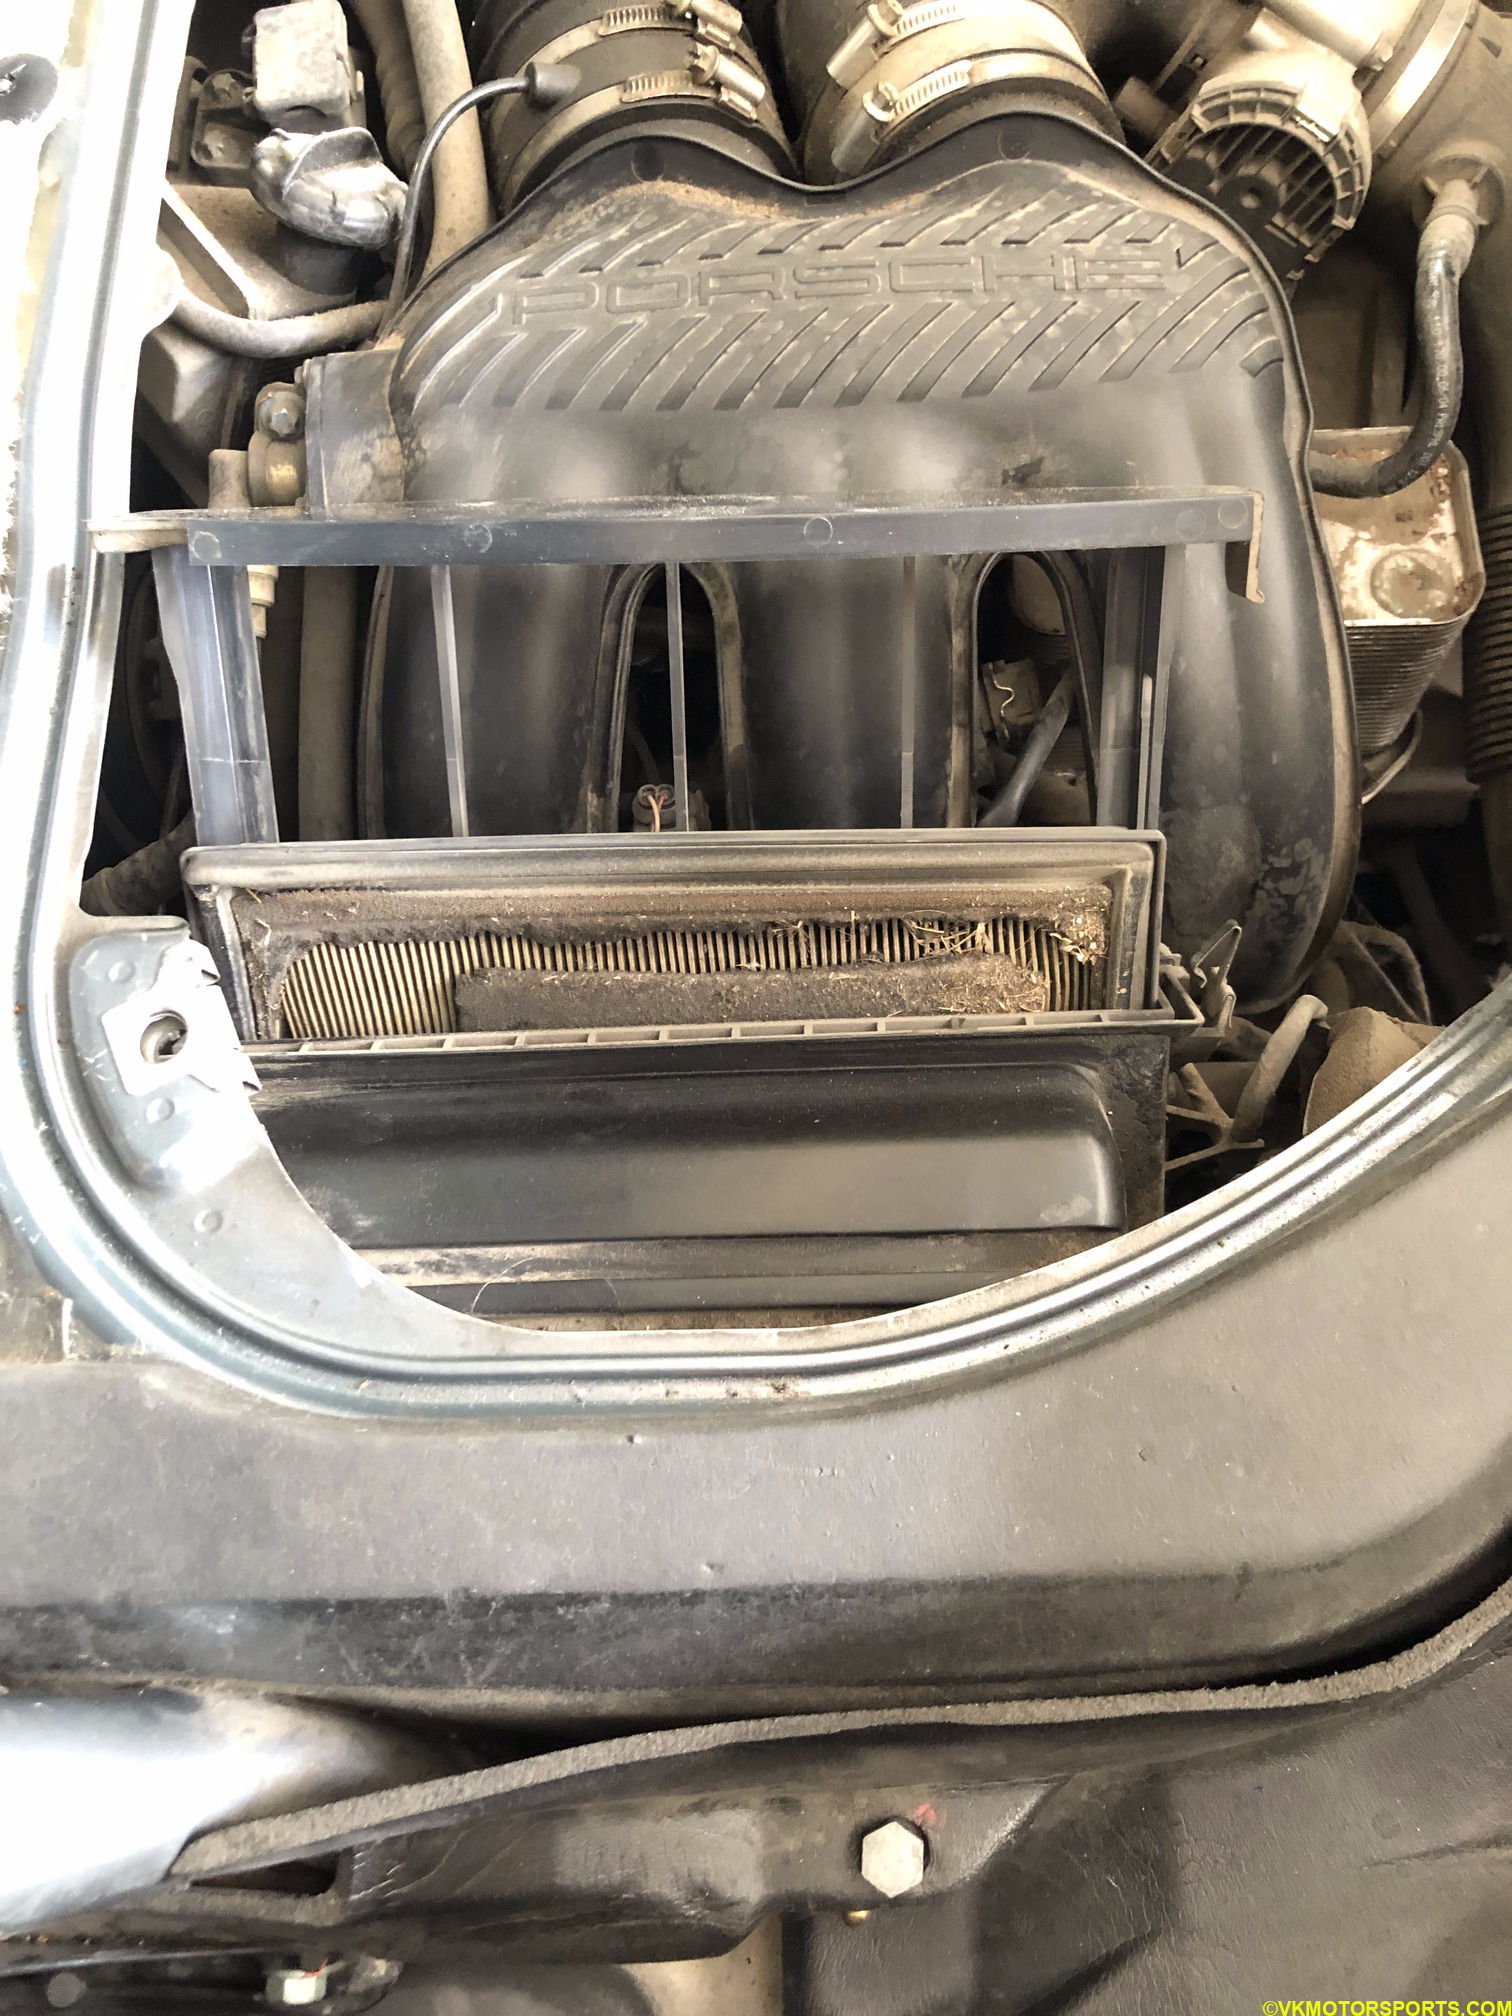 Figure 13. Pull air filter housing up
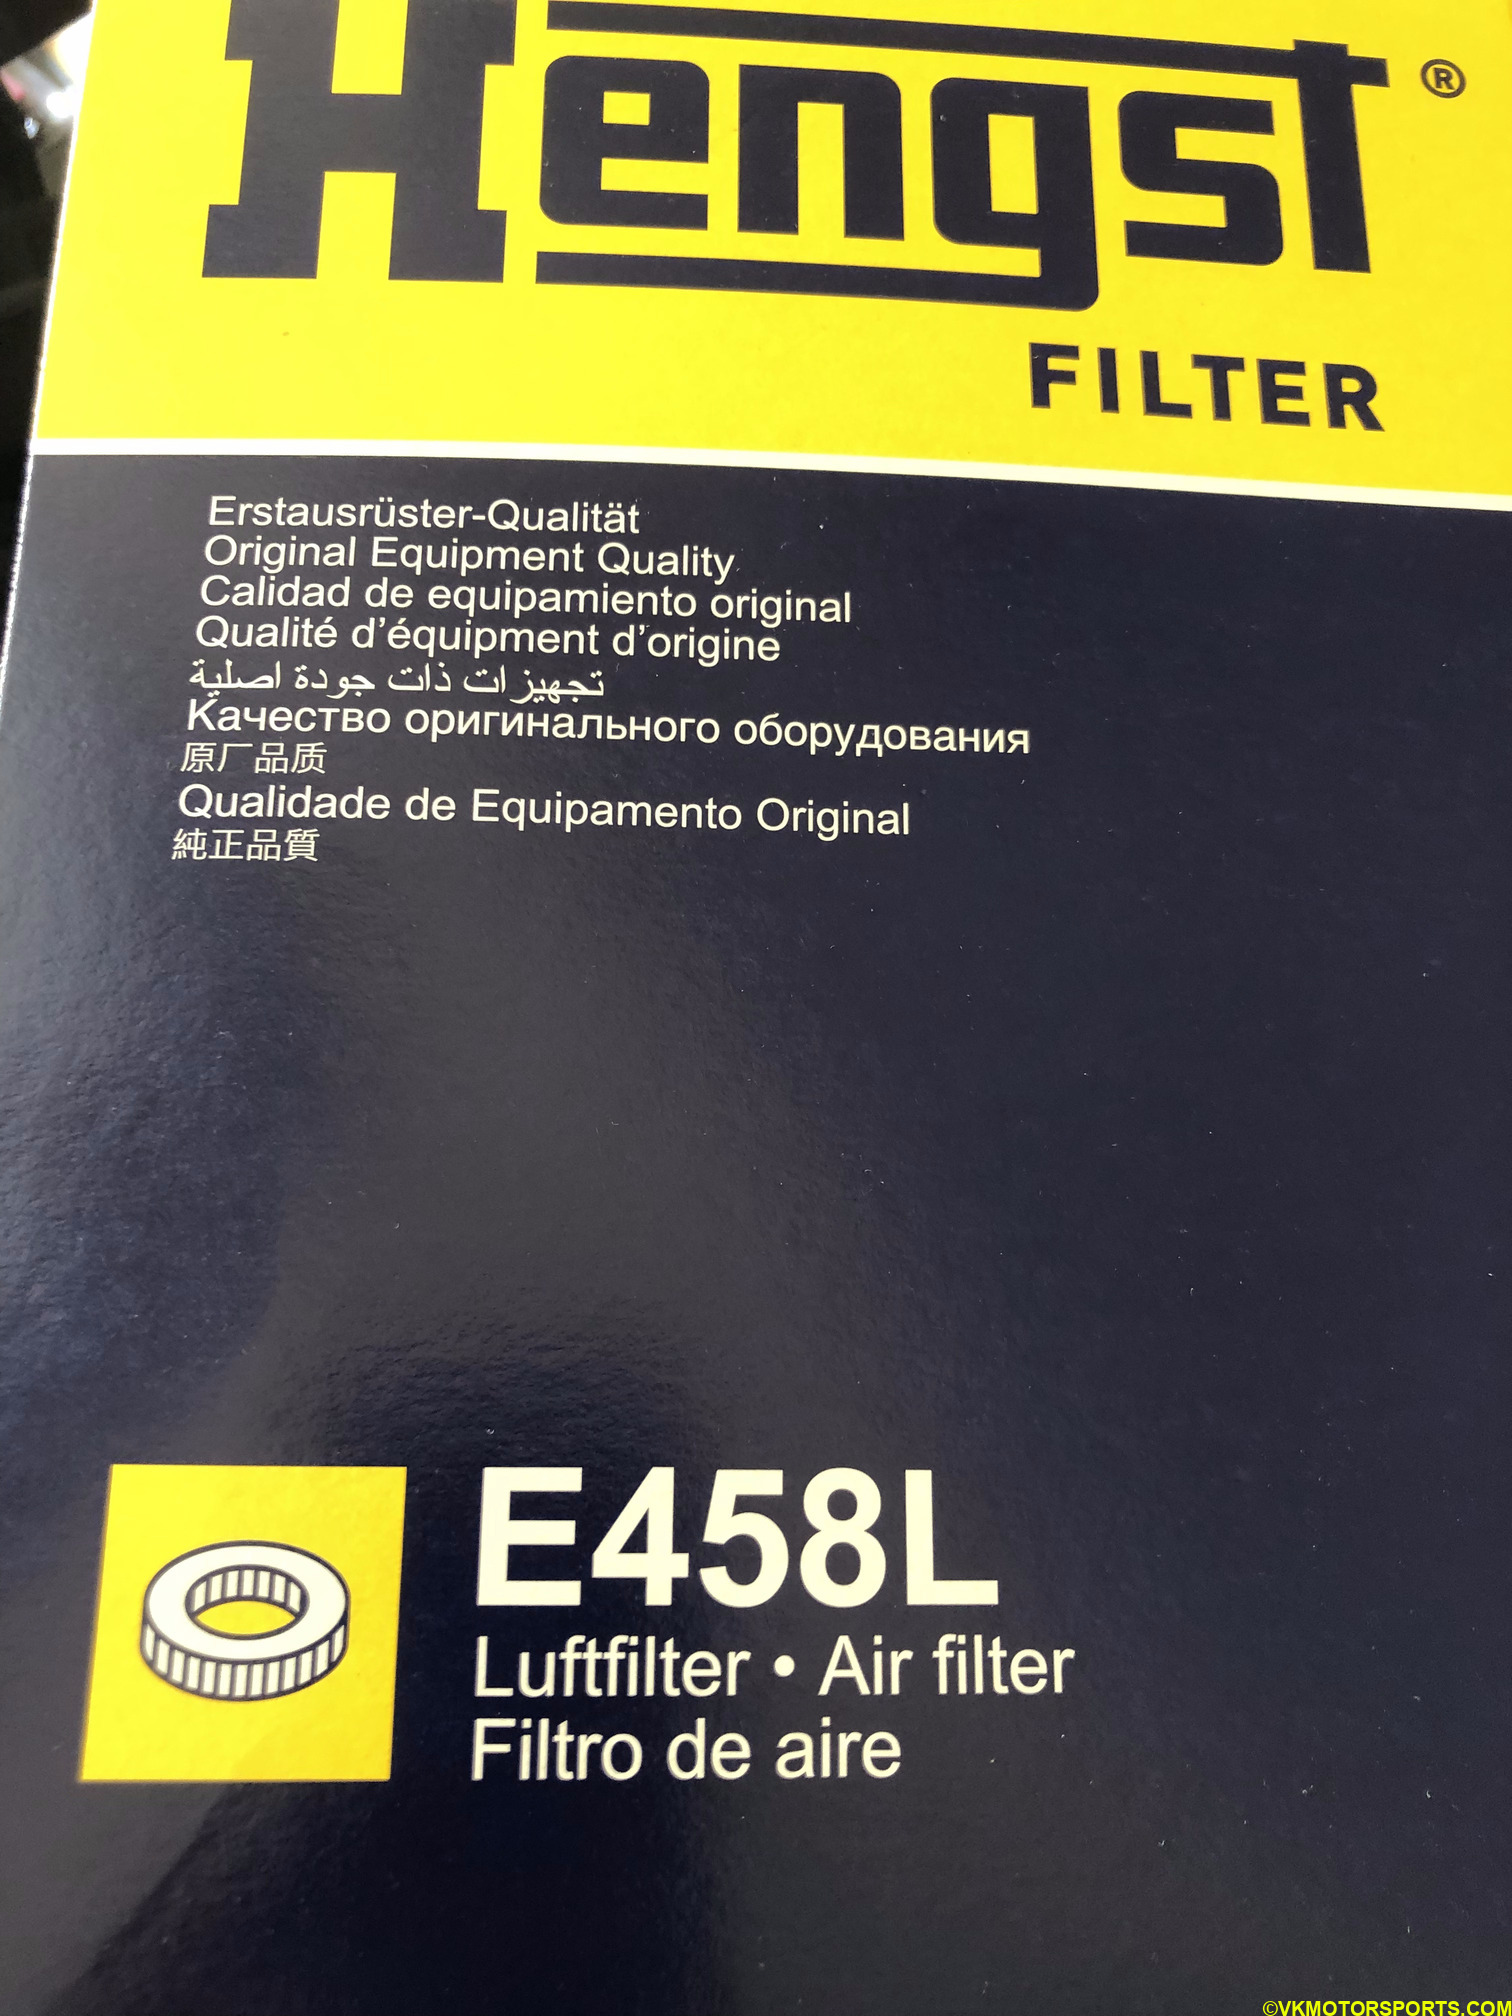 Figure 14. Hengst Air Filter E458L
Step 7: In Figure 15, I compare the state of the old air filter with the new one and you can see very well that the engine desperately needed a new filter. This filter looks like it was not changed for the last 30,000 or more miles. An air filter change is needed every 10,000 miles. Since the older filter had a lot of bits and leaves in it, I had to use a vacuum cleaner to clean up the intake and remove all the bits and extra dirt. I recommend you clean up the intake to avoid garbage blocking it.
 Figure 15. Old vs New air filter
Step 8: Install the new air filter the same way that the old one was installed and push the filter housing back into place such that the clips snap and keep it in pllace.
Step 9: Install the engine bay cover and insert the 5 screws back into position the way they were in Figure 9. Push the handles back down and it should look like as in Figure 7.
Step 10: Then reinstall the carpeting and put the black tabs (or clips) back down as in Figure 5.
Step 11: Reconnect the latching cables as in Figure 3 and pull the top fully down. Now you can either fully close or fully open the convertible top and get ready to replace the cabin filter before taking the car for a drive.
Changing the Cabin Filter
Step 1: The cabin filter is present in the front trunk or frunk and is much easier to open. You will need a T-20 or T-25 torx screwdriver to open the cover if it is screwed in. In my case, this screw was missing so the cover came off easily. I removed the battery cover first and then this cover as shown in Figure 16.
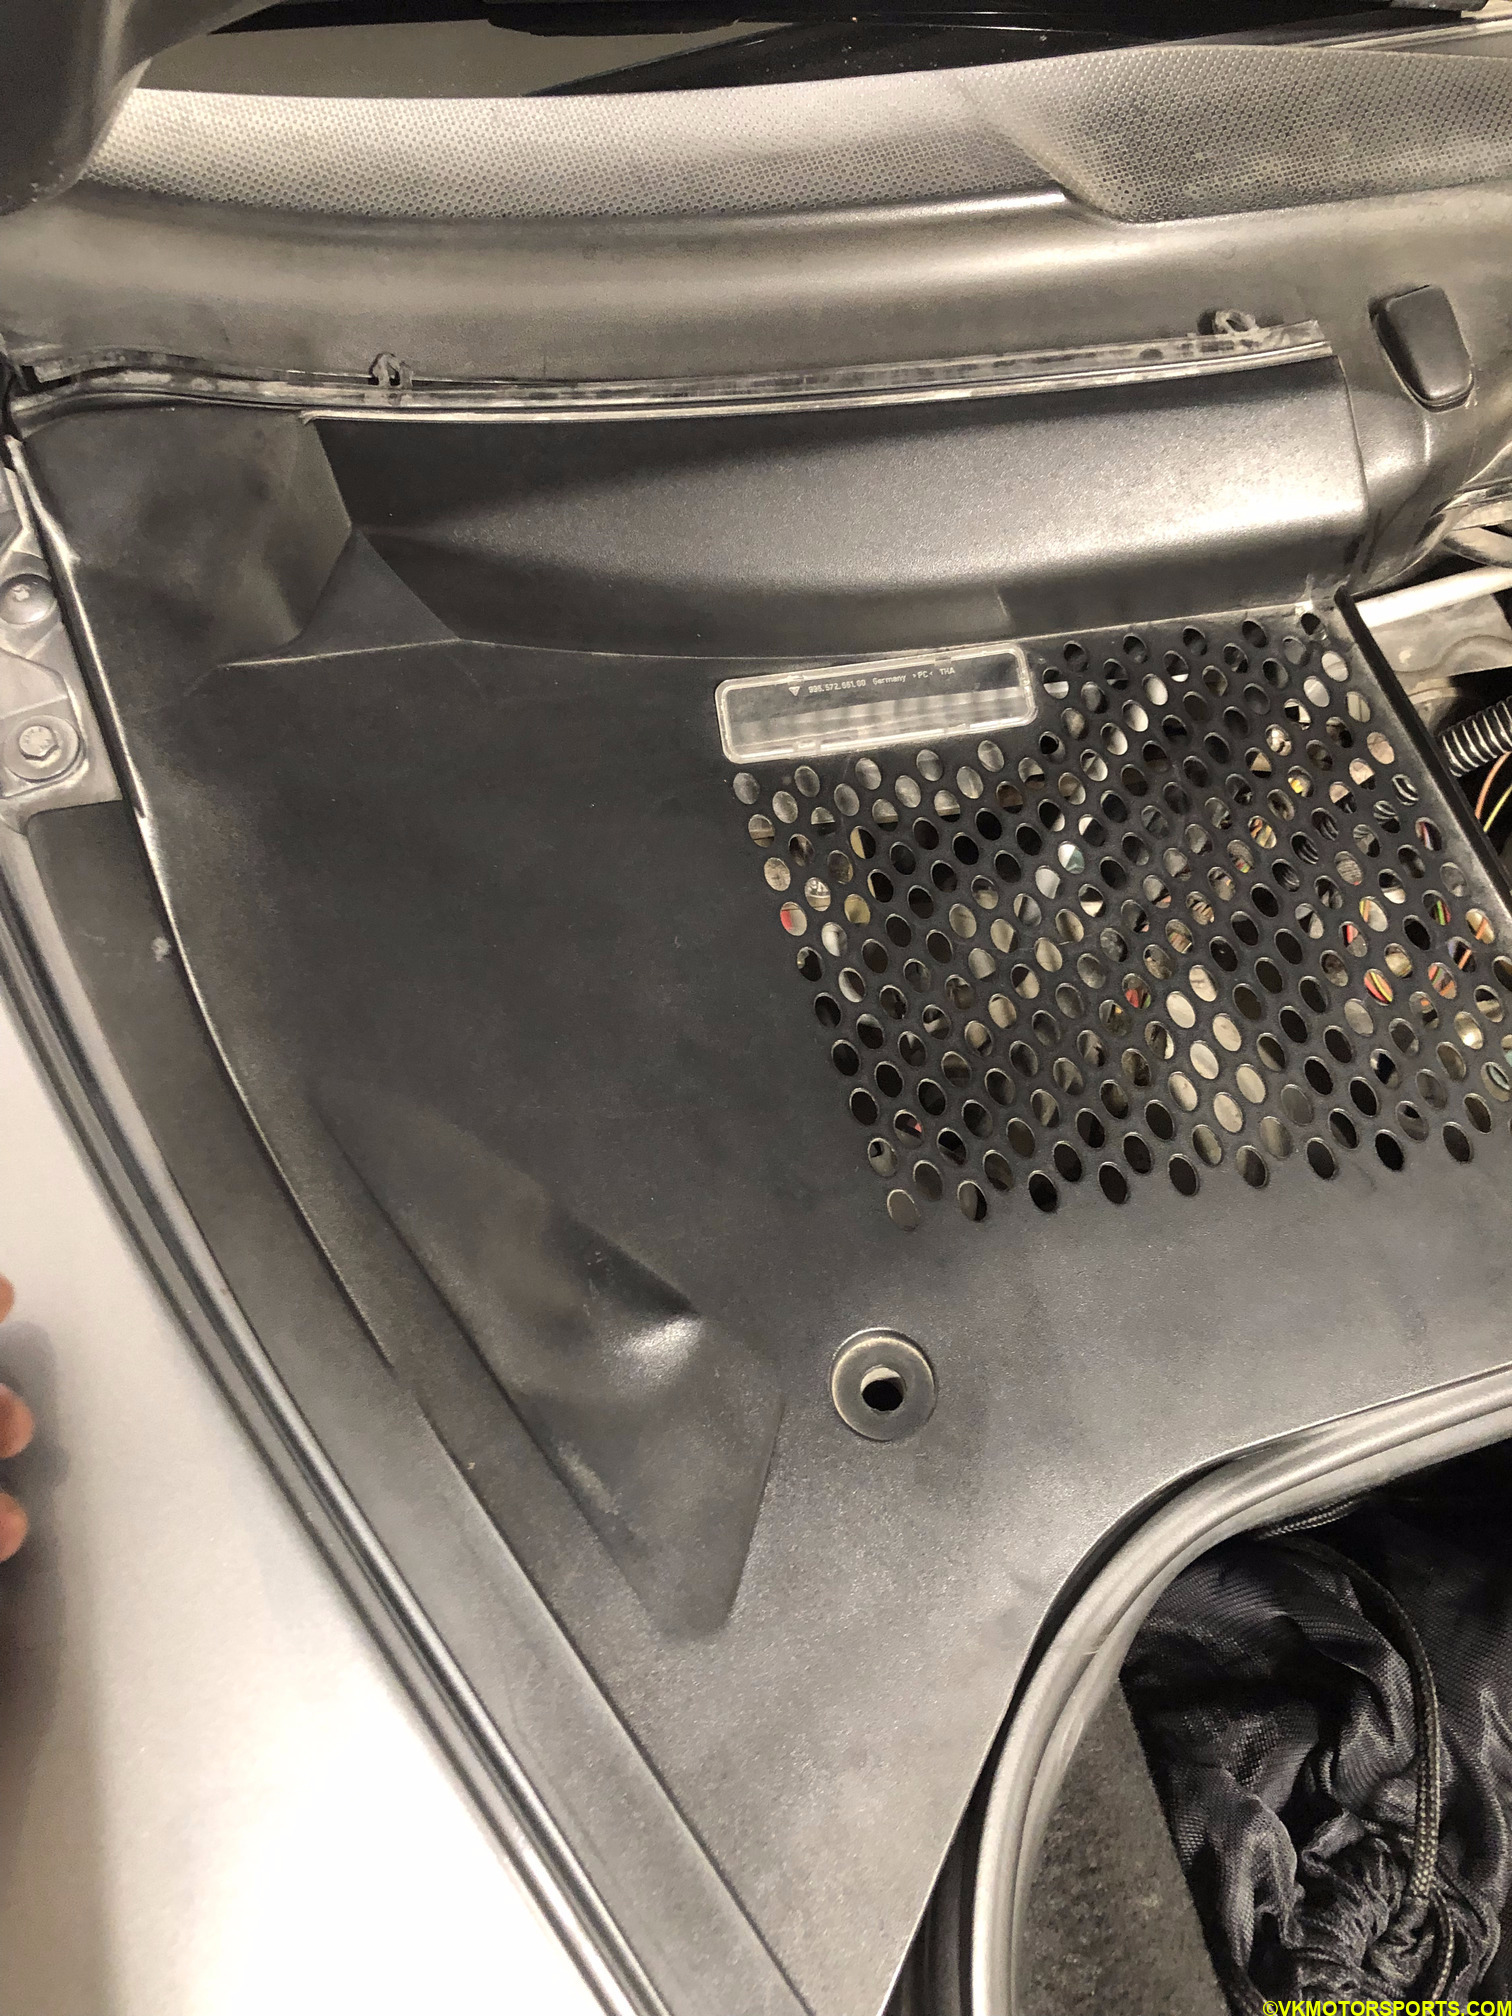 Figure 16. Cabin filter cover in the front trunk
Step 2: I chose to use the Hengst Cabin Filter E951LC (Figure 17). Remove the old existing filter from the slot that is placed in (Figure 18). Note the direction of the air flow that the filter has. This is the same way we have to install the new filter. Compare the state of the old vs new cabin filter as in Figure 19.
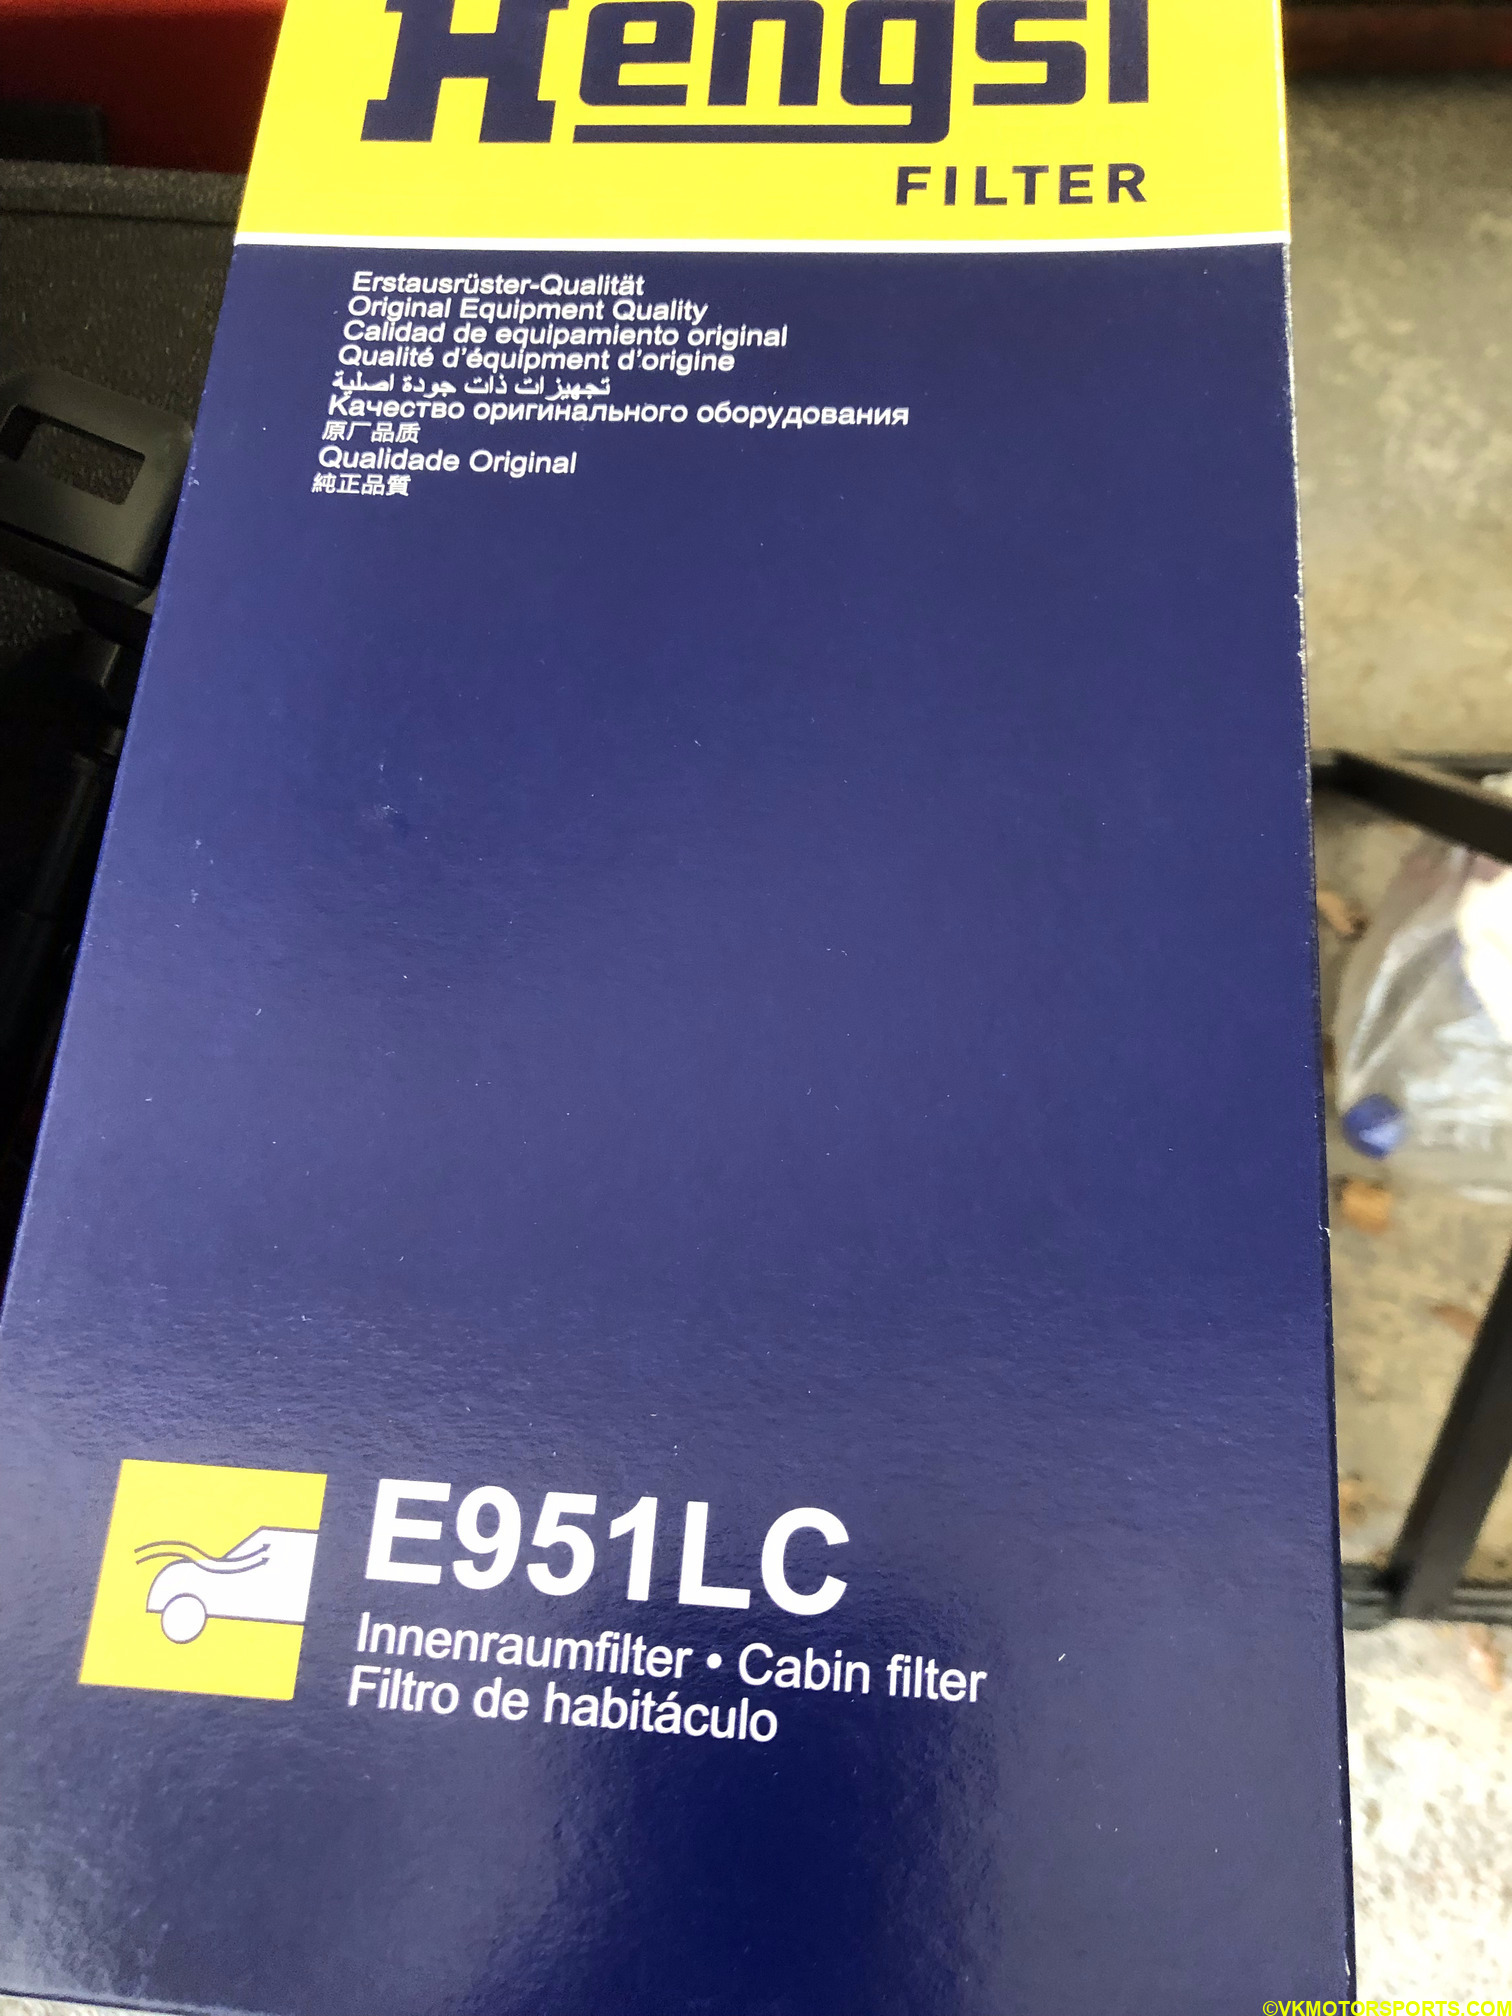 Figure 17. Hengst Cabin Filter E951LC
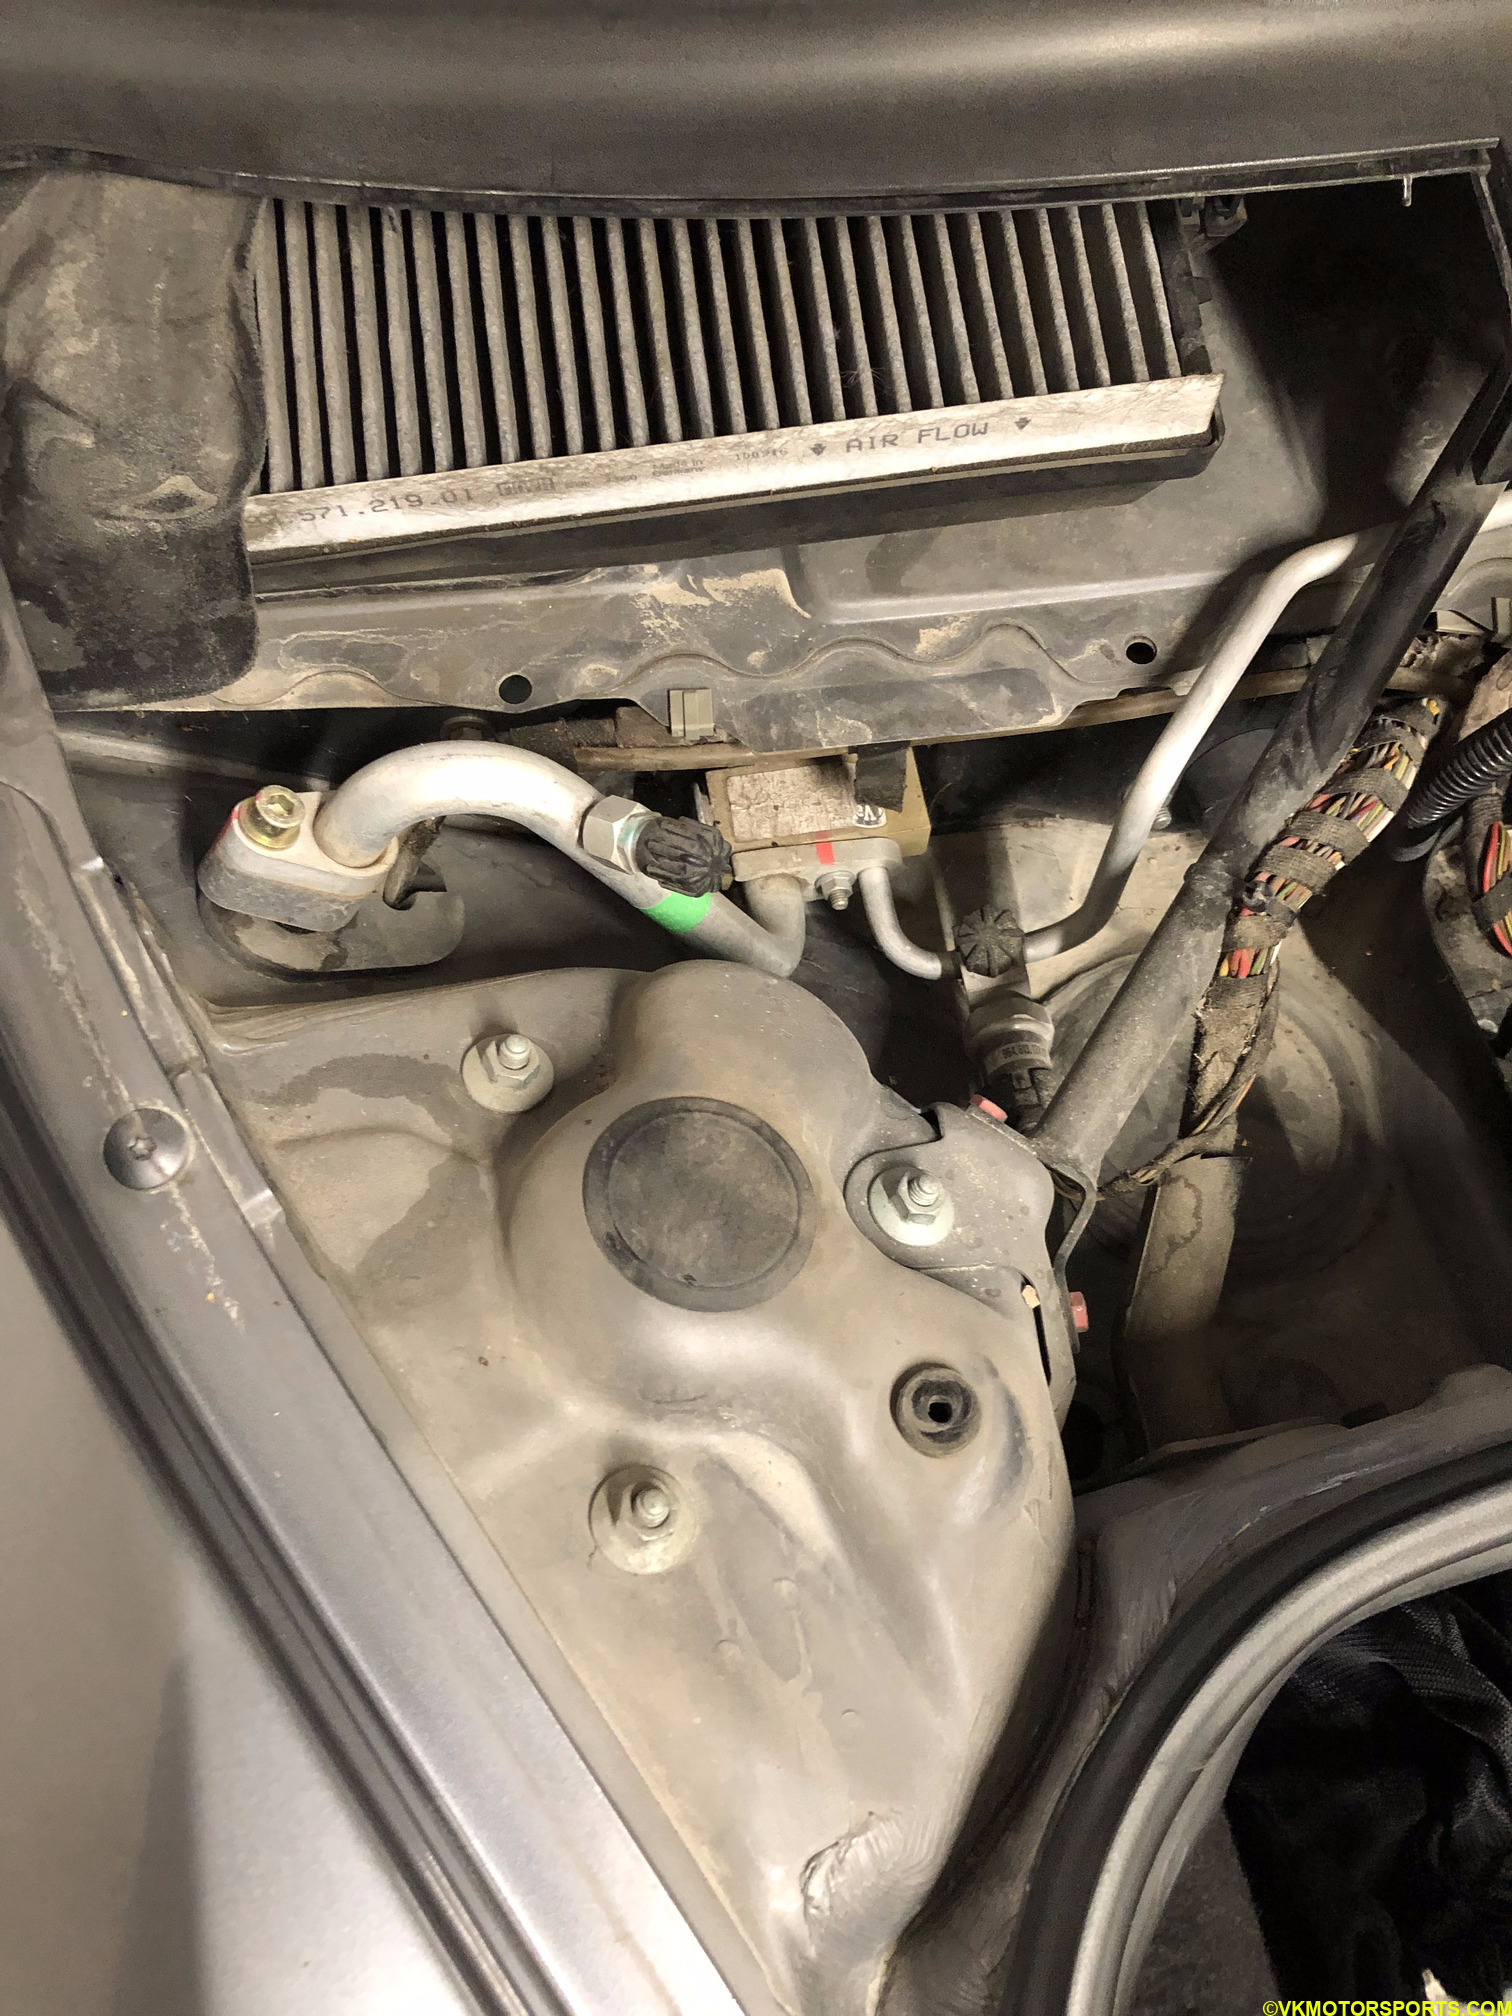 Figure 18. Remove old cabin filter
 Figure 19. Compare old vs new cabin filter
Step 3: Vacuum the area up to remove dust and leaves, if any, and then get ready to install the new filter. Make sure the direction is correct for the air flow and insert the filter the same way as the previous one was removed (Figure 20).
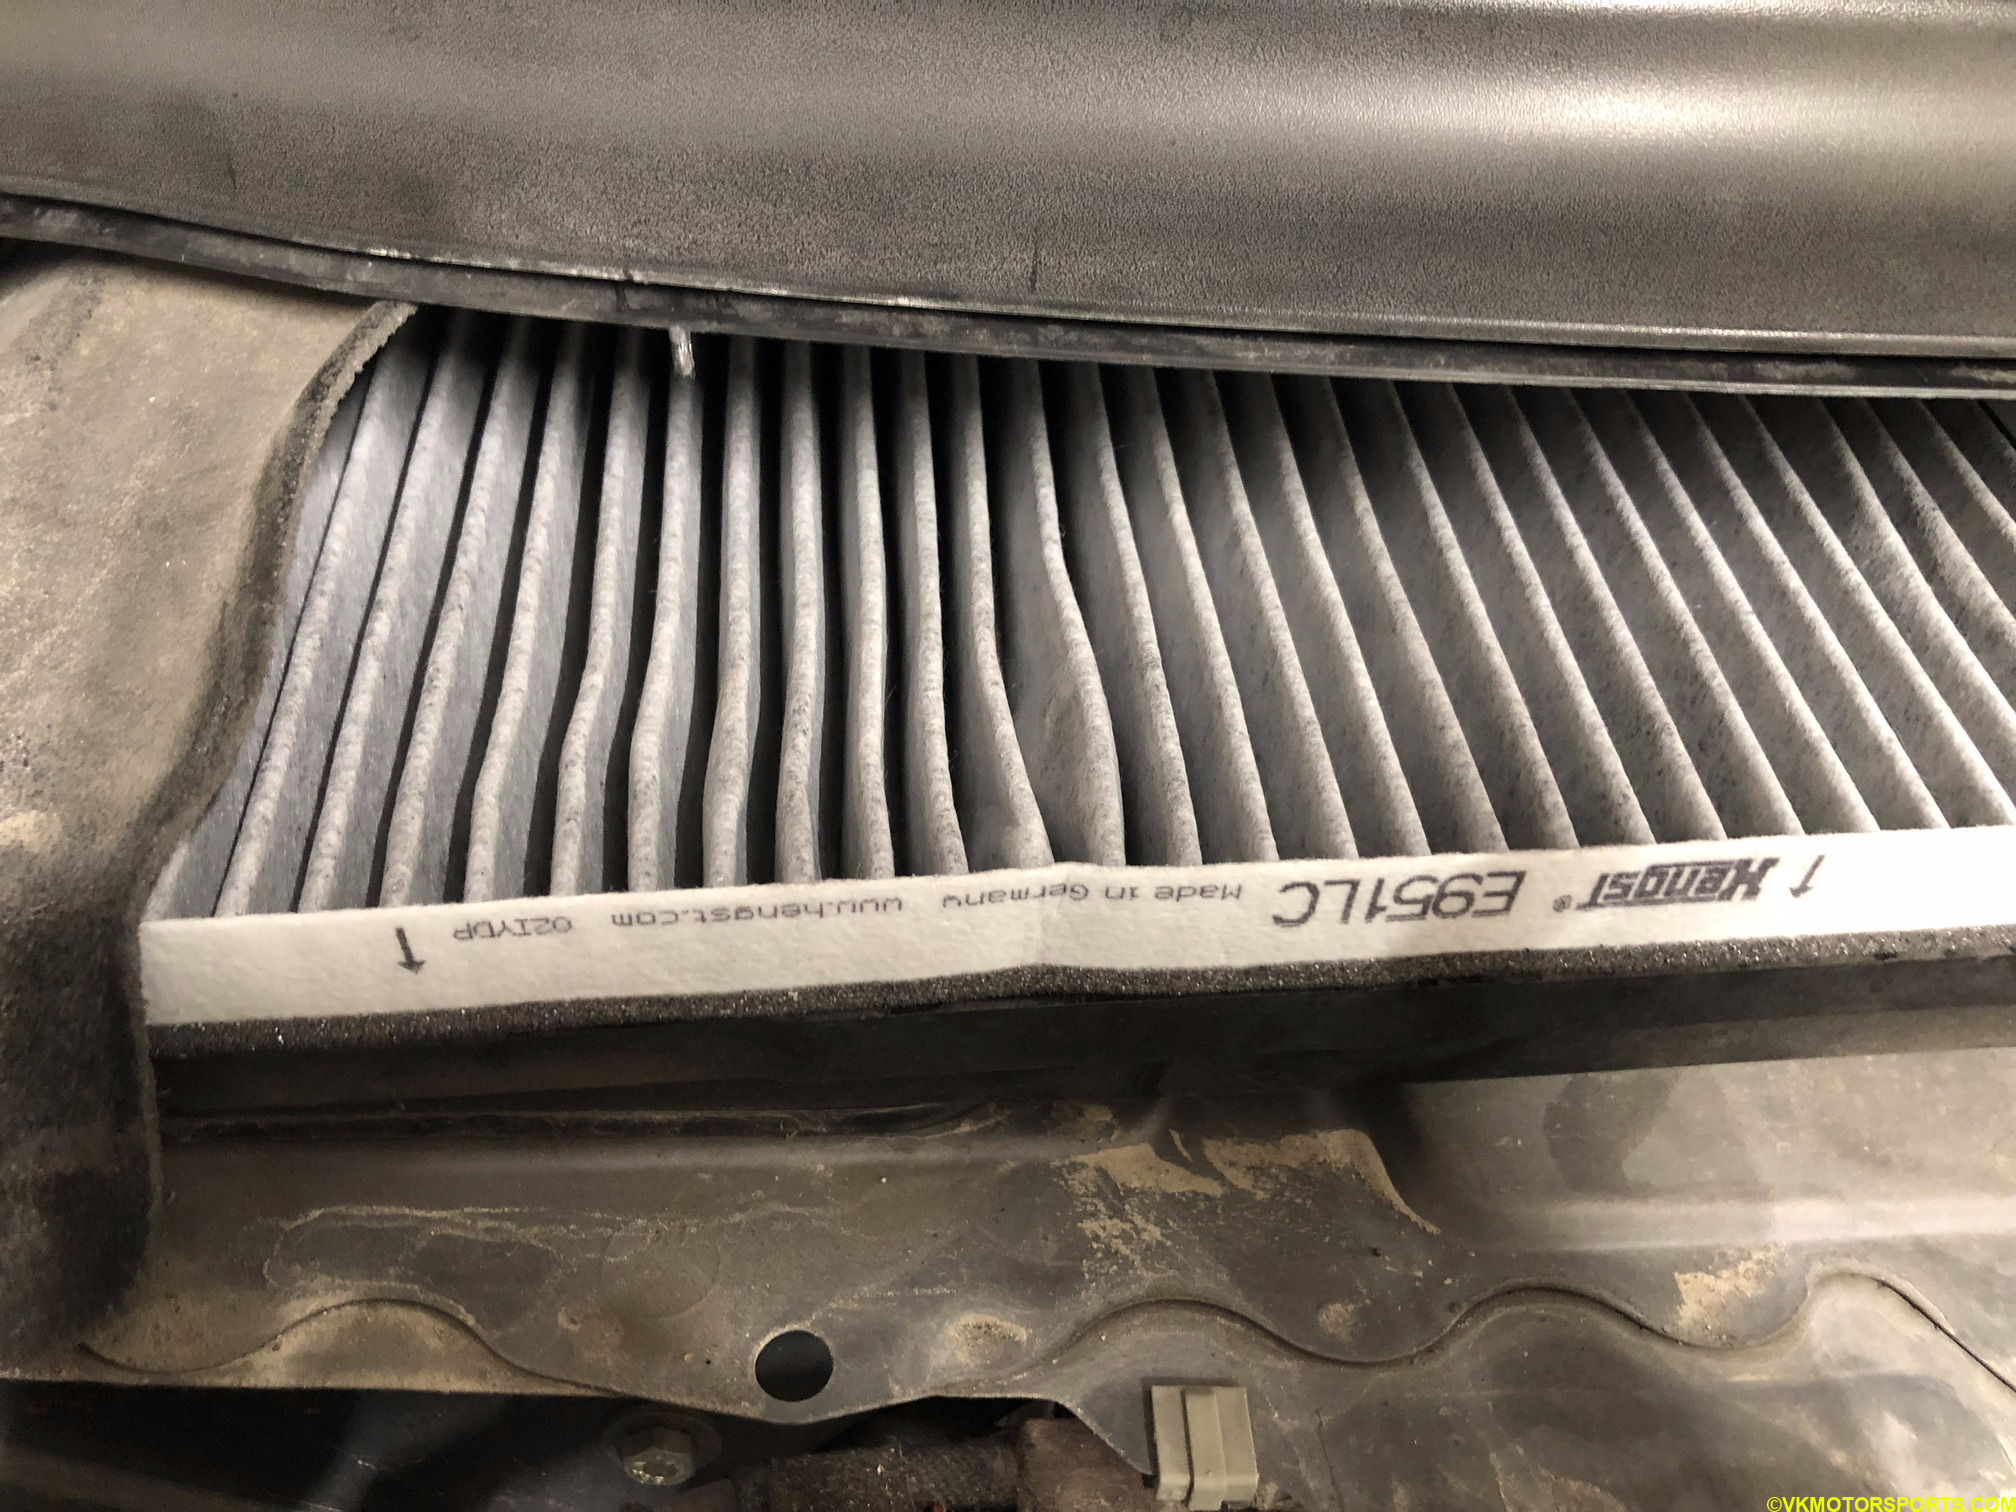 Figure 20. New cabin filter installed
Step 4: Now install the cover back as in Figure 16 and screw it back in place. Remember to install the battery cover back as well. Now you can take the car for a nice ride and feel the fresher in-cabin air.