Over the last two weekends, I did a few important changes to the Infiniti G35 coupe. The original coupe came with a set of 20 inch aftermarket wheels and tires (Figure 1). So I procured the original 19 inch Forged Rays (Figure 6) from a seller about a hundred miles away a few months ago for $450, through Craigslist, which was a bargain. As you can see in Figure 7 that the 19 inch wheels look pretty good too.
Moreover, I also procured a pair of reclining racing bucket seats (Figure 9) made by Procar by Scat for about $280 on Facebook Marketplace. However, someone pointed out that these were knockoffs so I did feel a bit cheated! :( Oh well! These seats were in a Chevrolet Chevelle, so at least the brackets and sliders that came with it can be sold for something, and they look original since the part numbers are engraved on them.
To make myself happy, I decided to get the windows tinted on the car. I had been waiting for a while and feeling lazy to get it done and this Memorial day weekend I paid about $275 to get it done. 20% tint on the driver and passenger windows (Figure 8a), and 5% tint on the rear windshield (Figure 8b) and the strip on the front windshield (Figure 8c).
Aftermarket Wheels and Extra Thin Wall Sockets
The 20 inch wheels (Figure 1 and Figure 5) looked great on the car but were quite heavy since I am preparing this car for occasional track use. I have never been to the track and want to start slow by fixing issues on this car first.
For the stock Infiniti 19 inch wheels made by Rays (Figure 6), I procured used tires from Facebook Marketplace that were in pretty good condition with tread depth of 7/32 inches. Then I got the wheels mounted and balanced at a local tire store and the initial plan was to have them swap the wheels out. But they could not !!
The aftermarket 20 inch wheels did not accept the standard 21mm deep impact socket and required an extra thin wall socket which the store did not have. So I took the car back, ordered a Sunex 1/2” 21mm Extra Thin Wall Impact Socket model 2621 and waited a week till it arrived. The wait was successful and I was able to take off the wheels on my lift. Having a lift does make it easy and quicker to change wheels. Some lug nuts were rusted out (Figure 2a and 2b) and needed replacements.
However, I was noting the amount of rust on this car. :( The rear subframe is quite rusty (Figure 4) and so are the rotors (Figure 3). I poked the subframe with a screwdriver but it did not go through the metal so the frame is still in decent condition but needs some anti-rust treatment.
Once I had the replacement lug nuts, I installed the 19 inch wheels back on the car as seen in Figure 7. Ended up doing the install myself, so it was good practice. This was the first time I had taken off wheels on this car in a year and had just been driving it around for fun all this time. That’s why I never realized the special extra thin wall socket was needed and the previous owner never said anything about that. Anyway, lesson learned !
I am selling these 20 inch wheels with Nankang tires in the rear and Vercelli tires in the front, all of them with 9/32 inches tread on Facebook Marketplace and Craigslist, and hoping someone buys them for the $600 so I can make this a zero cost swap.
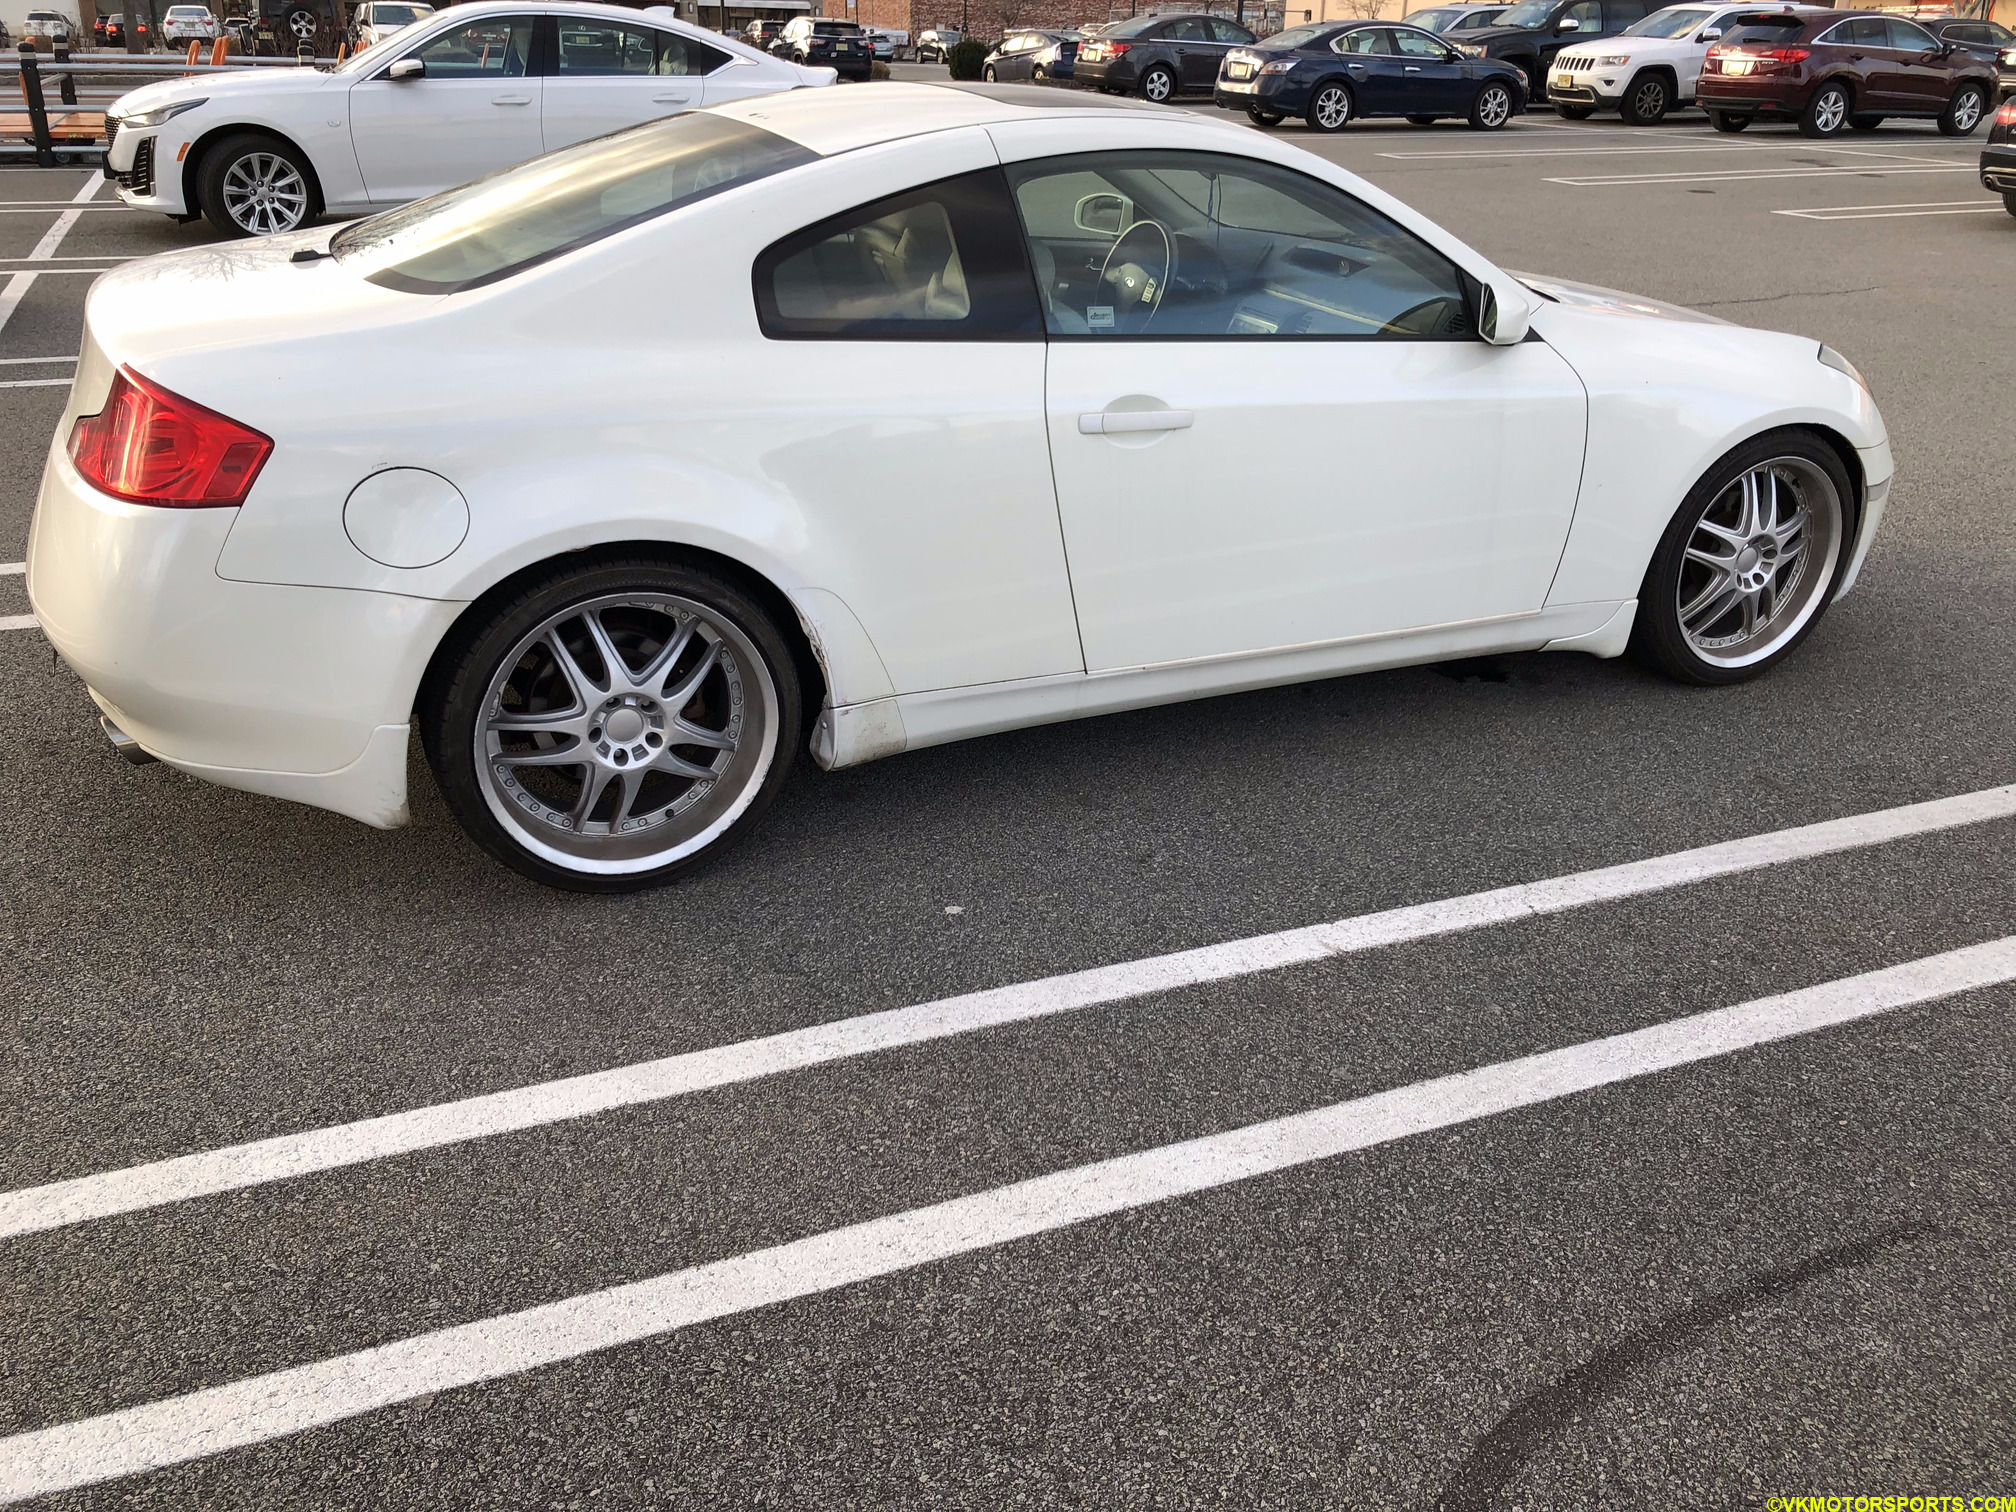 Figure 1. G35 with 20 inch wheels and no tint
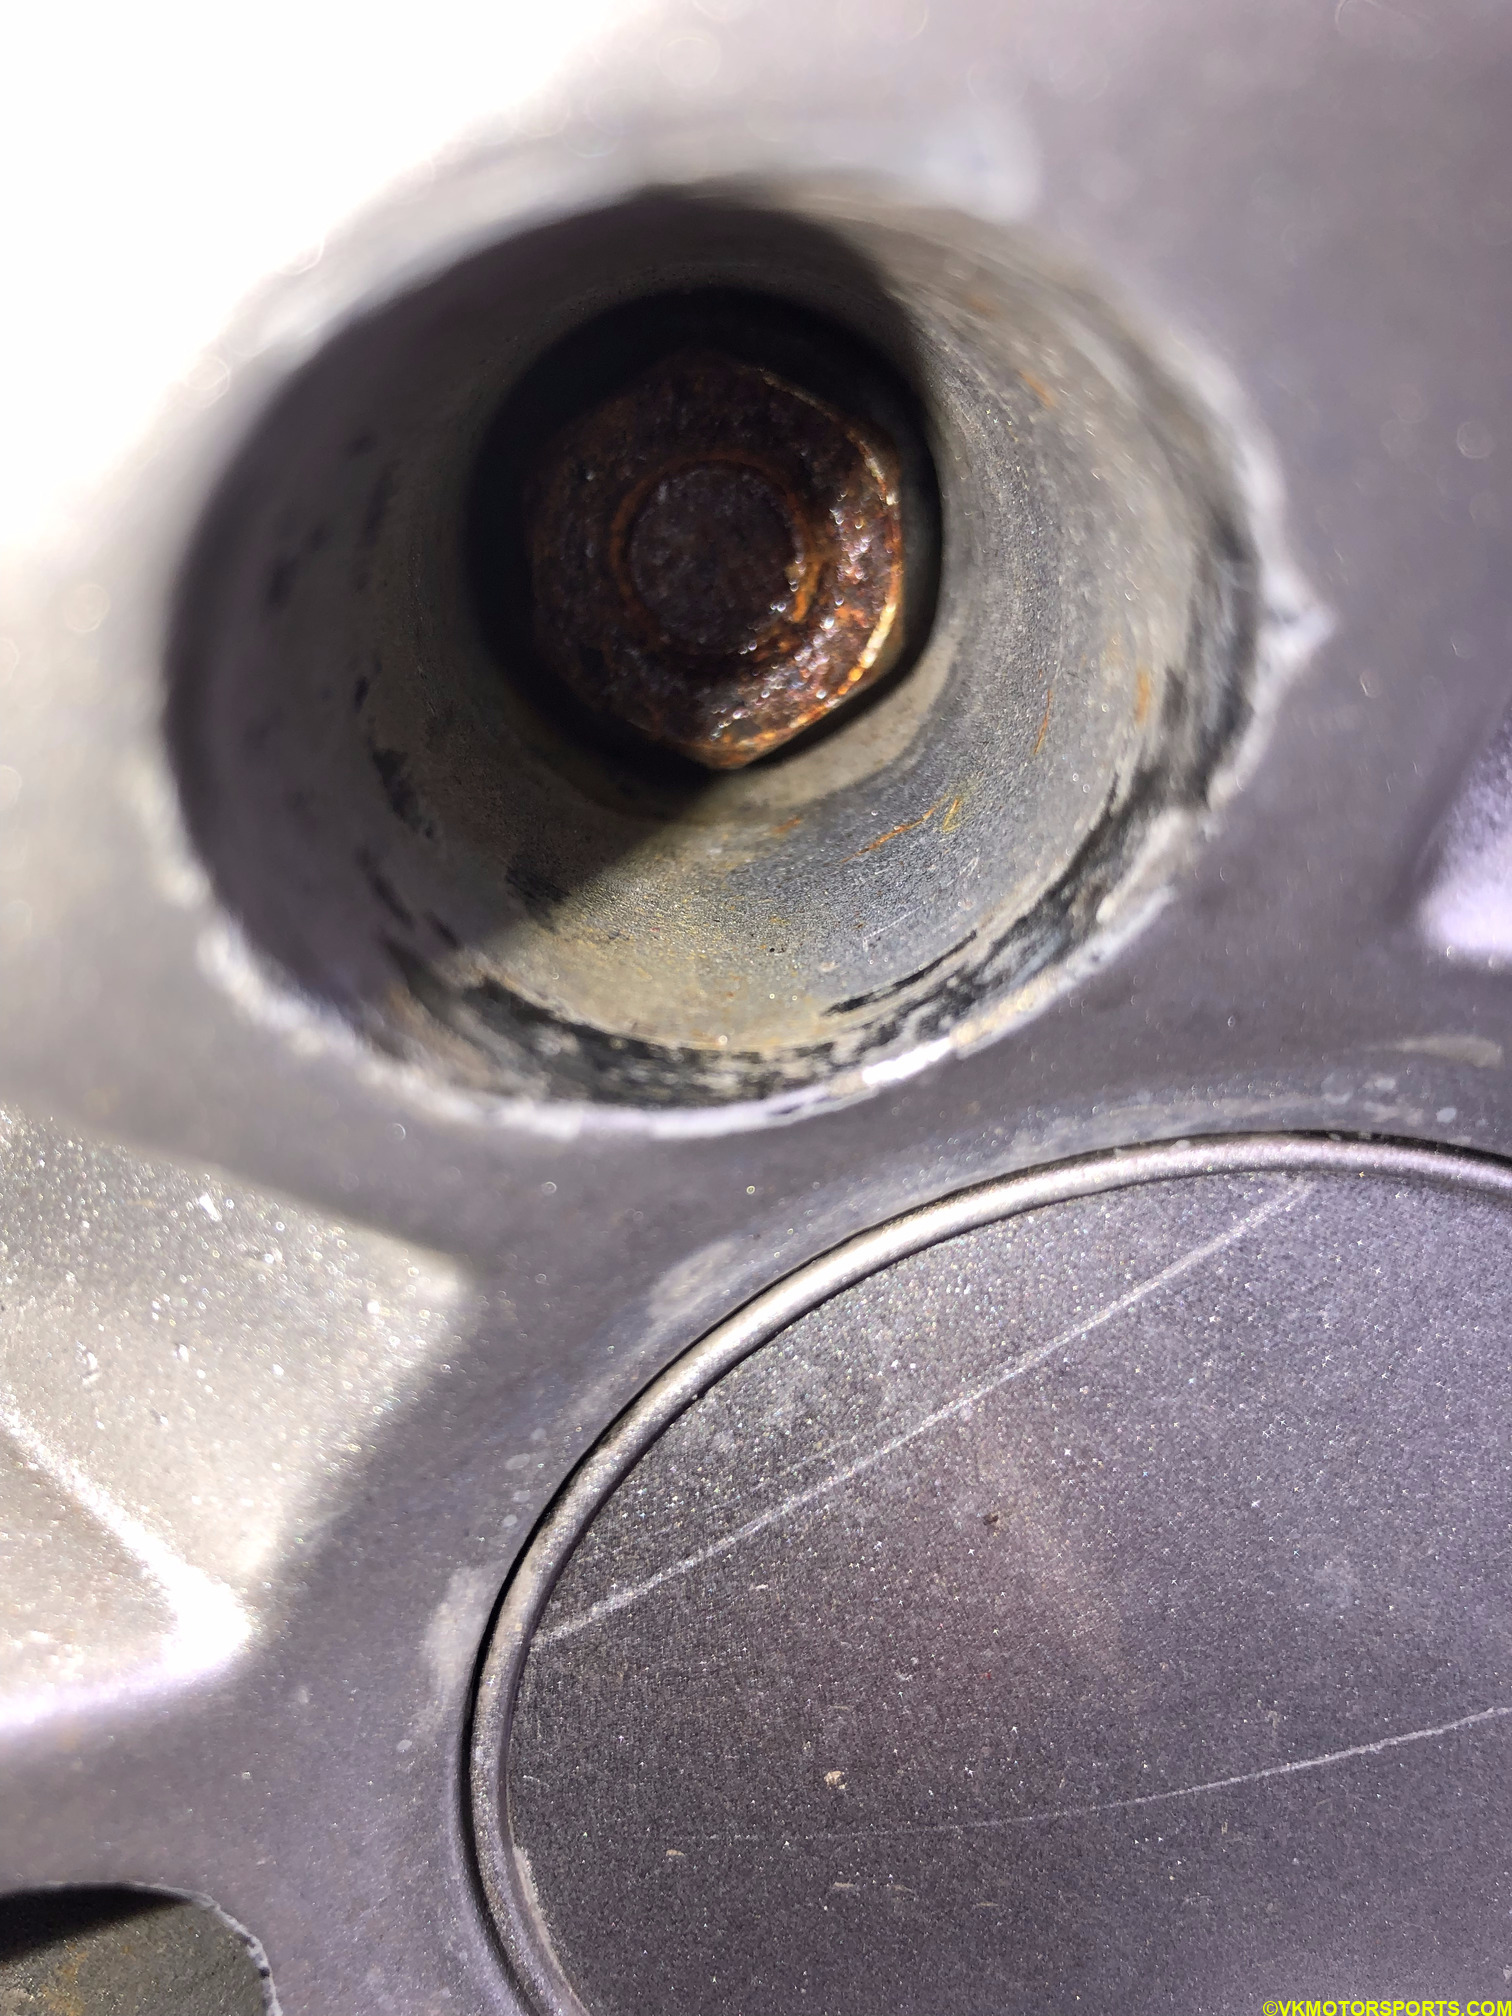 Figure 2a. Some lug nuts were rusty
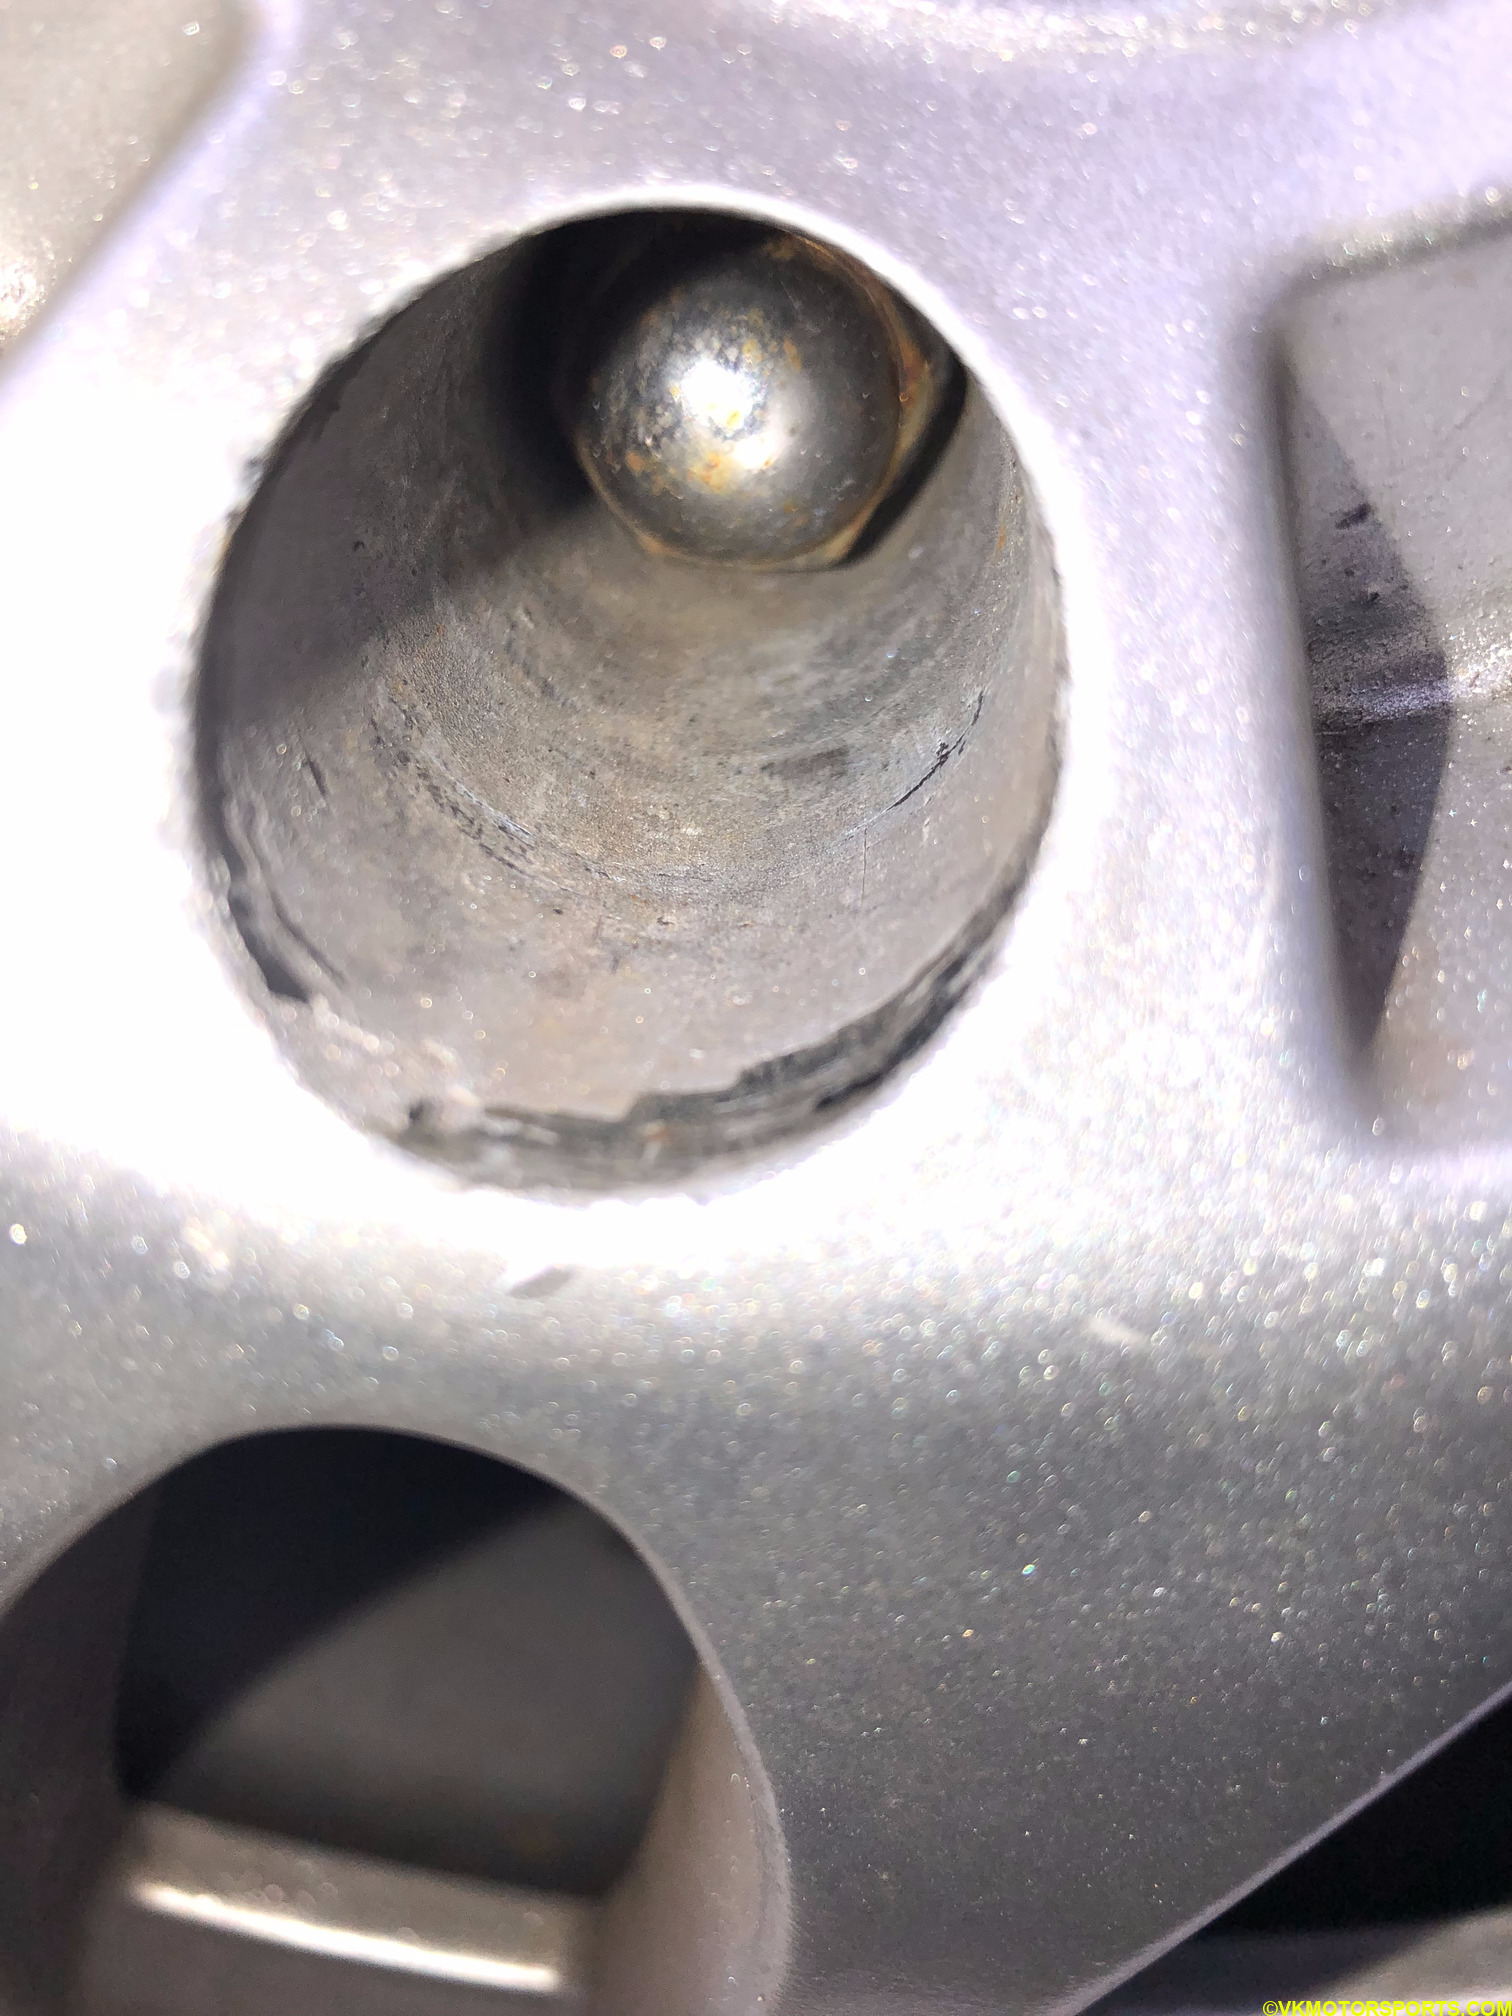 Figure 2b. These wheels need extra thin wall sockets
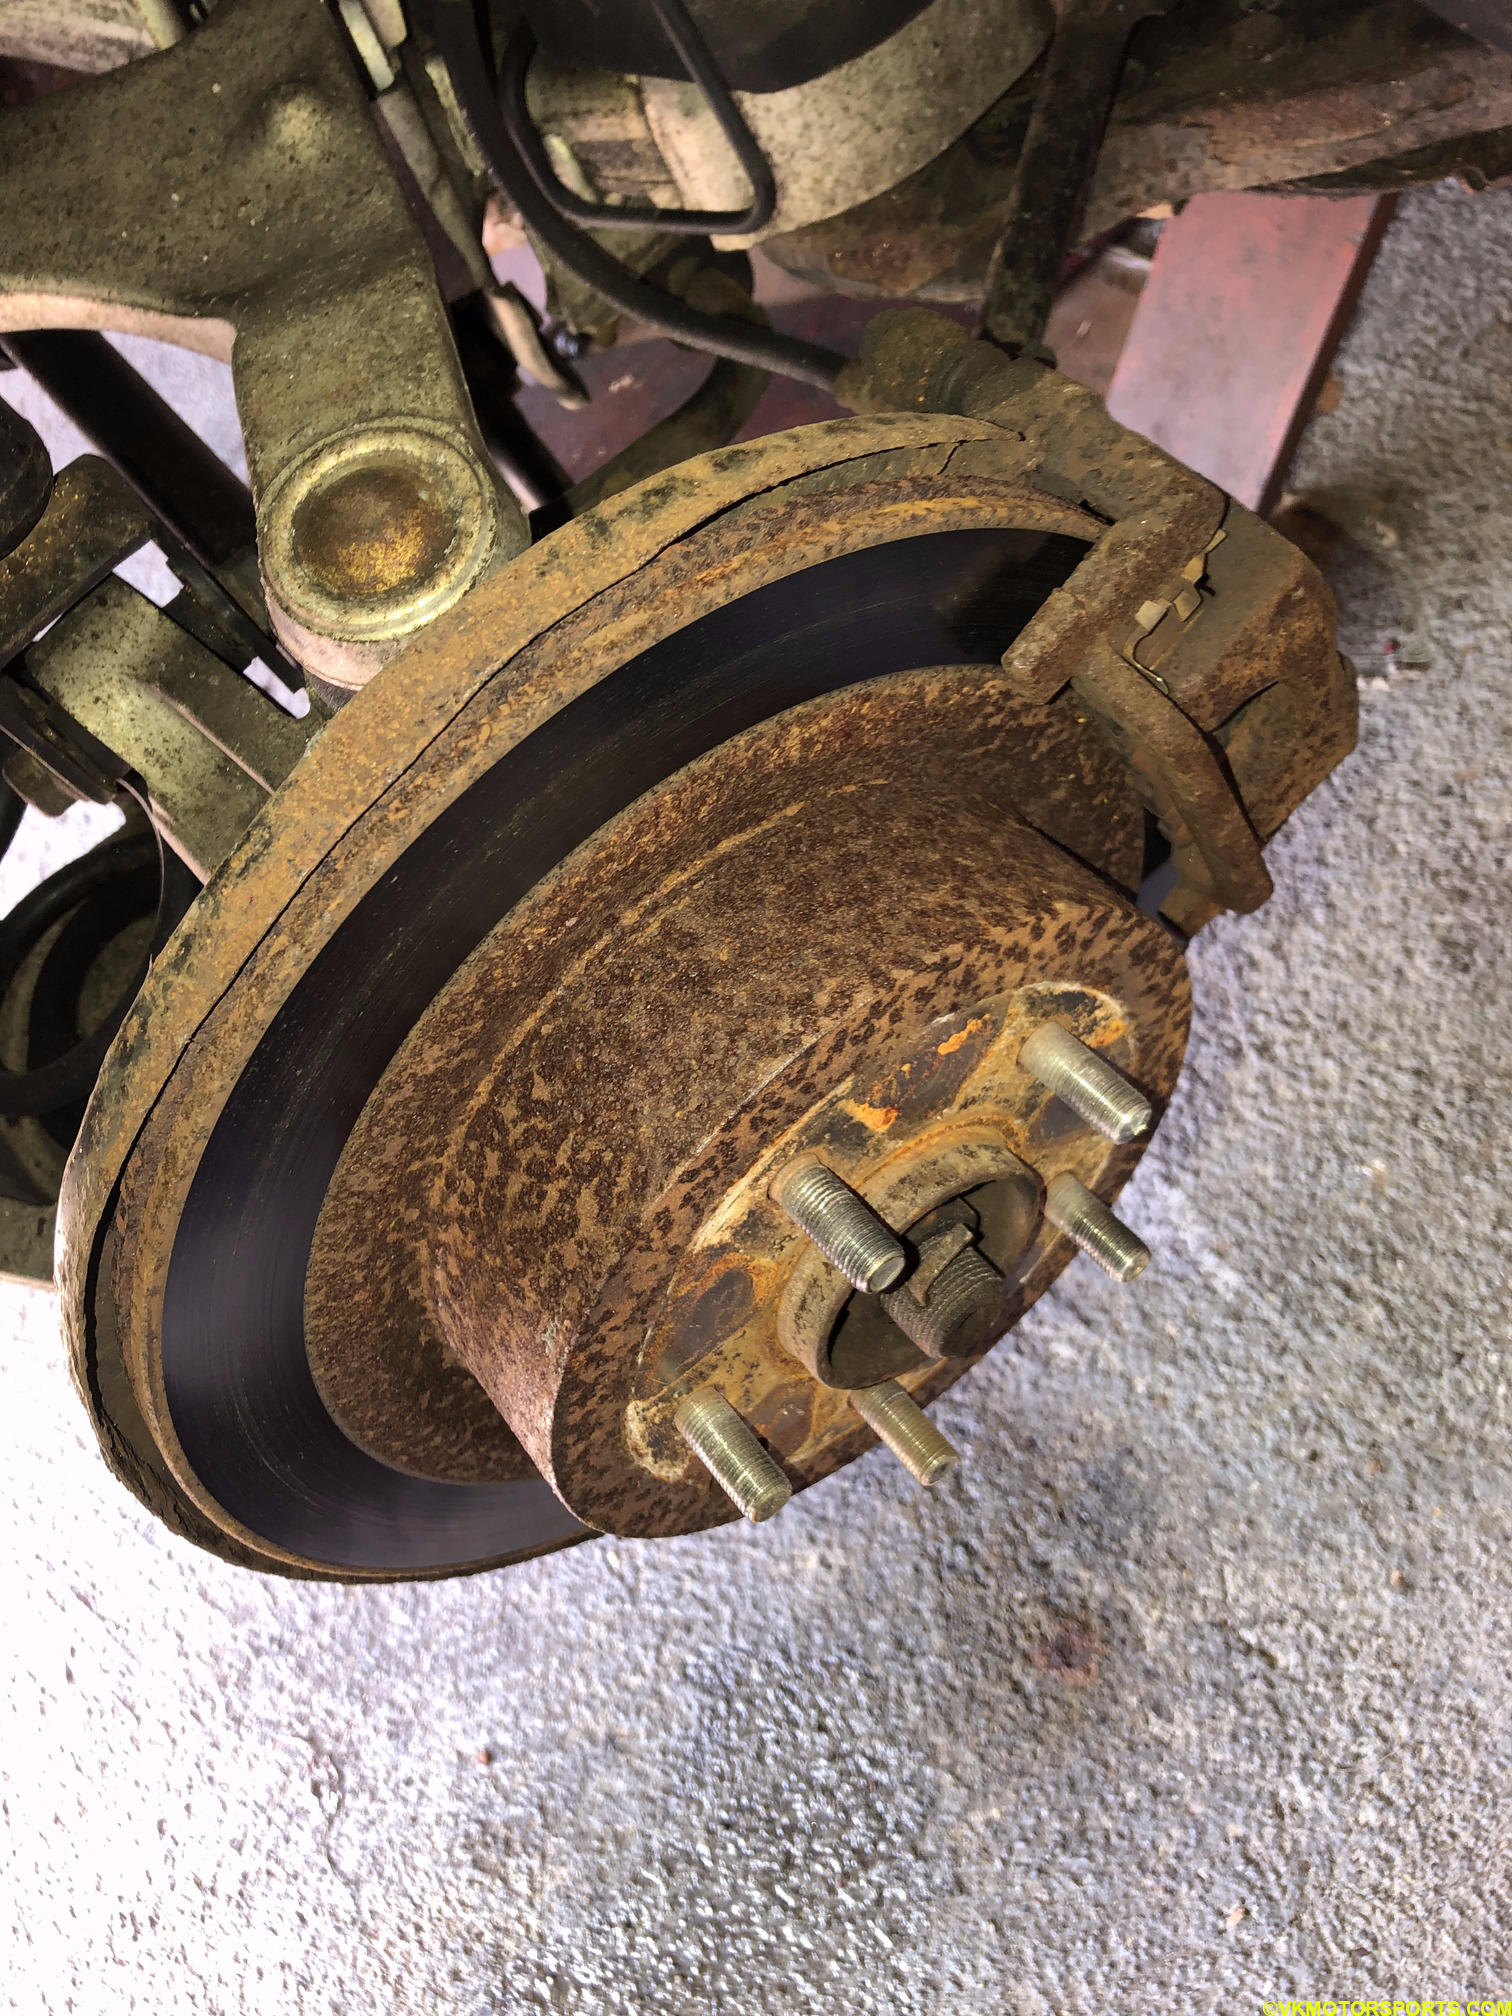 Figure 3. Rear rotor on passenger side looks quite rusty
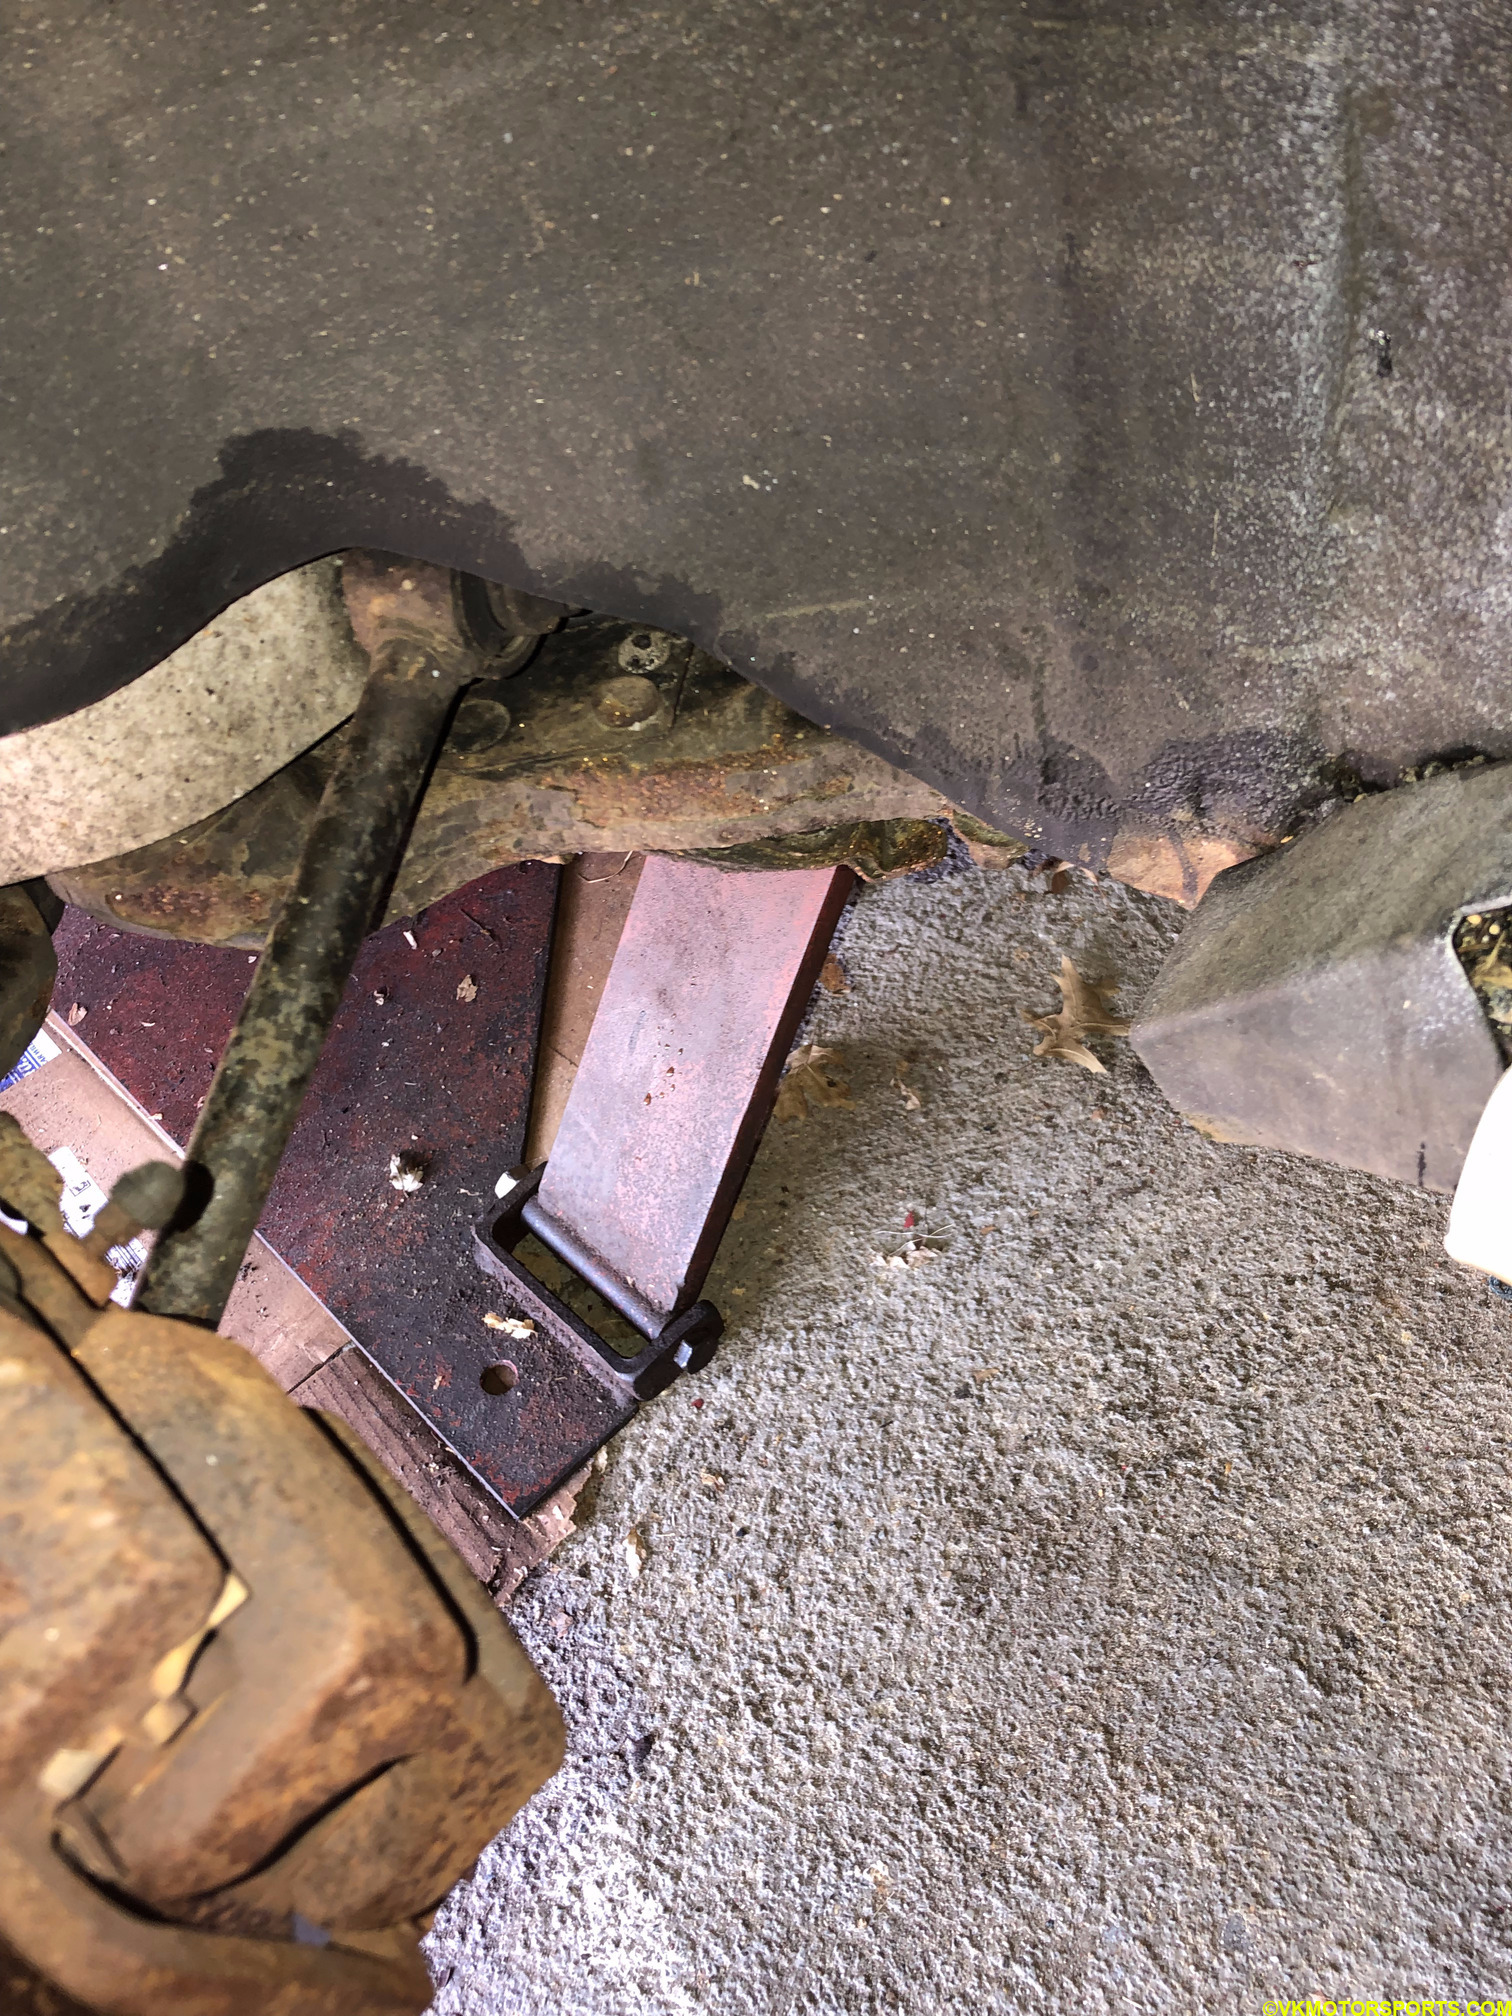 Figure 4. Rear subframe is very rusty
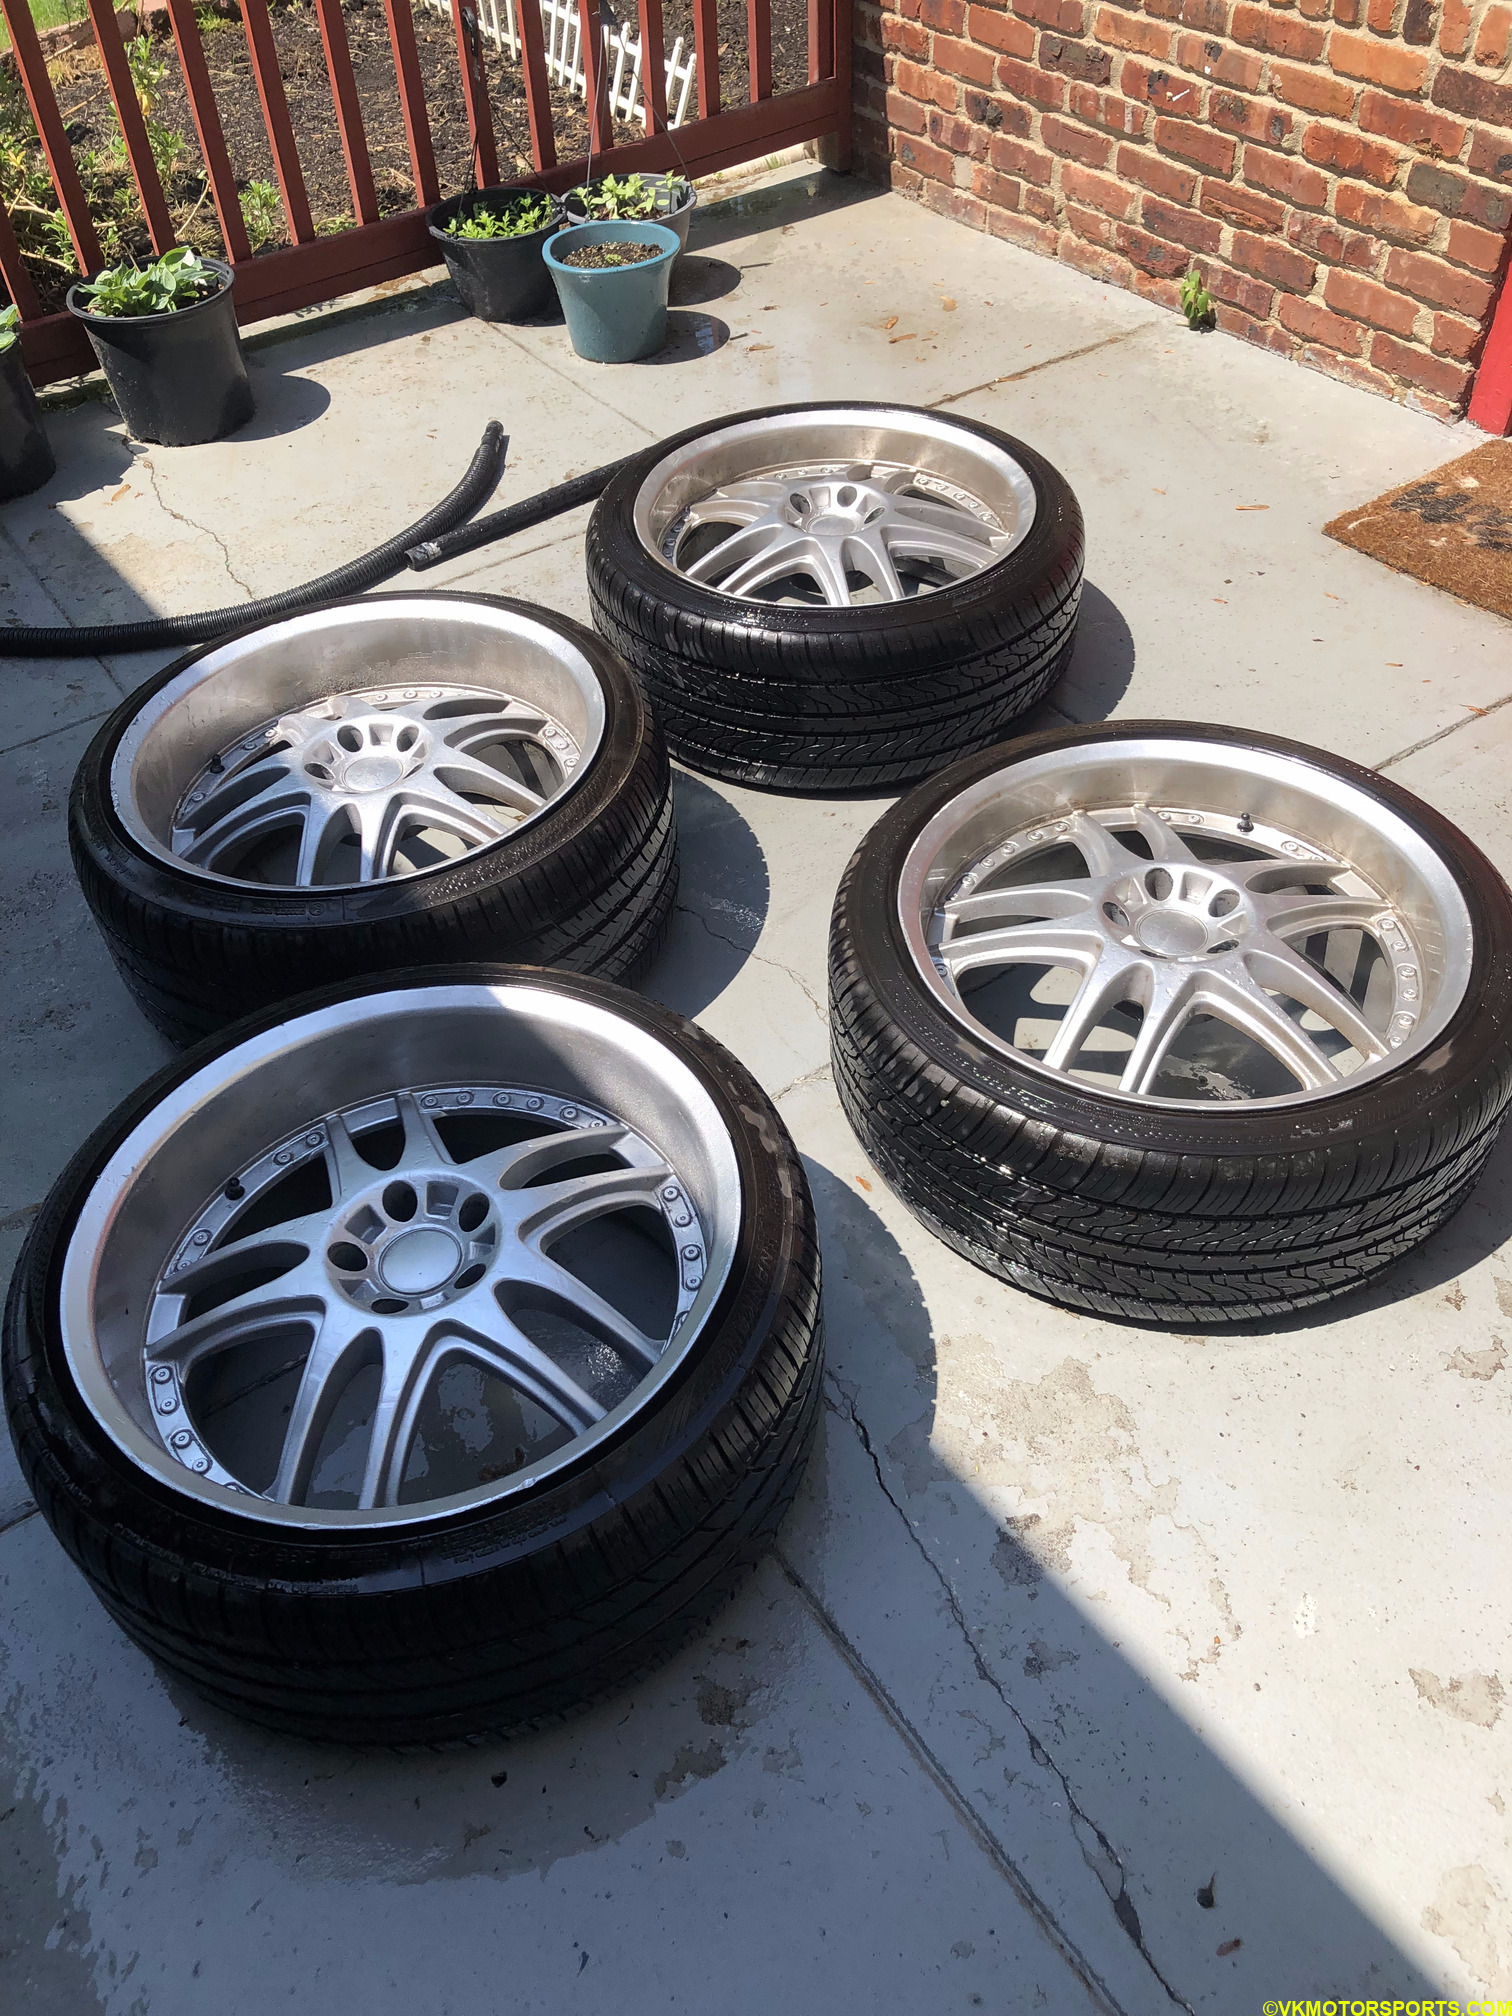 Figure 5. 20 inch wheels removed and cleaned up
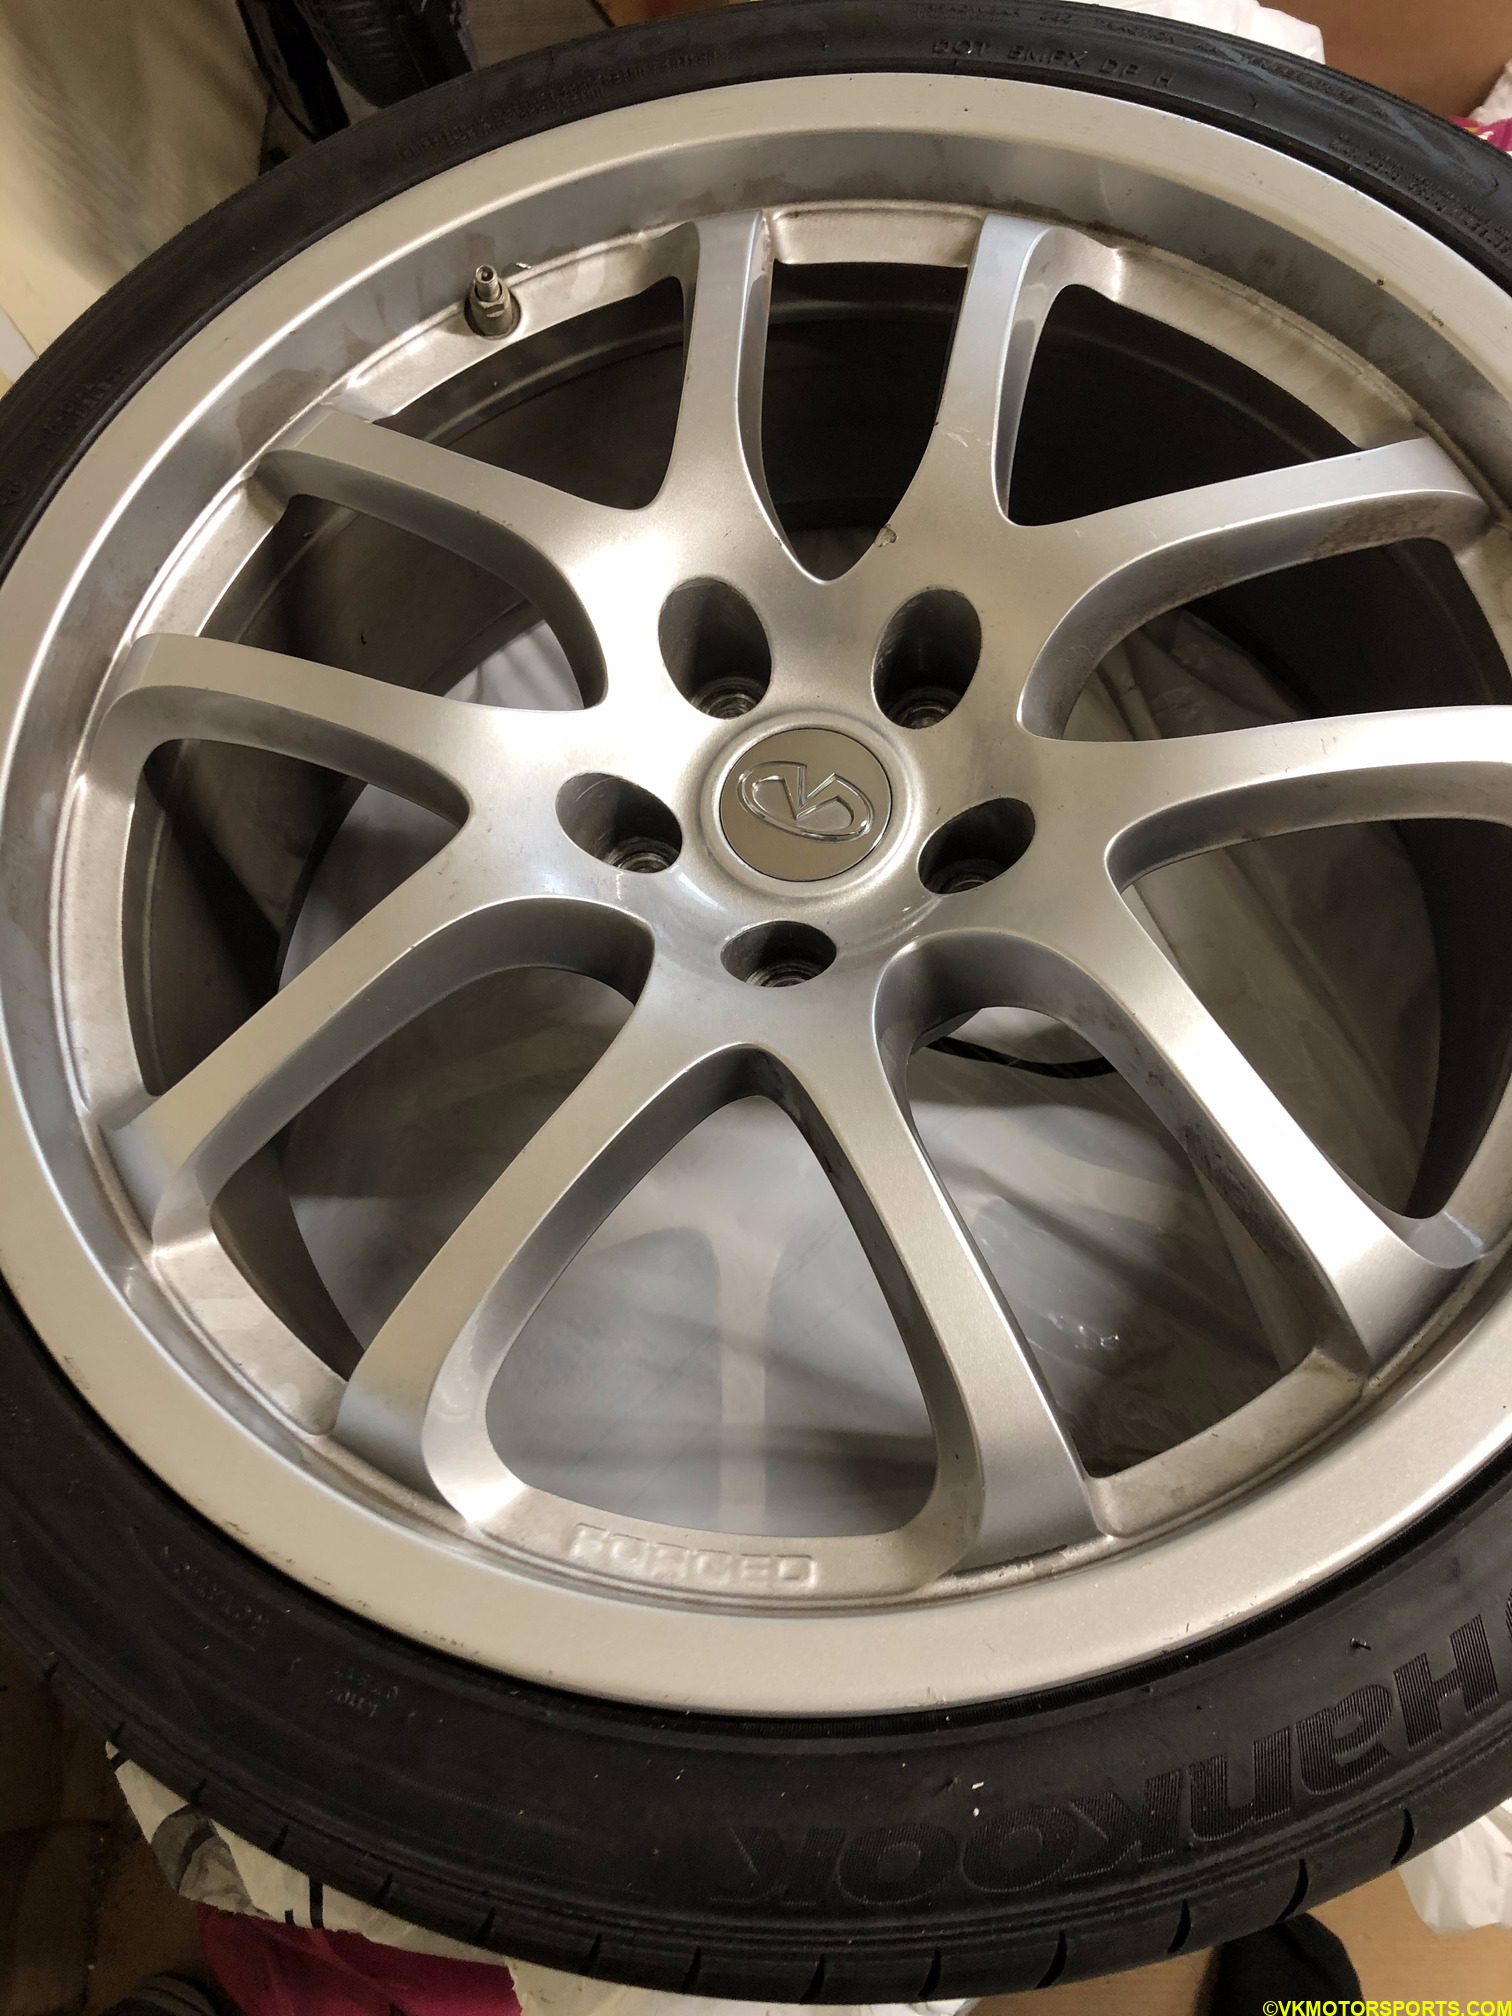 Figure 6. Forged Rays 19 inch wheels for Infiniti G35
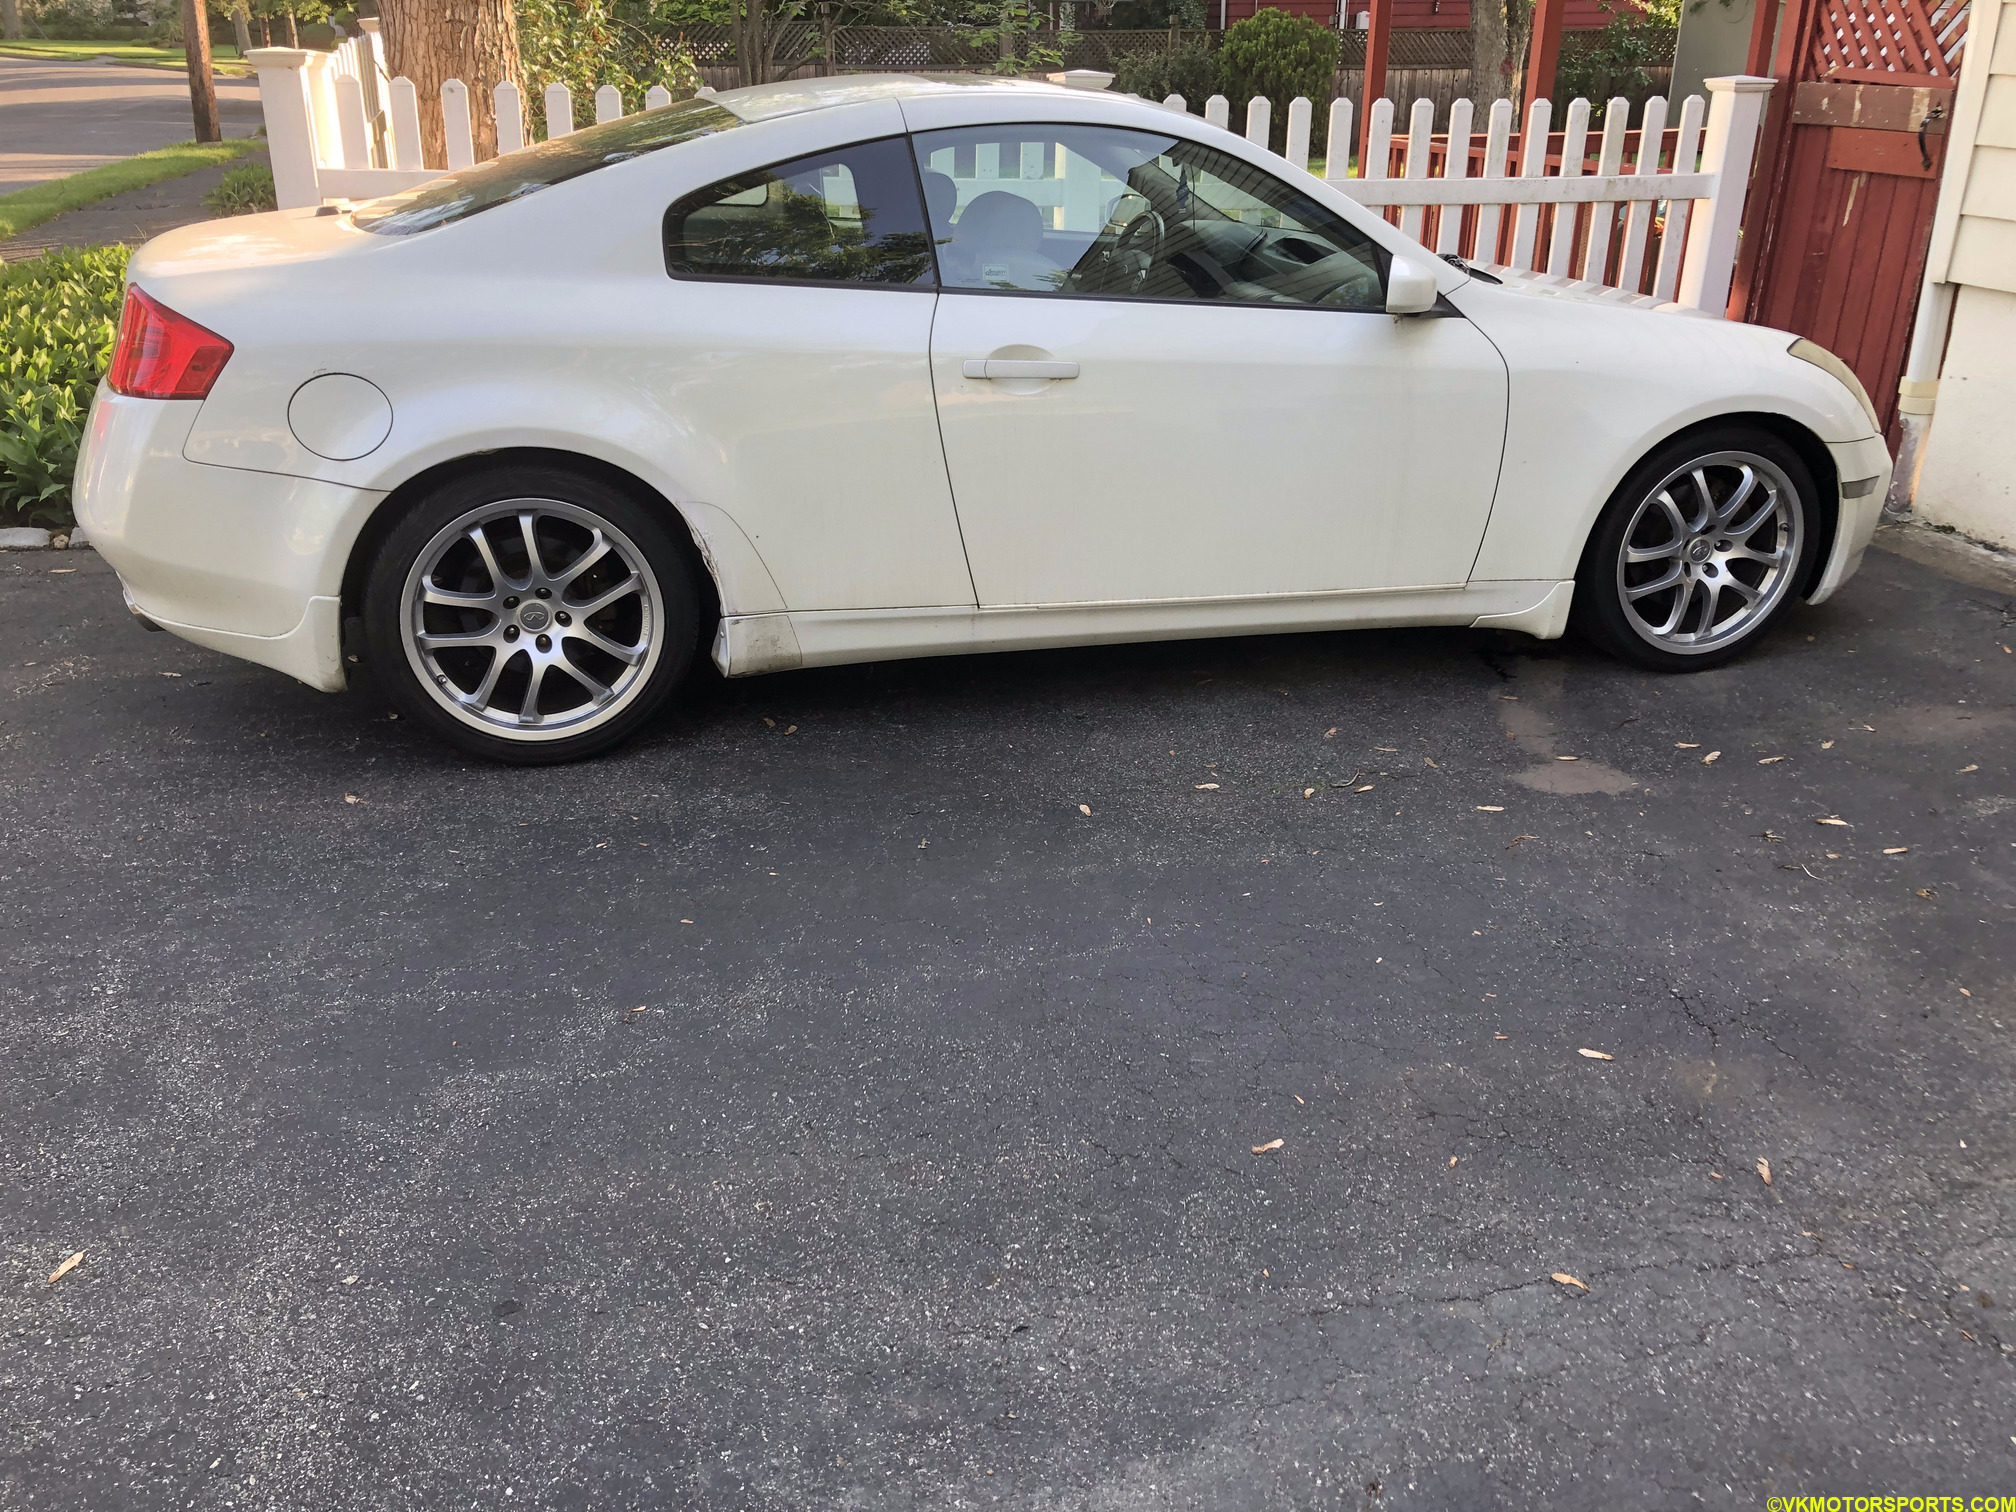 Figure 7. Infiniti G35 with Forged Rays 19 inch wheels
Fender Liners
I also had replaced the driver and passenger side fender liners and under carriage splash shields. The aluminum skid plate that I had installed, fell while driving one day since it is heavier and did not bolt on to the crappy bumper with zip ties, so I switched back to a plastic one. I have purchased a new front bumper but am yet to replace it. To help any reader in the future, I am listing the part numbers here:
- Fender liner
63844 AM800- Amazon Link. The old part number wasIN1251106. - Fender liner
63845 AM800- Amazon Link. The old part number wasIN1250106. - Splash shield
75892 AL50A- Amazon Link. The old part number wasIN1228114.
Window Tinting
Got the windows tinted for $275 in total because I got the window tinting professional to use 2 types of tint. If I had gone for 5% all over, it would have only cost me $195, which in retrospect I should have gone for. In any case as seen in figures 8a, 8b and 8c I got 20% tint on the driver and passenger windows, 5% tint on the complete rear windshield, 5% tint on the front windshield strip on the top and 5% on the two triangle glass panes near the rear seats. It looks fantastic. Had to wait two days before I opened any windows, so I did not drive the car for that time, just in case I made a mistake of opening the windows since it is getting hot nowadays.
By the way, in New Jersey the driver side tint is considered illegal, so good luck to me. This is why I went for a 20% tint on the windows to not look too dark from far away.
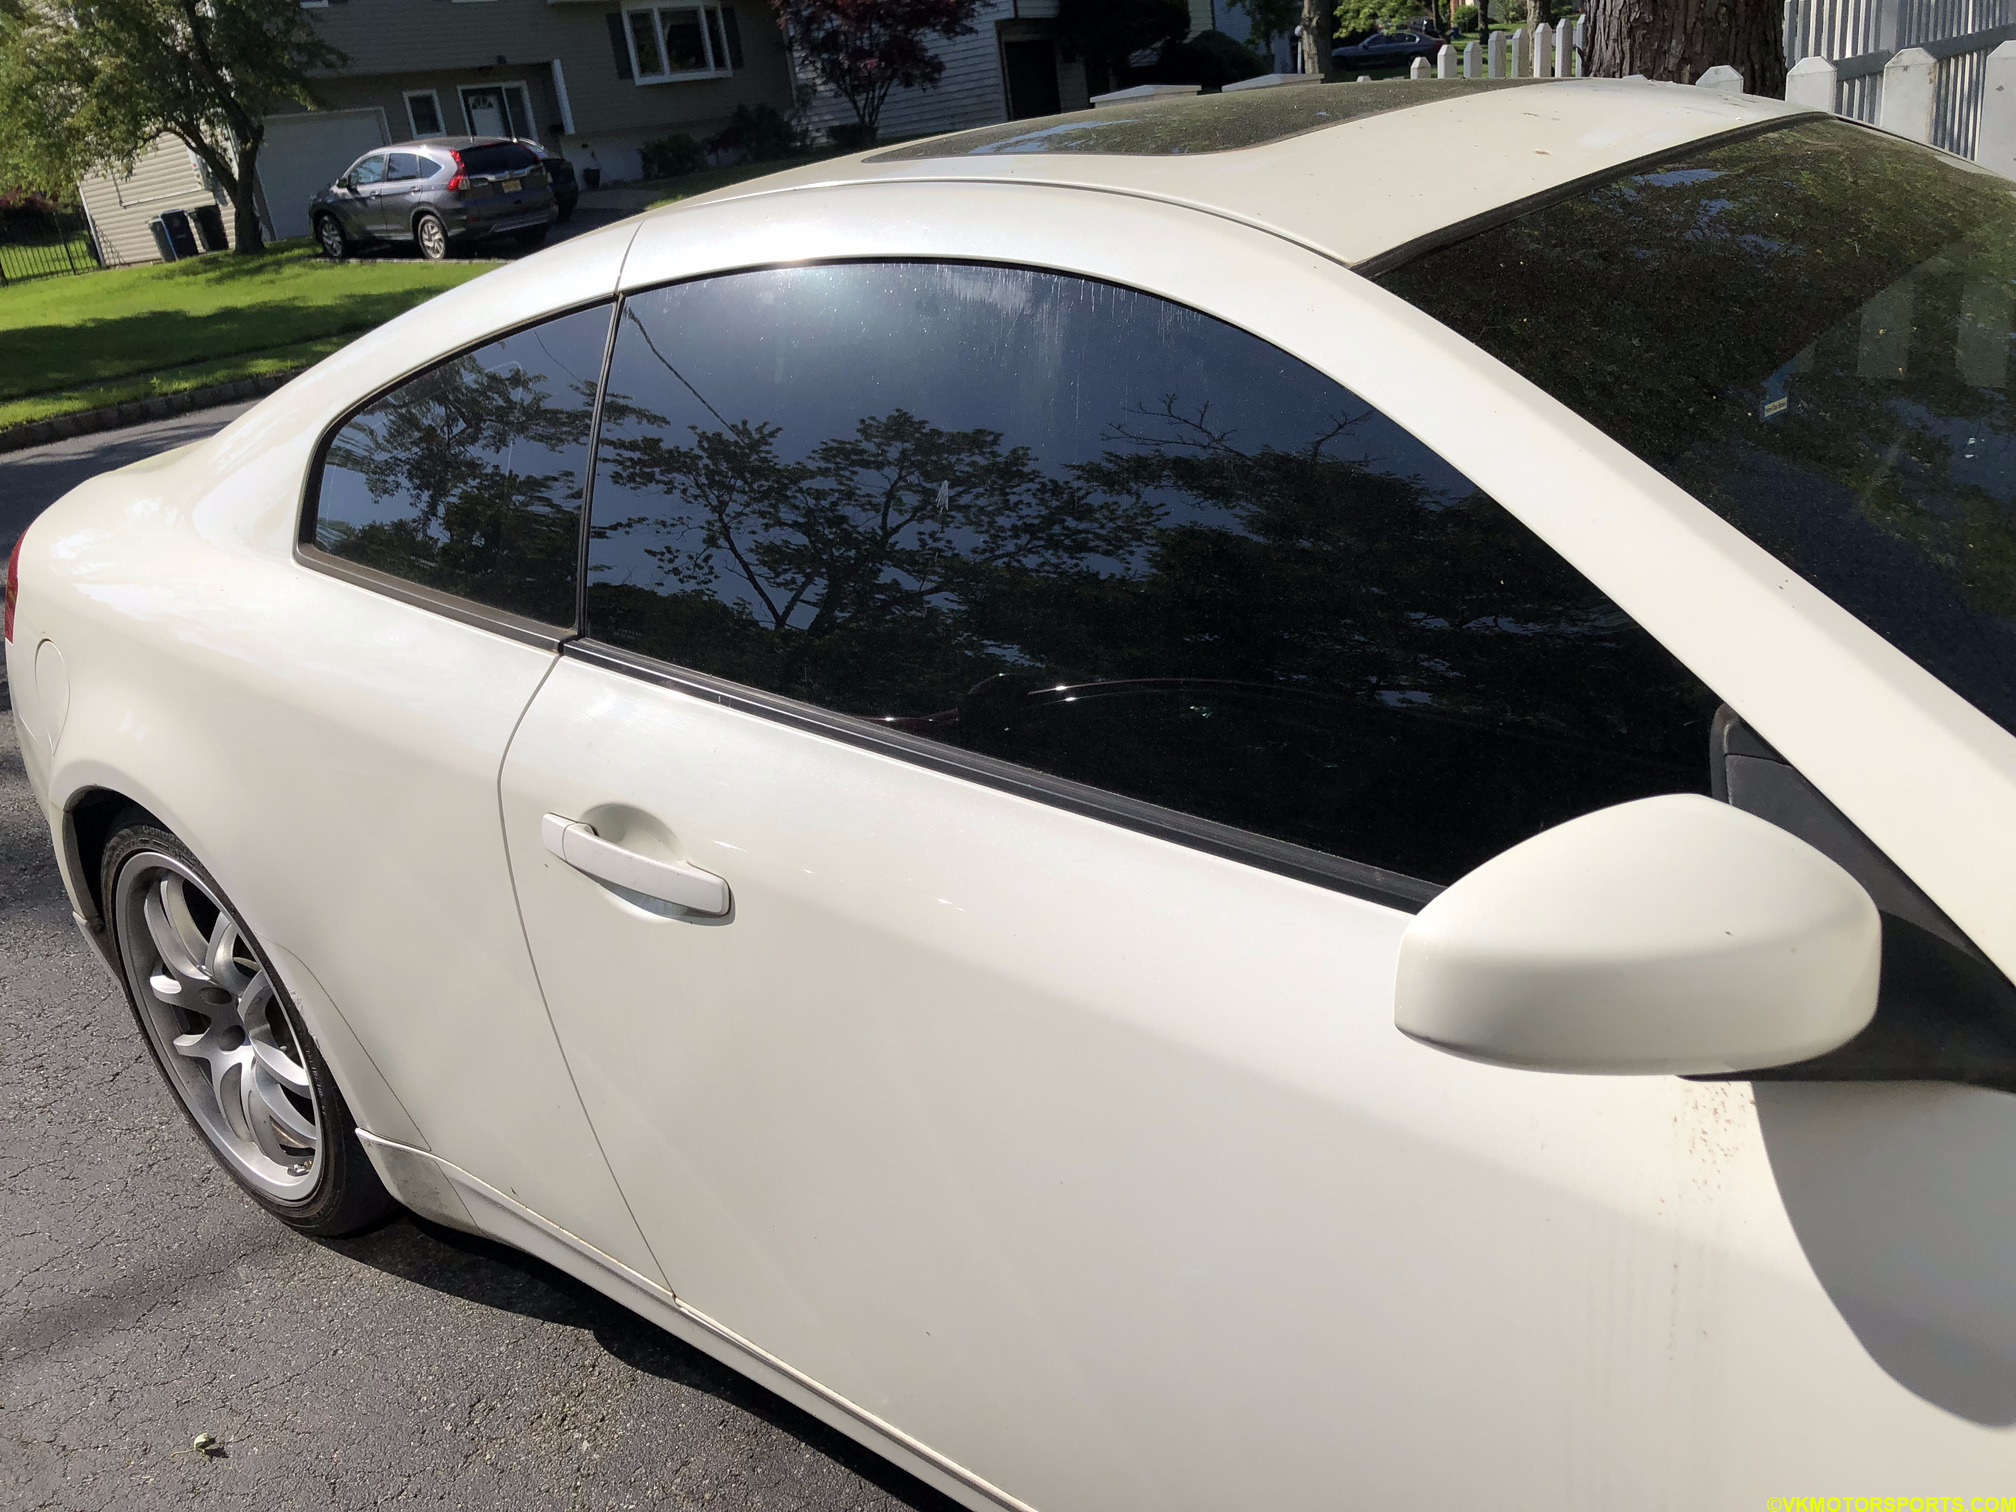 Figure 8a. 20% tint on windows and 5% on the rear glass
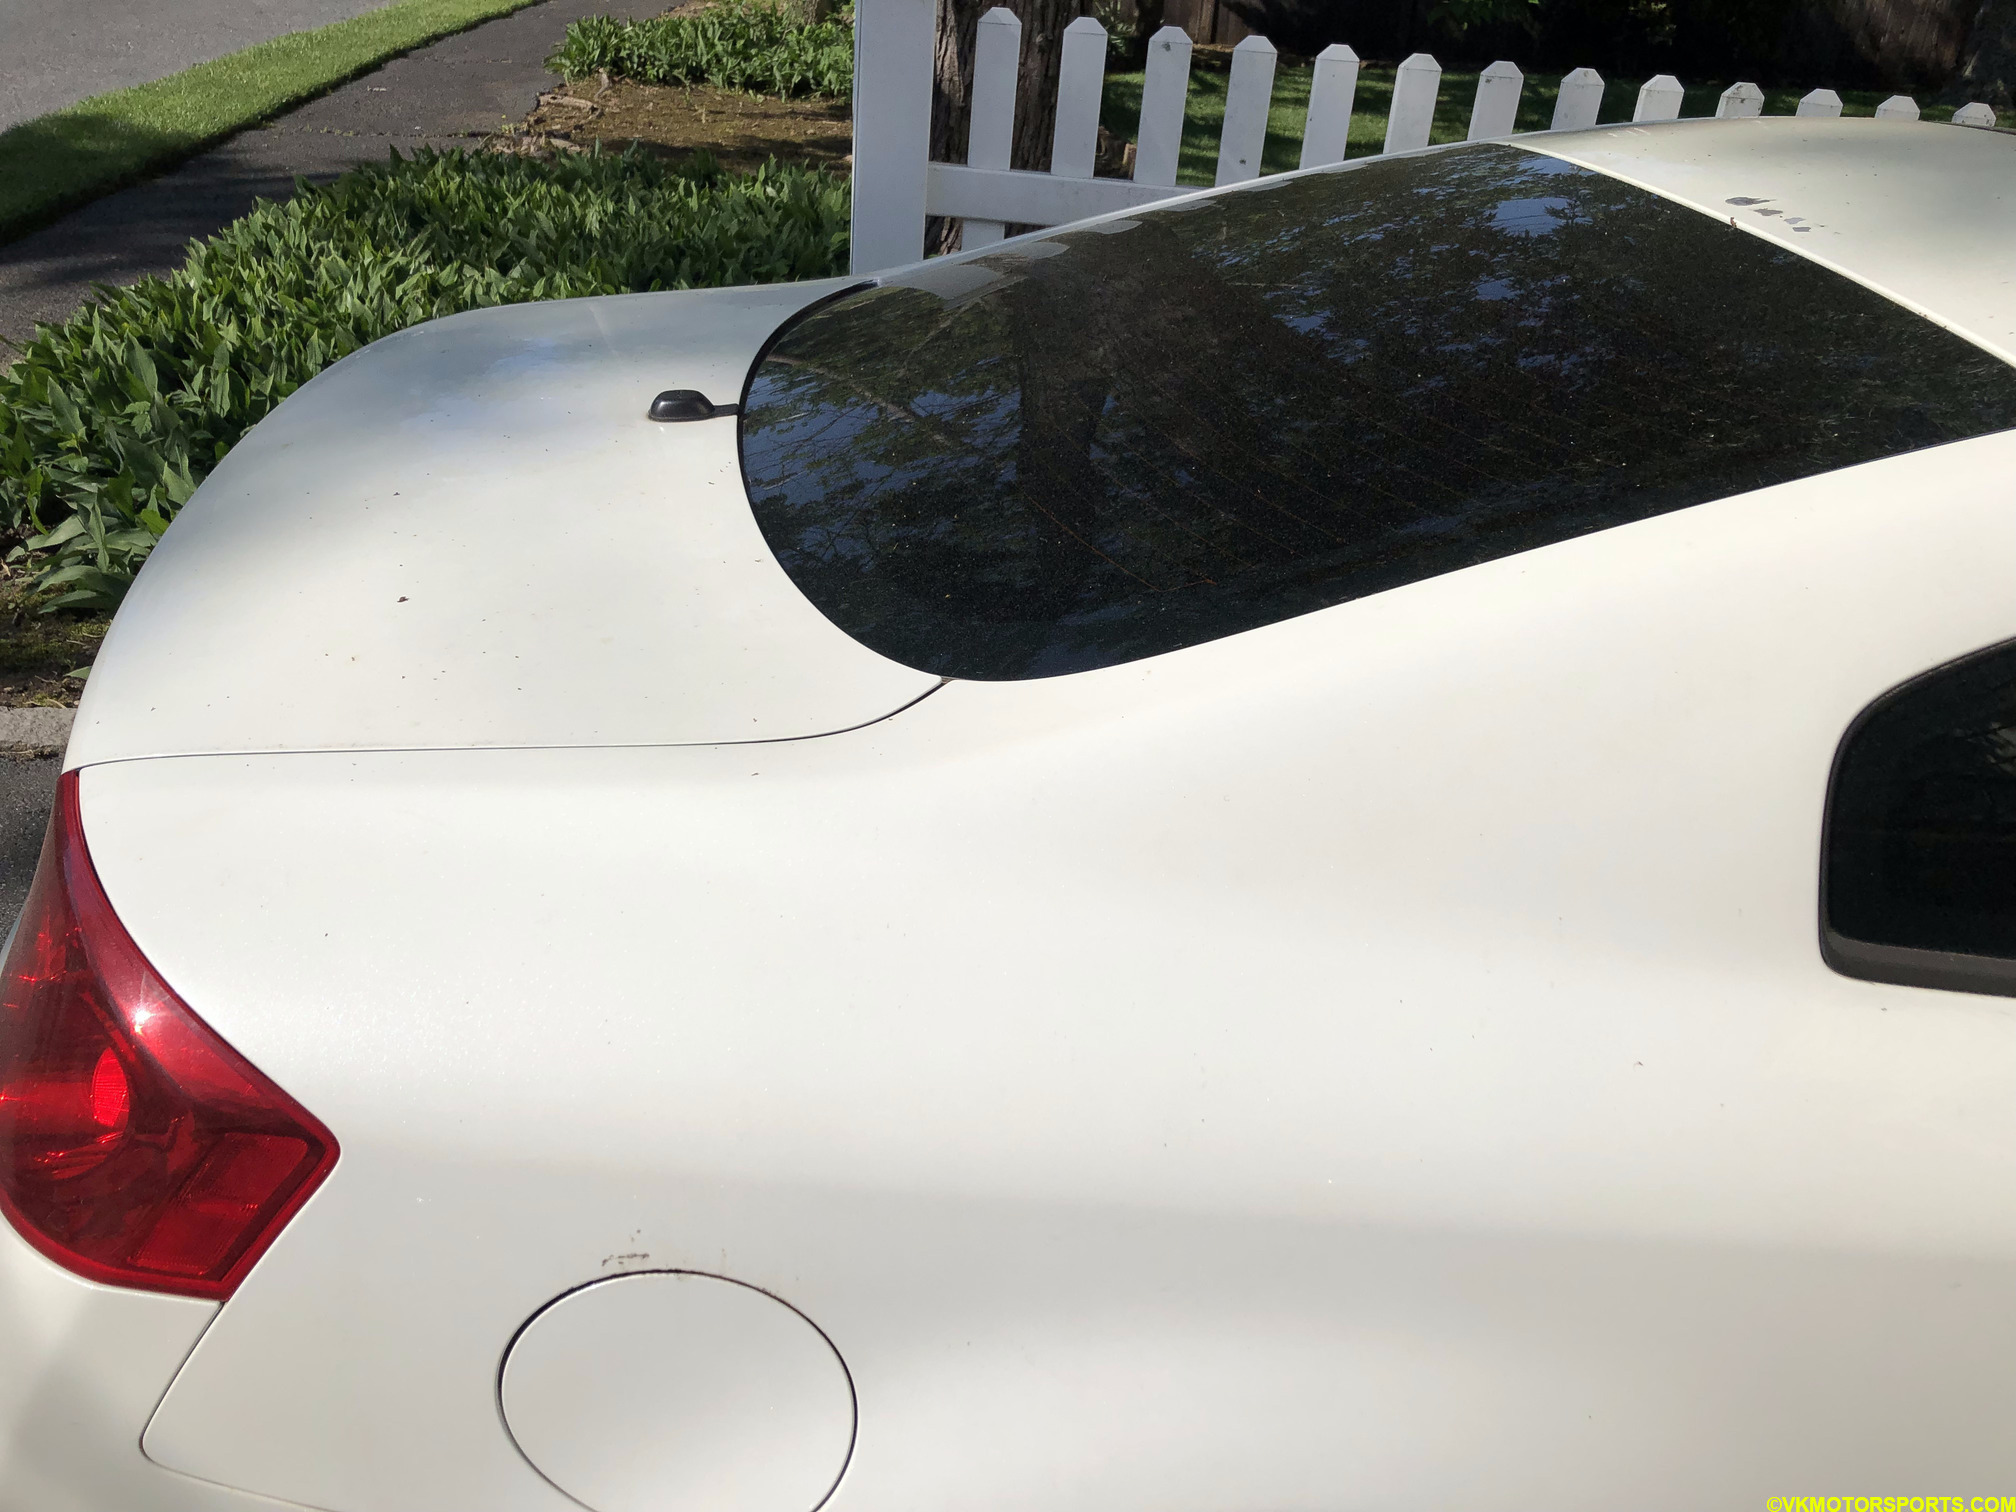 Figure 8b. 5% tint on rear windshield
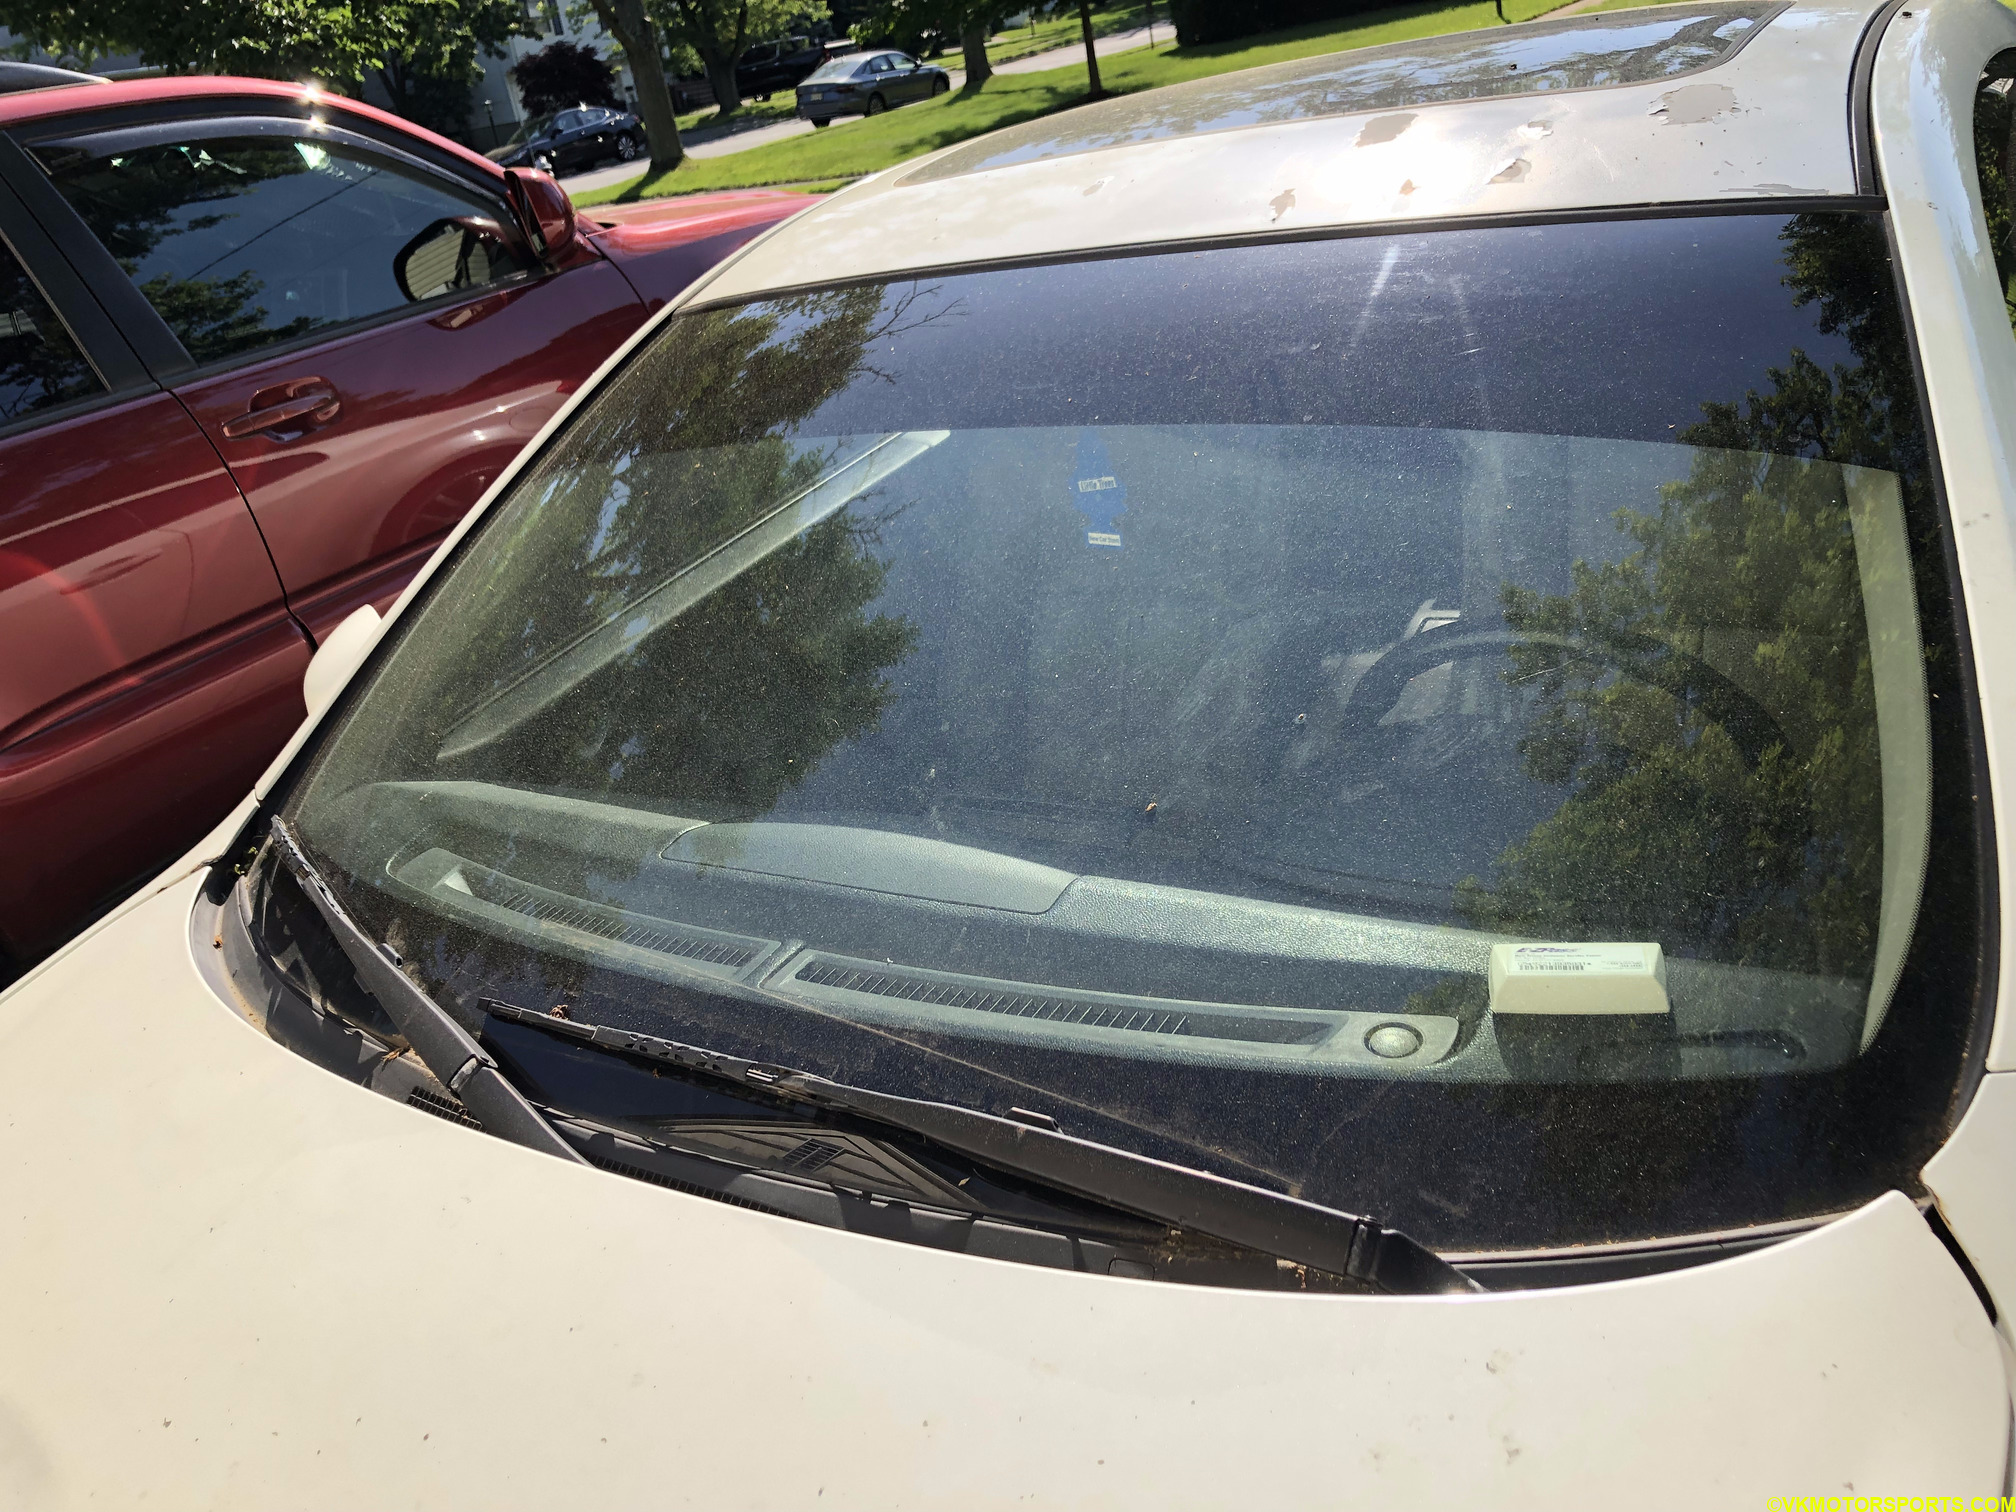 Figure 8c. 5% tint on windshield top strip
Reclining Racing Bucket Seats
The G35 seats in my car are pretty torn and I wanted to get racing seats to improve the look and also be helpful for the track. However, since I do not want a roll cage in the car, I am getting the reclining back ones instead of the fixed back ones. These will be used with the standard seat belts until I decide that a harness bar is worth it and will then get the 5-point harness belts. Until then, these should be fine. Ordered the brackets from Procar website but still waiting on them to arrive. Hopefully, they will ship them soon and I can write up a blog post on how to install seats and fix the airbag light with the resistor trick. Soon…
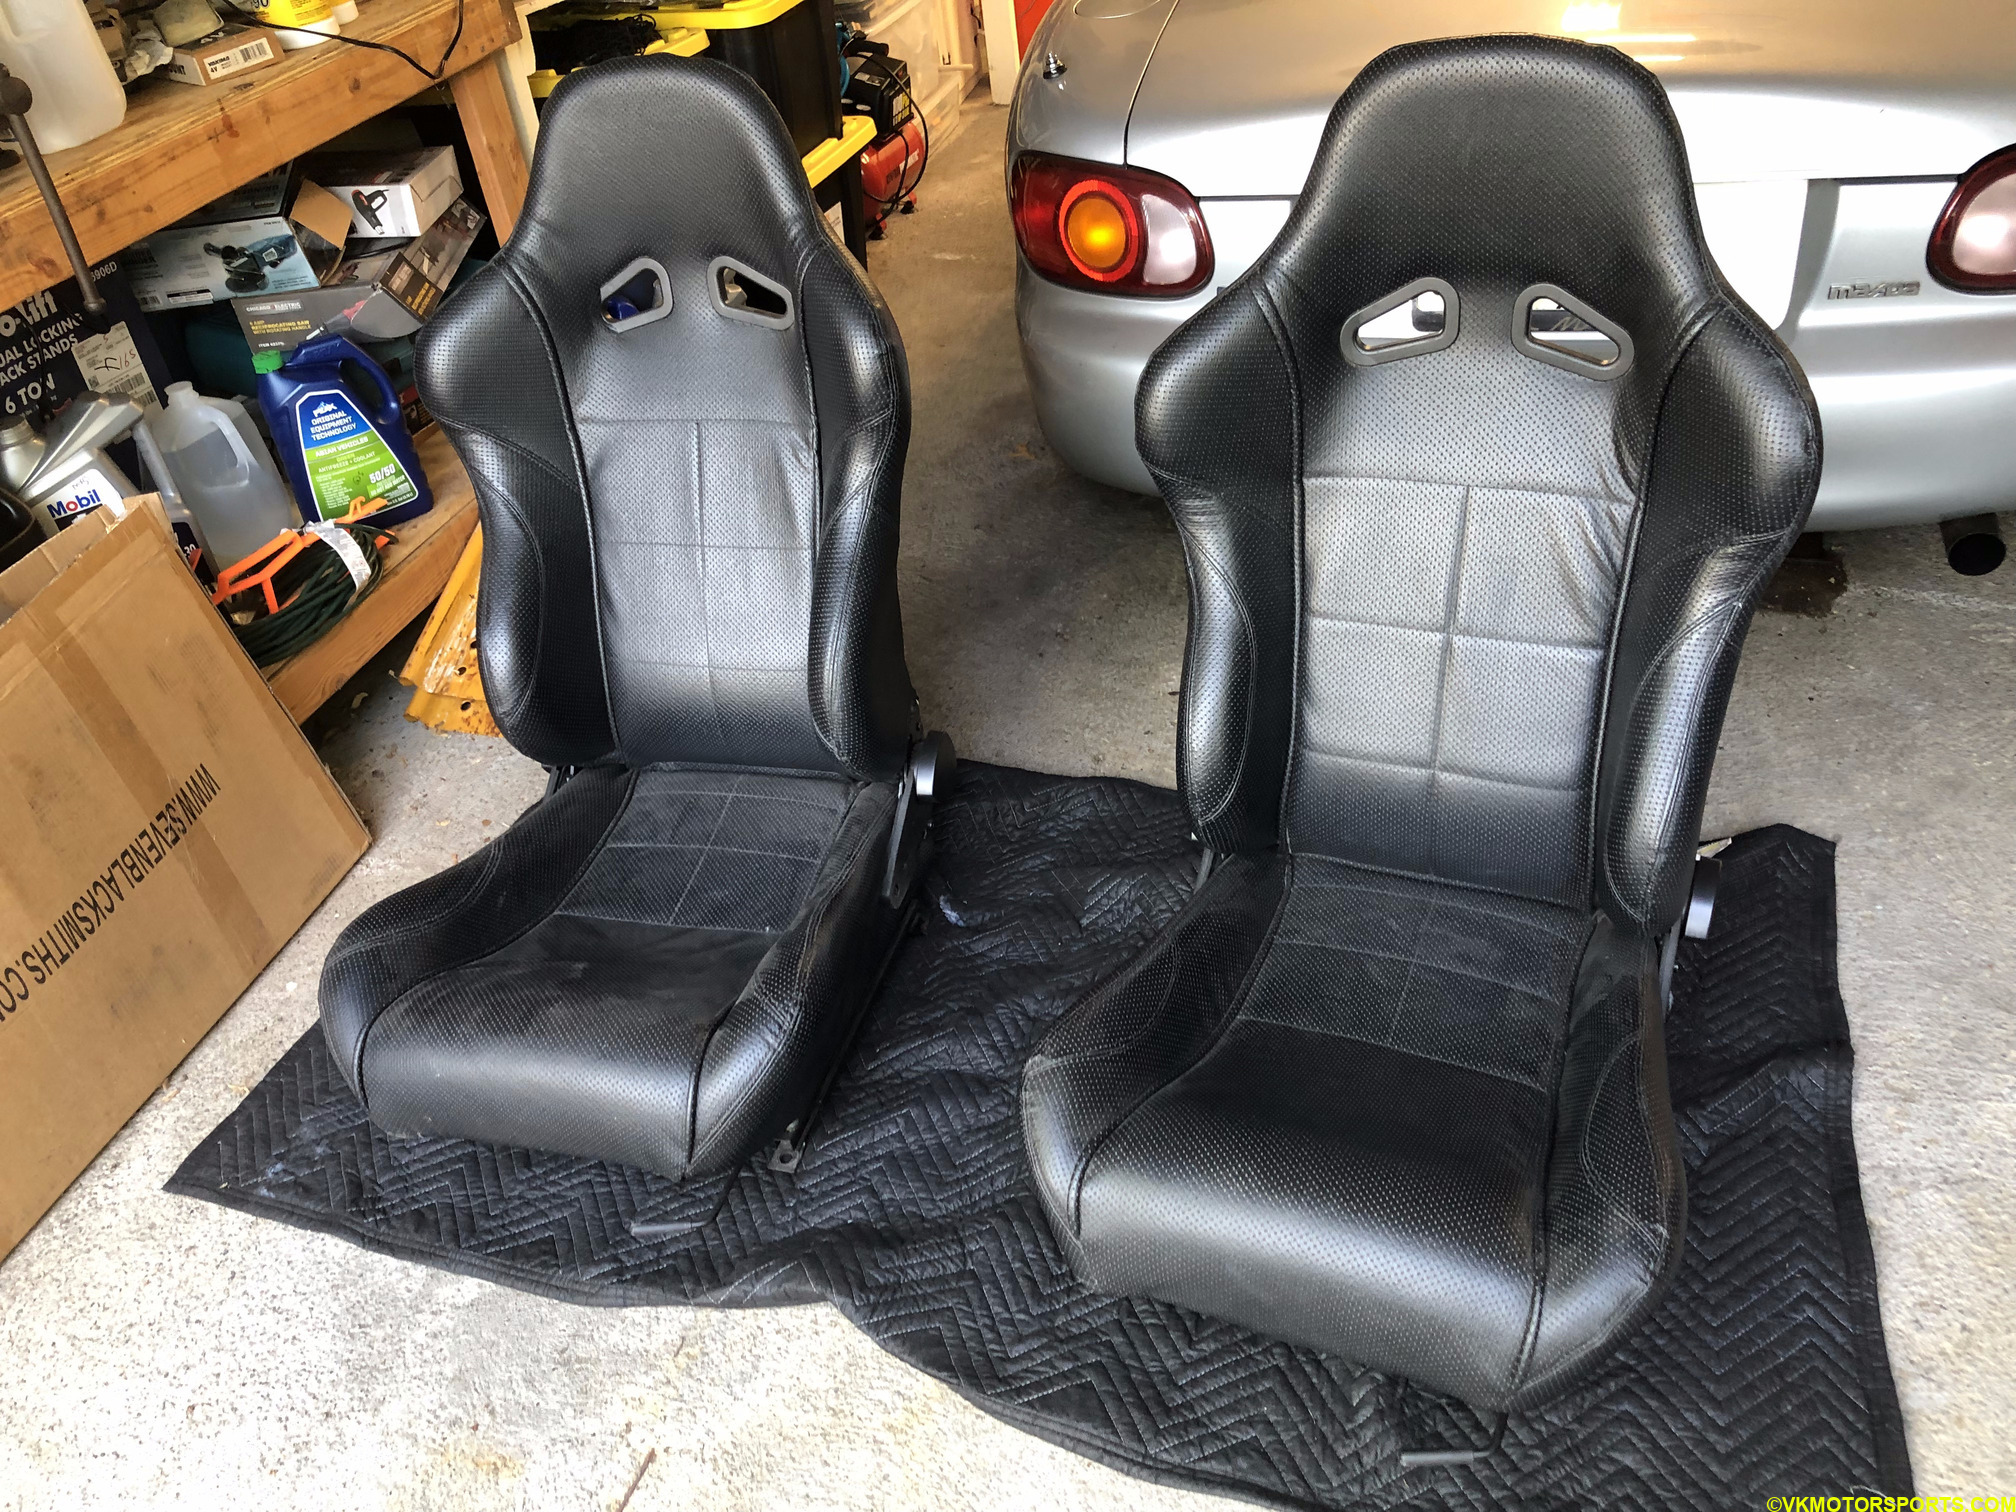 Figure 9. Reclining Racing Bucket Seats


