In the end of the previous post, we ended up with a fuel leak on the 2005 Infiniti G35 Coupe after trying to fix the fuel sensor issue. The car was towed to the dealer, who after keeping it for 10 days and quoting an exorbitant price of over $3000 to fix the fuel leak, did nothing to the car besides fixing a seat belt recall. I ended up losing $200 on the whole and got the car towed back home. Then with help from the g35driver.com forum post and the service manual’s Fuel System section I diagnosed the problem to be loose fuel pump cover bolts and bad O-rings.
Once I purchased the replacement parts from a local Infiniti dealership, I was able to fix the leak. This post describes what I did wrong, and what one should take care of when handling the fuel sensors.
Dealer Claims
When I got the car towed to the dealer, I told them that there was a non-stop fuel leak and that they should take a look at it. They charged me a diagnostic fee which came out to about $200, including taxes, to check the car. After putting the car on a lift, they came up with a long list of issues with the car (unrelated to the fuel leak) which included replacement of the fuel tank for around $3000. Then they said that the subframe was too rusted, so that would also need to be replaced for another $1800, after which I told them that they should just return the car to me and I would pay the diagnostic fee instead.
They kept the car for about 7 more days so they could fix a pending seatbelt recall and charge the manufacturer some money.
In the end, they never even looked at the fuel pump and fuel level sensors because they did not even notice that the bolts were loose! I was unhappy that I had wasted $200 and over 10 days for taking the car to the dealer. I had freaked out when the fuel leak happened and I should have stayed calm. Anyway, I have now fixed the issue and describe how below.
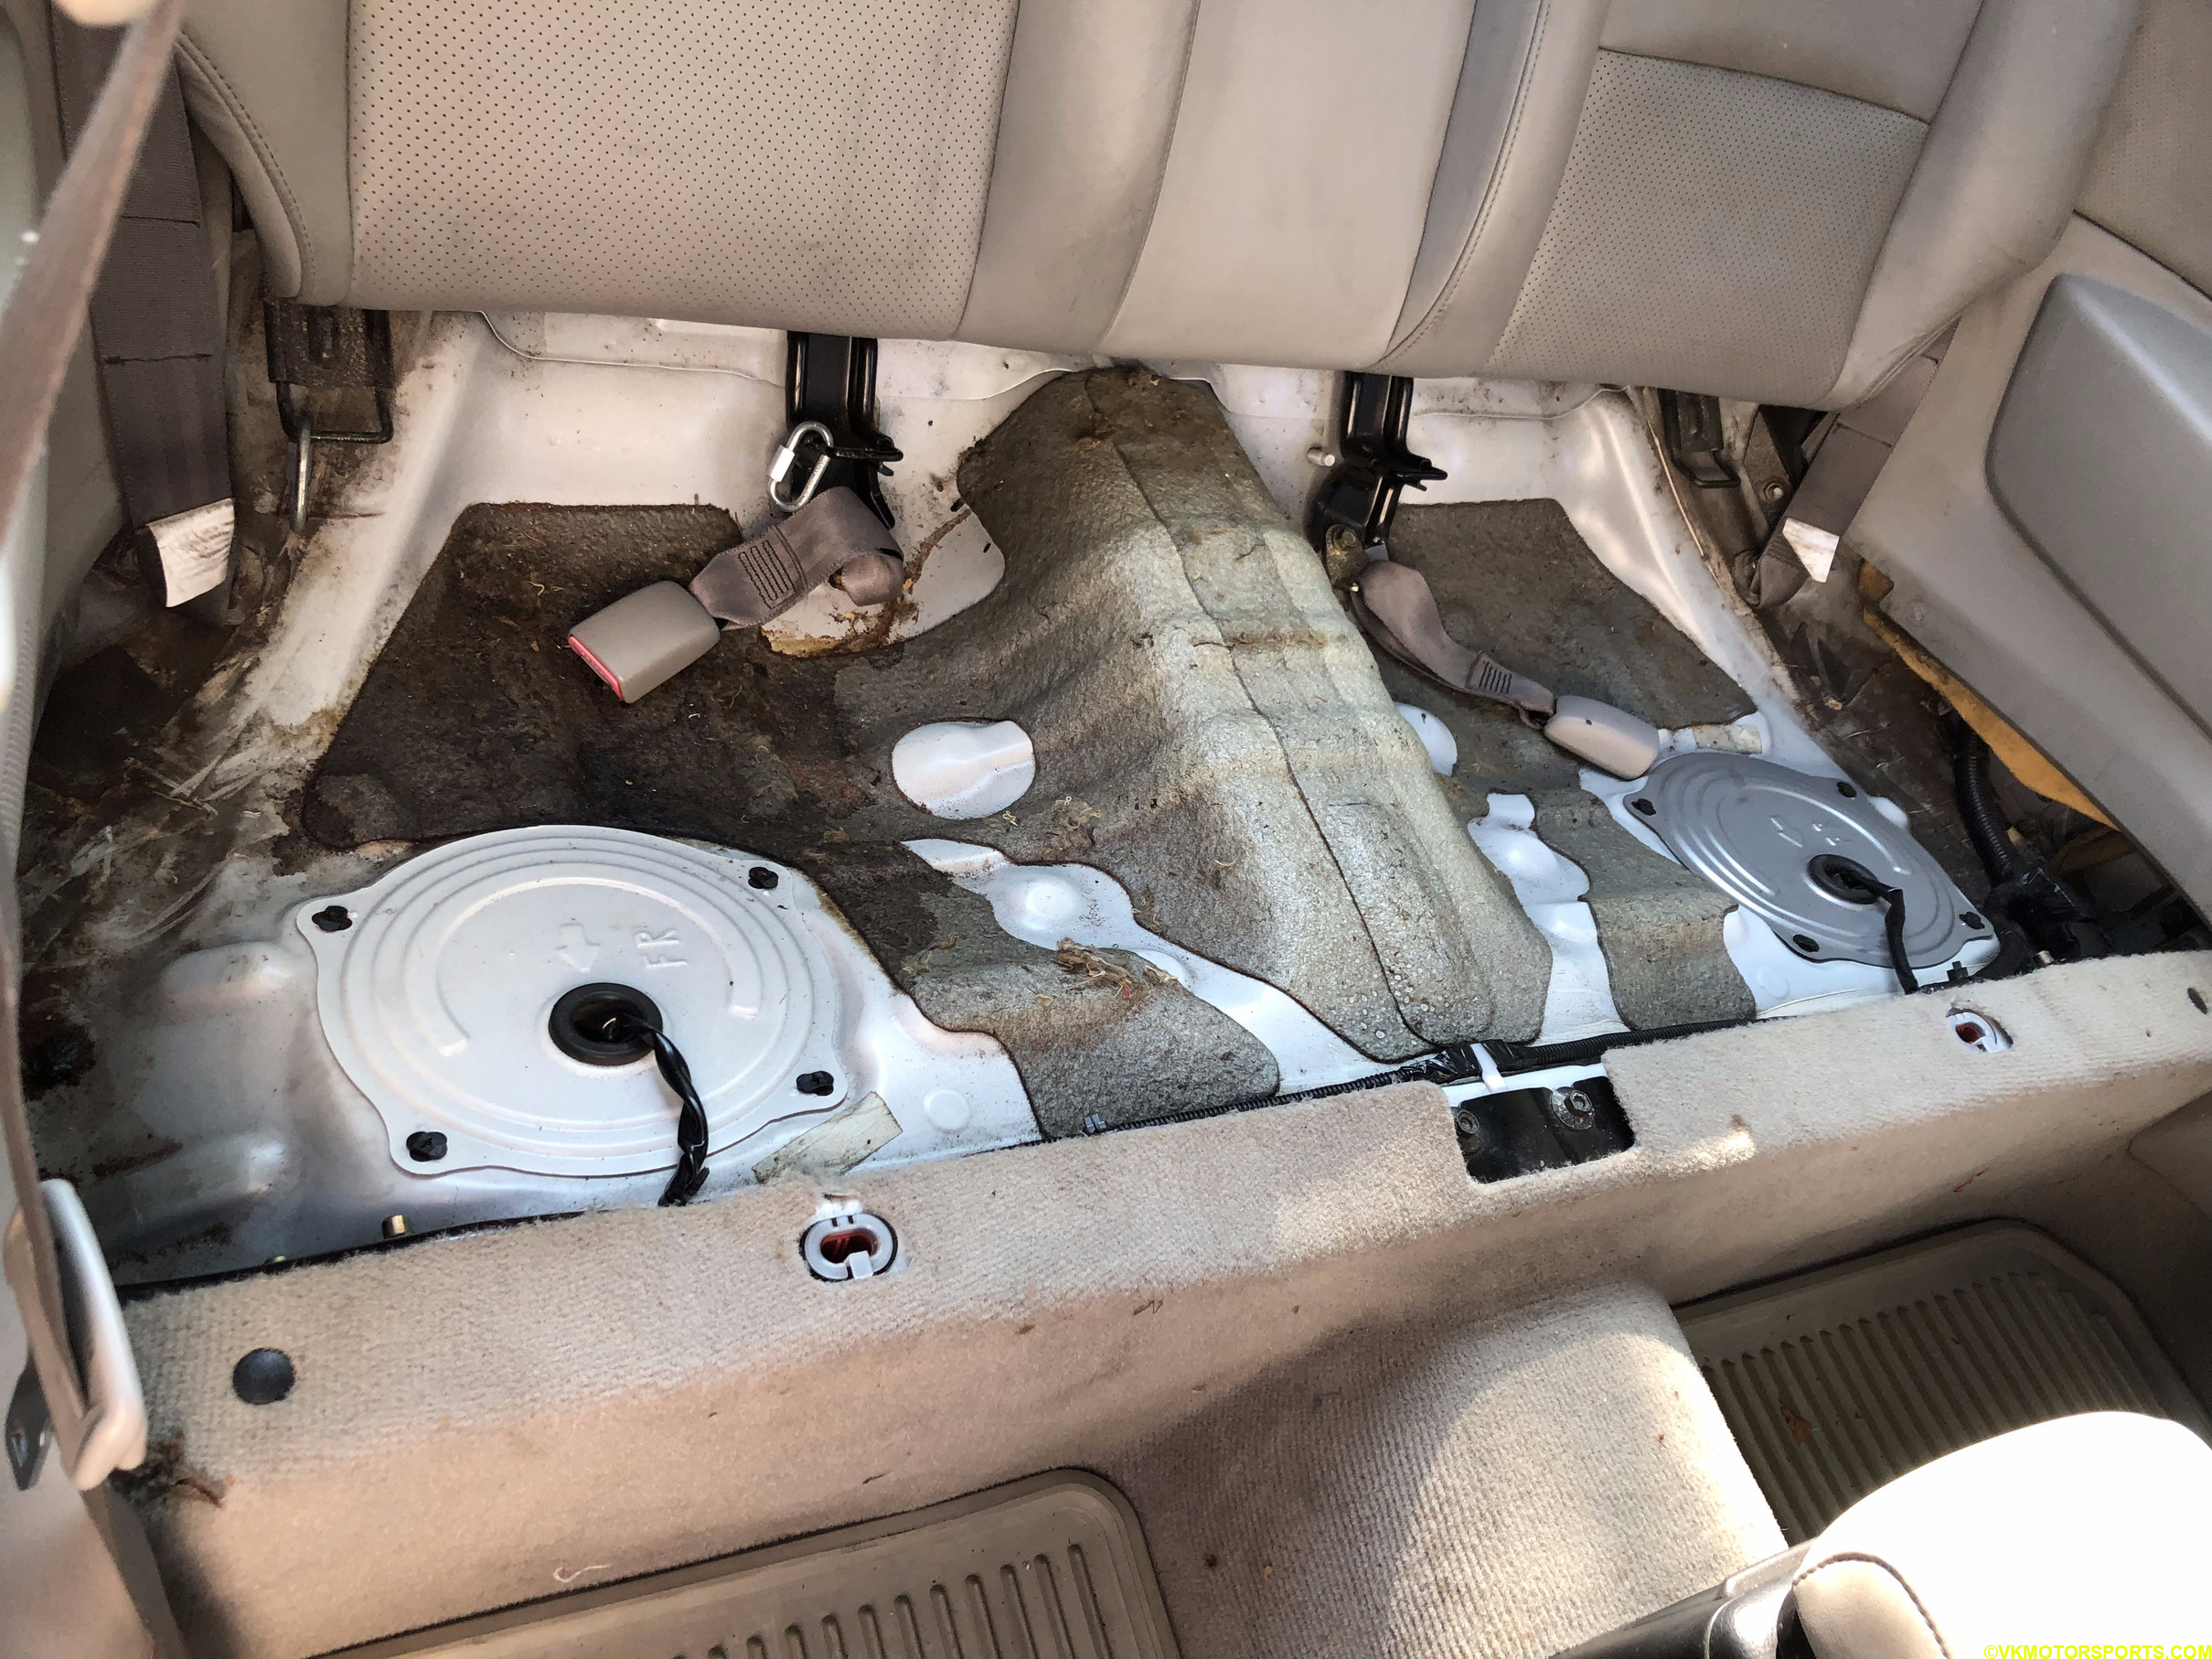 Figure 1. Top view of the rear seat where the fuel pump and sensors are
Looking at the Service Manual
I decided to read the service manual’s Fuel System section first. That’s where I noticed Figure 2 and realized I had messed up by not replacing the O-rings as the manual recommends.
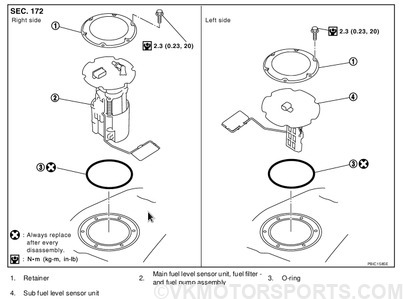 Figure 2. Expanded fuel level sensor diagram
I started searching for the right part number and found another diagram on the Infiniti USA parts site as shown in Figure 3.
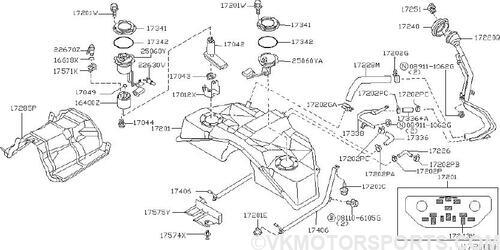 Figure 3. Expanded fuel system diagram
This led to locating the O-ring part number which is 17342-CE800 (Figures 4a and 4b). I also decided to replace the rusty bolts holding the black circular metallic retainer (item number 1 in Figure 2) down by buying part number 01436-01821 which comes with 12 bolts in a single pack (Figures 5a and 5b). These
are the same as Nissan parts, so you may find it cheaper to buy at a Nissan parts store rather than at an Infiniti parts store.
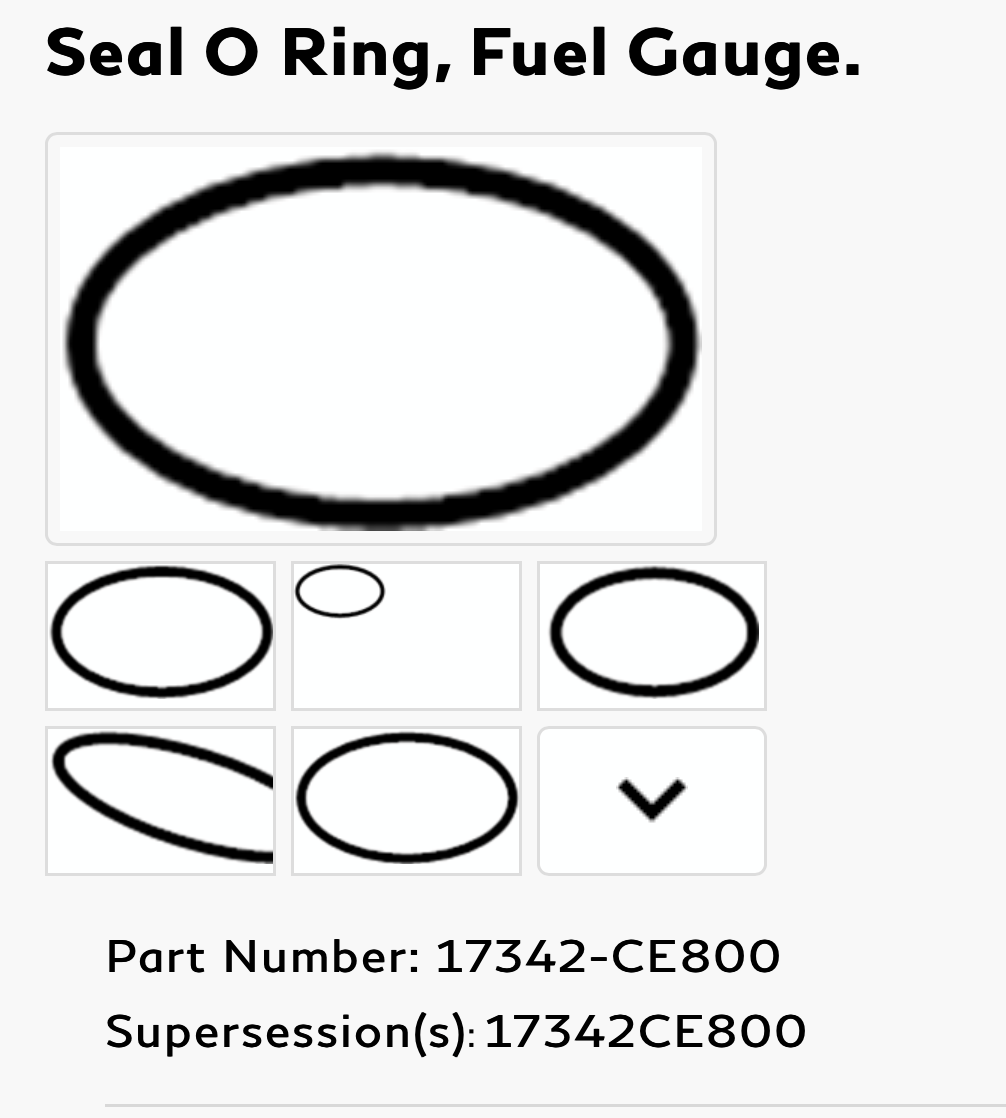 Figure 4a. Fuel pump and sensor O-ring diagram for part 17342-CE800
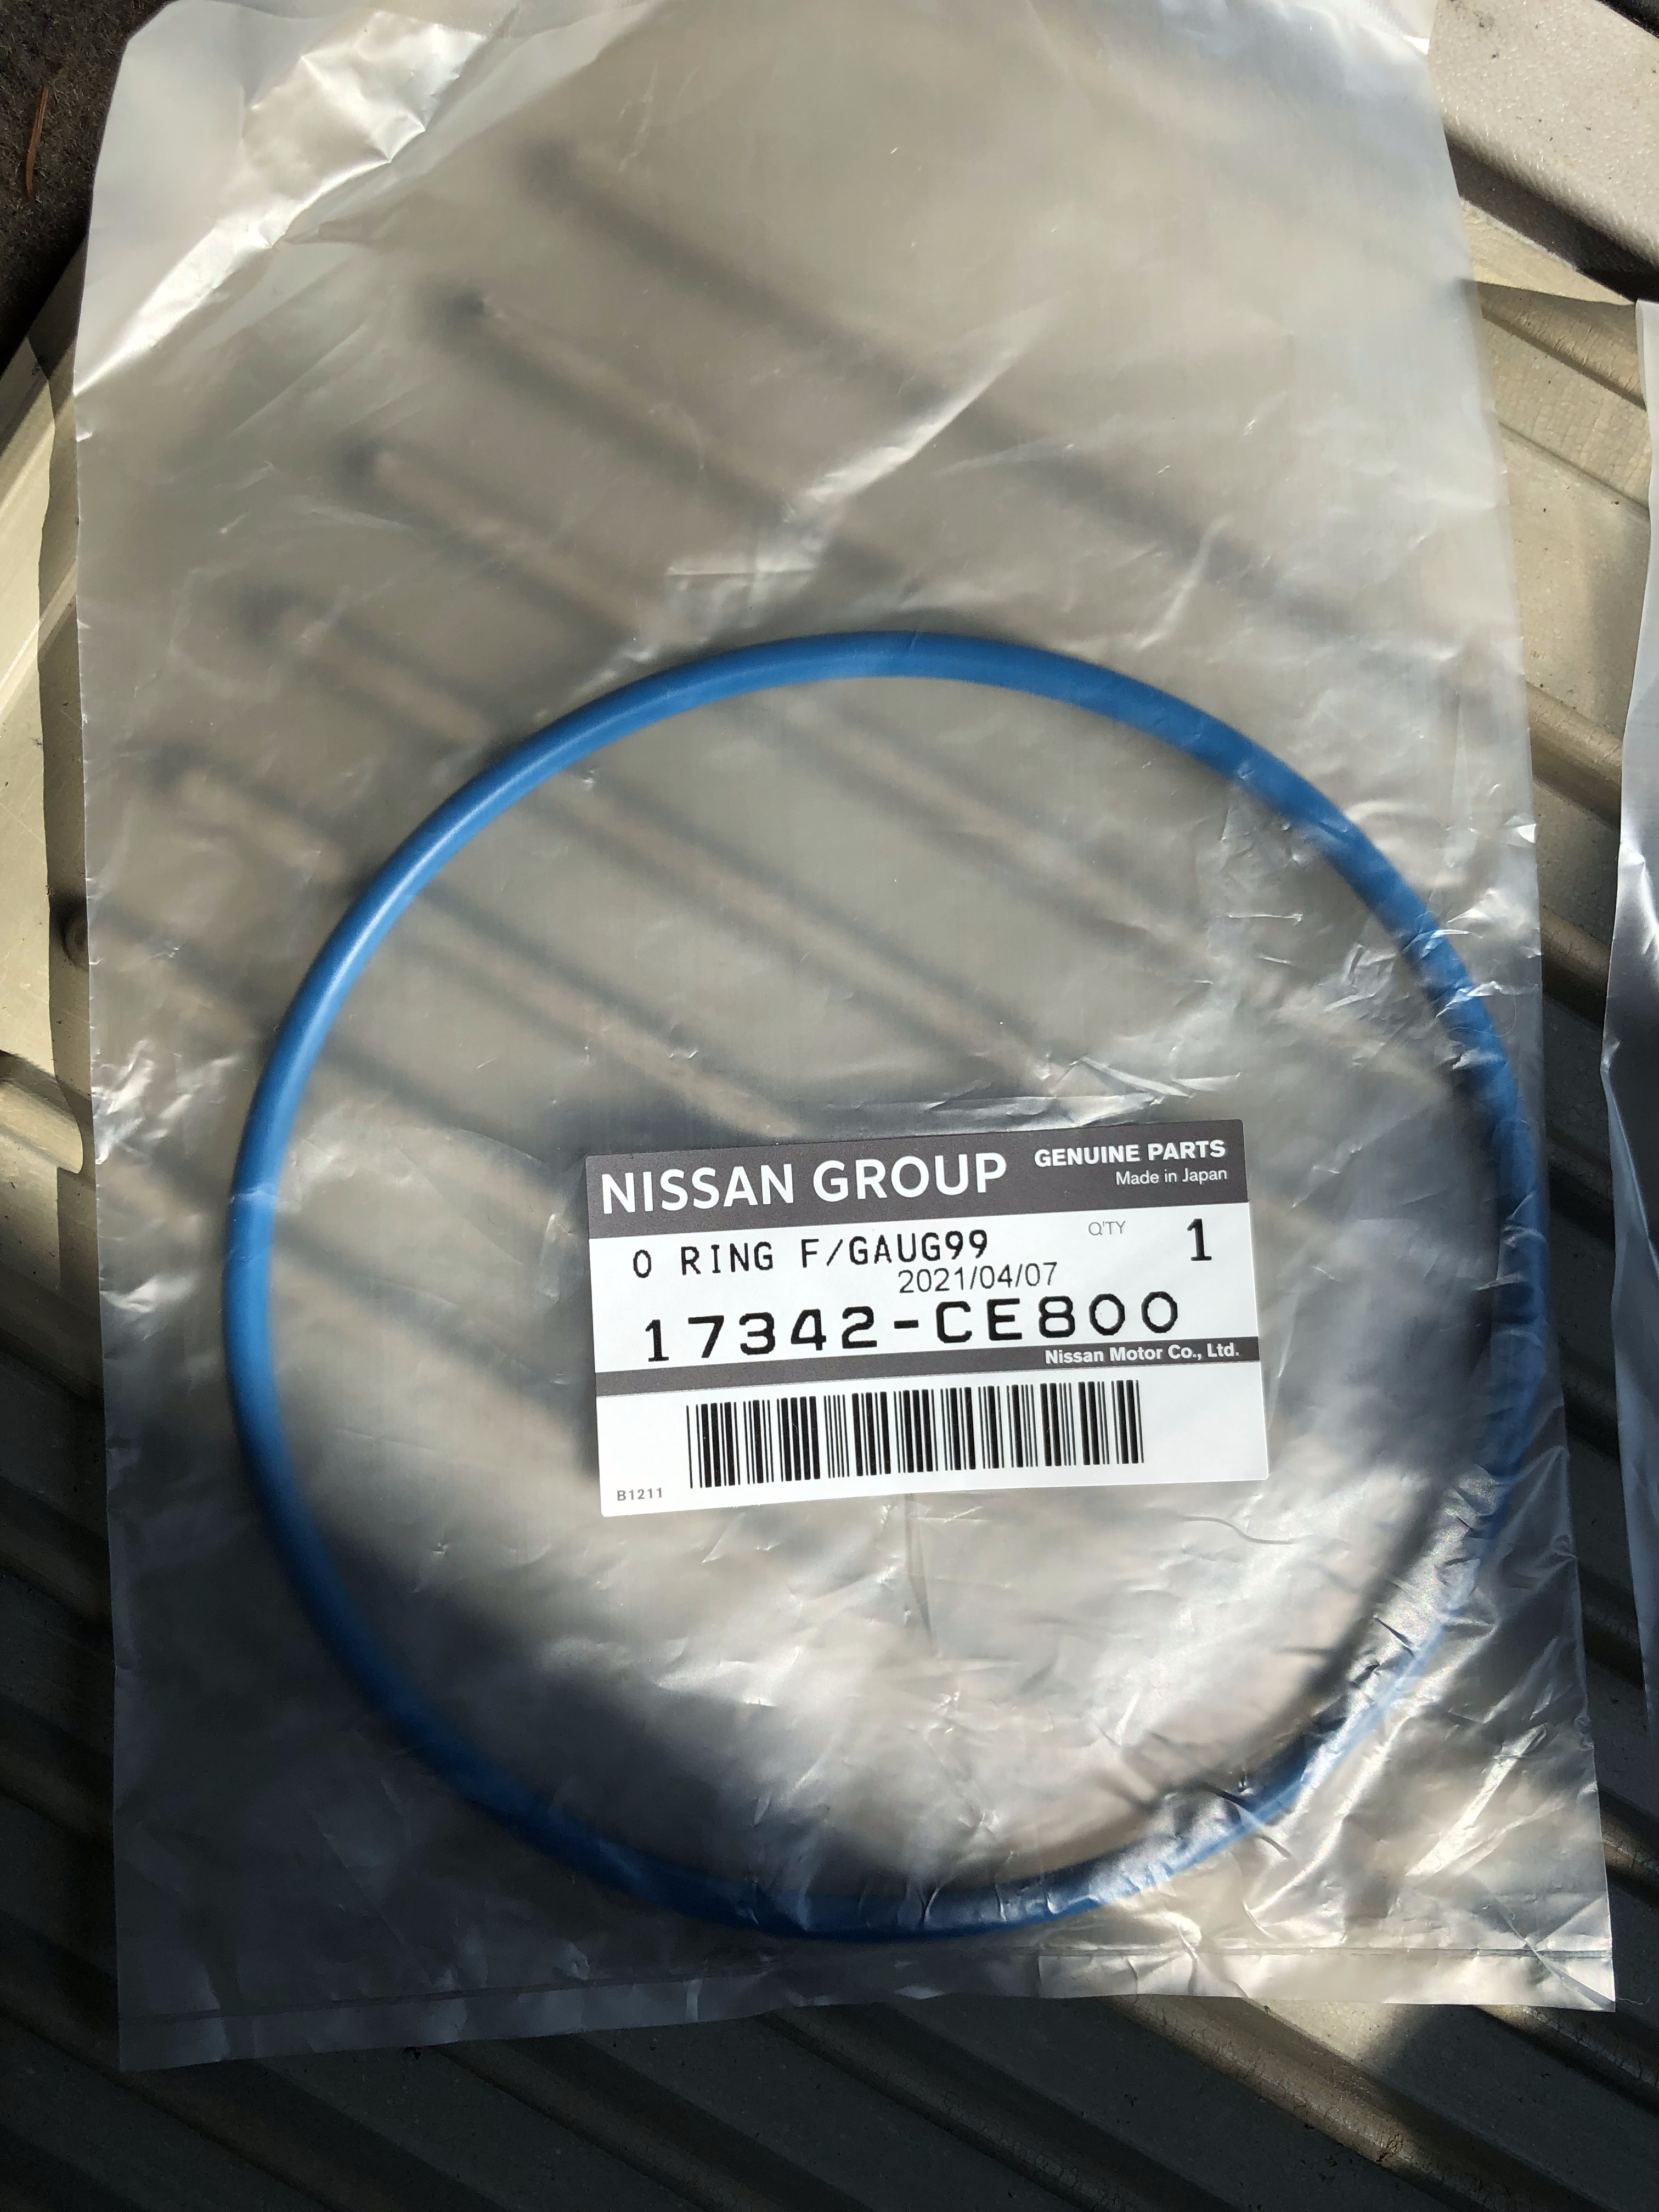 Figure 4b. Fuel pump and sensor O-ring part 17342-CE800
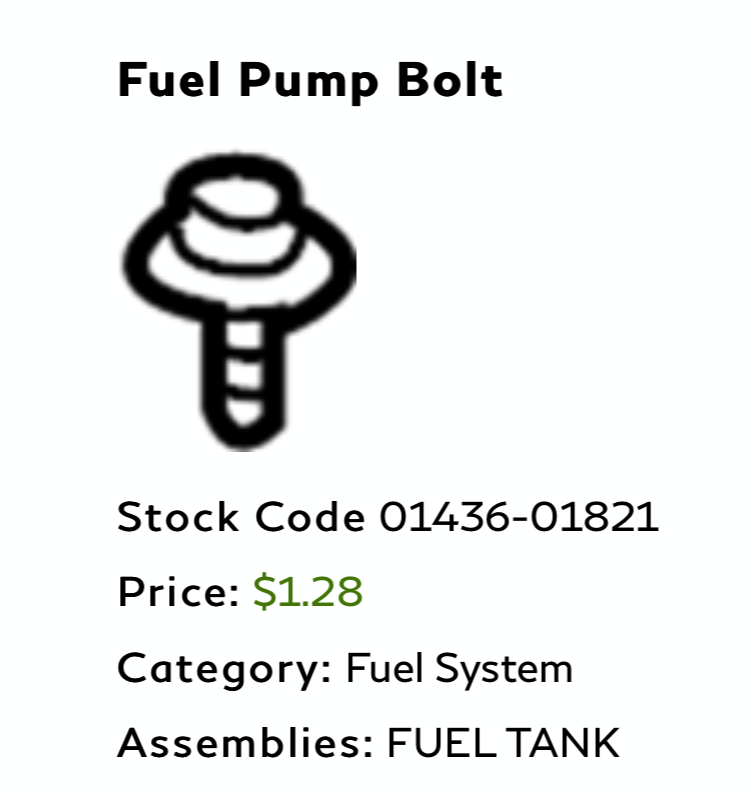 Figure 5a. Fuel pump retainer bolt part number 01436-01821
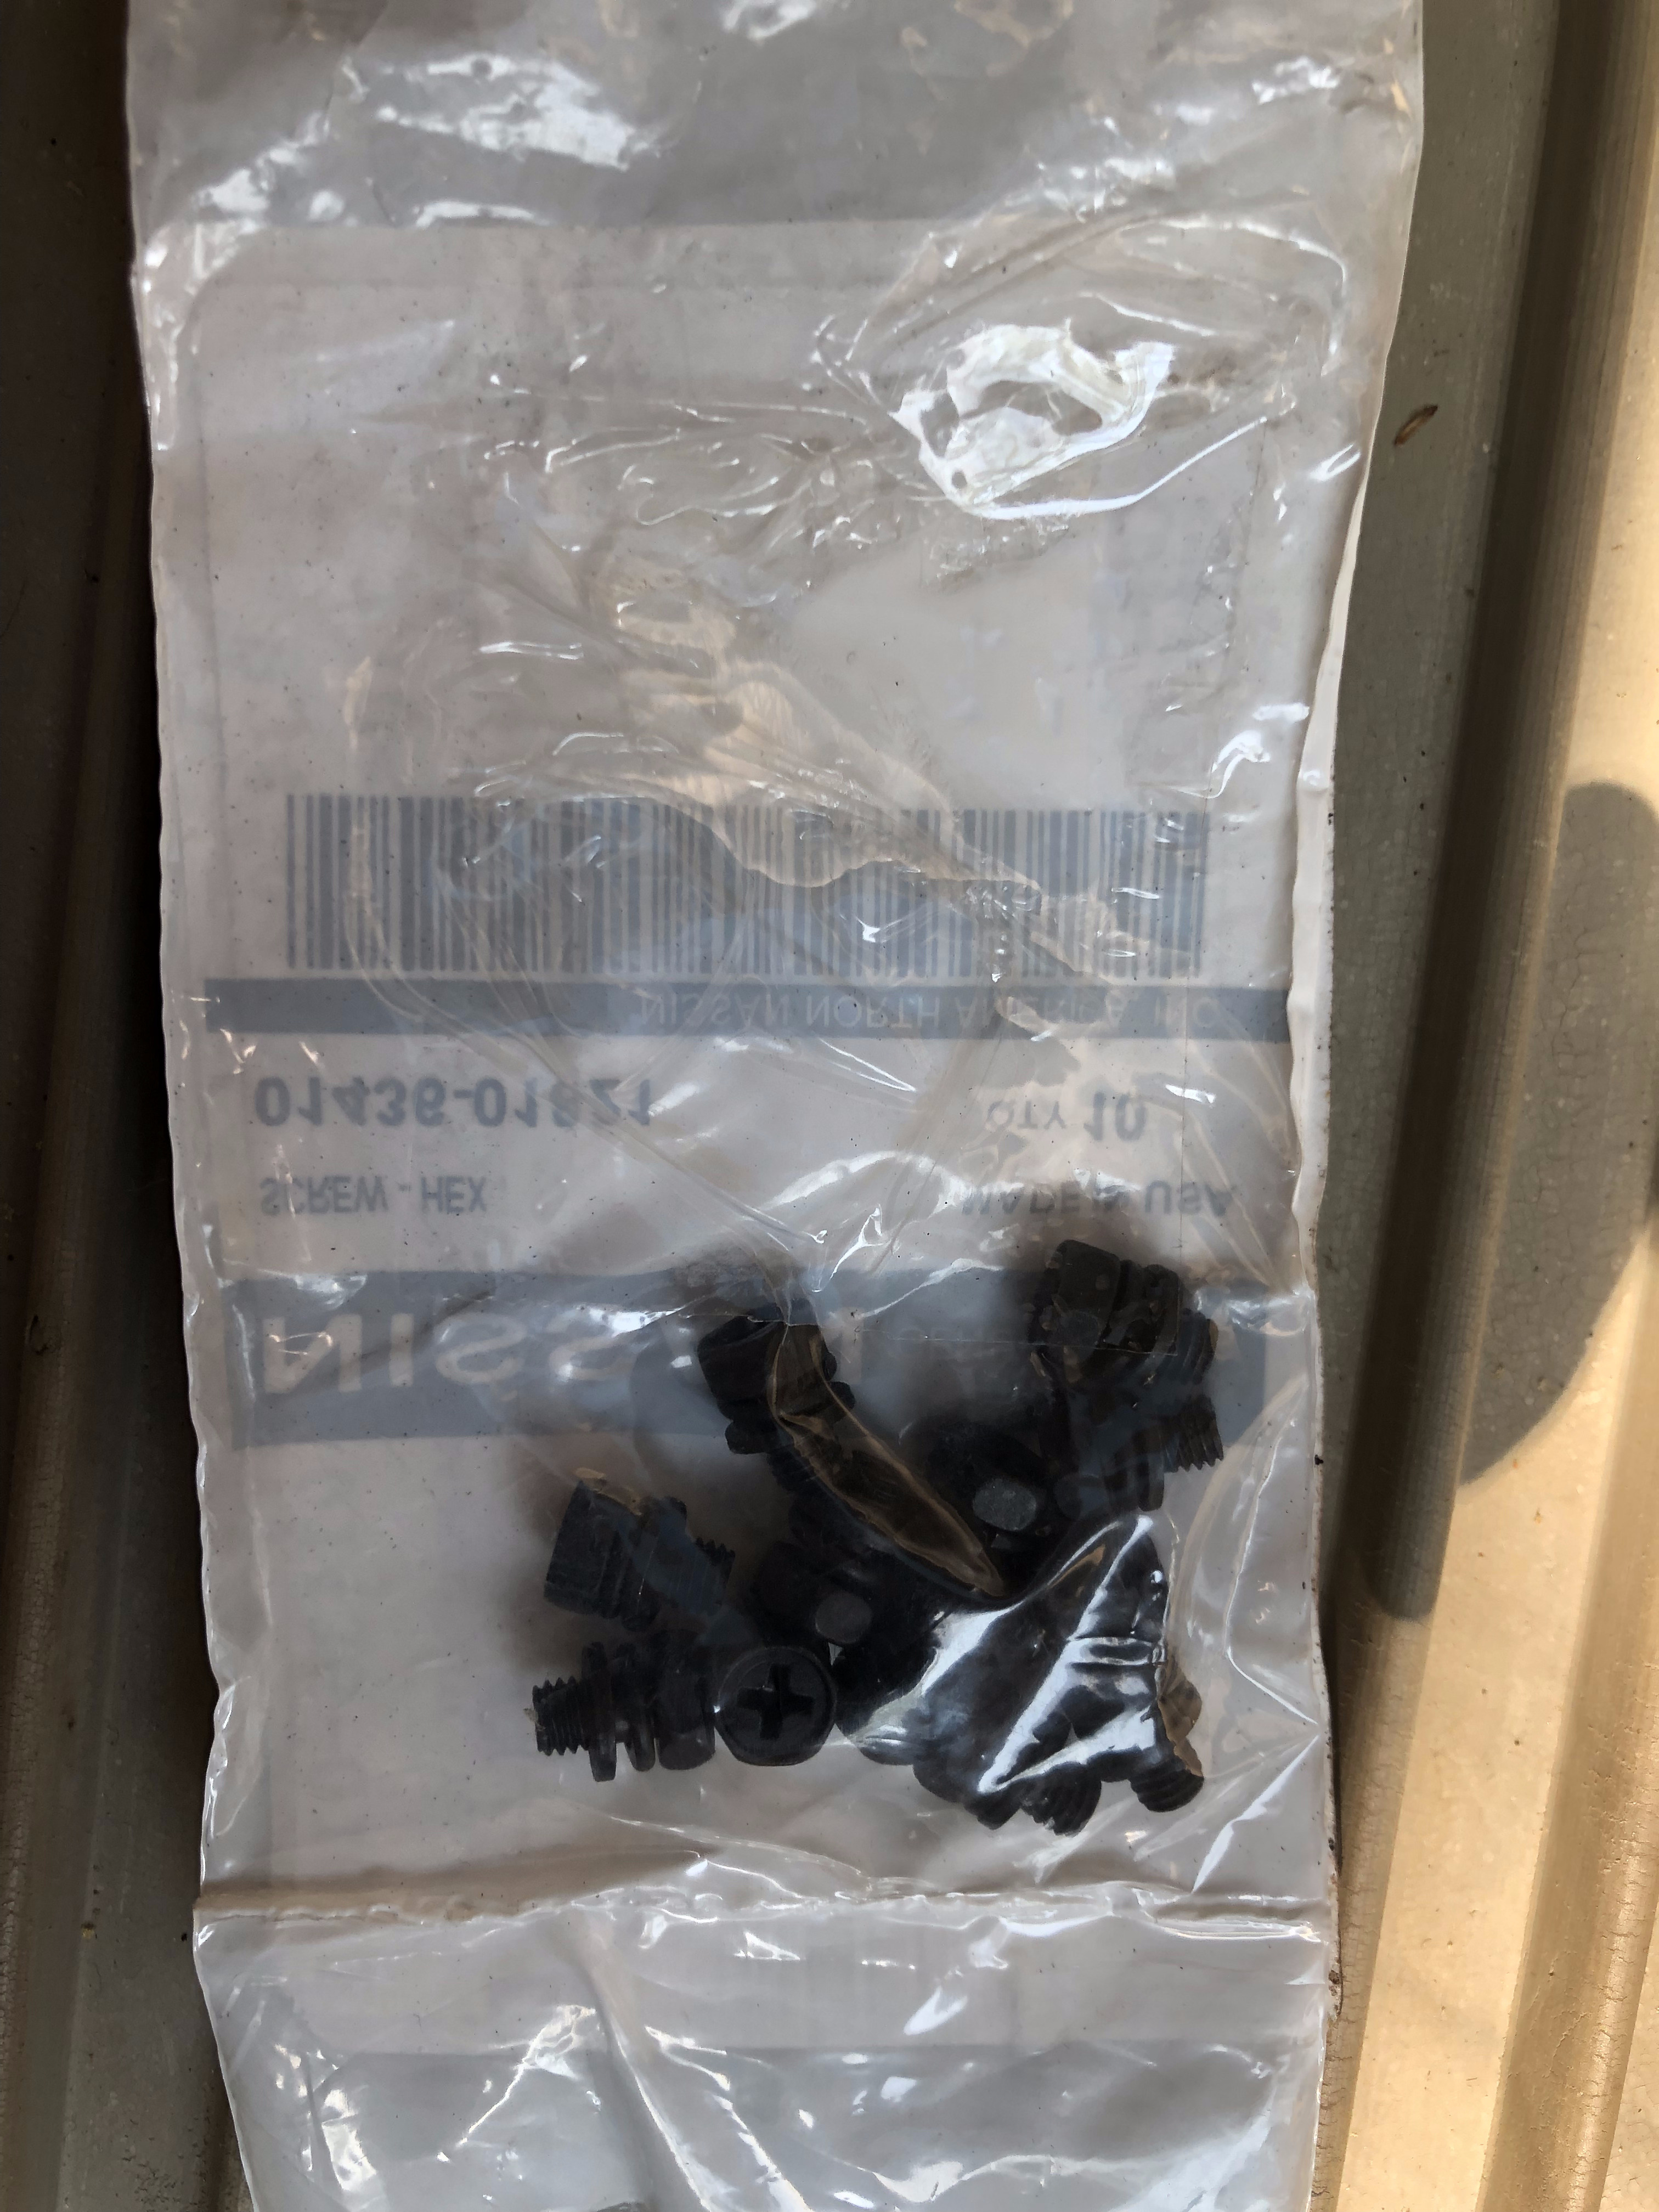 Figure 5b. Fuel pump retainer bolts in a packet
Redoing the Work
I then repeated the work I had done in the previous post, without actually cleaning the sensor potentiometers themselves and discovered the following issues:
- The driver side fuel level sensor had a damaged spring when I took it out, so it needs replacing.
- The fuel pump on the passenger side had the O-ring fall inside the tank.
- The level sensor on the fuel pump had broken when I had shoved it into the tank the previous time.
- The retainer bolts were loose, due to which the fuel would slosh and leak out.
In the end, I need to now replace both the fuel pump on the passenger side and the fuel sensor on the driver side, so that the springs are not broken and the gauge can measure the level in the fuel tank correctly.
But I still wanted to drive the car, so I gently inserted the pump and the other sensor back into the tank without damaging them further. I removed the broken sensor on the pump. I installed new O-rings and used the new retainer bolts which I then hand tightened with a screw driver. The recommended torque is 20 in-lbs (Figure 6) but I was not able to get a torque wrench to fit in correctly to check that. Hand tightening is enough.
NOTE: Do not overtighten the bolts as it will warp the retainer. All the bolts must be lightly screwed in position before tightening, otherwise the retainer does not tighten correctly.
 Figure 6. 20 in-lbs on a 1/4” drive torque wrench
Since the fuel pump level sensor was broken and detached, a new check engine light code of P0463 was also being thrown by the engine which meant that the sensor resistance was too high. The earlier code of P0462 was still being thrown which makes sense since the sensors are all broken.
Below you can see the new bolts installed and no leaks on the system. I drove the car for about 5 miles and checked for leaks again, and there were none.
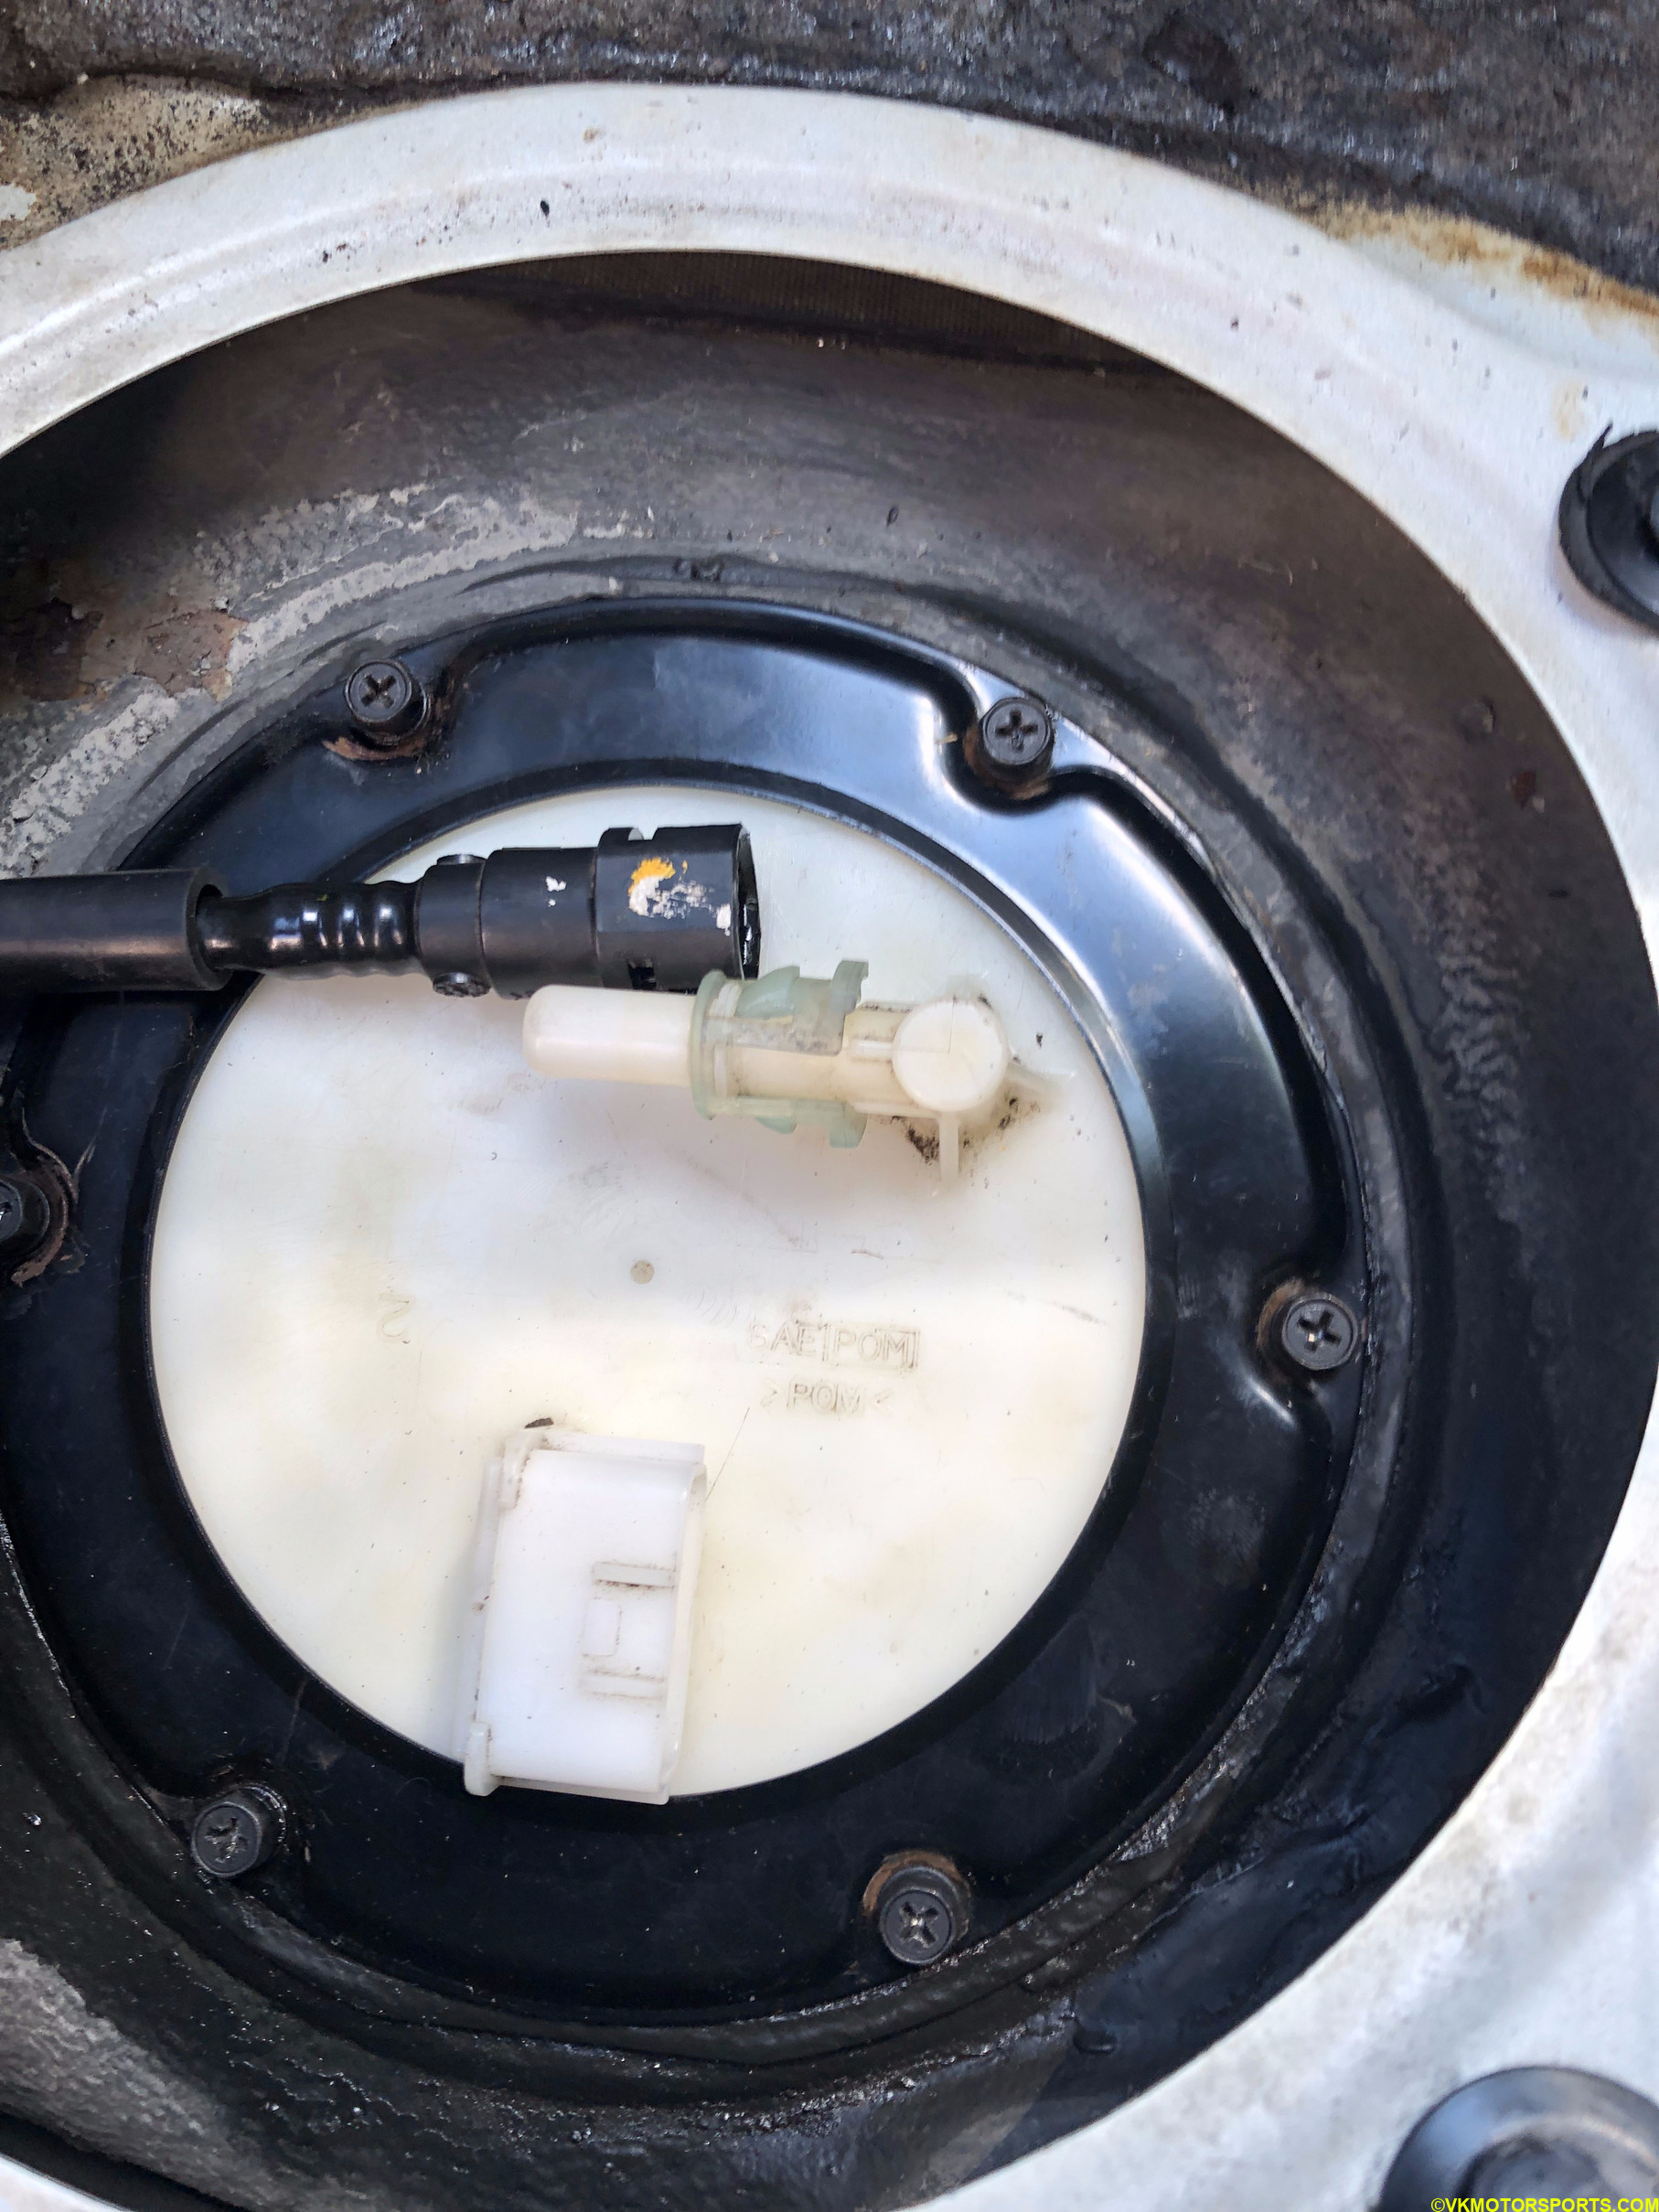 Figure 7a. New bolts on tightened retainer on the fuel pump side
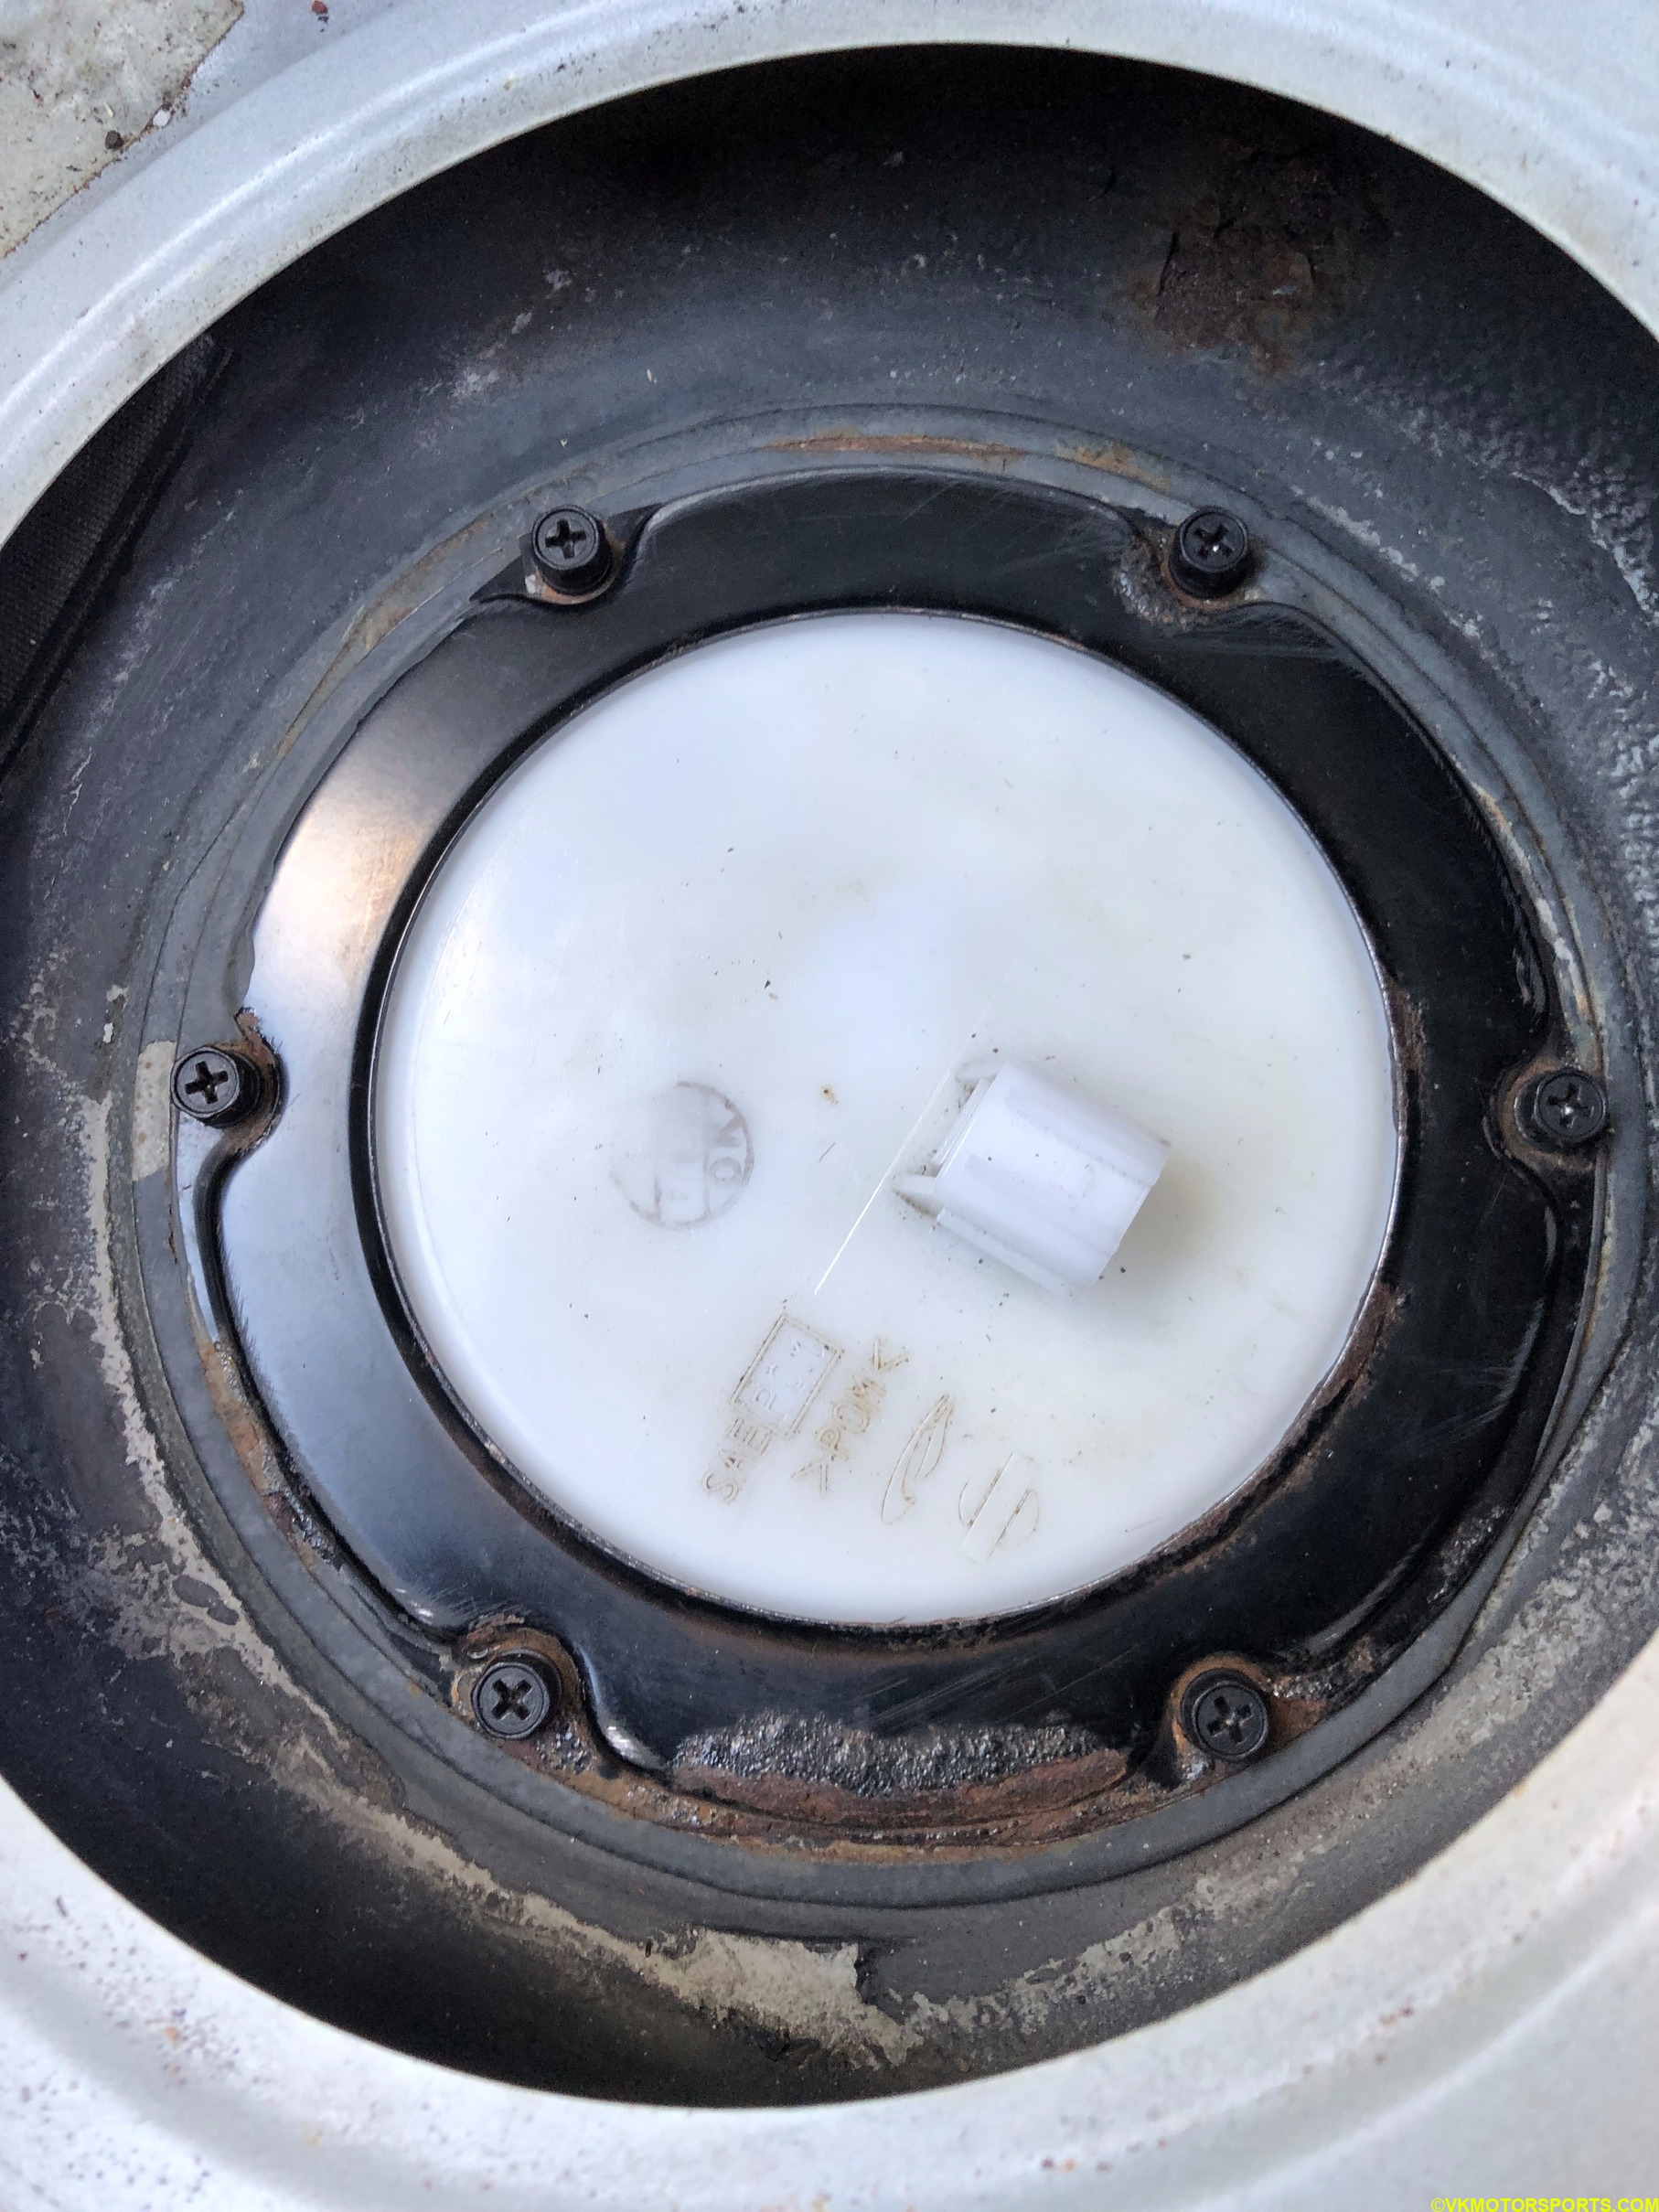 Figure 7b. New bolts on tightened retainer on the fuel sensor on driver side
Lessons Learned & Next Steps
The main lesson I learned was that I should read the factory service manual (hosted here) in detail, before attempting any fixes.
The second lesson I learned was the fuel pump and the sensors are delicate and I cannot shove them in without breaking them. I have to be gentle with them.
And the final obvious lesson I learned was that dealerships don’t want to fix your car without making a lot of money.
The next step is to order replacement fuel pump and fuel level sensor and repeat the process.