I purchased a 2008 Toyota 4Runner Limited (4th generation) with the 4.0L V6 engine, in June 2021, to replace my aging and failing 2005 Dodge Ram 1500. In the five years I owned the Ram 1500, I never towed anything. I did use the truck to carry some large and heavy loads but that is so rare for me now, that if you run the numbers it is cheaper to rent a truck from Home Depot for that purpose. So I went with a 4Runner with a V6 engine, since I have always wanted one and unlike a 5th generation Runner it had the multi-mode 4WD with locking and unlocking center differential. I also have never been off-roading and hope to go someday this year with the 4Runner.
I had driven it about 5000 miles in 8 months and it was time to do an oil change, since the oil change MAINT light was blinking on the dash. This post outlines how to do the oil change in a V6 4th generation 4Runner and it is very simple.
Lifting or Jacking Up the 4Runner
Unlike jacking up the Porsche Boxster or the Infiniti G35, where you have to make sure you are using the jack on the sub-frame of the car and placing the jack stands on the jacking points recommended in the owner’s manual, jacking up the 4Runner is child’s play.
The 4Runner is a body-on-frame SUV and hence you can jack up the frame and place a jack stand under the frame directly, as shown very clearly in Figure 1.
I jacked up the front of the 4Runner and used the 6-ton jackstands I had purchased almost two years ago but never used. You may notice the yellow ramps in Figure 2 and you can also just use ramps for the oil change, since the 4Runner is tall enough that with ramps you can go under and drain the oil.
 Figure 1. Lifting the 4Runner from the frame
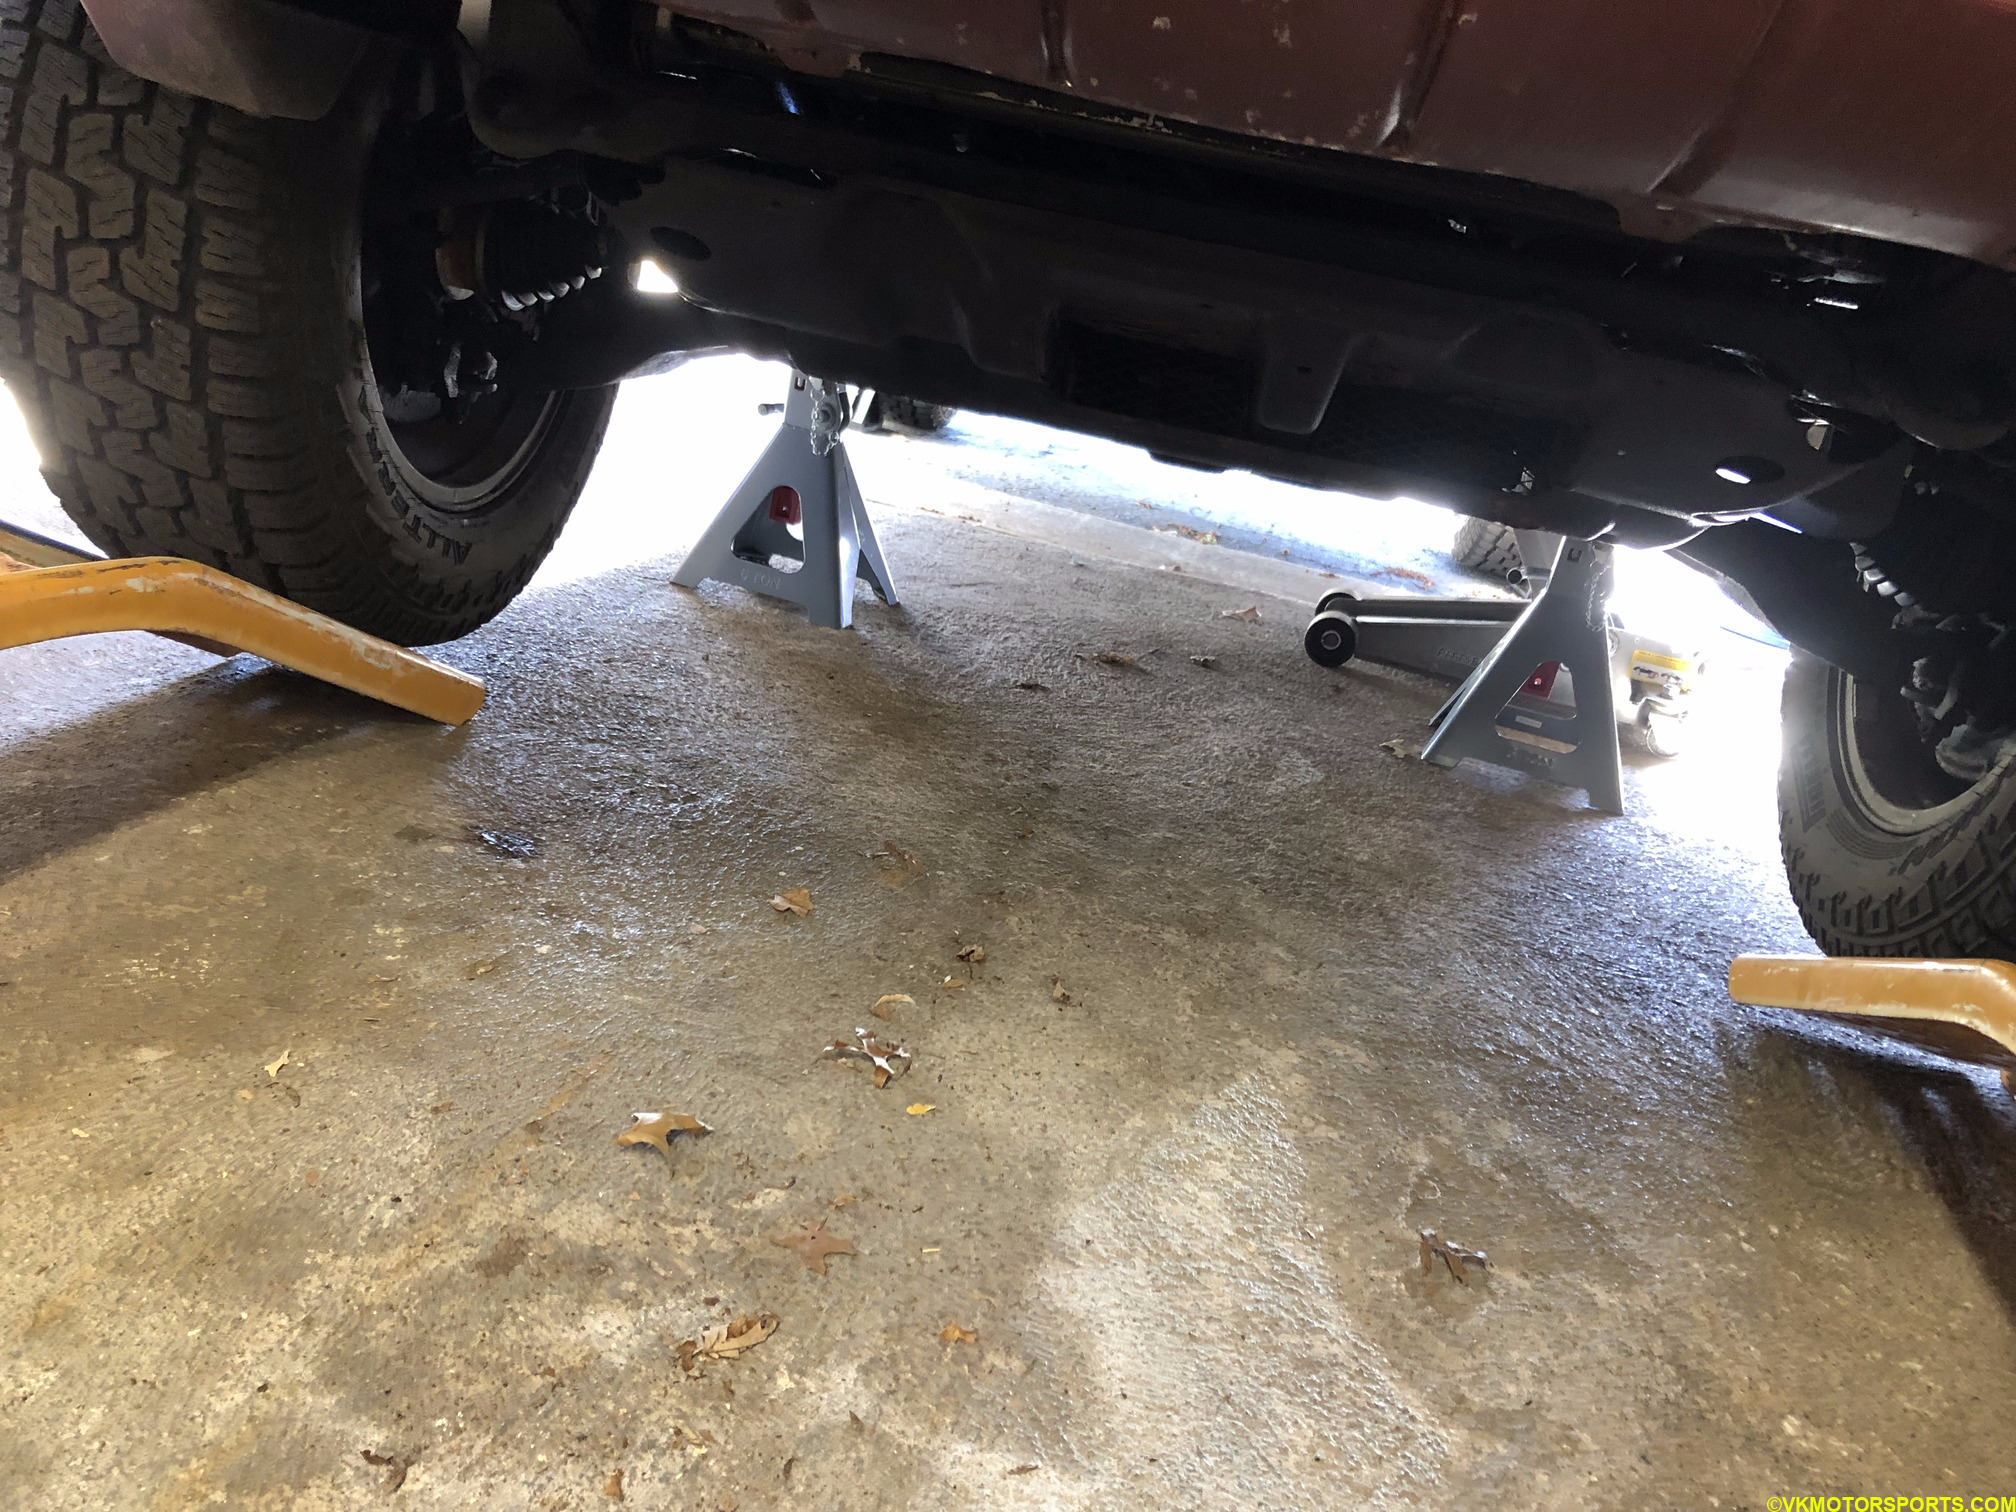 Figure 2. Lift the front of the vehicle with jack stands or use ramps (yellow)
Make sure you do this safely and the vehicle is stable on the stands before you go under it.
Drain the Old Engine Oil
Once the 4Runner has been raised safely, you can slide under with a creeper and undo the drain plug (Figure 3) with a 14 mm socket (Figure 4). Remember to place a 5 gallon container to catch the draining oil before you open the drain plug. Use gloves to open the drain plug as some oil may hit your hand while you take it off. Figure 5 shows the oil draining into the container.
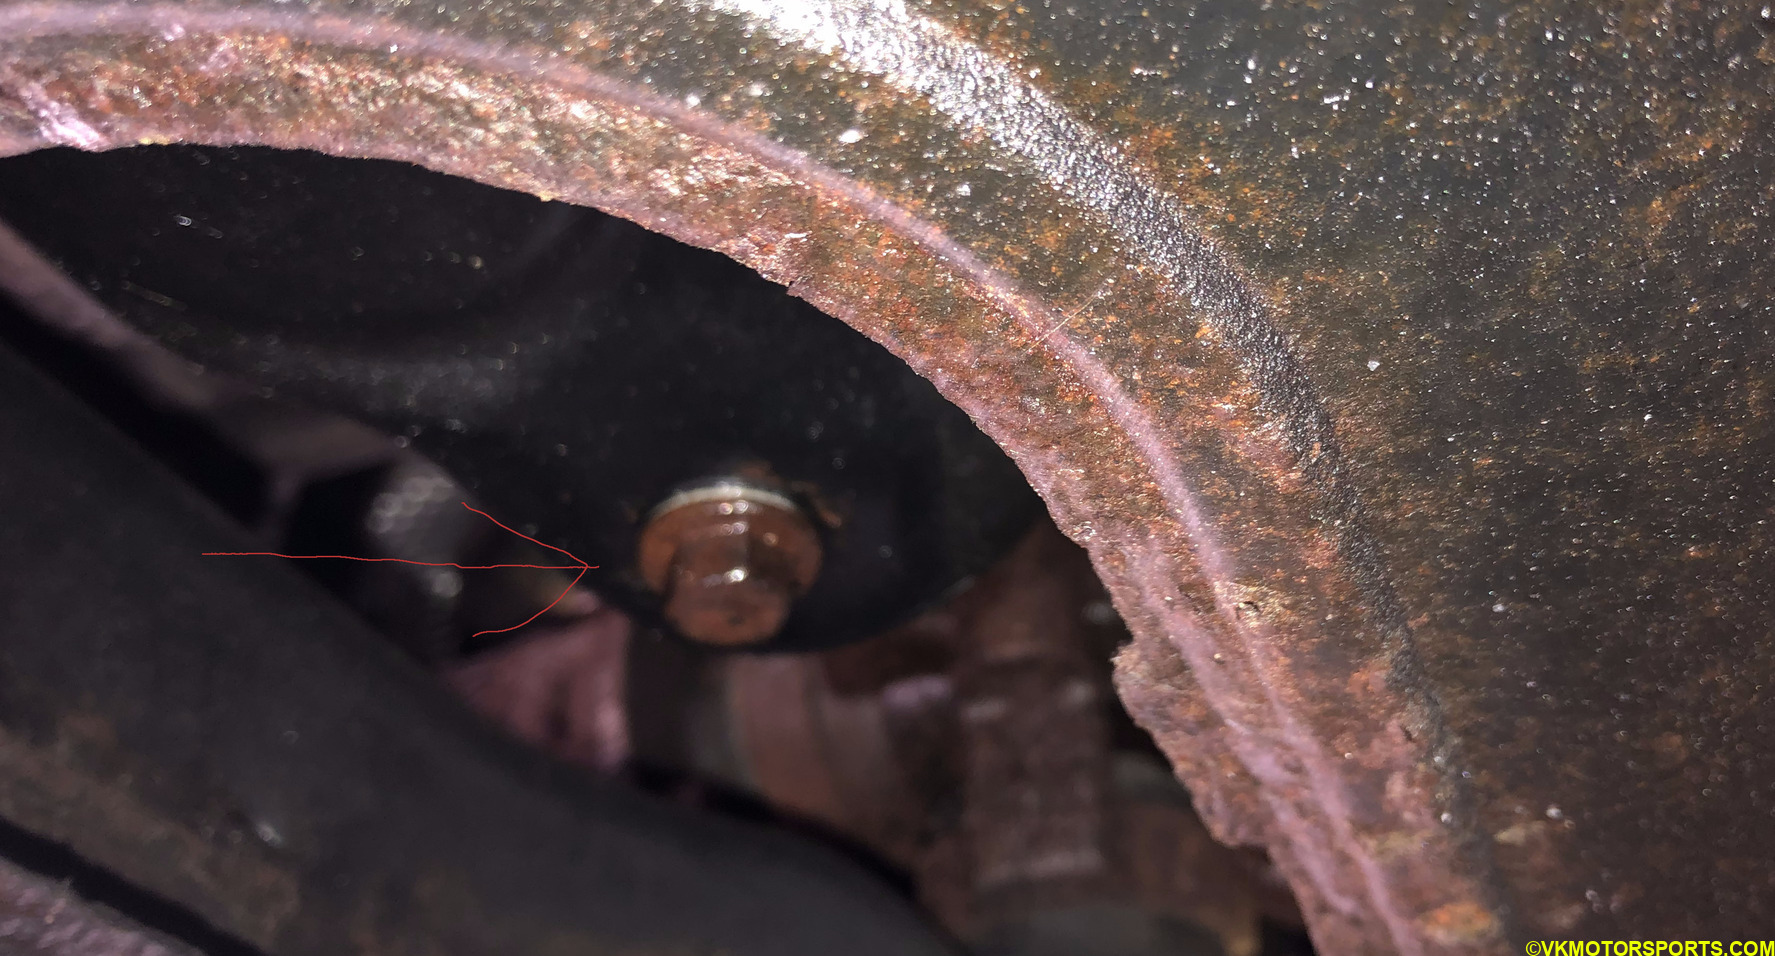 Figure 3. Oil pan drain plug under the vehicle engine
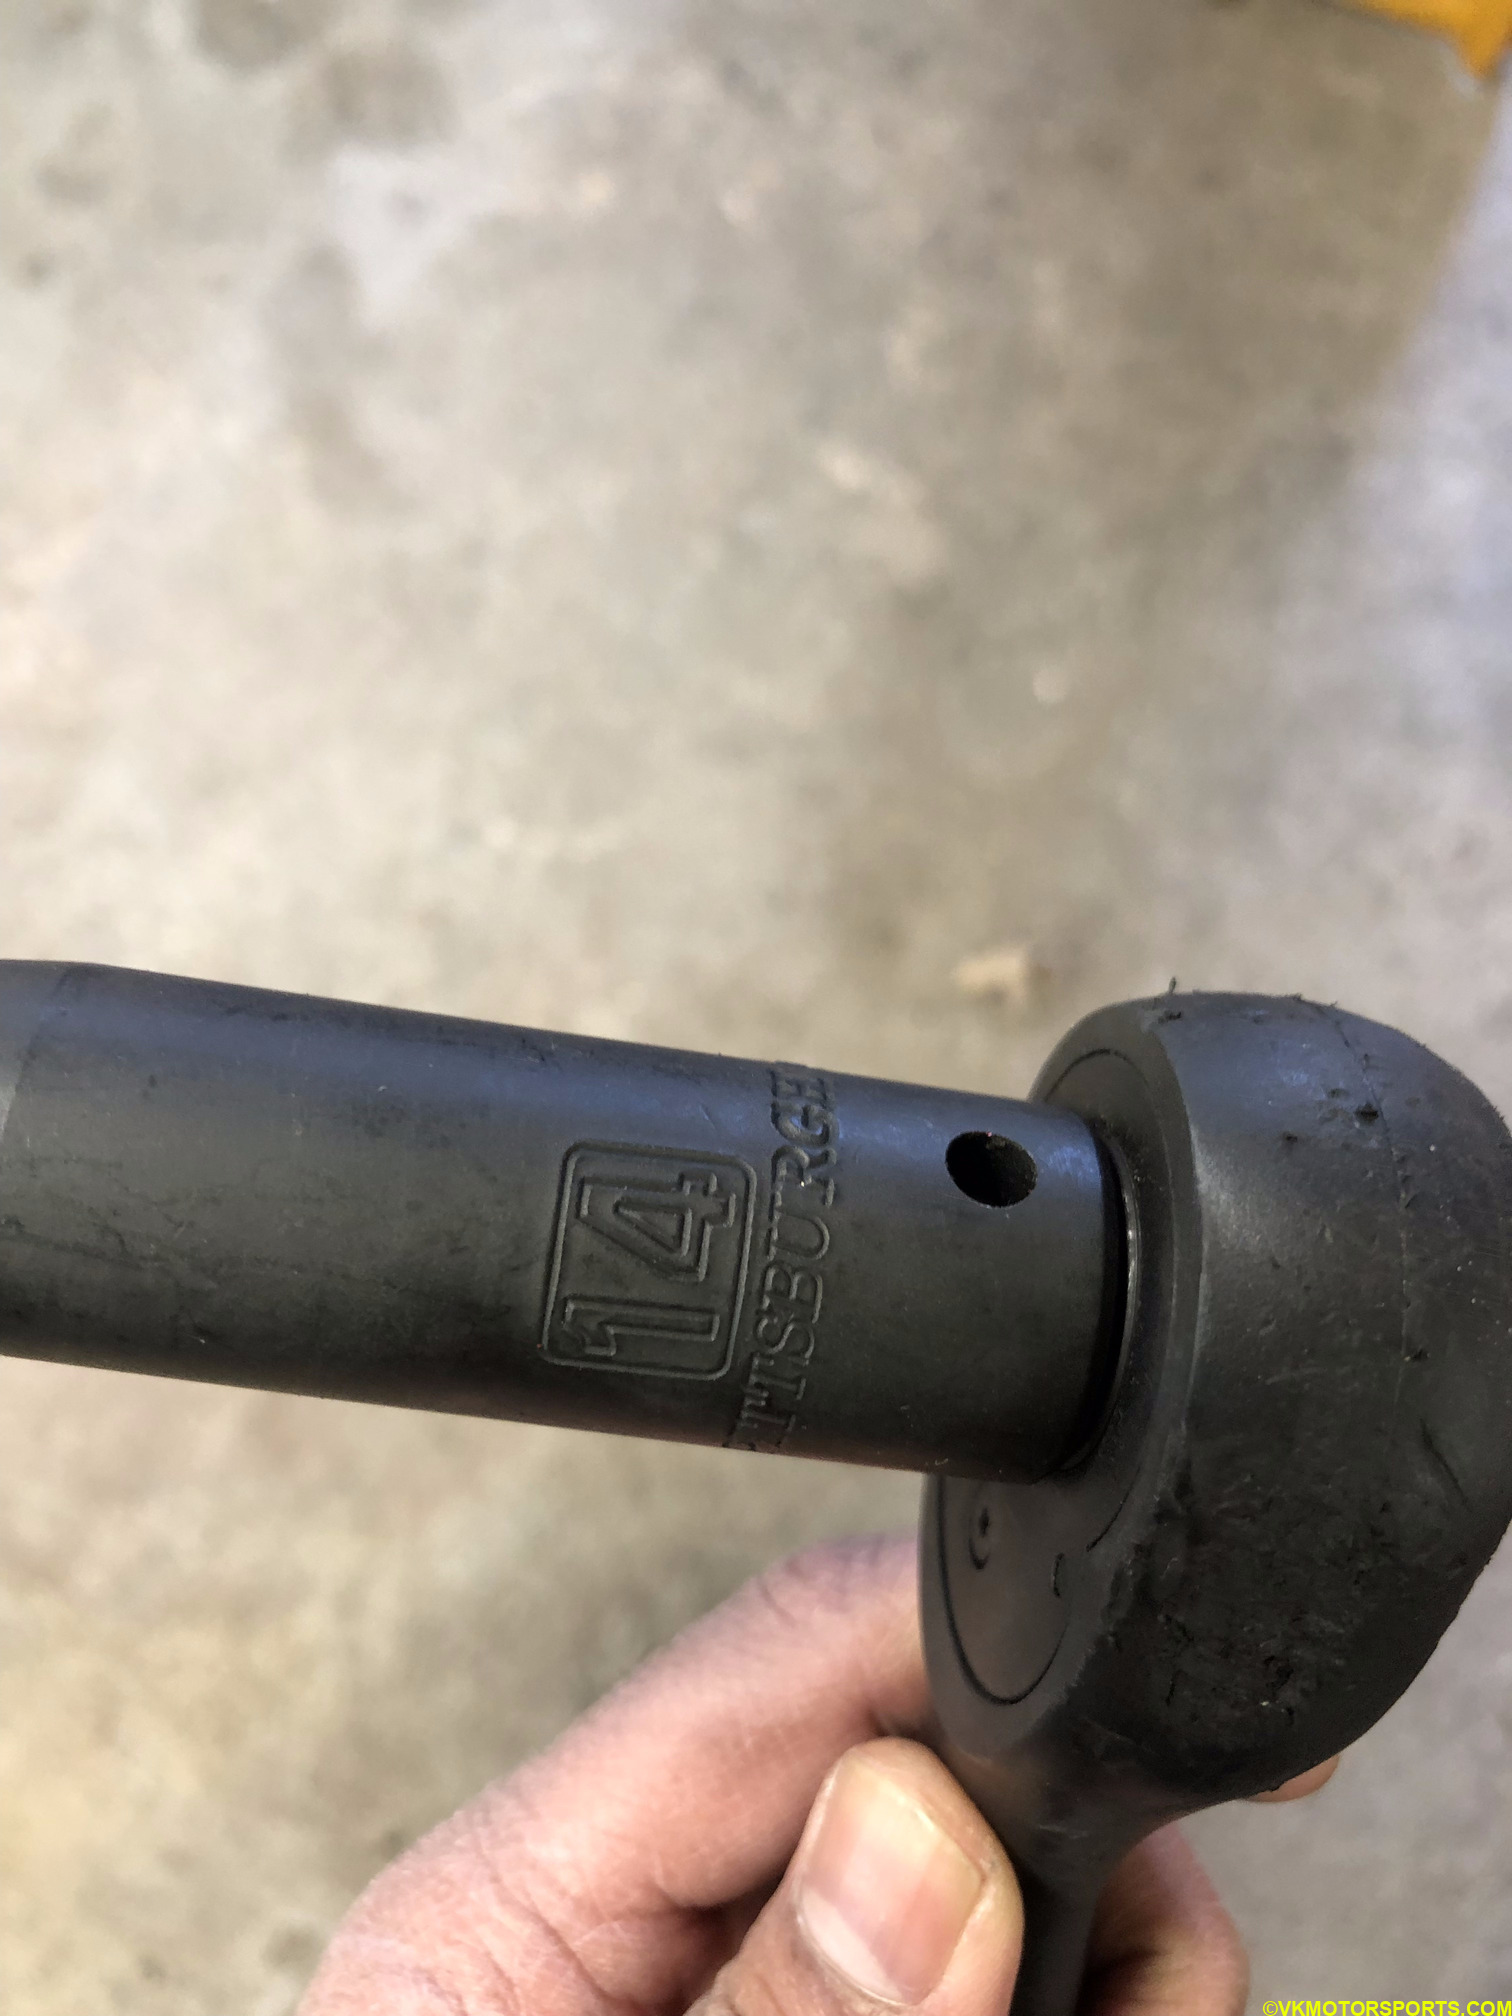 Figure 4. 14mm socket
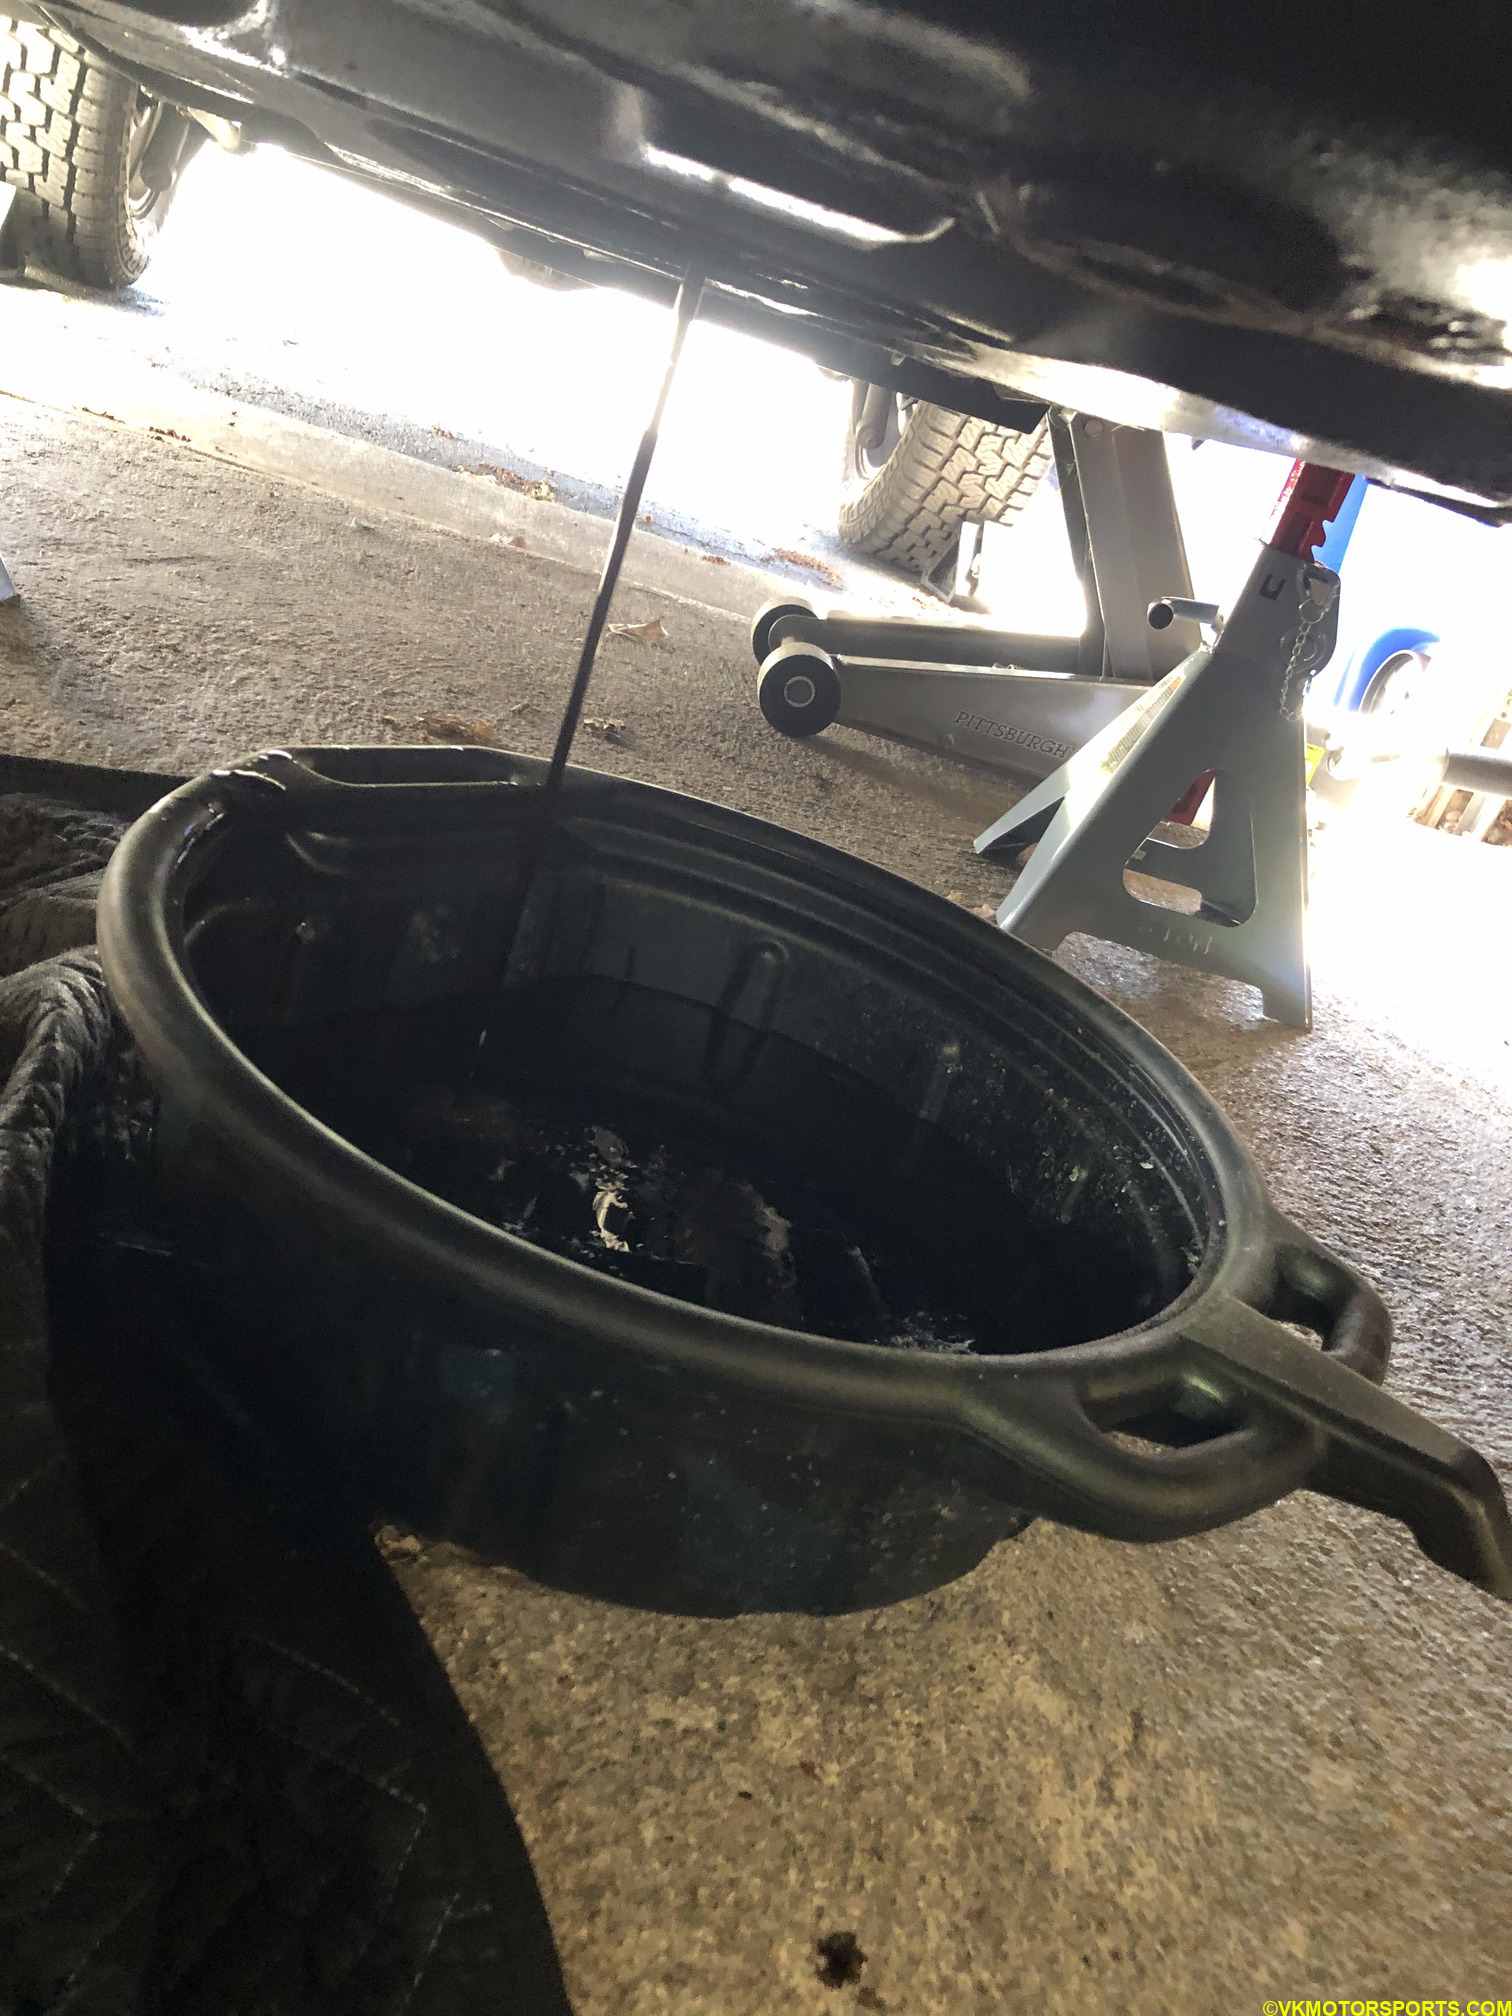 Figure 5. Oil draining into container
Remove the oil filler cap (Figure 6) to alleviate pressure in the engine and aid the downflow of oil into the container.
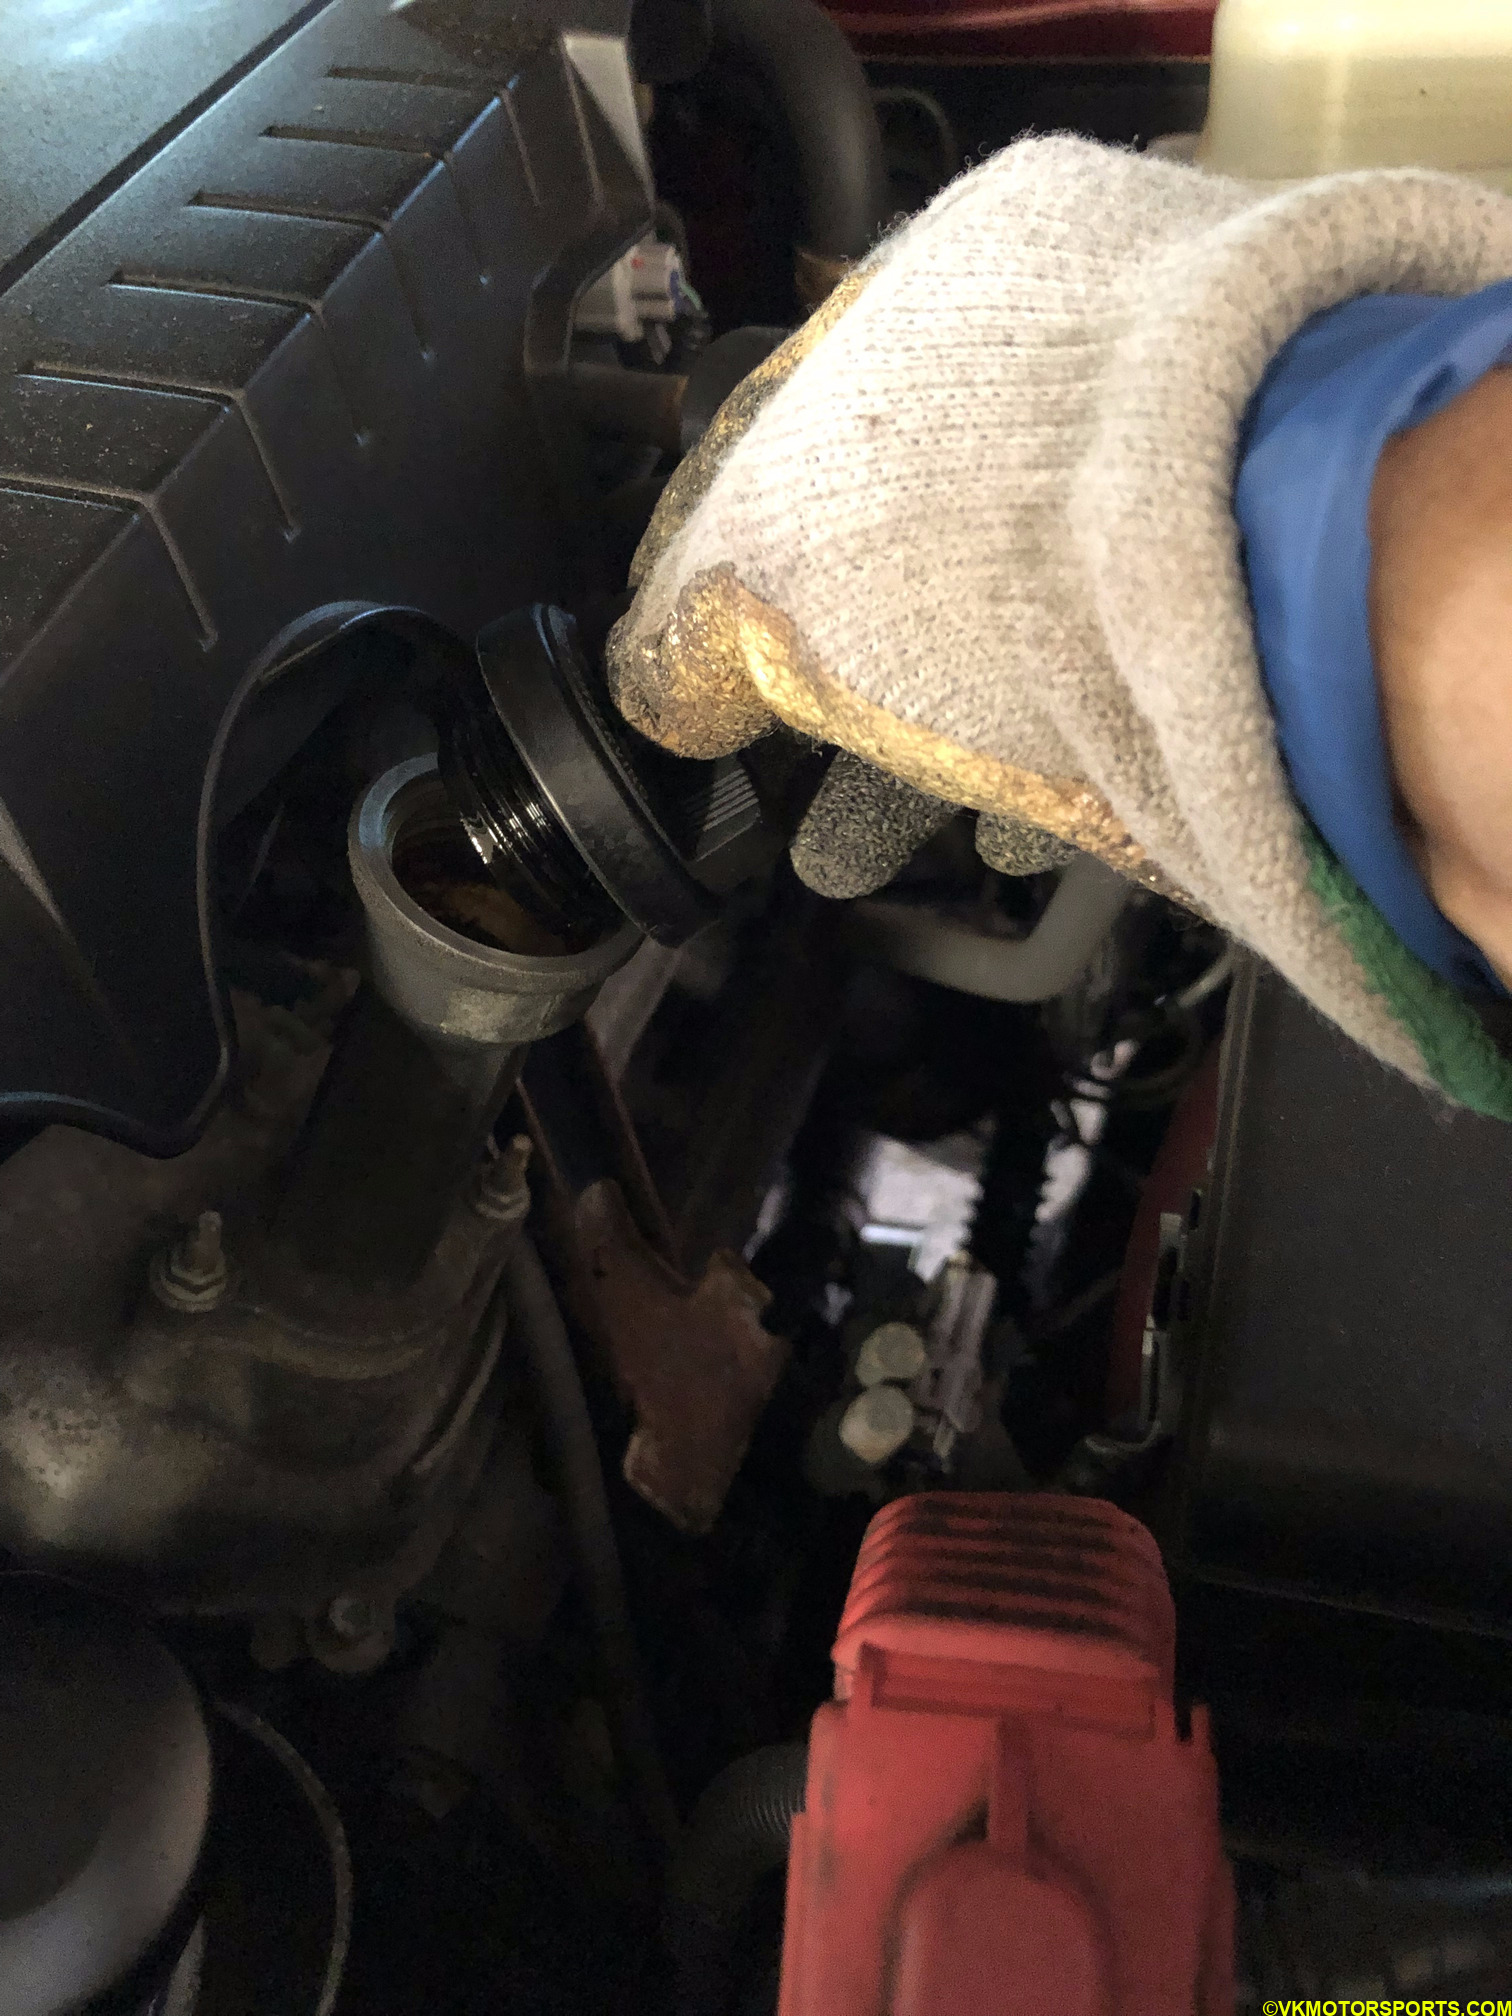 Figure 6. Remove oil filler cap
The oil took about 40 minutes to fully drain out. While it was draining, I replaced the oil filter.
Replacing the Oil Filter
In the V6 4Runner, the oil filter is in the engine bay (Figure 7) next to the oil filler spout, and really easy to change out. This engine was designed intelligently with quick repairs in mind.
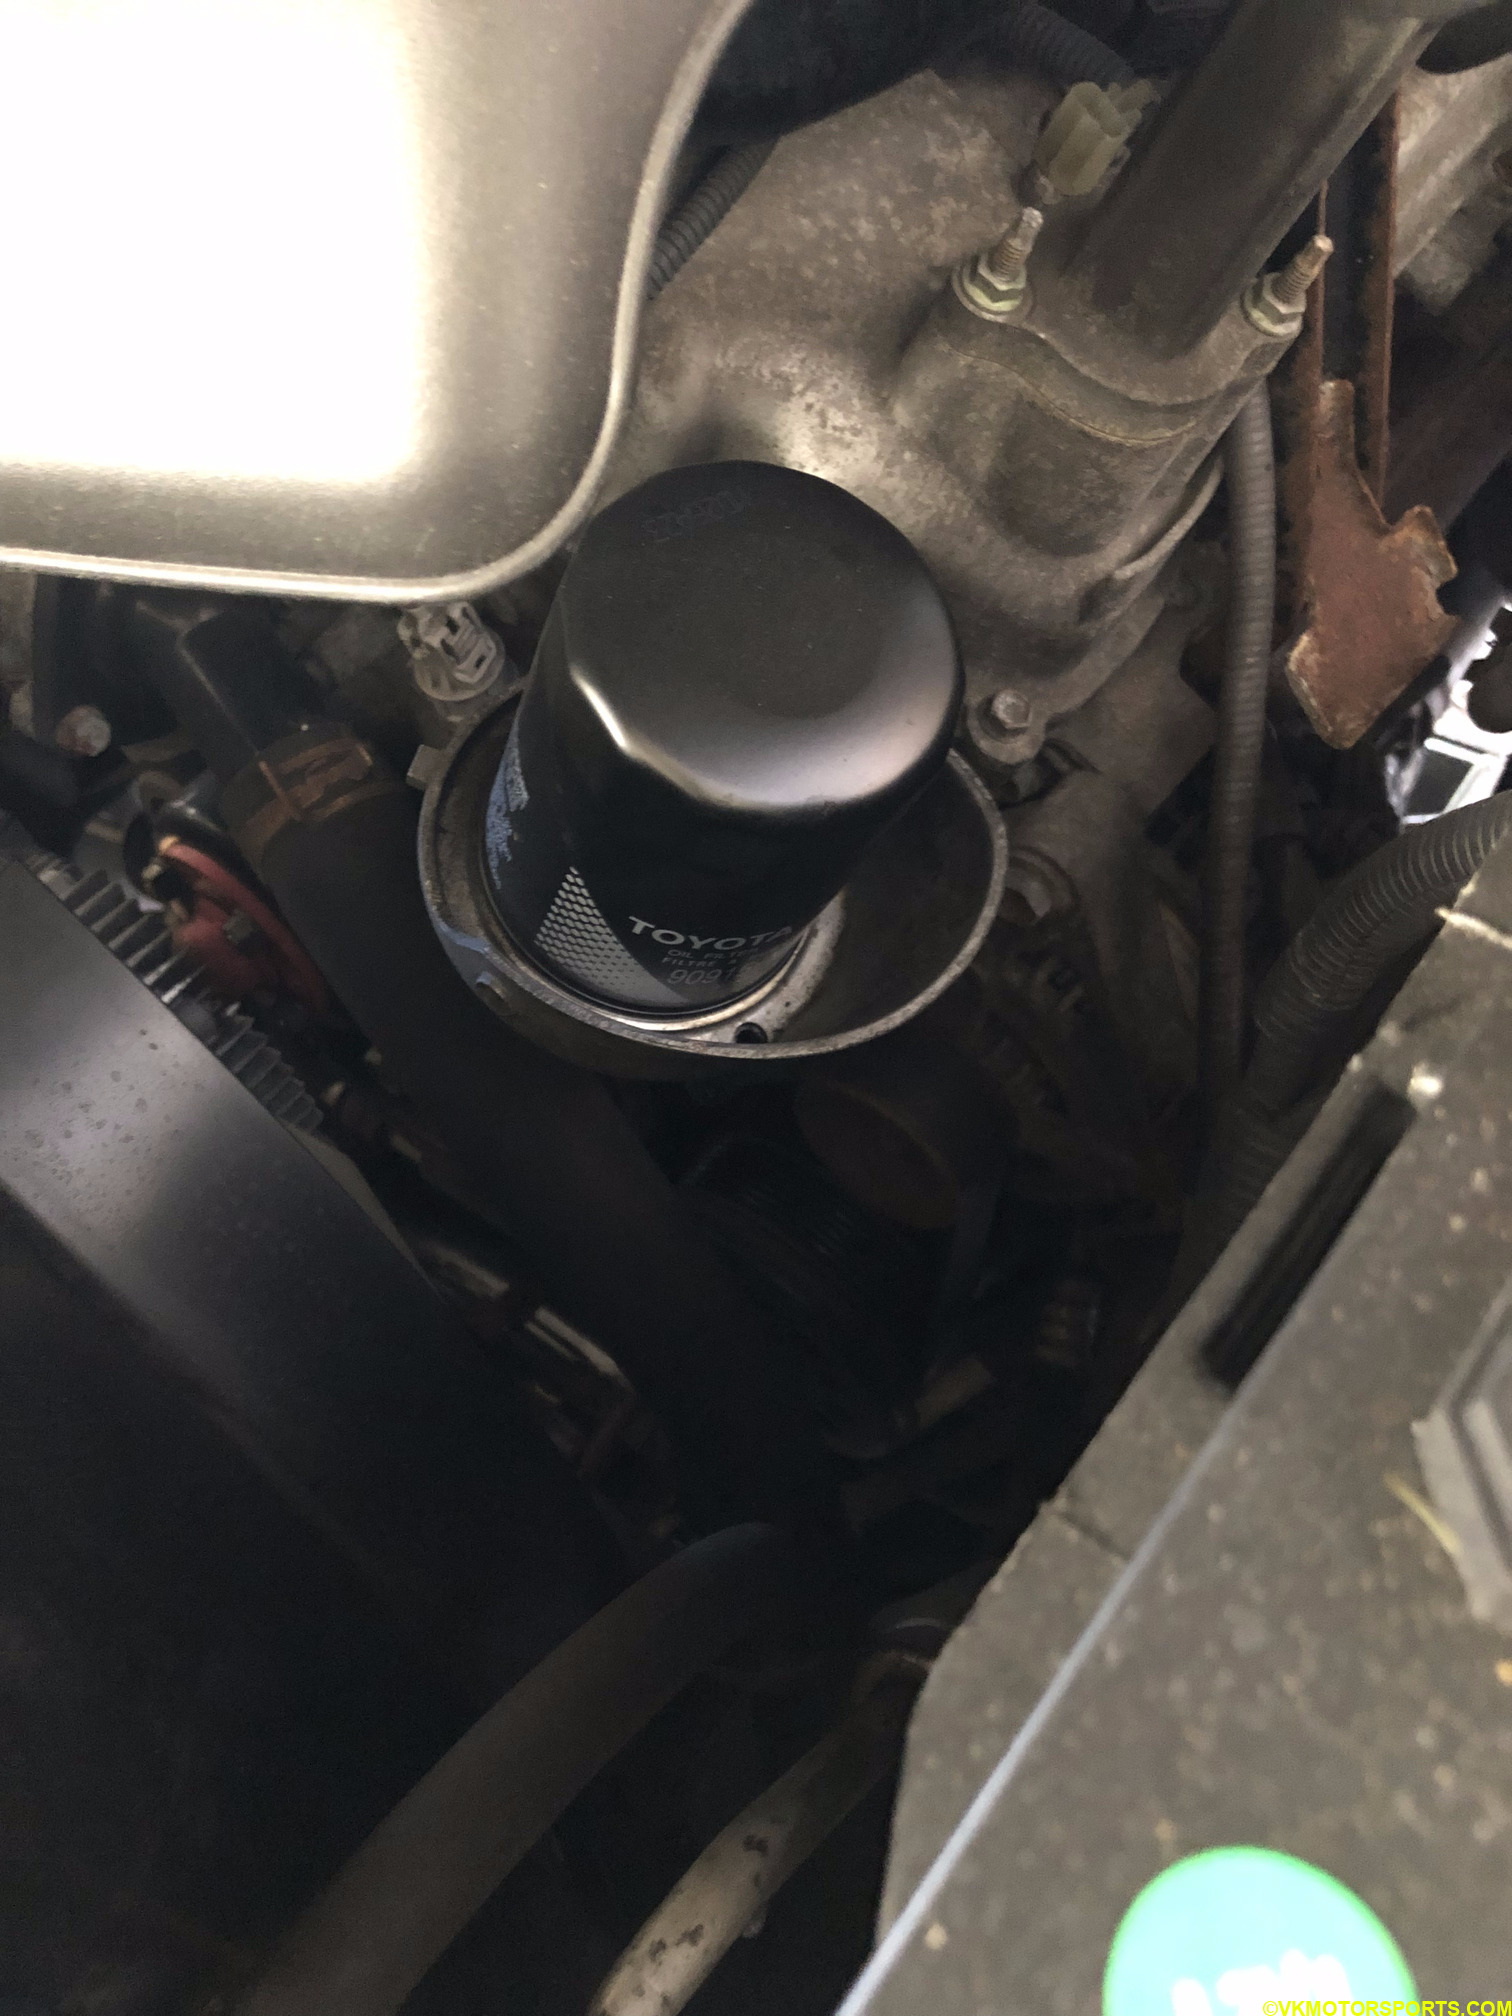 Figure 7. Existing oil filter location in engine bay
Use an oil filter wrench to remove the old filter and carefully lift it out with a shop towel or rag around it, as it will drip oil. You can see the oil dripped out for me in Figures 8 and 9 while removing the filter. I then used a dropper or turkey baster to suck the oil out as in Figure 10. Then I wiped the area clean as seen in Figure 11. I also cleaned the dirty oil filler spout (Figure 12a) and made it look like Figure 12b.
 Figure 8. Oil filter being removed and dripping oil
 Figure 9. Oil that has dripped
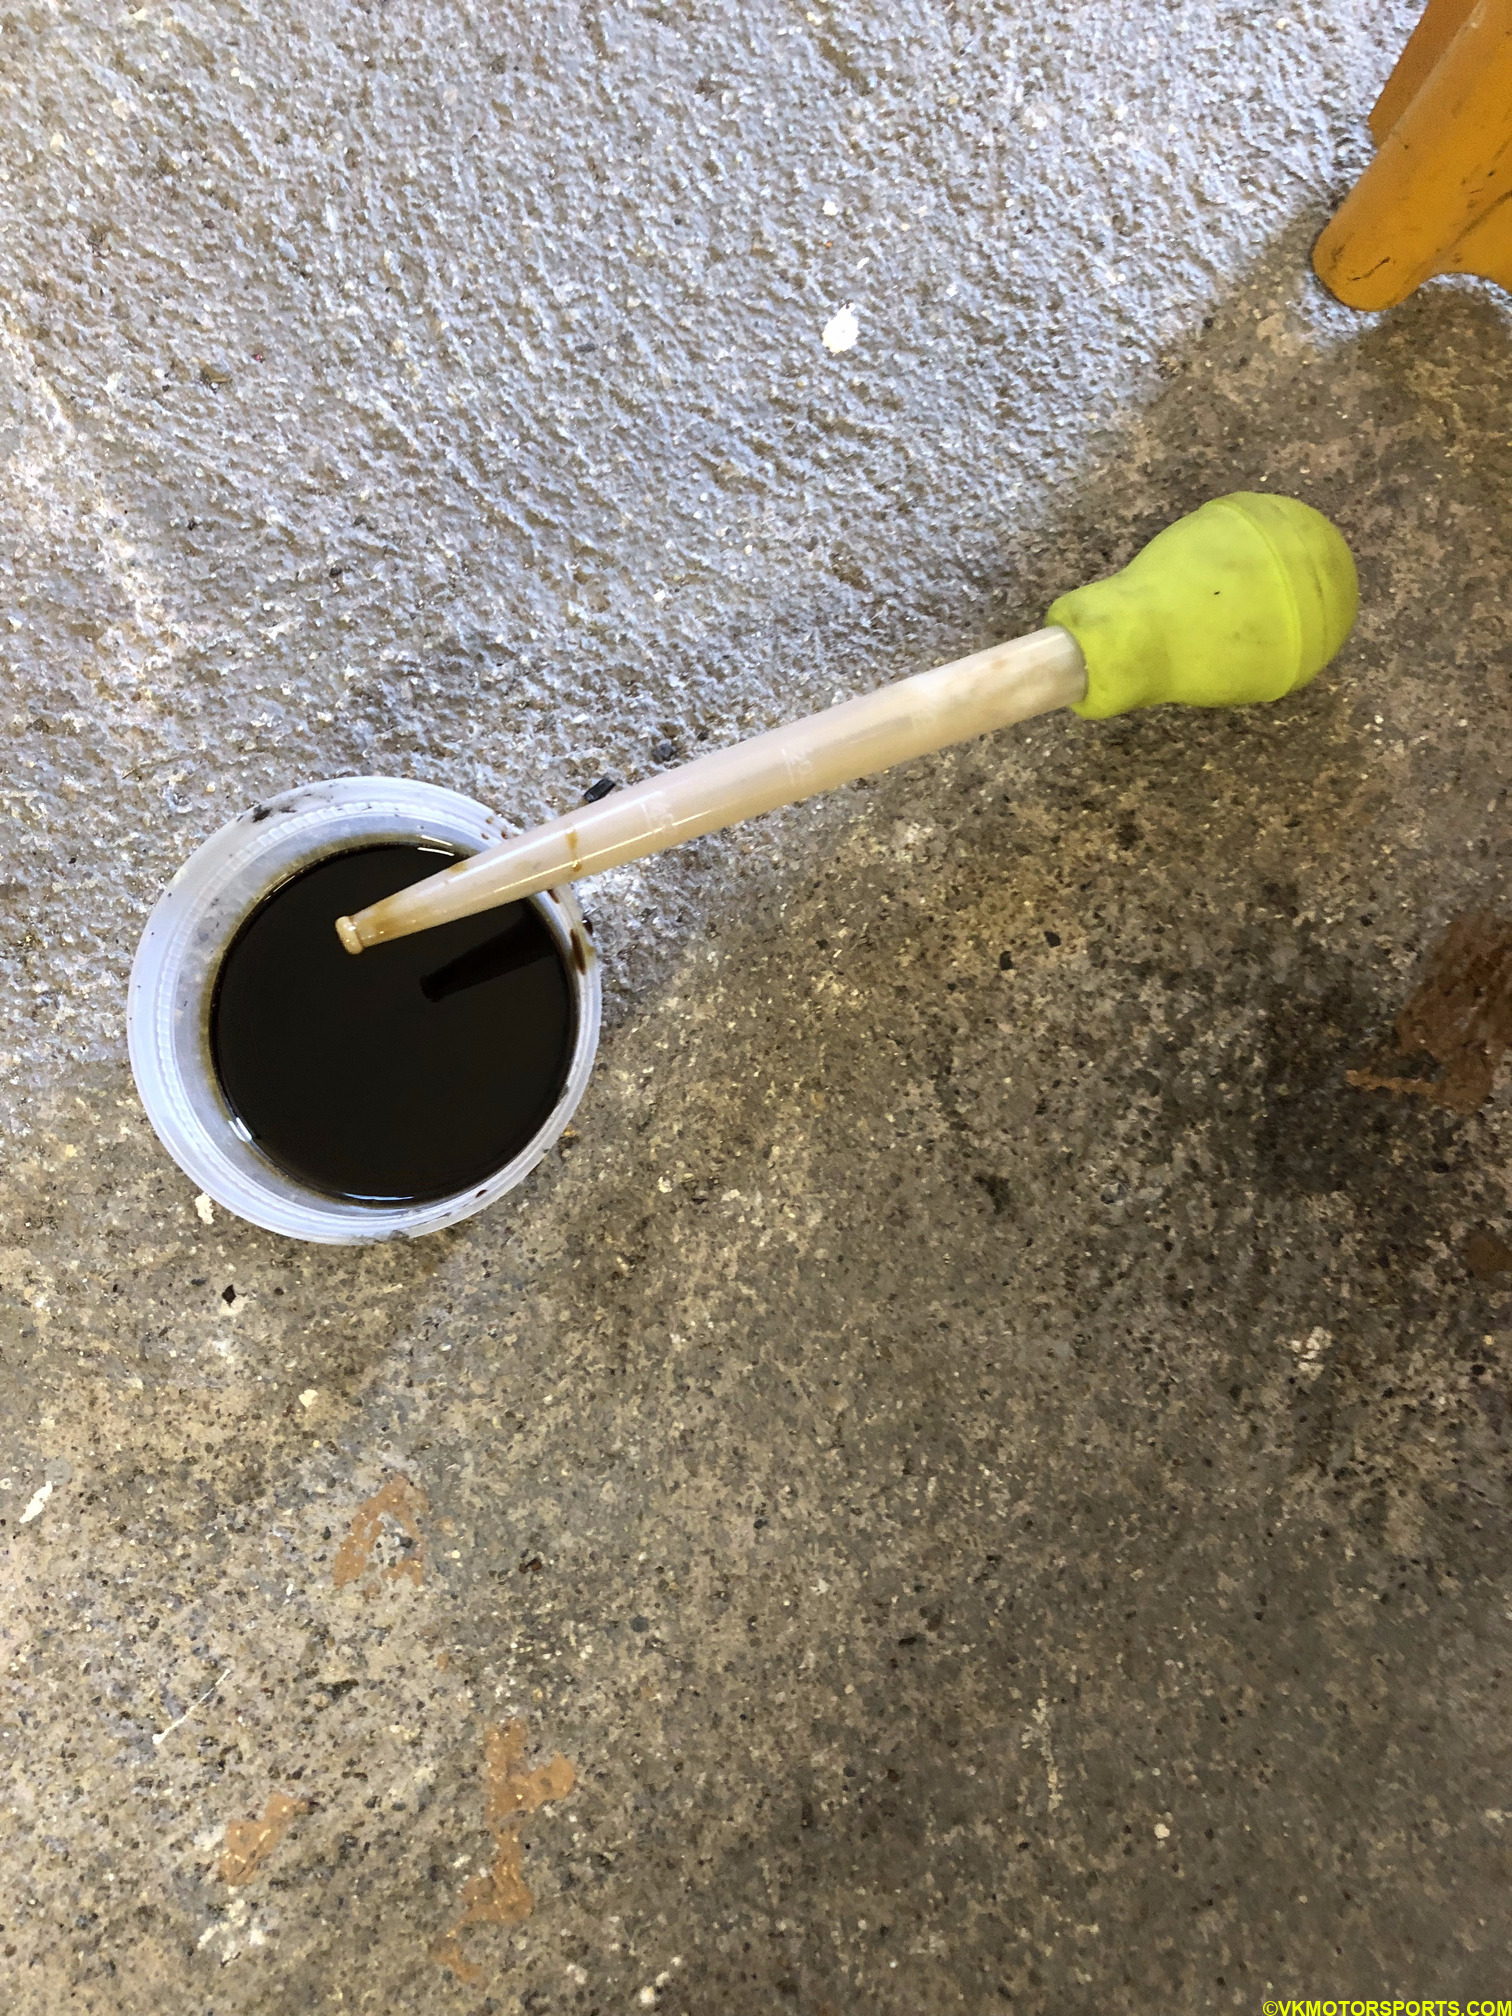 Figure 10. Oil sucked out using dropper or turkey baster
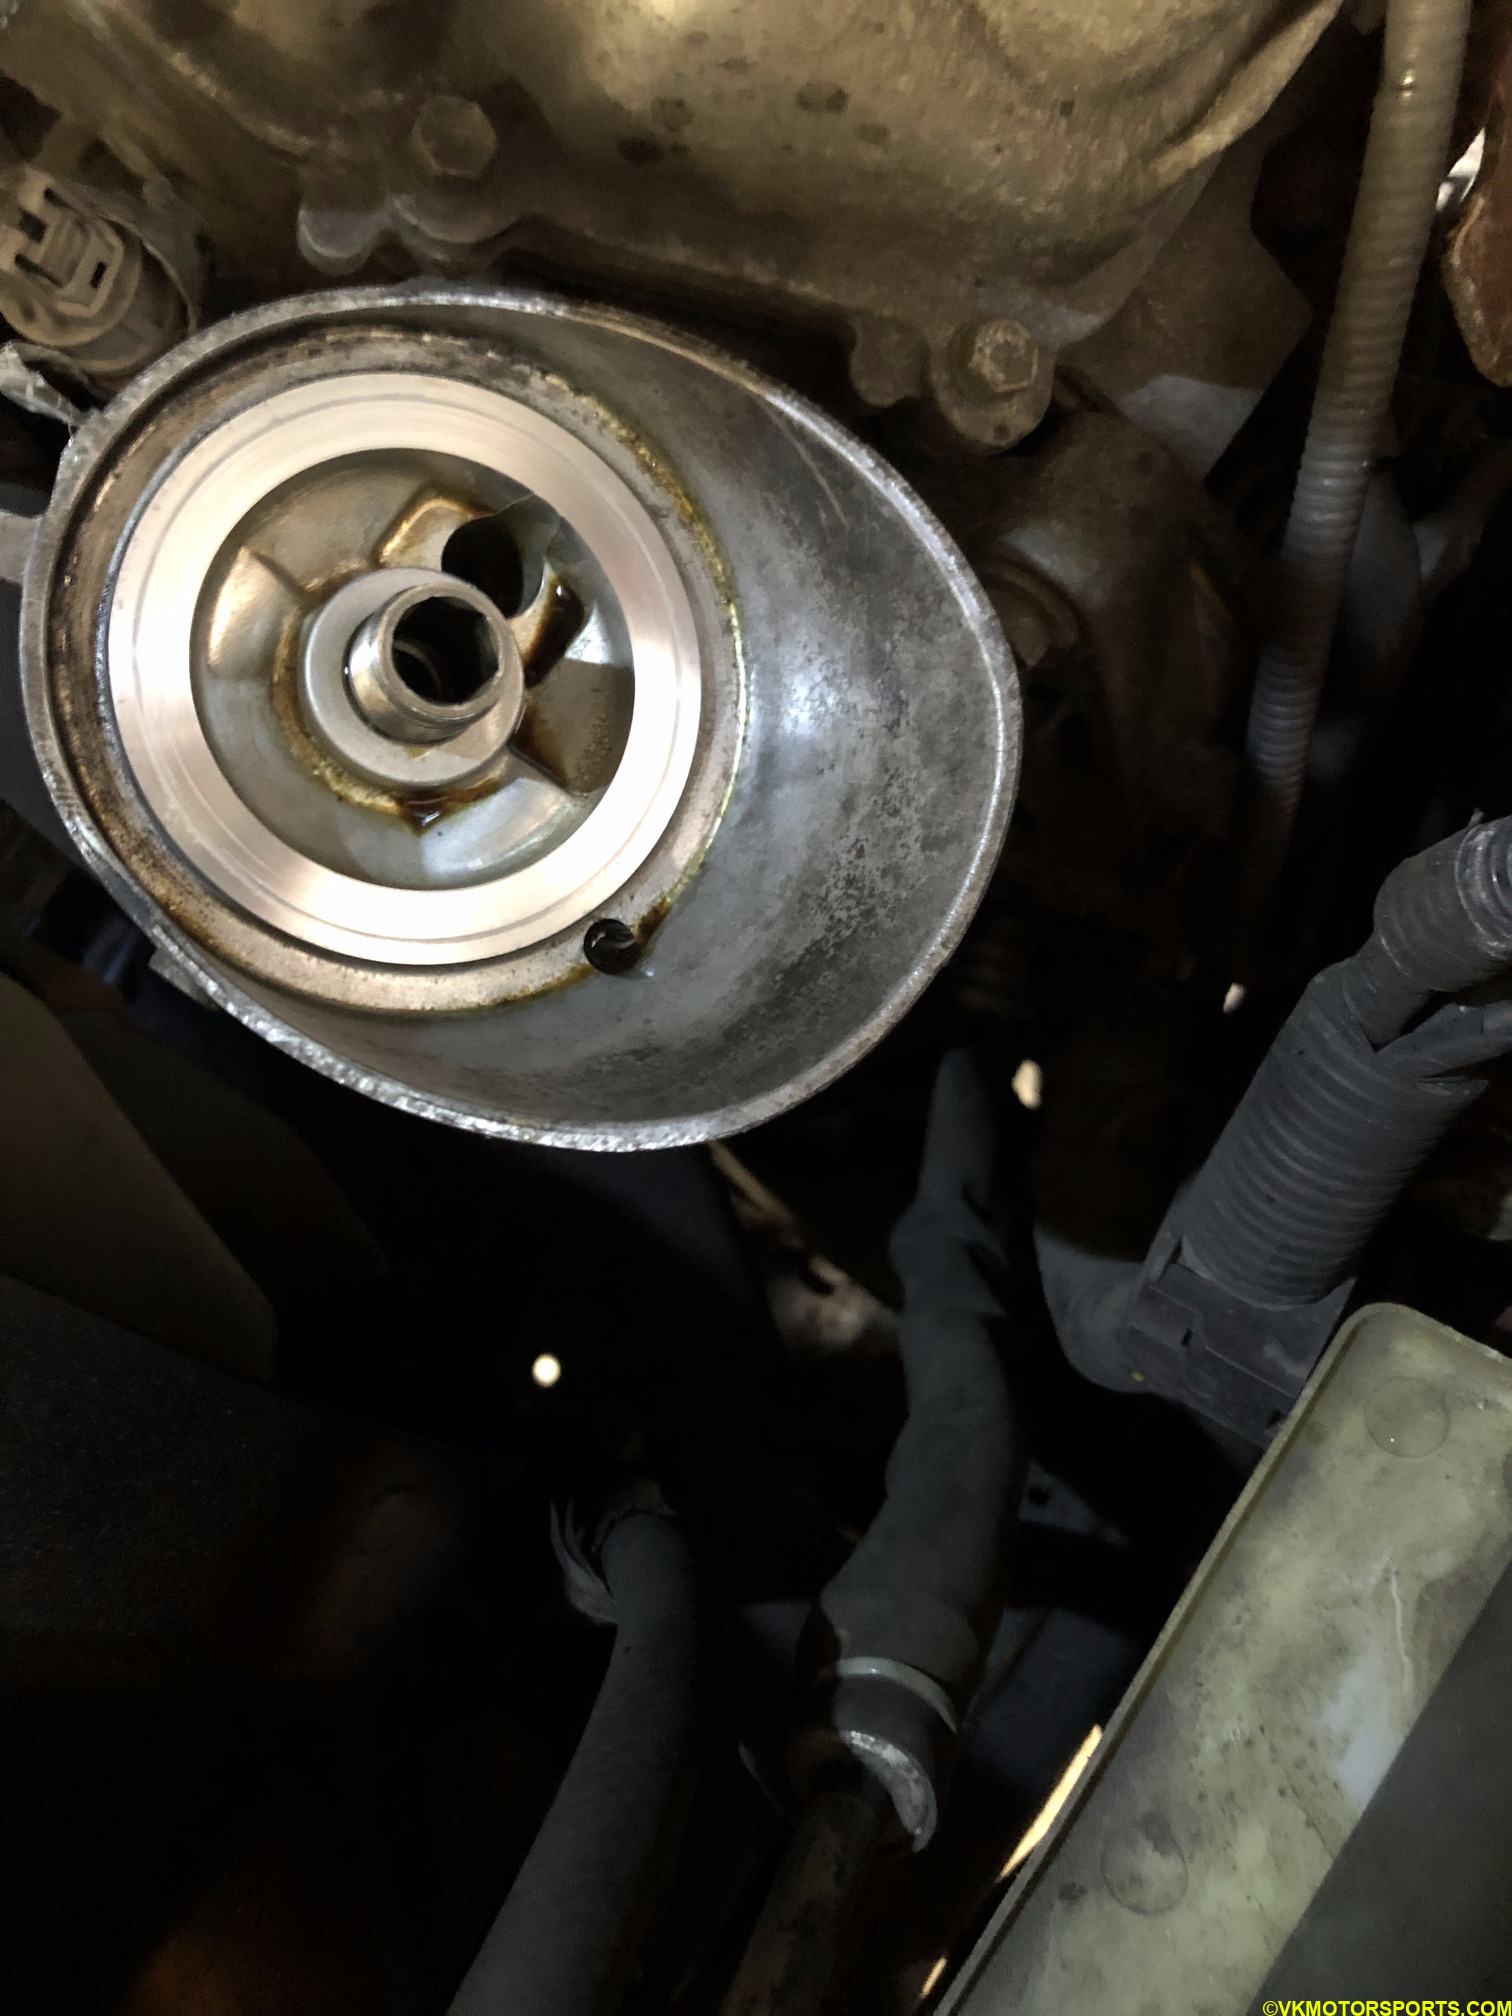 Figure 11. Cleaned oil filter location
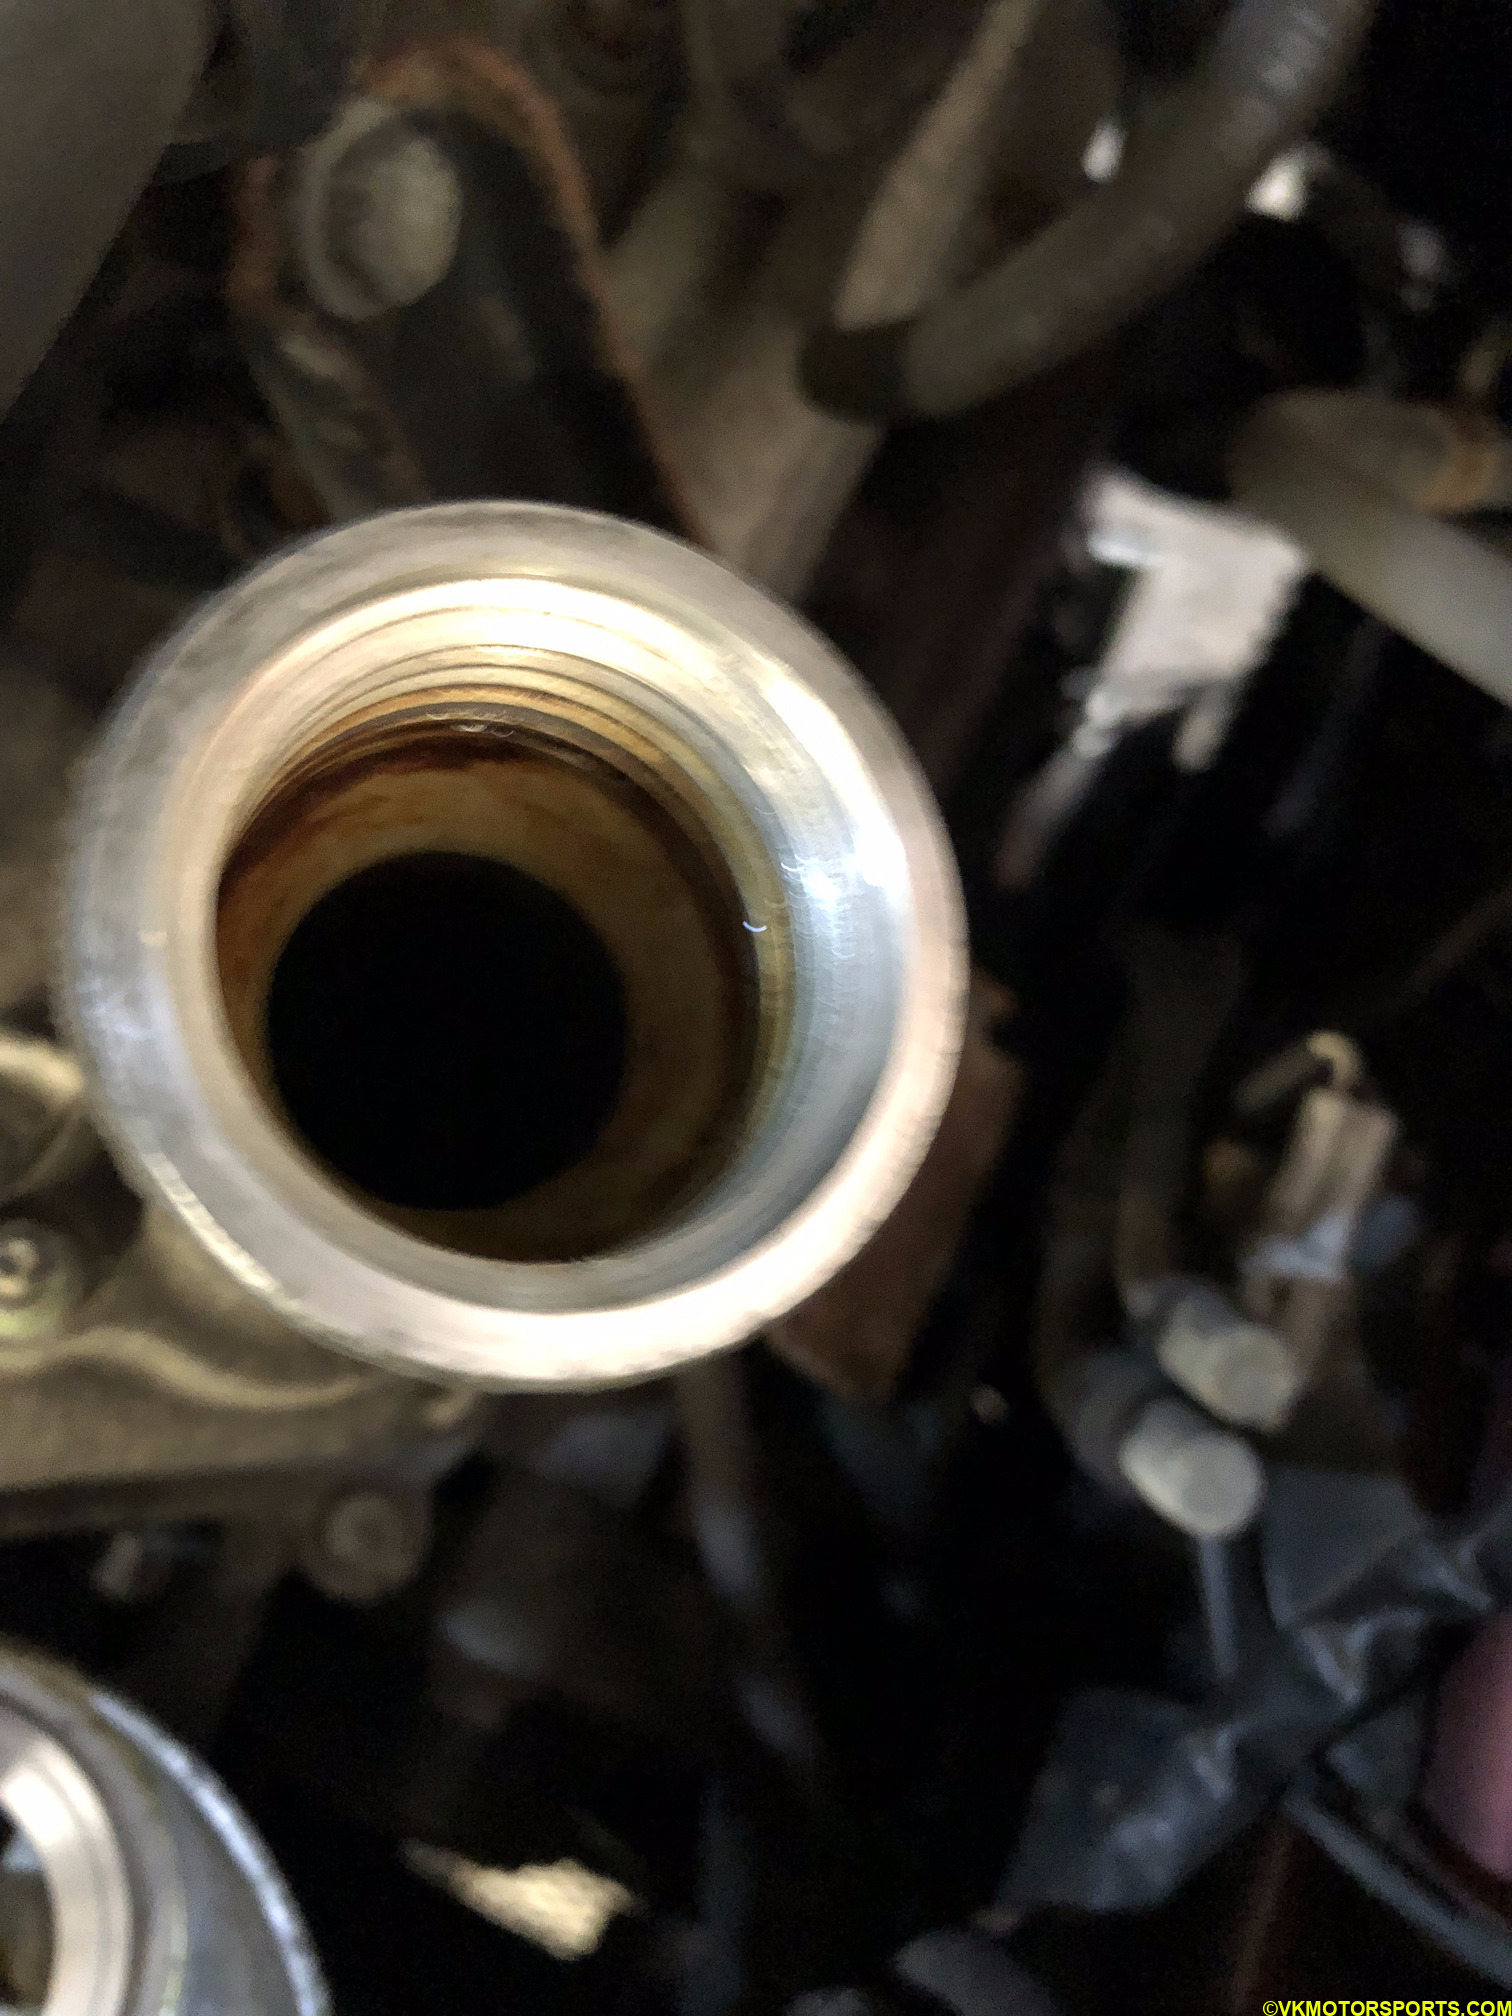 Figure 12a. Dirty oil filler spout
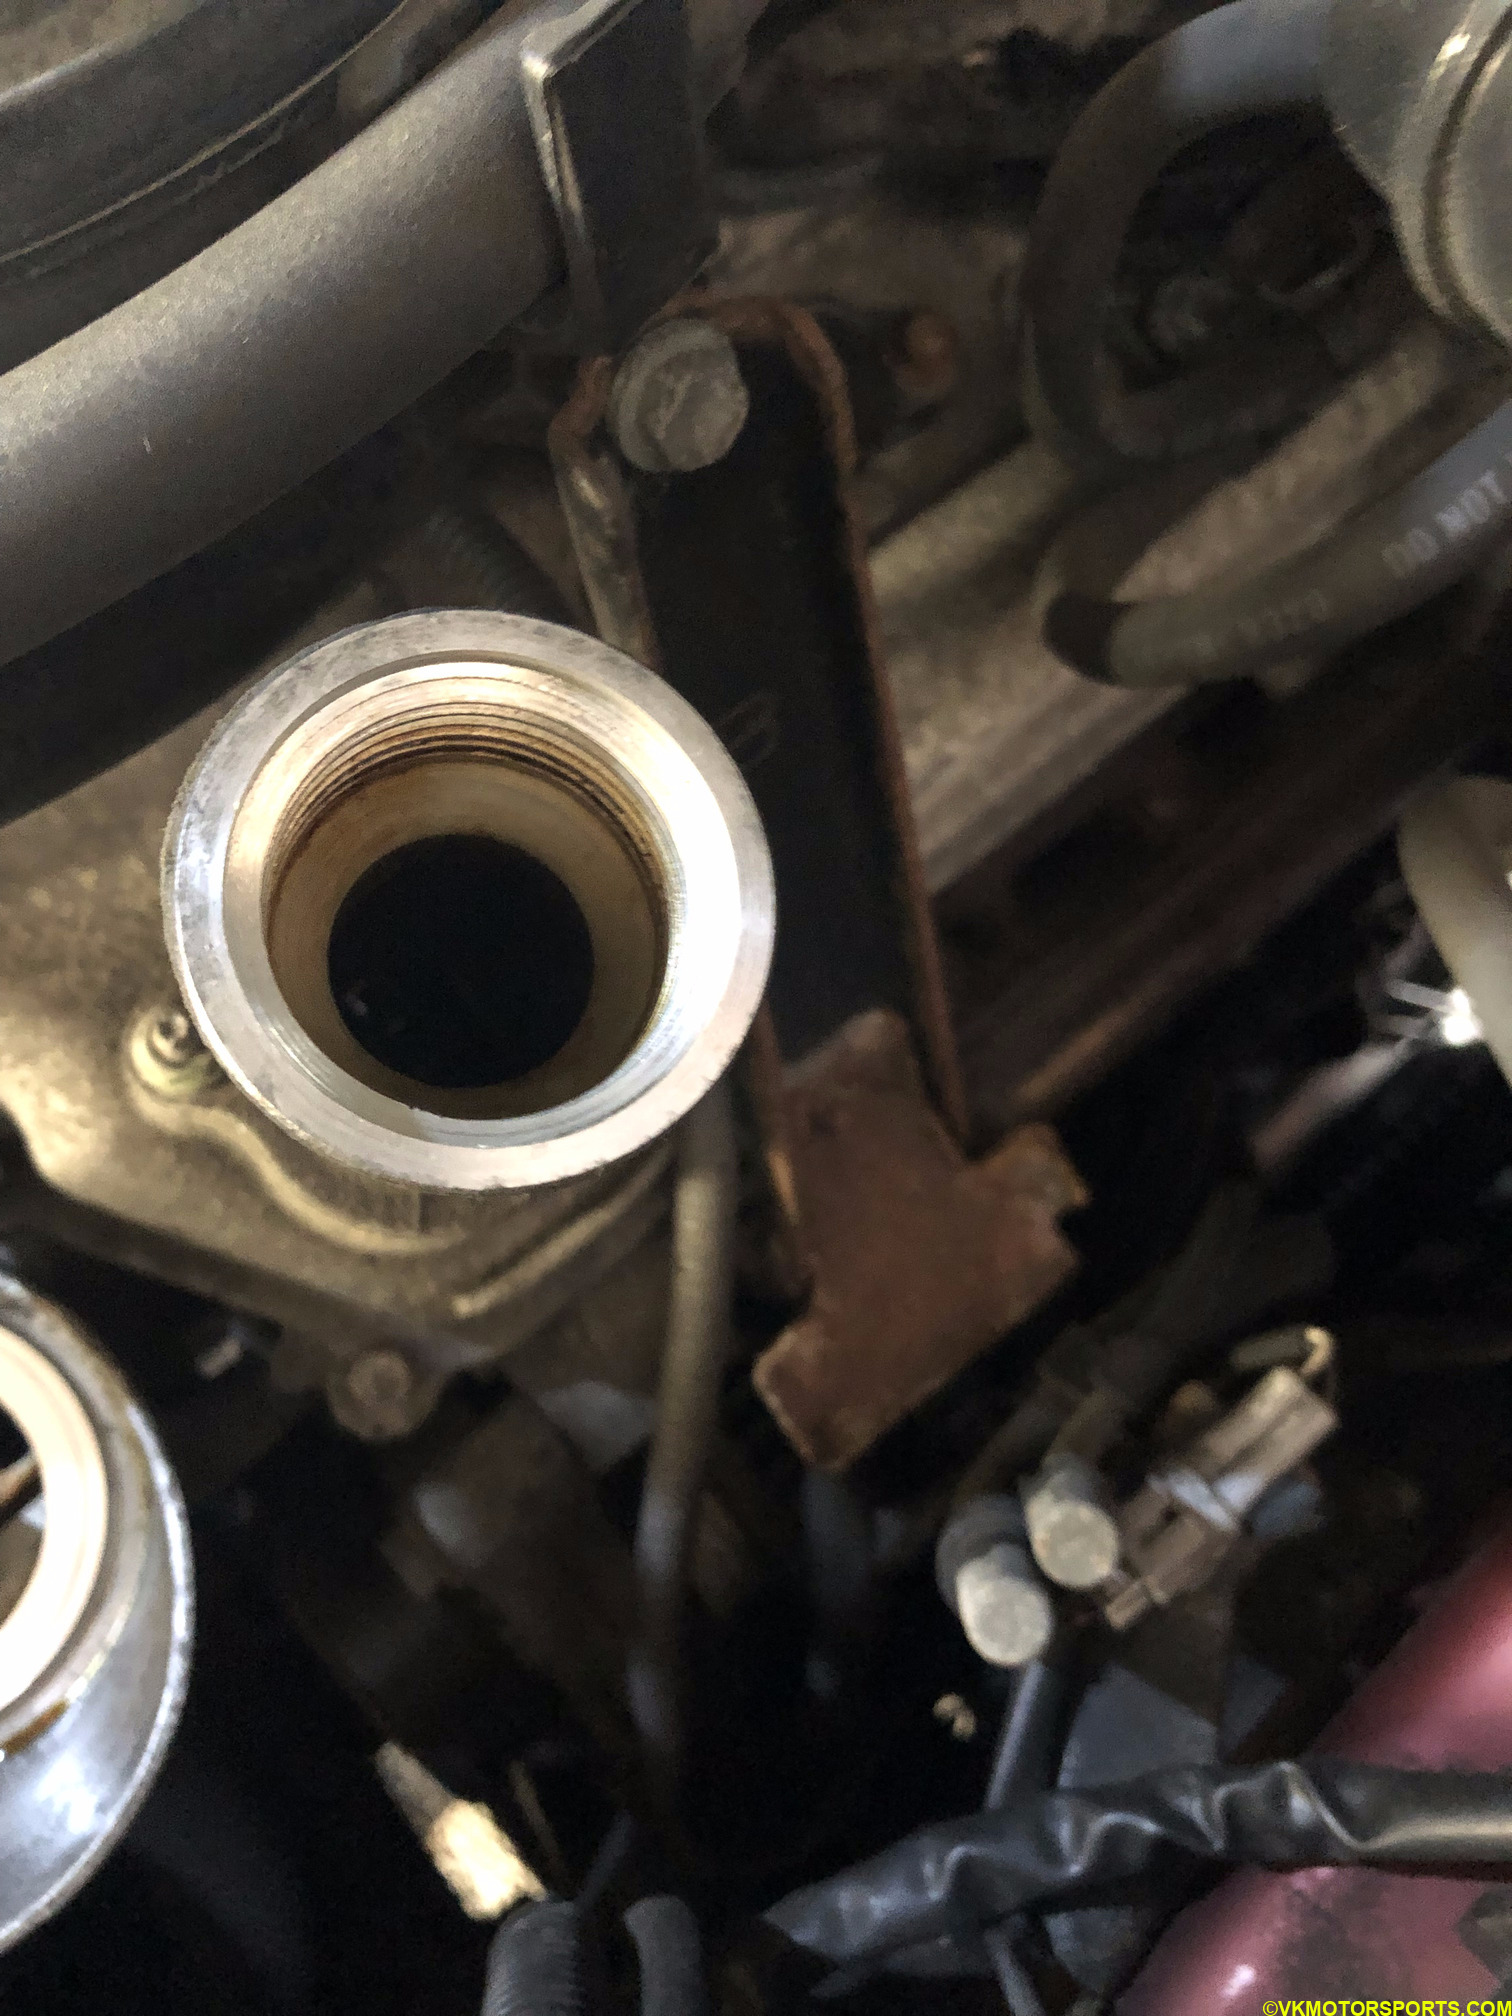 Figure 12b. Clean oil filler spout
Now I selected the Mobil1 Extended Performance oil filter M1-102A to be the filter (Figure 13) and purchased 6 quarts of Mobil1 5W-30 synthetic motor oil as shown in Figure 14. You need to lubricate the filter by filling it up 3/4th with fresh motor oil and then apply some oil with your finger to the gasket on the filter as seen in Figure 15. I ended up over-filling it as you can see in the figure, so I poured some out.
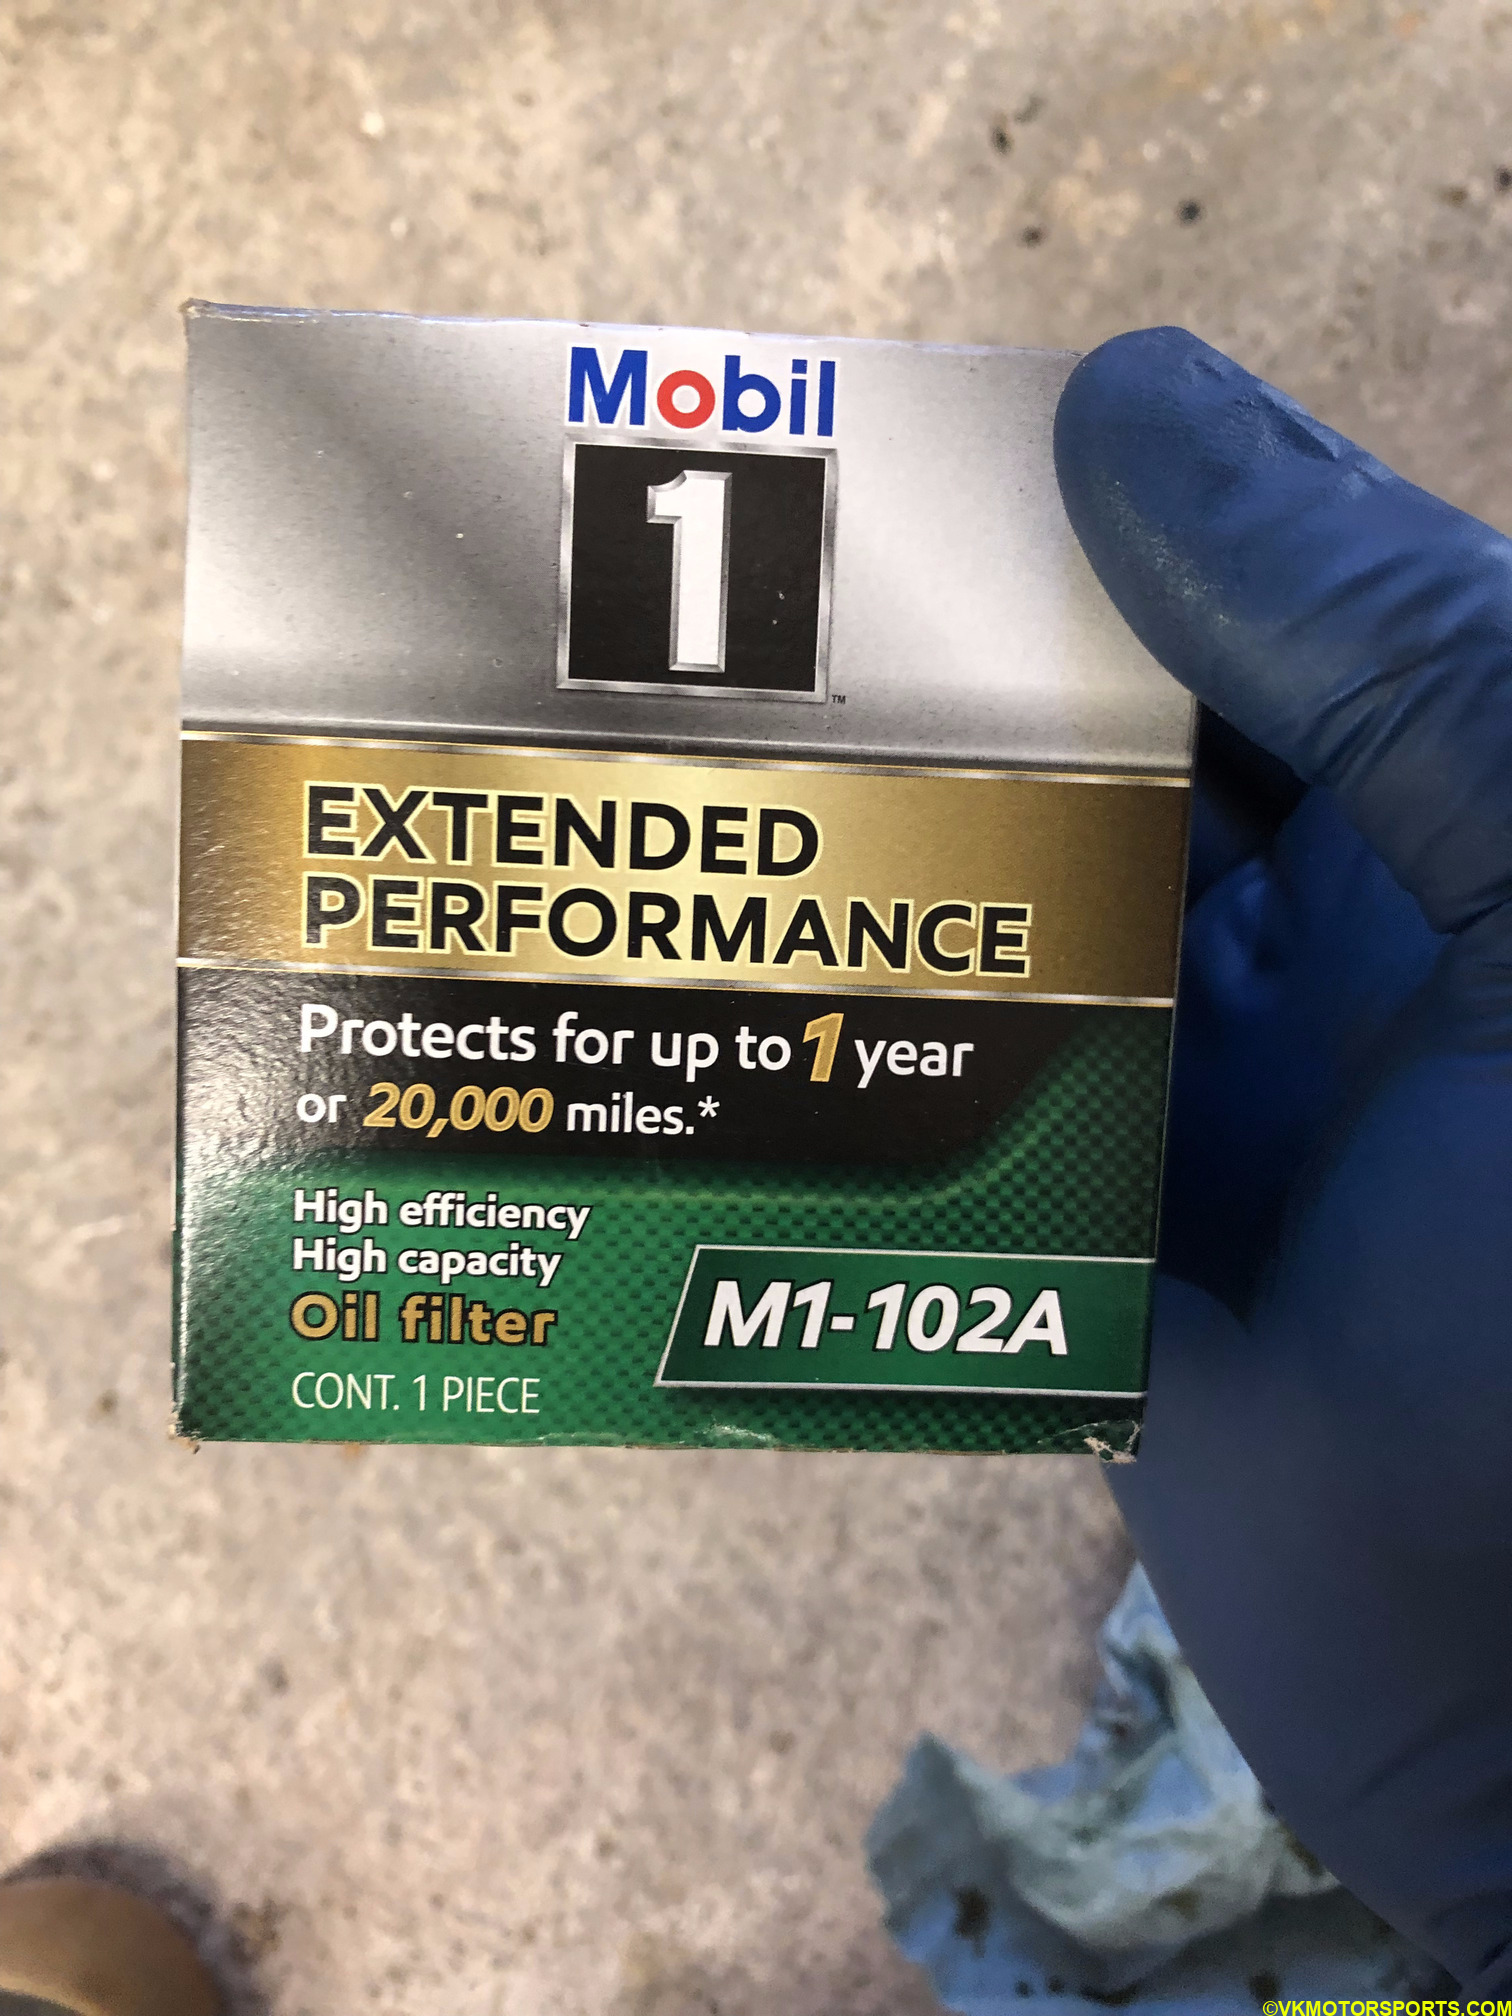 Figure 13. Mobil1 Extended Performance M1-102A oil filter
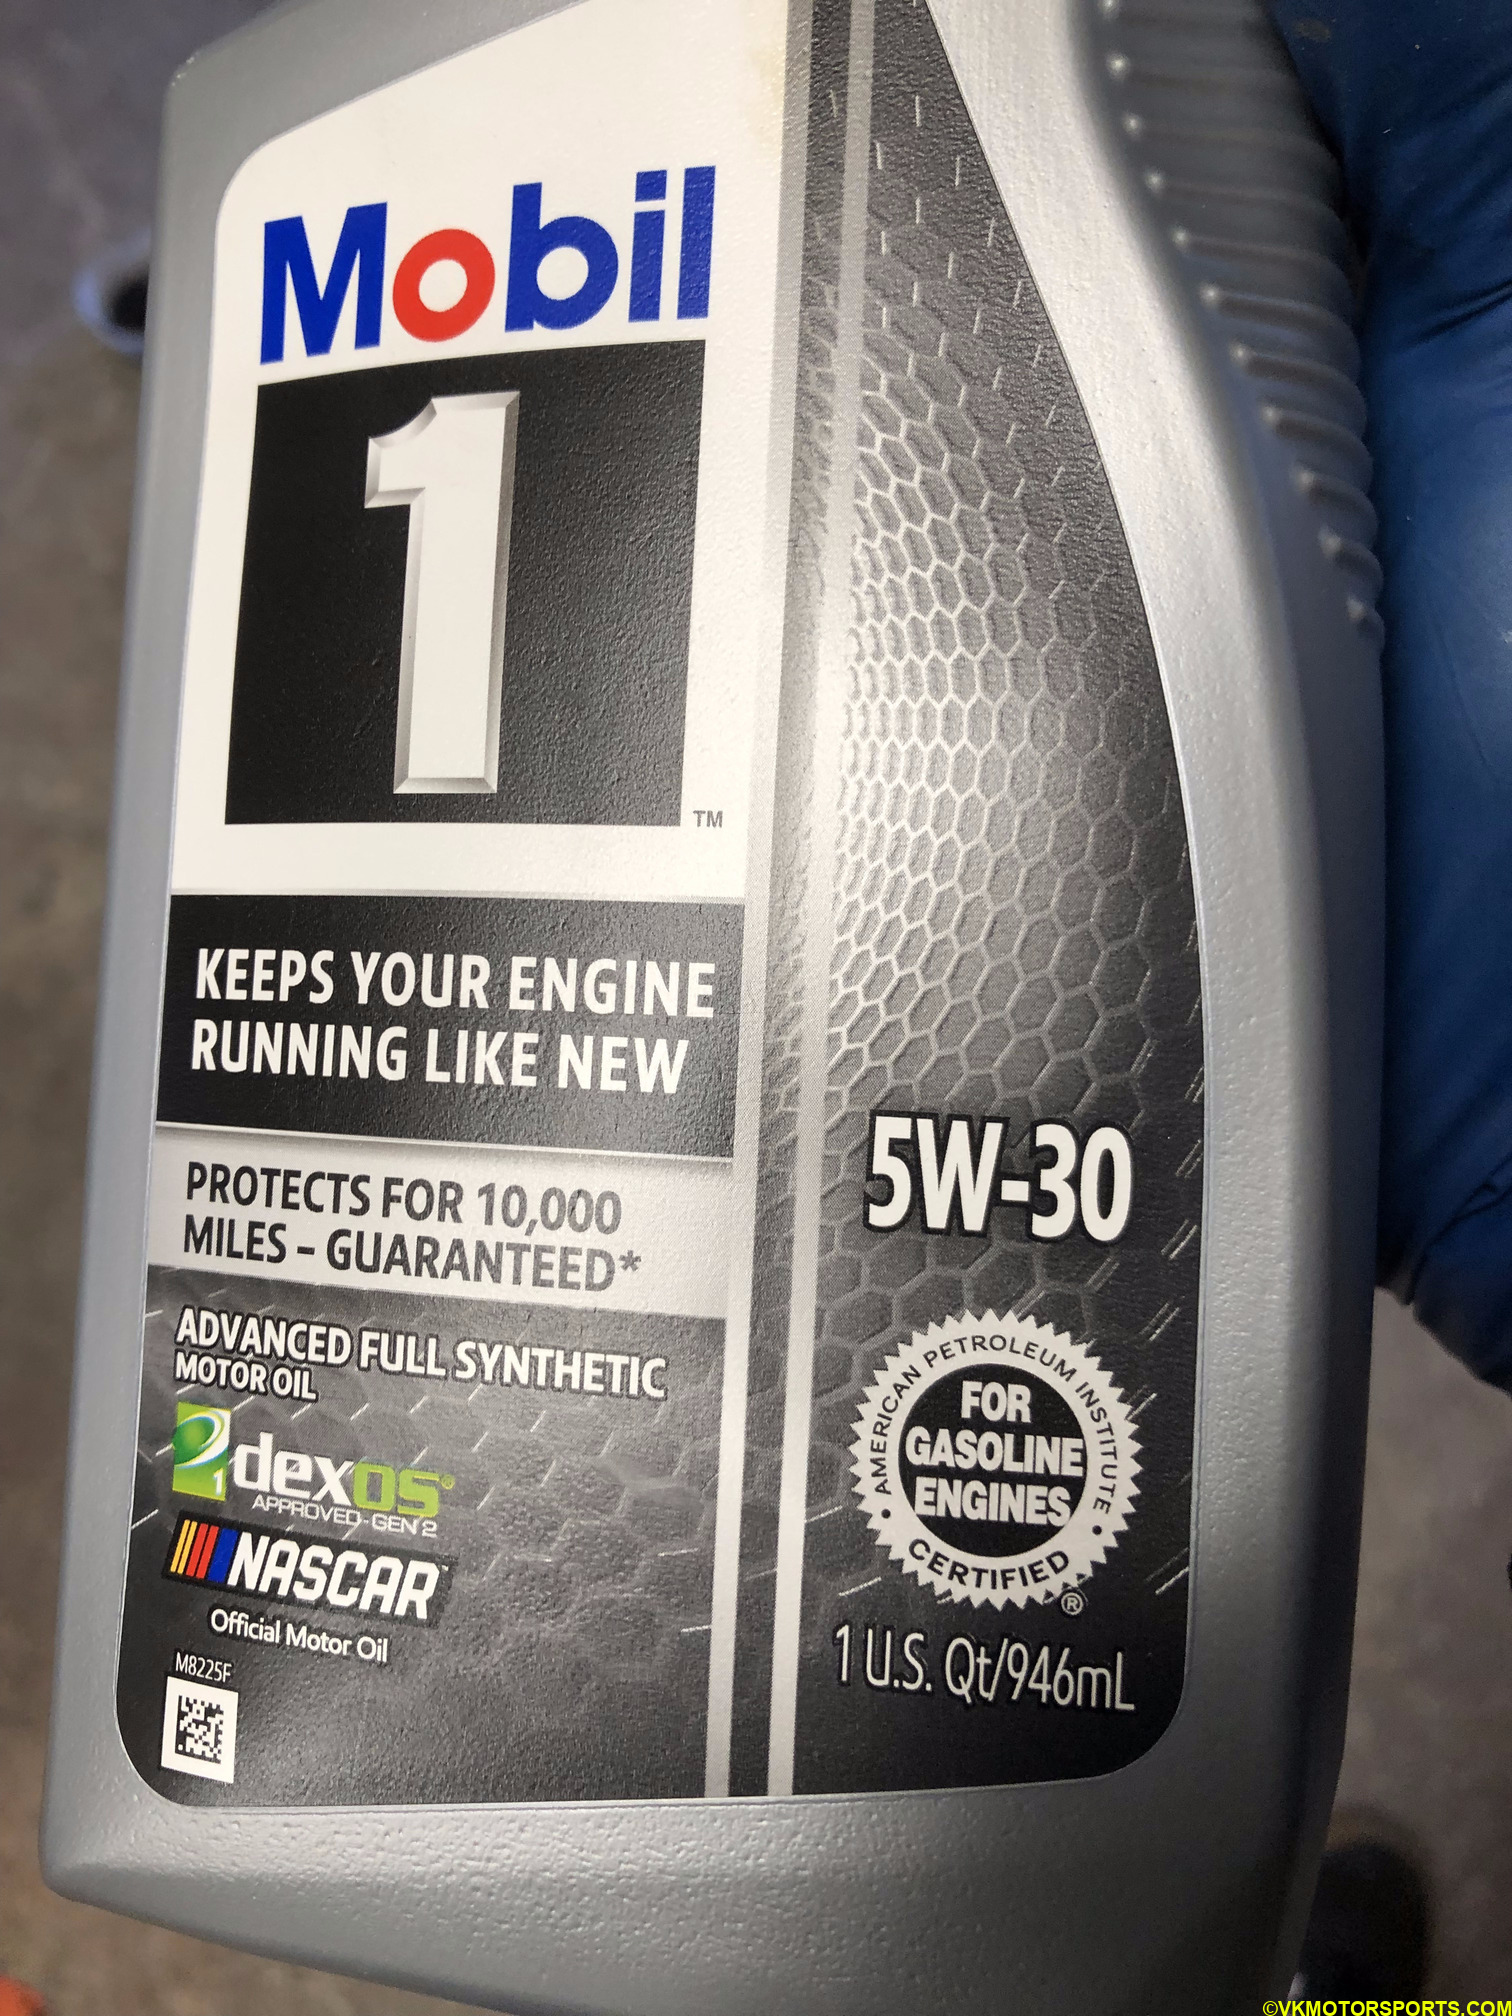 Figure 14. Mobil1 5W-30 Synthetic oil
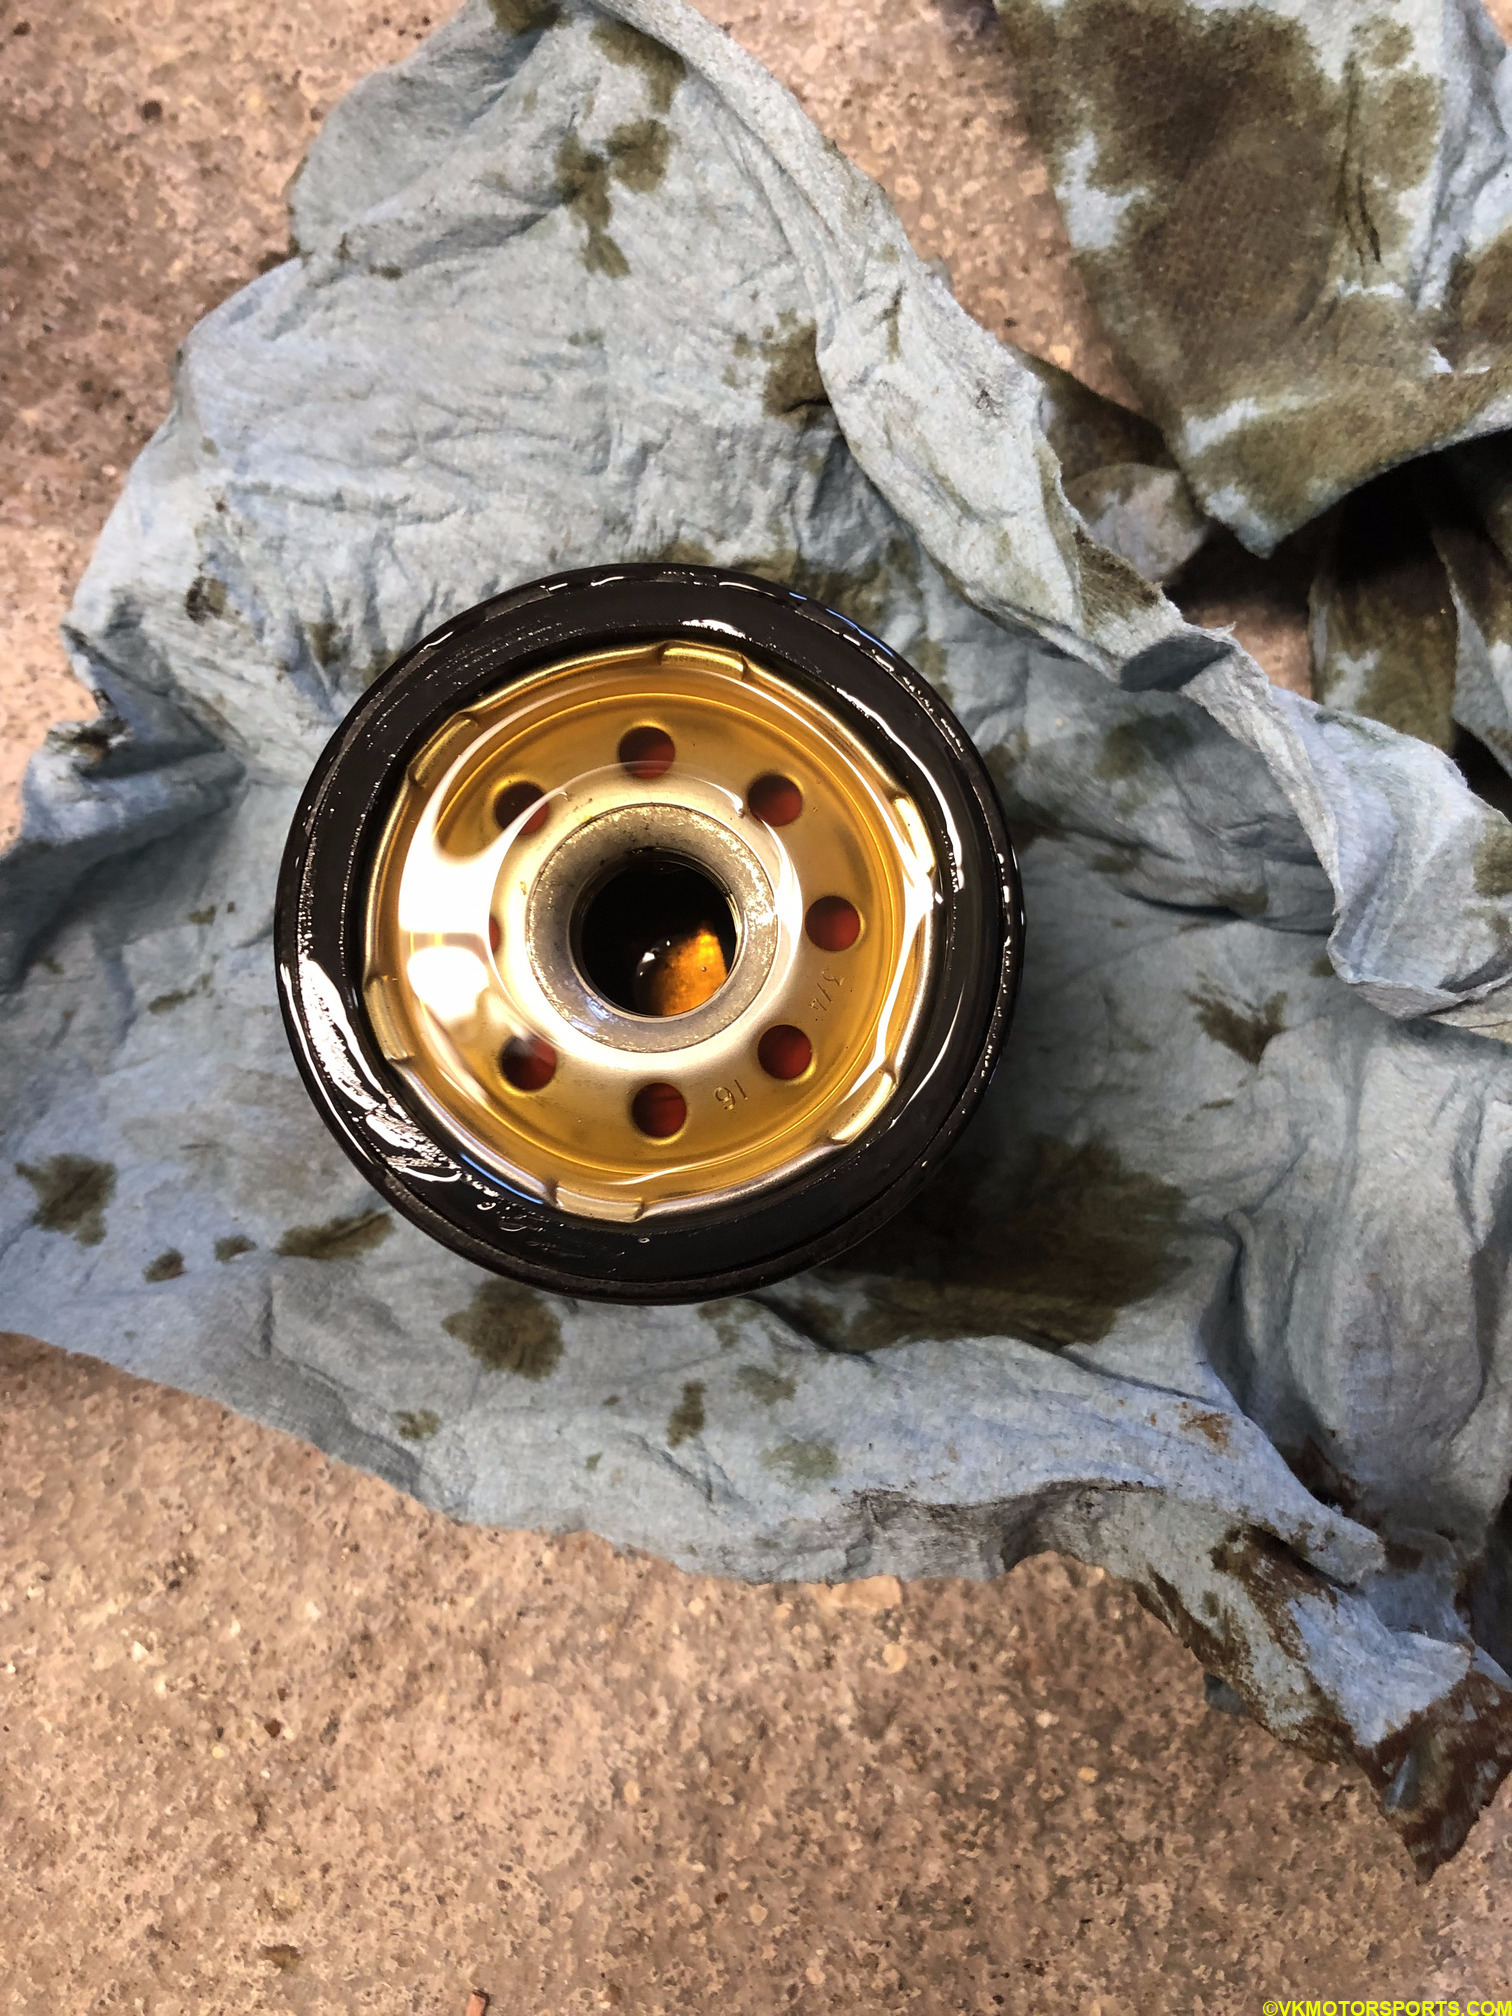 Figure 15. Lubricate the filter by filling it up 3/4 with oil
The oil filter absorbs the oil you pour in it in a minute or so.
Now install the oil filter back into position as shown in Figure 16. Use an oil filter wrench as shown in Figure 17 and tighten it. Wipe any oil that has dripped with a shop towel or rag.
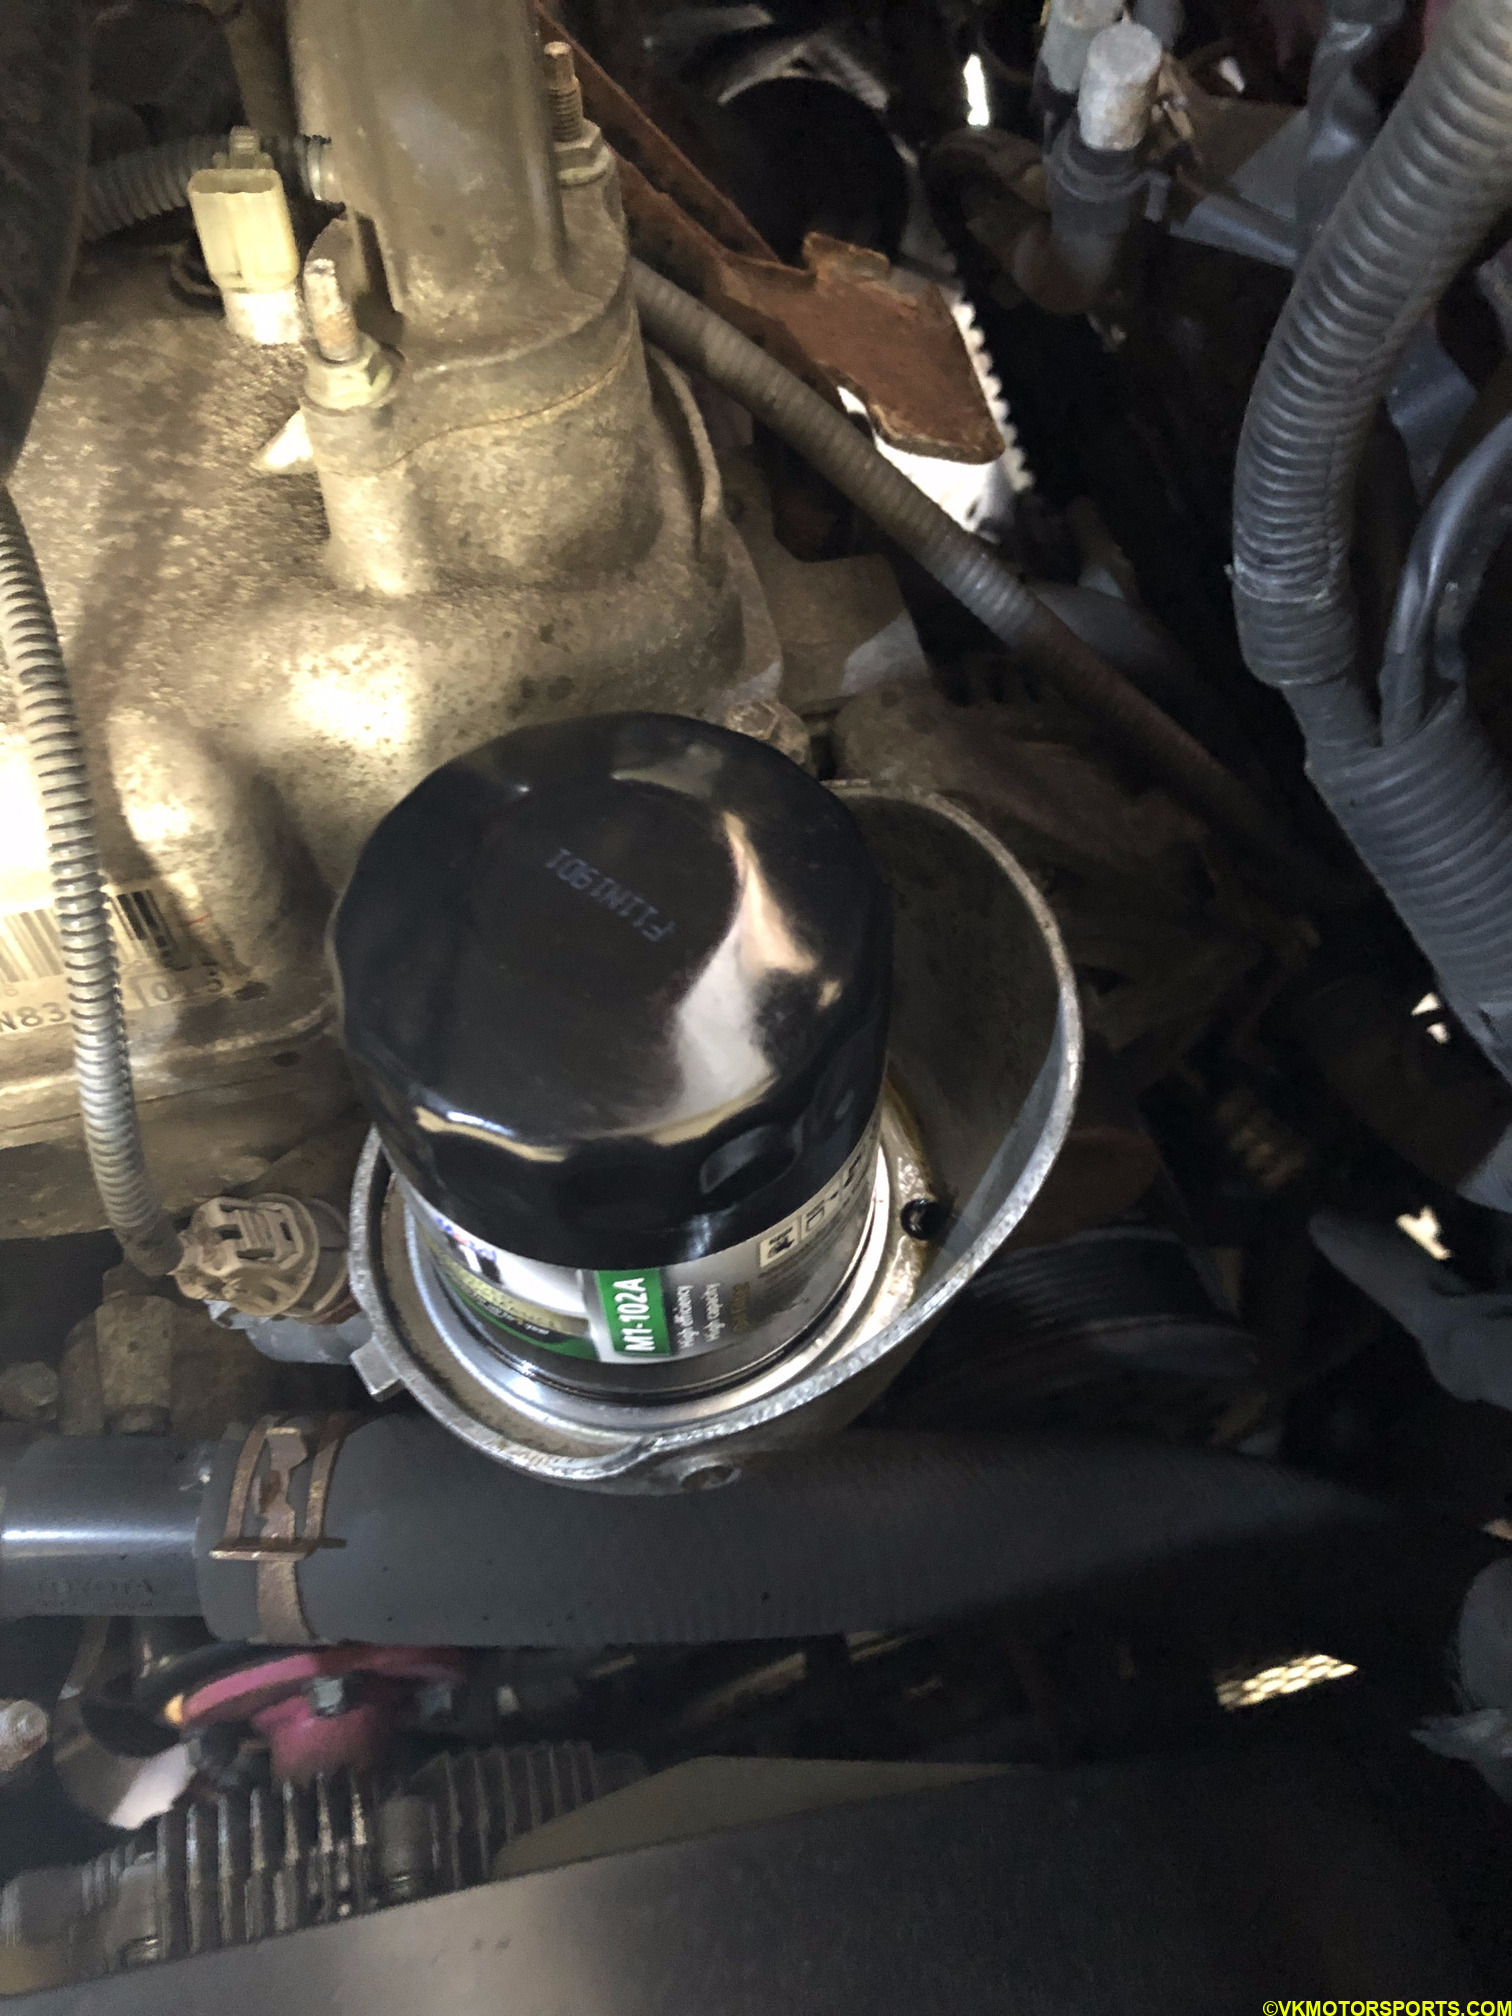 Figure 16. Install the oil filter
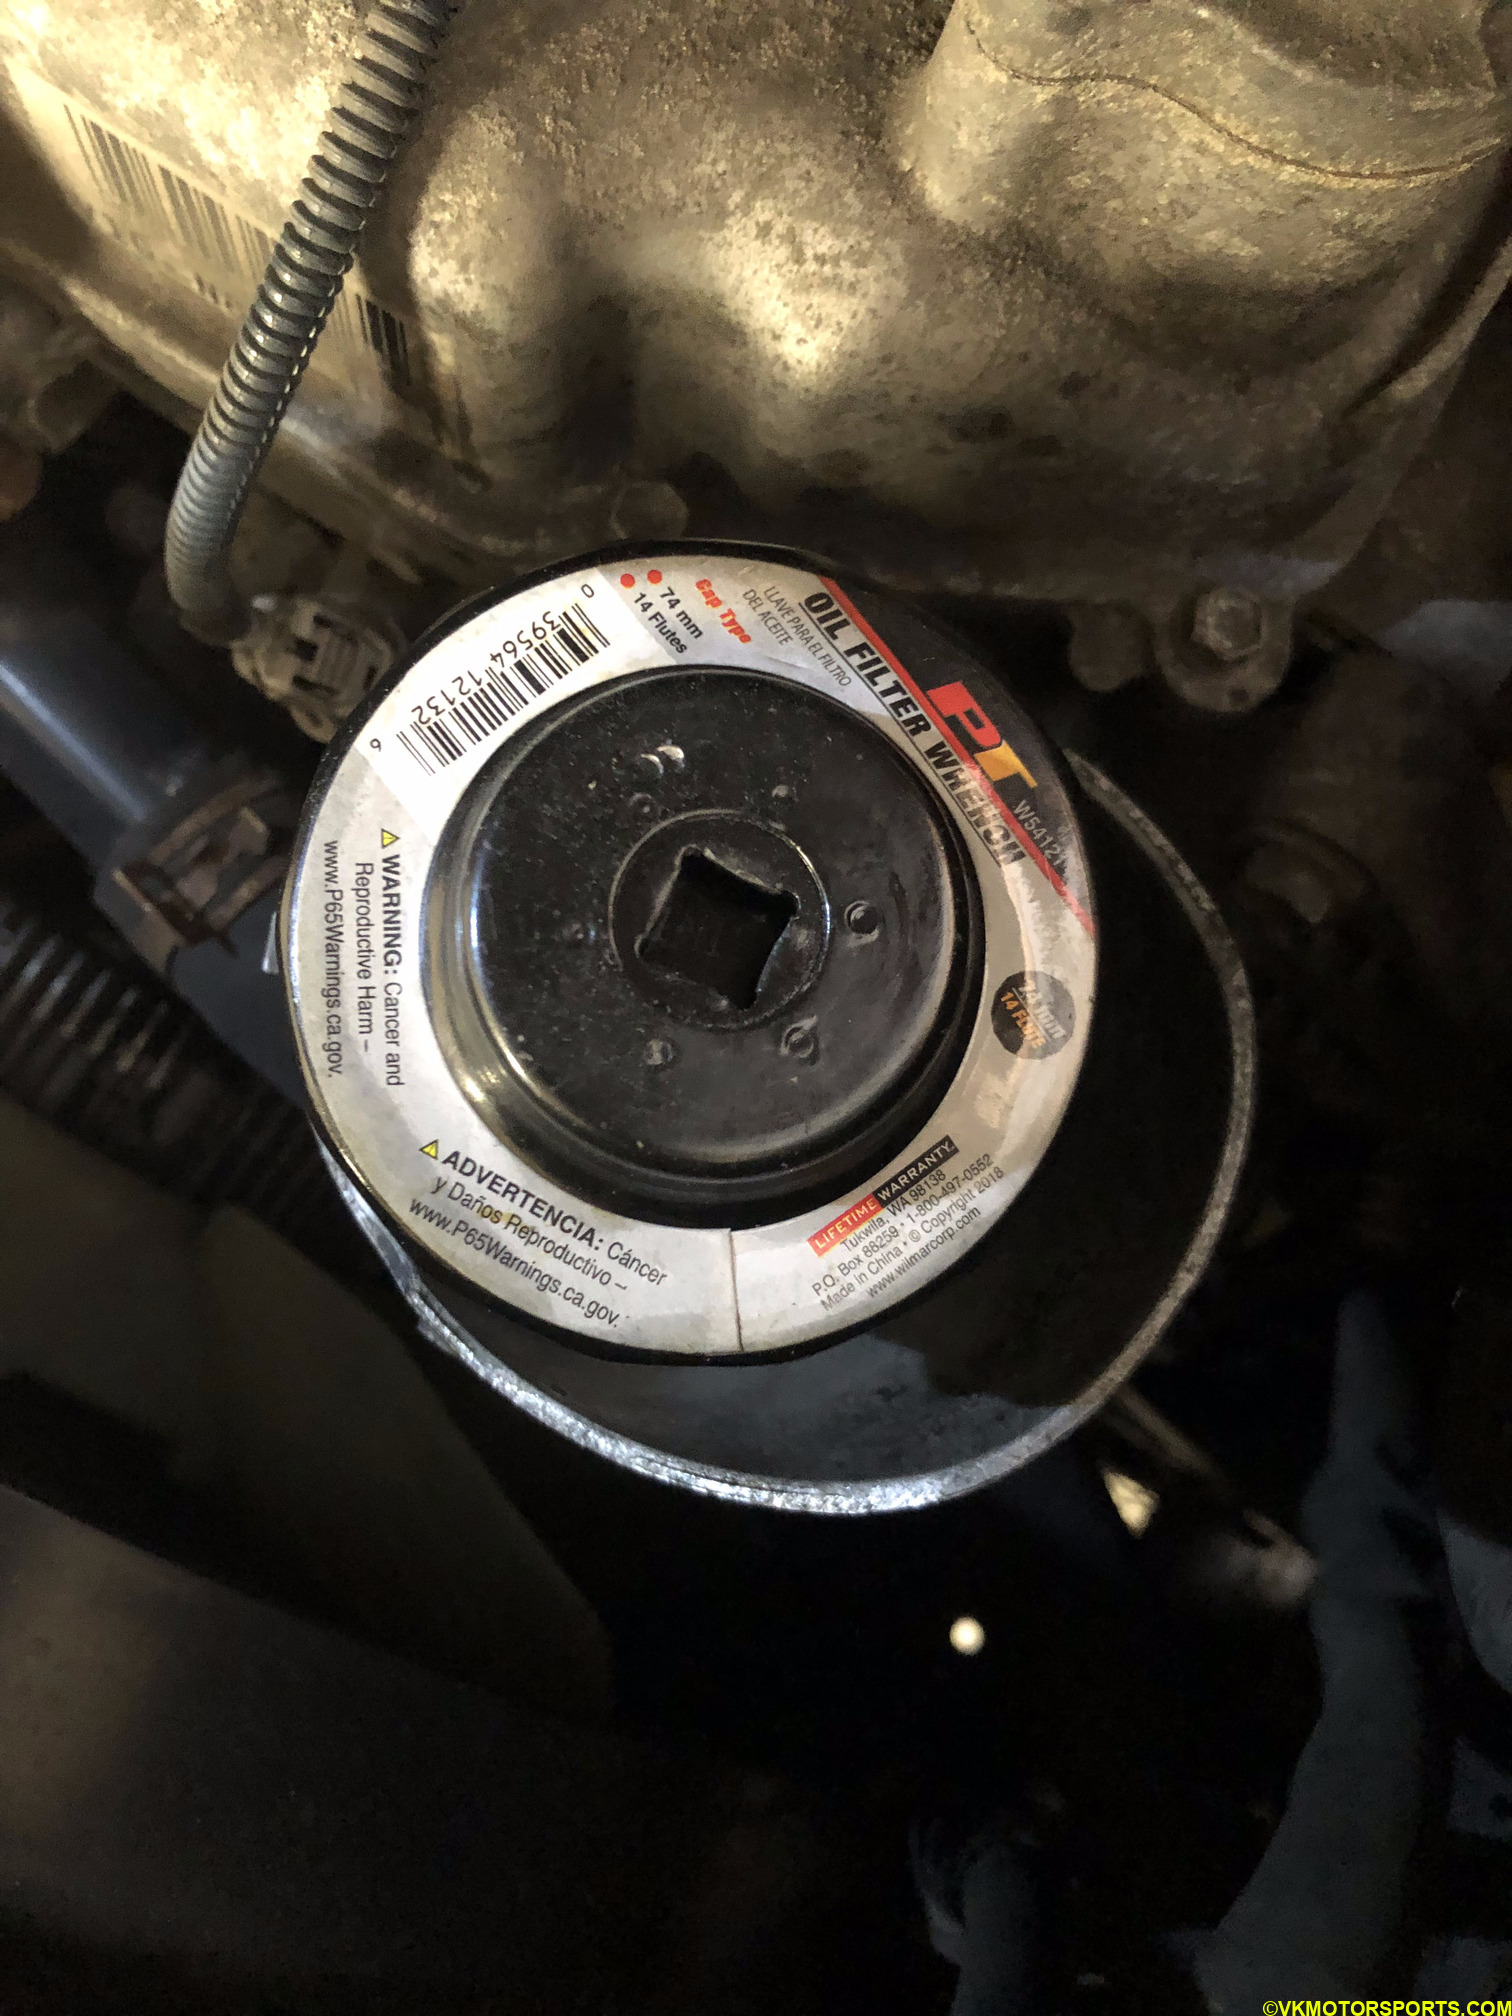 Figure 17. Tighten with oil filter wrench
Filling up with New Oil
Clean the drain plug while the oil is draining as shown in Figure 18 and change to a new oil drain plug gasket as shown in Figure 19. I purchased the gasket from a local auto parts store but you can also buy it from Amazon here. Once the oil has fully drained out wipe the drain hole and screw in the new plug. Torque the plug (bolt) to 30 ft-lbs or hand tighten it just enough and then do a 1/4th turn. If you overtighten the bolt might slip damaging the oil pan.
Now remove the container filled with old oil from below the vehicle and keep it out of the way.
Using a long funnel, pour 5.5 quarts of Mobil1 5W-30 Synthetic oil into the engine from the oil filler spout slowly. Do not go overboard with the oil, and check the level with the oil dipstick. Once done, clean the oil filler cap and install it back on.
Start the engine and let it run for a few minutes and check for oil leaks. Once you are satisfied that there are no oil leaks, take the vehicle off the jack stands using a jack.
Remember to pour the old engine oil into the empty cans and drop it off at a recycling place or at an auto parts store that takes old engine oil. Do not throw the old engine oil into the trash or pour it in the ground. It is dangerous to wildlife and your water supply.
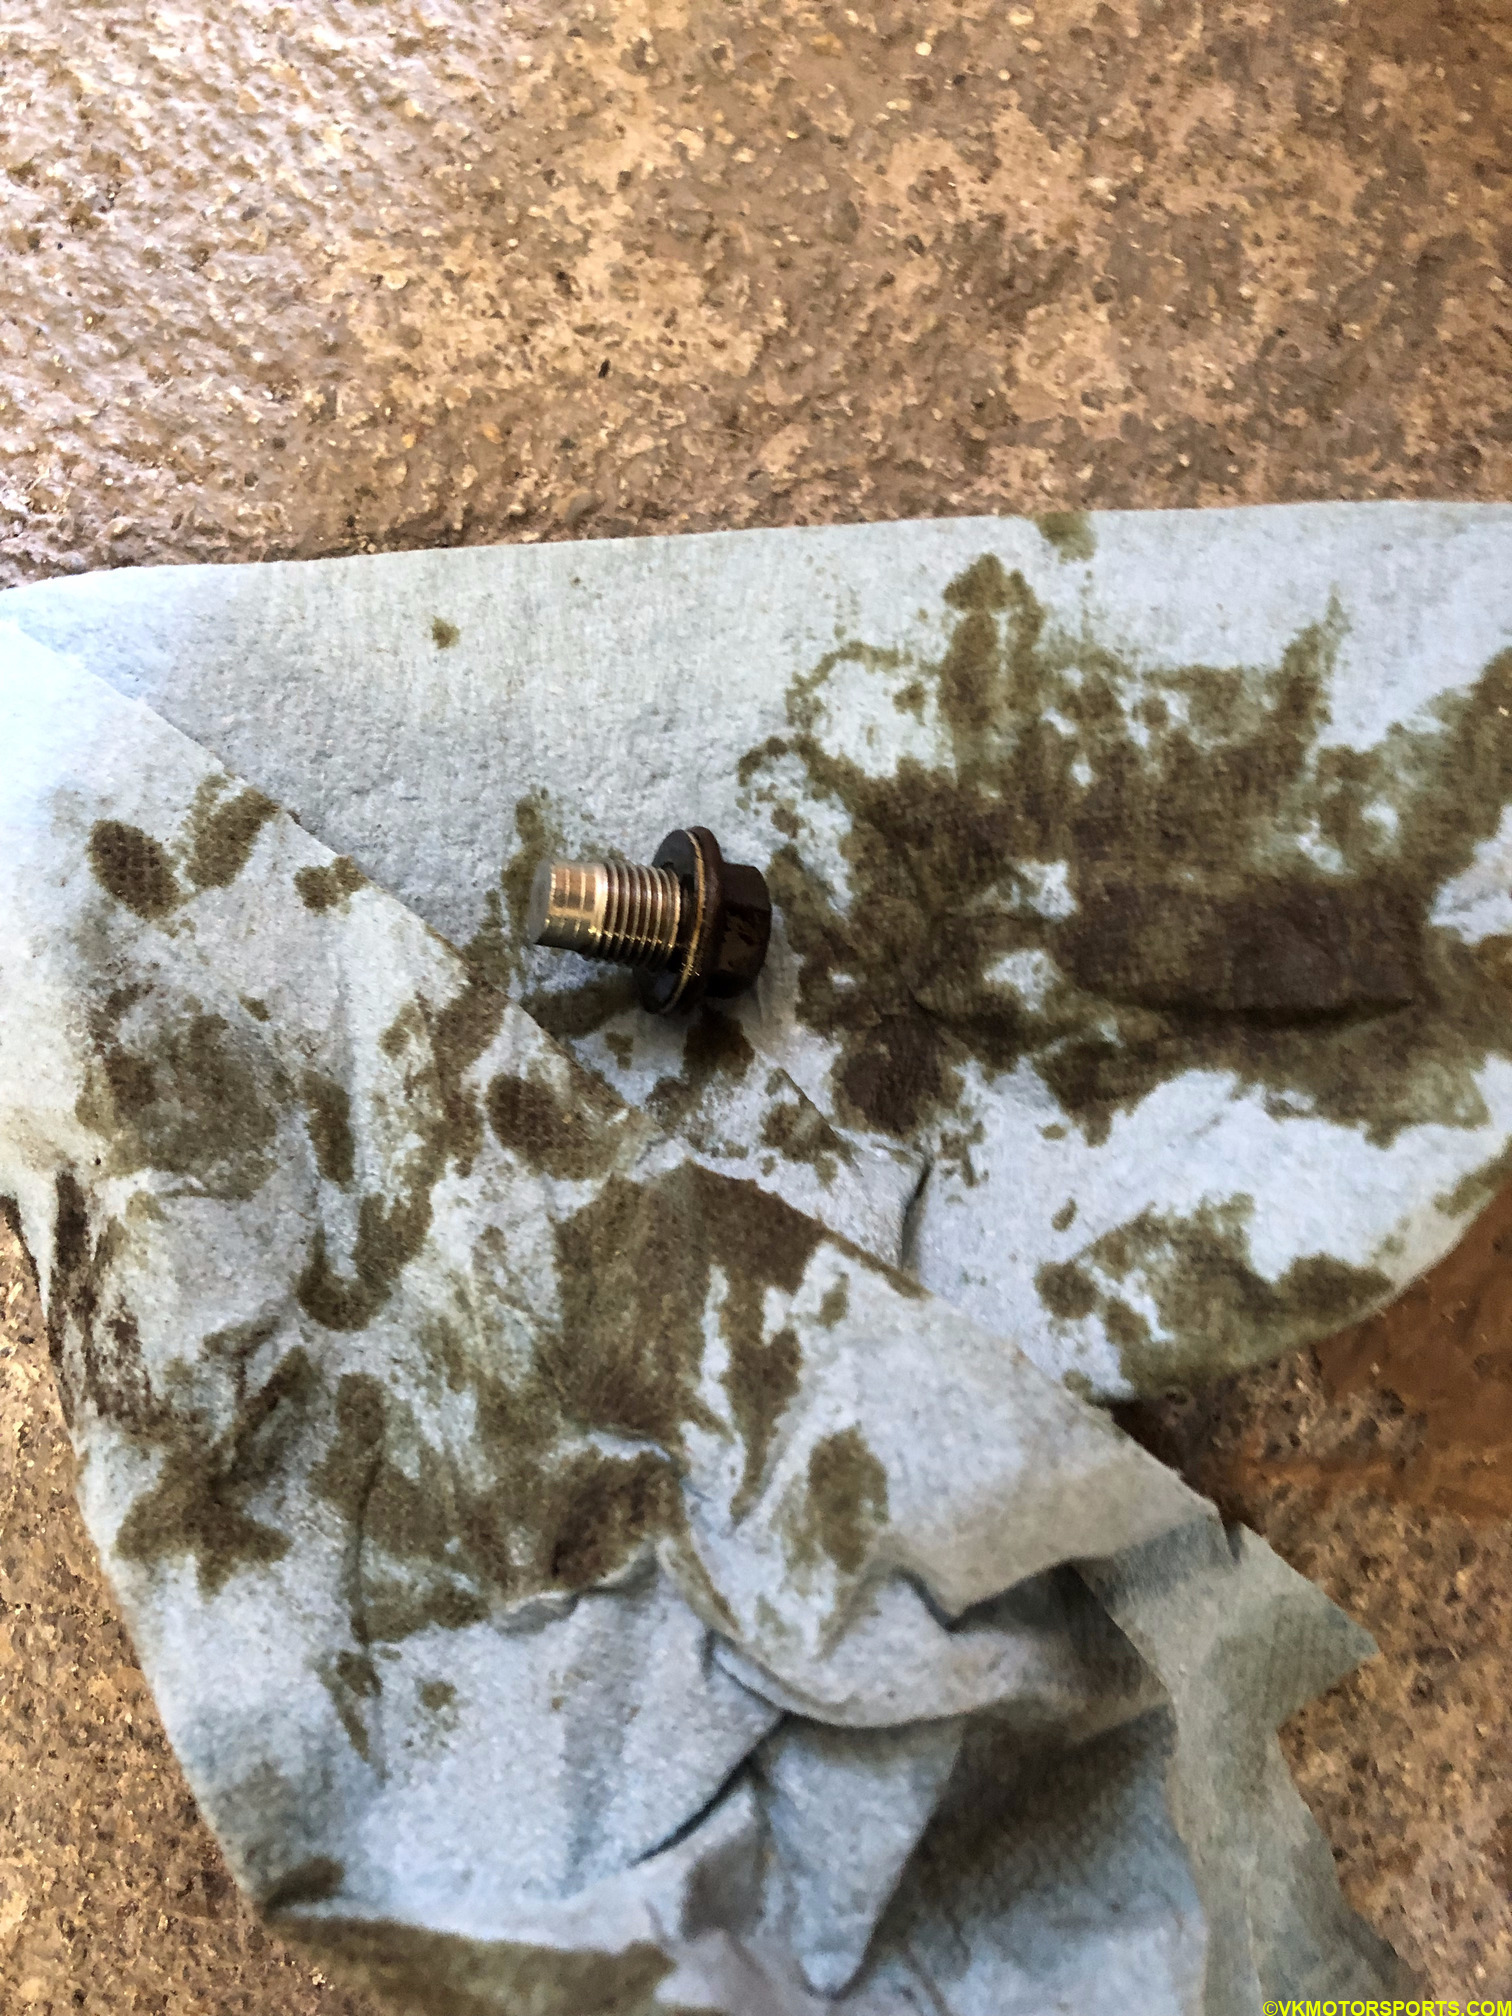 Figure 18. Cleaned drain plug
 Figure 19. Replace drain plug gasket
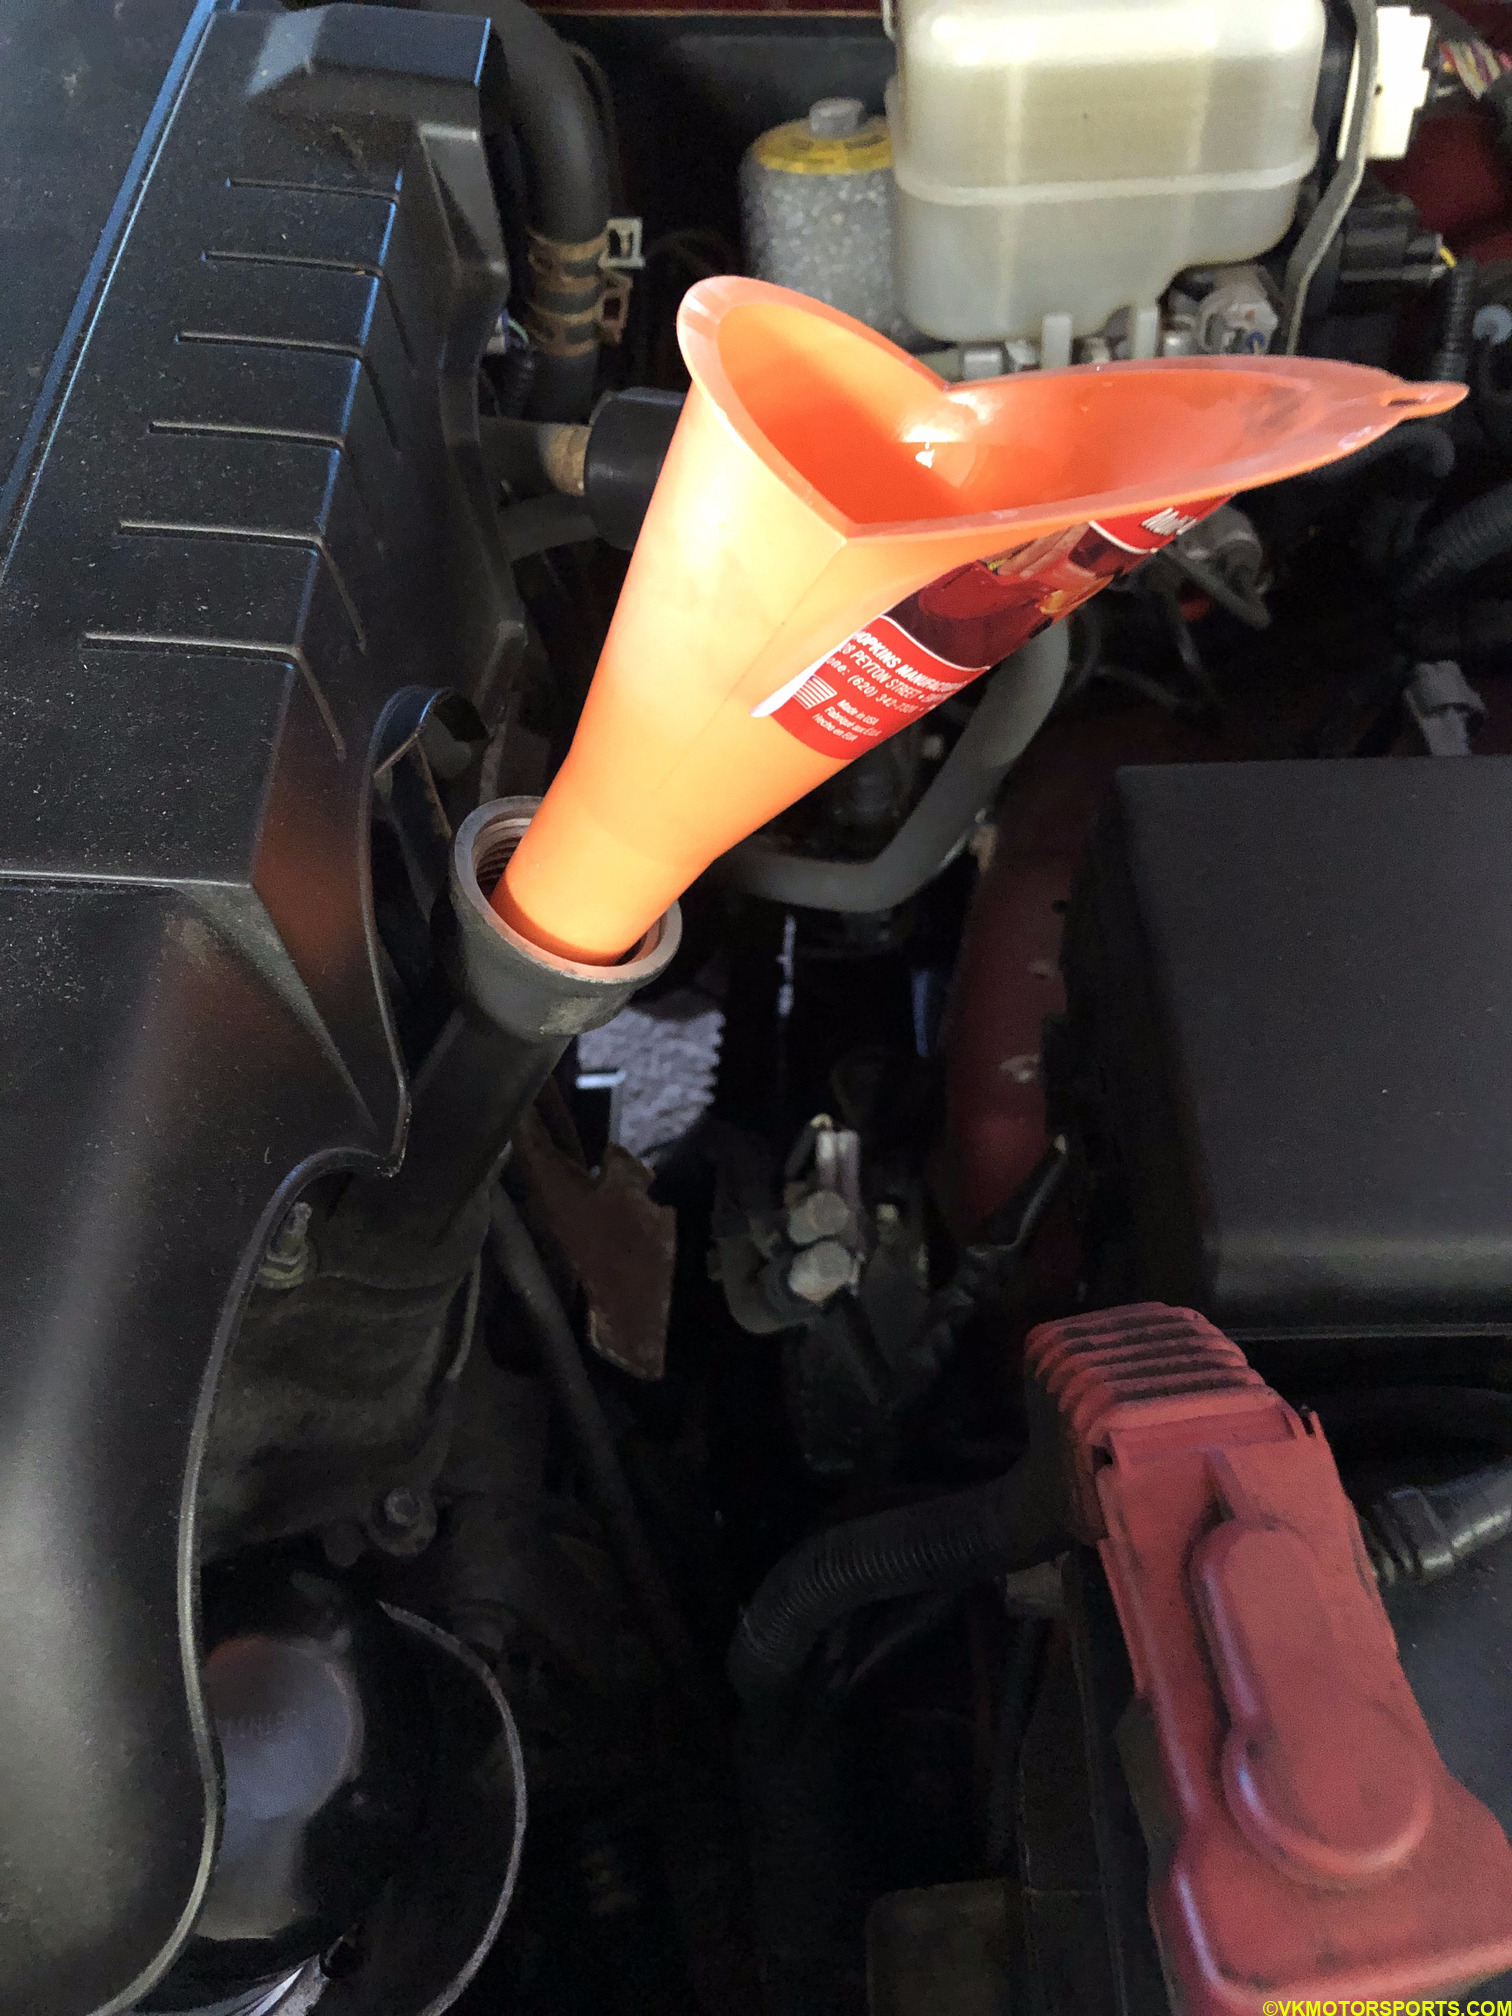 Figure 20. Fill oil using a funnel
Reset the MAINT Light
Now that your engine has fresh oil, you need to reset the maintenance light in the dashboard that blinks when you turn on the car. Unfortunately, I have not taken pictures for this task but it is quite simple:
- Turn the key to the ON position without starting the engine, and press the trip computer button to show the ODO (odometer) setting in miles.
- Turn the key to the OFF position.
- Press and hold the trip computer button with your right hand and while looking at the MAINT light, turn the key to the ON position with your left hand.
- Notice the MAINT light blinking very fast and then turning off.
- Turn the key to the OFF position.
- Turn the key to the ON position and if you do not see the MAINT light blinking, the light has been reset. Otherwise repeat the process correctly.
I recommend setting the TRIP A setting in the odometer to 0 to track the distance before you get your next MAINT light notification and using the TRIP B for tracking how much you drive on a full tank of gasoline or petrol.