I did another oil change on the Infiniti G35 Coupe but the oil leak that was happening from the oil pan drain bolt did not stop, despite replacing it with a new washer. So it was time to replace the lower oil pan so that the oil leak would stop.
This job is actually very easy, and can be done within an hour if you have the parts available.
PARTS REQUIRED
- Replacement Oil Pan. I used the Spectra Premium NSP24D Oil Pan
- Replacement Gasket. Traditionally RTV Silicone Gasket Sealant is used to create a liquid gasket but I think the Fel-Pro OS30688 oil pan gasket is perfect as you will not make any mistakes creating the liquid gasket, and do not need for any curing to happen.
- 5 quarts (US) of high mileage 5W-30 oil such as Mobil1 5W-30 High Mileage Oil
- Optionally, a new oil filter such as Purolator Oil Filter.
Since you are changing the oil pan, it already comes with a new drain plug and washer as part of that package.
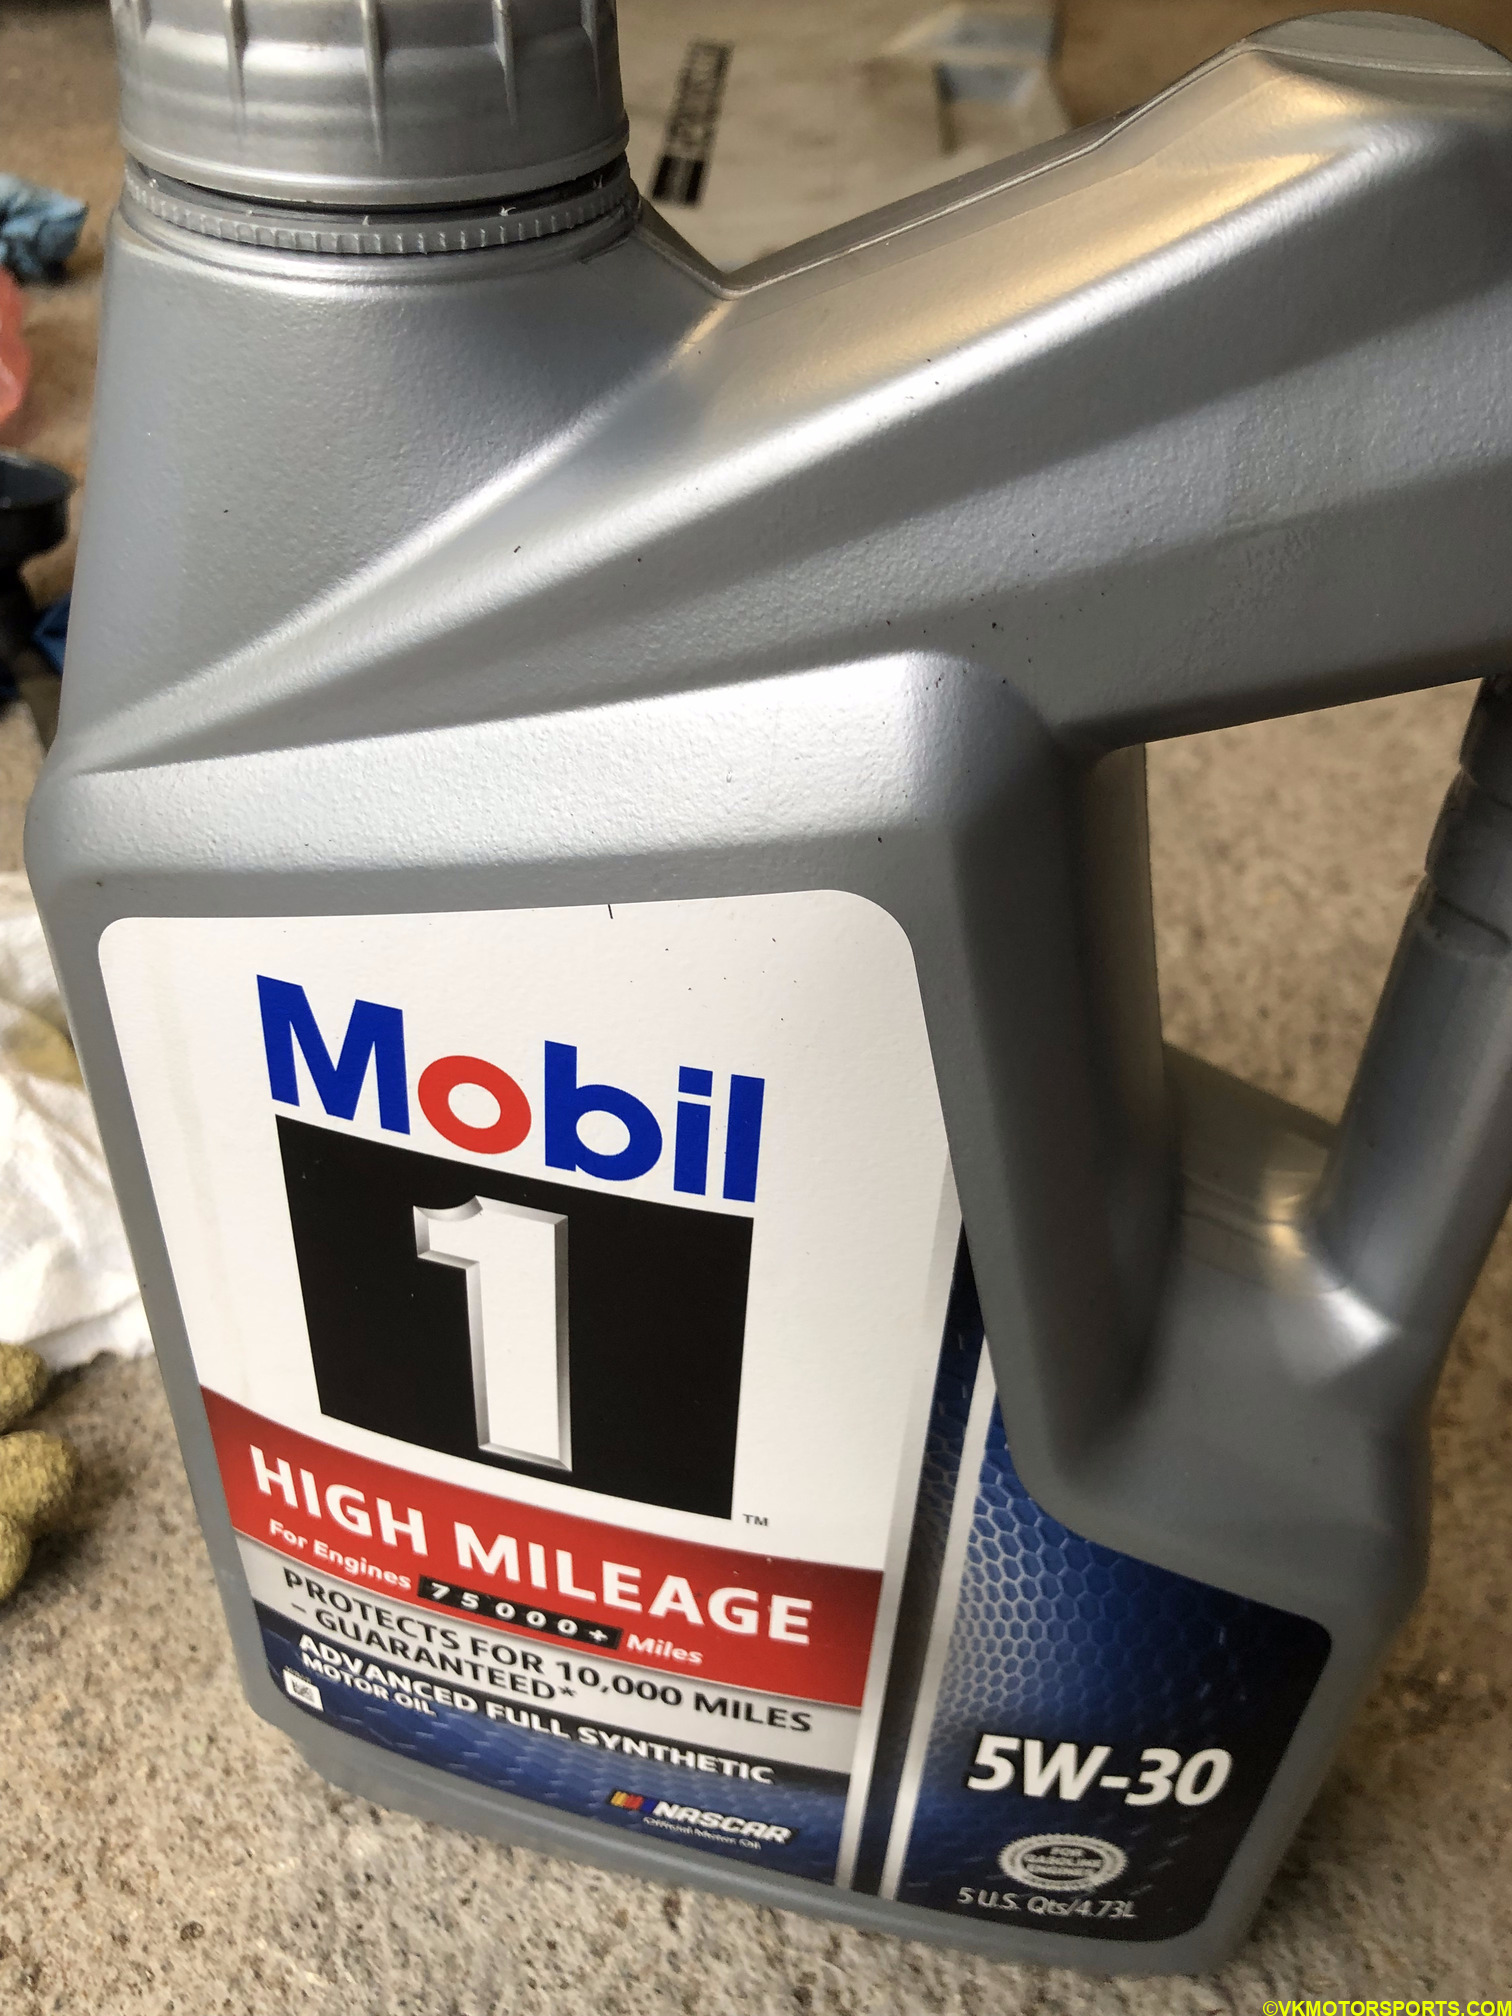 Figure 1. 5 quarts of high mileage 5W-30 oil
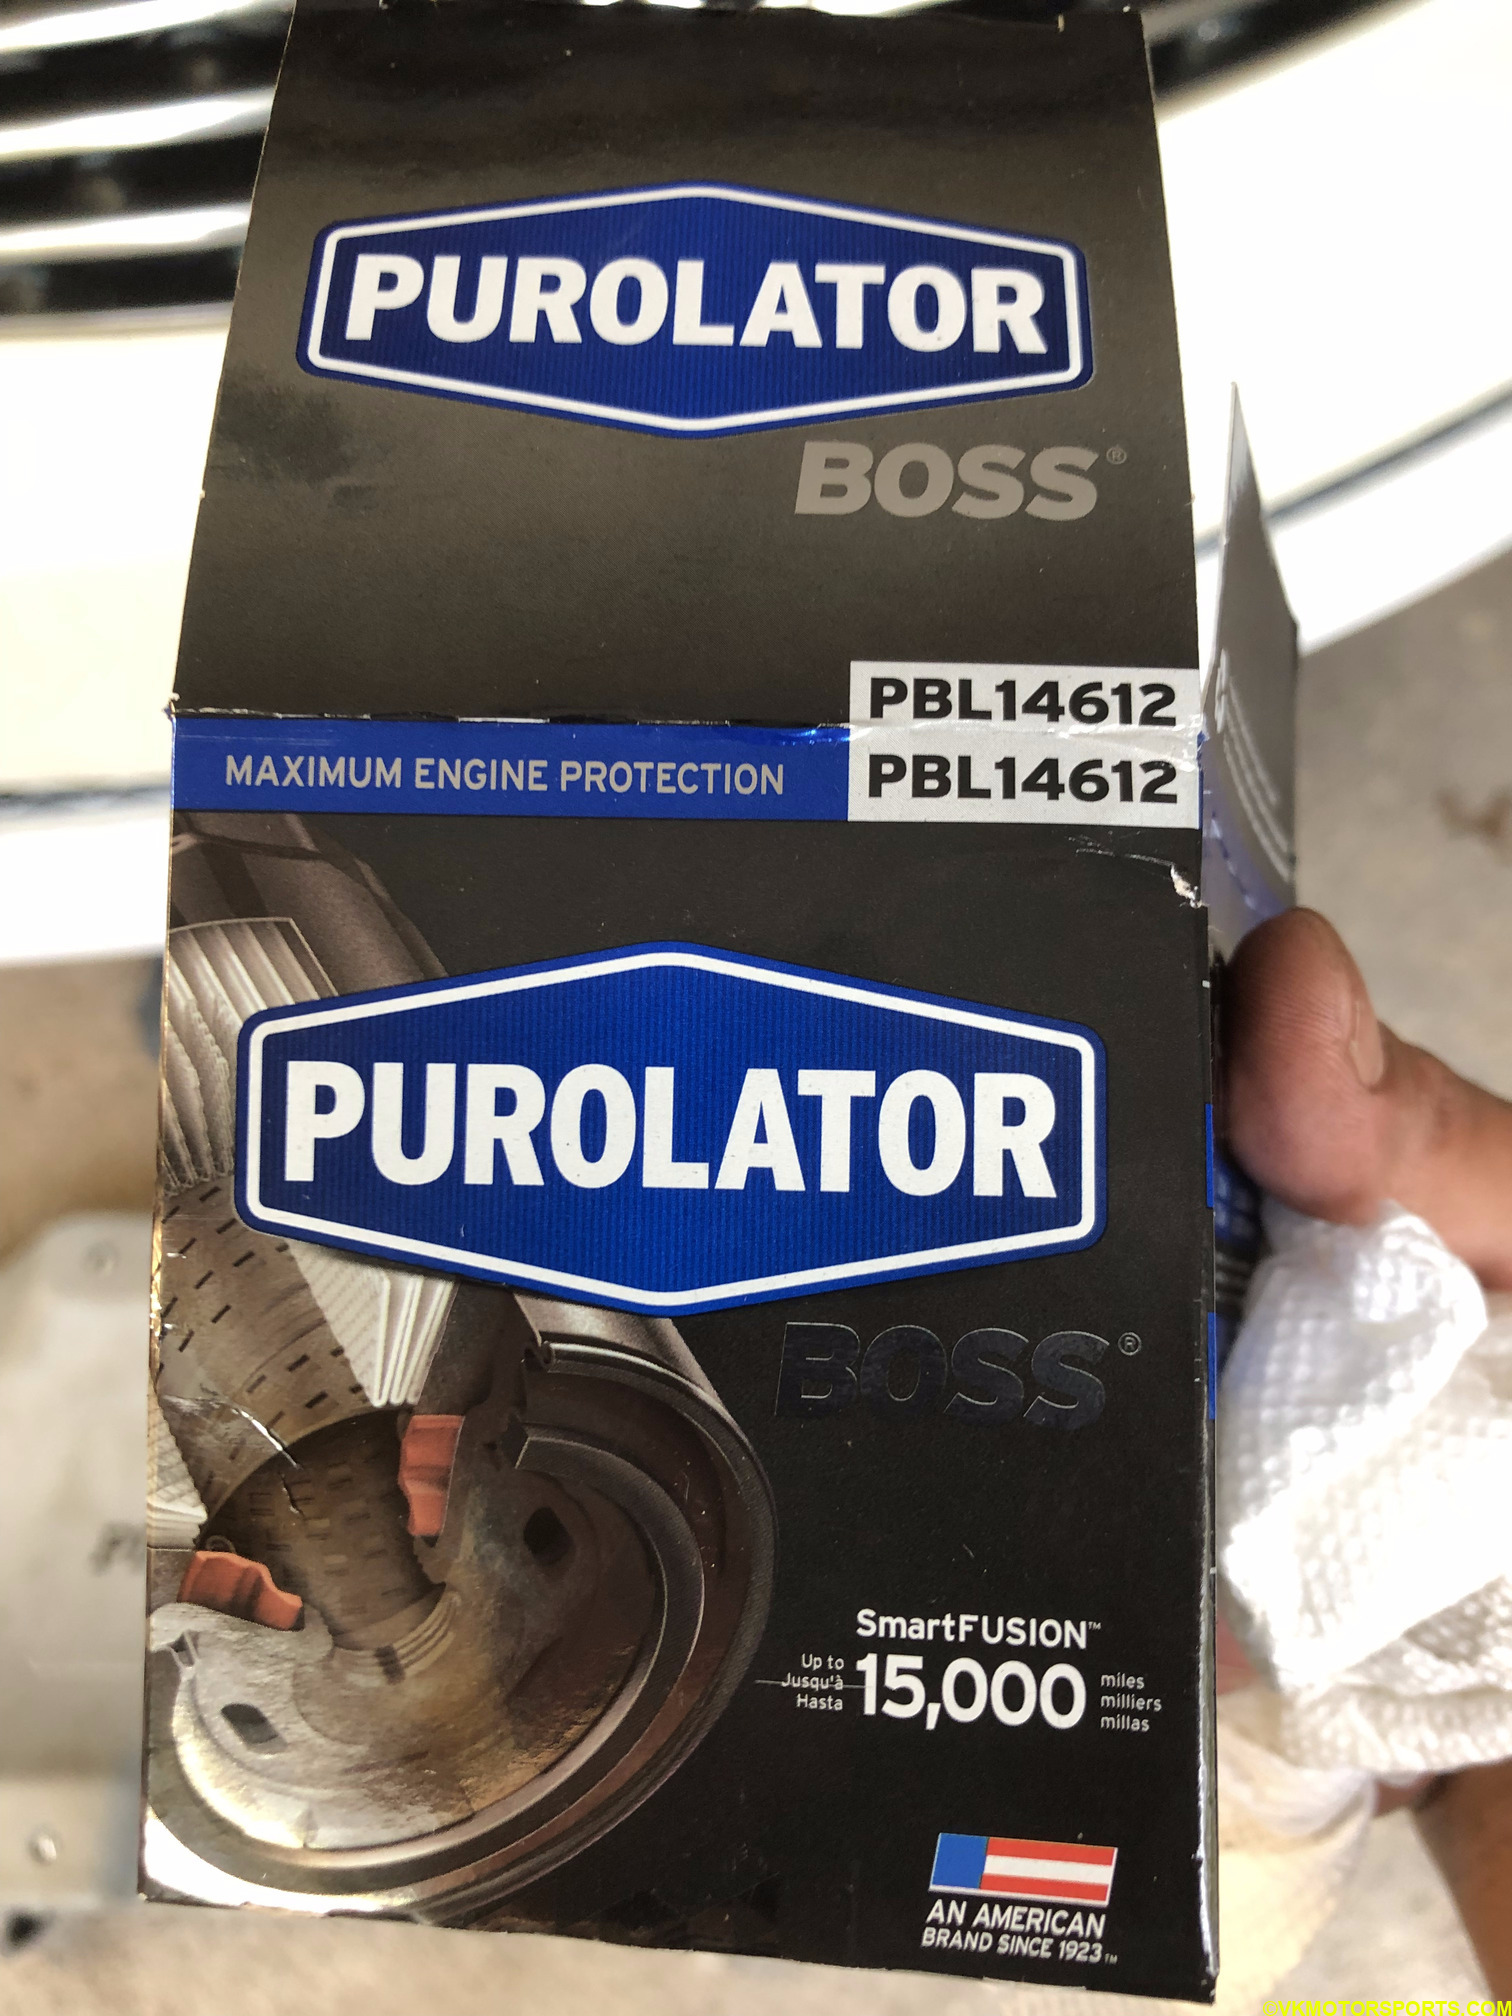 Figure 2. Purolator new oil filter
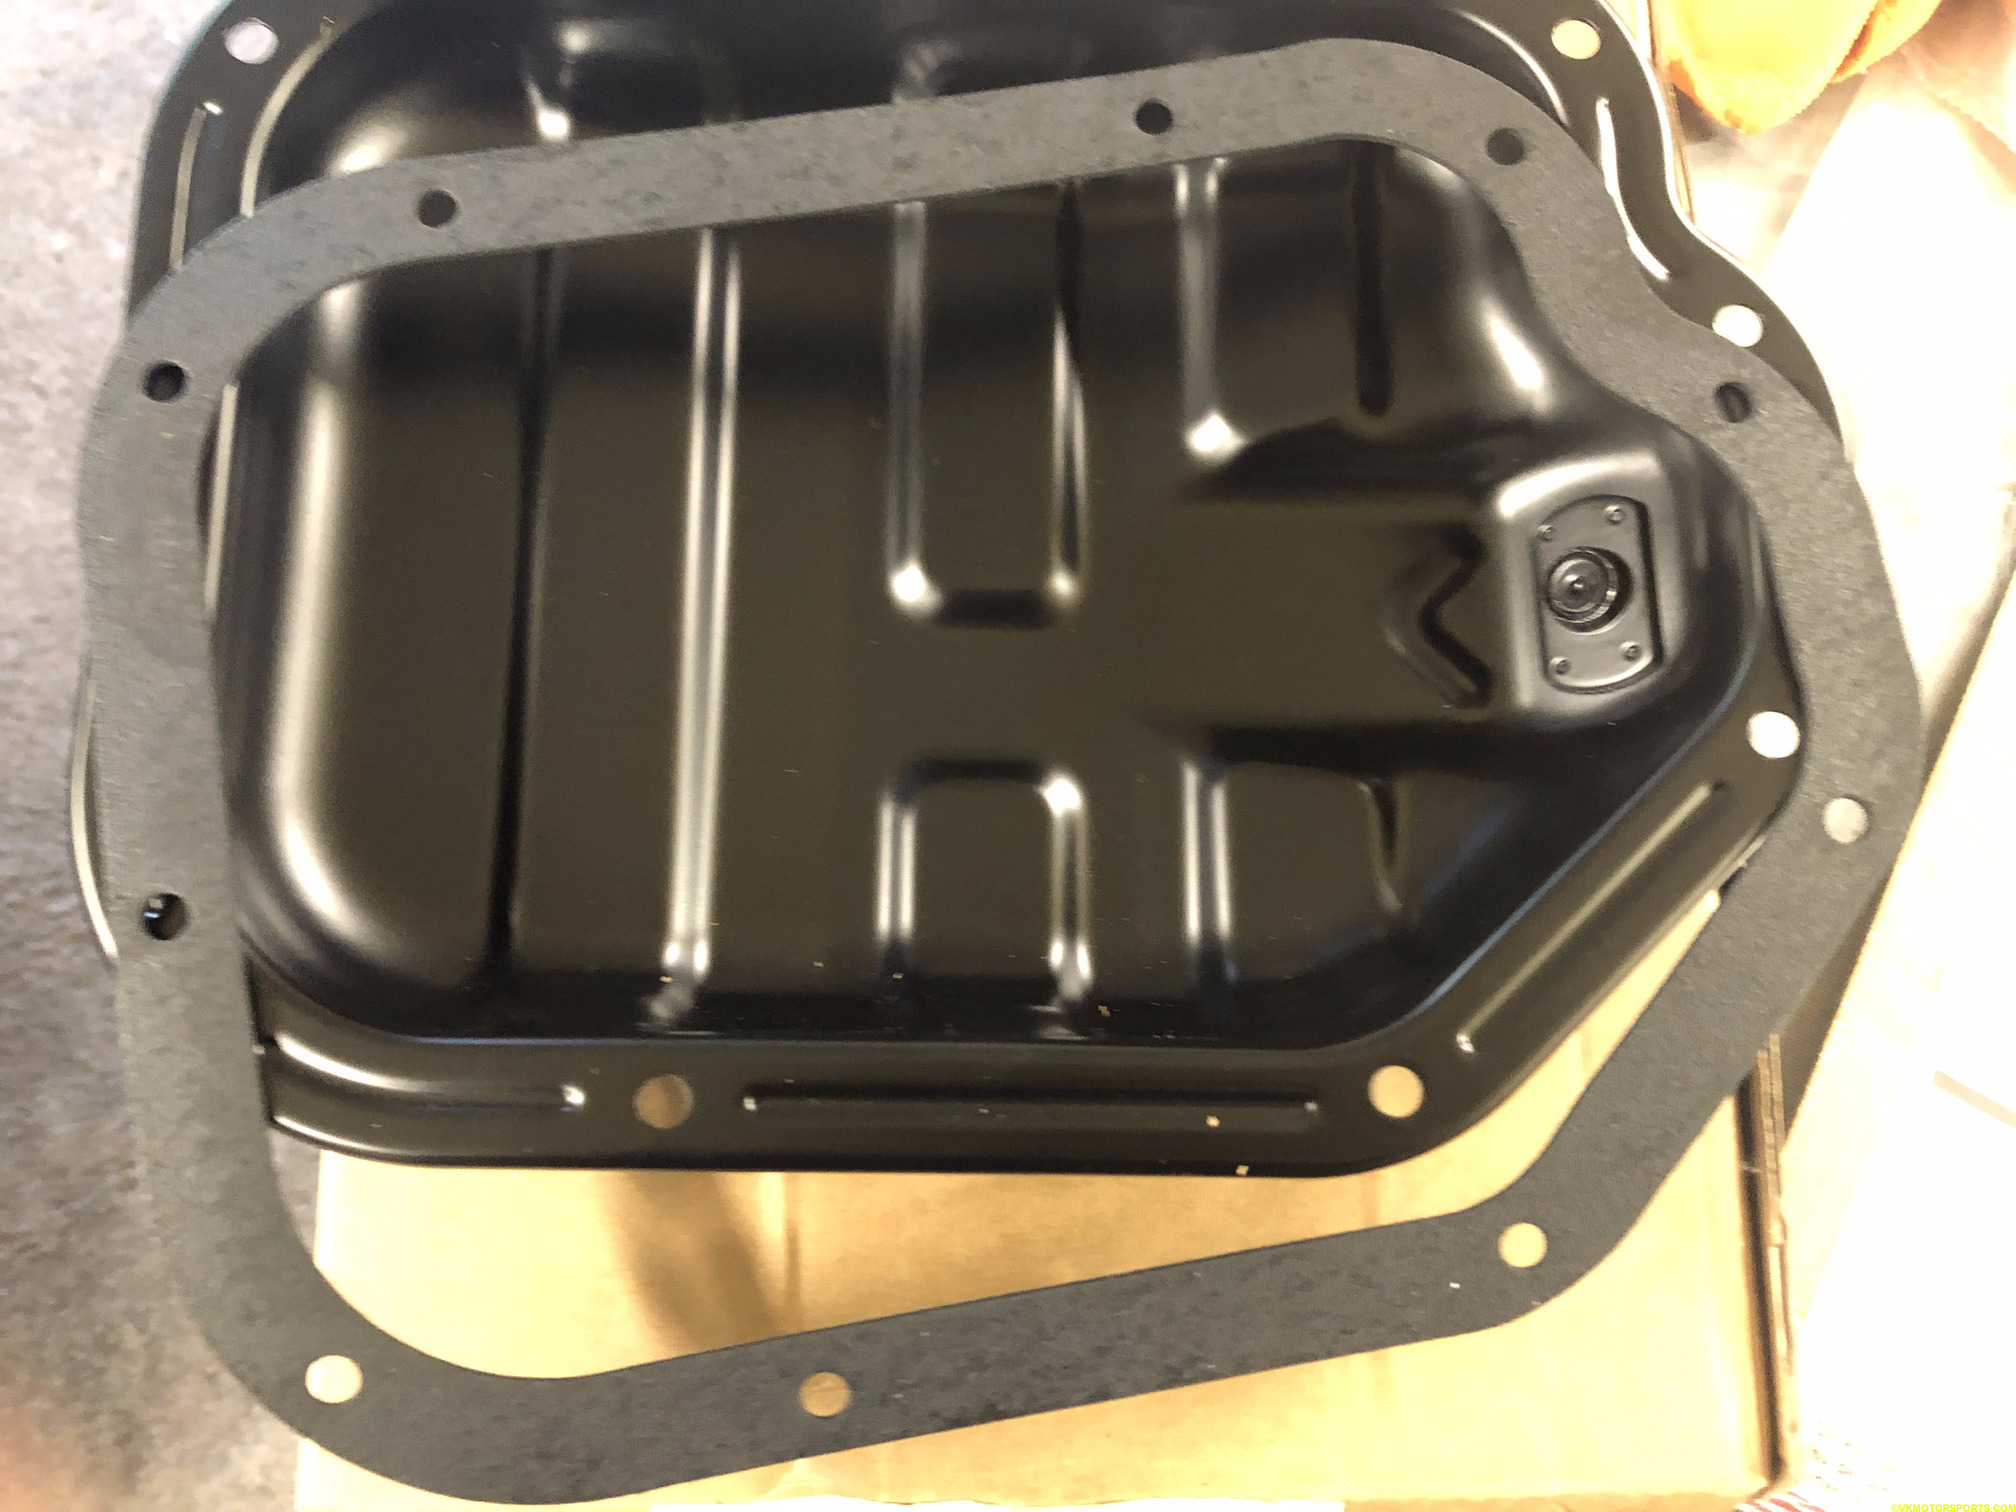 Figure 3. New oil pan and gasket
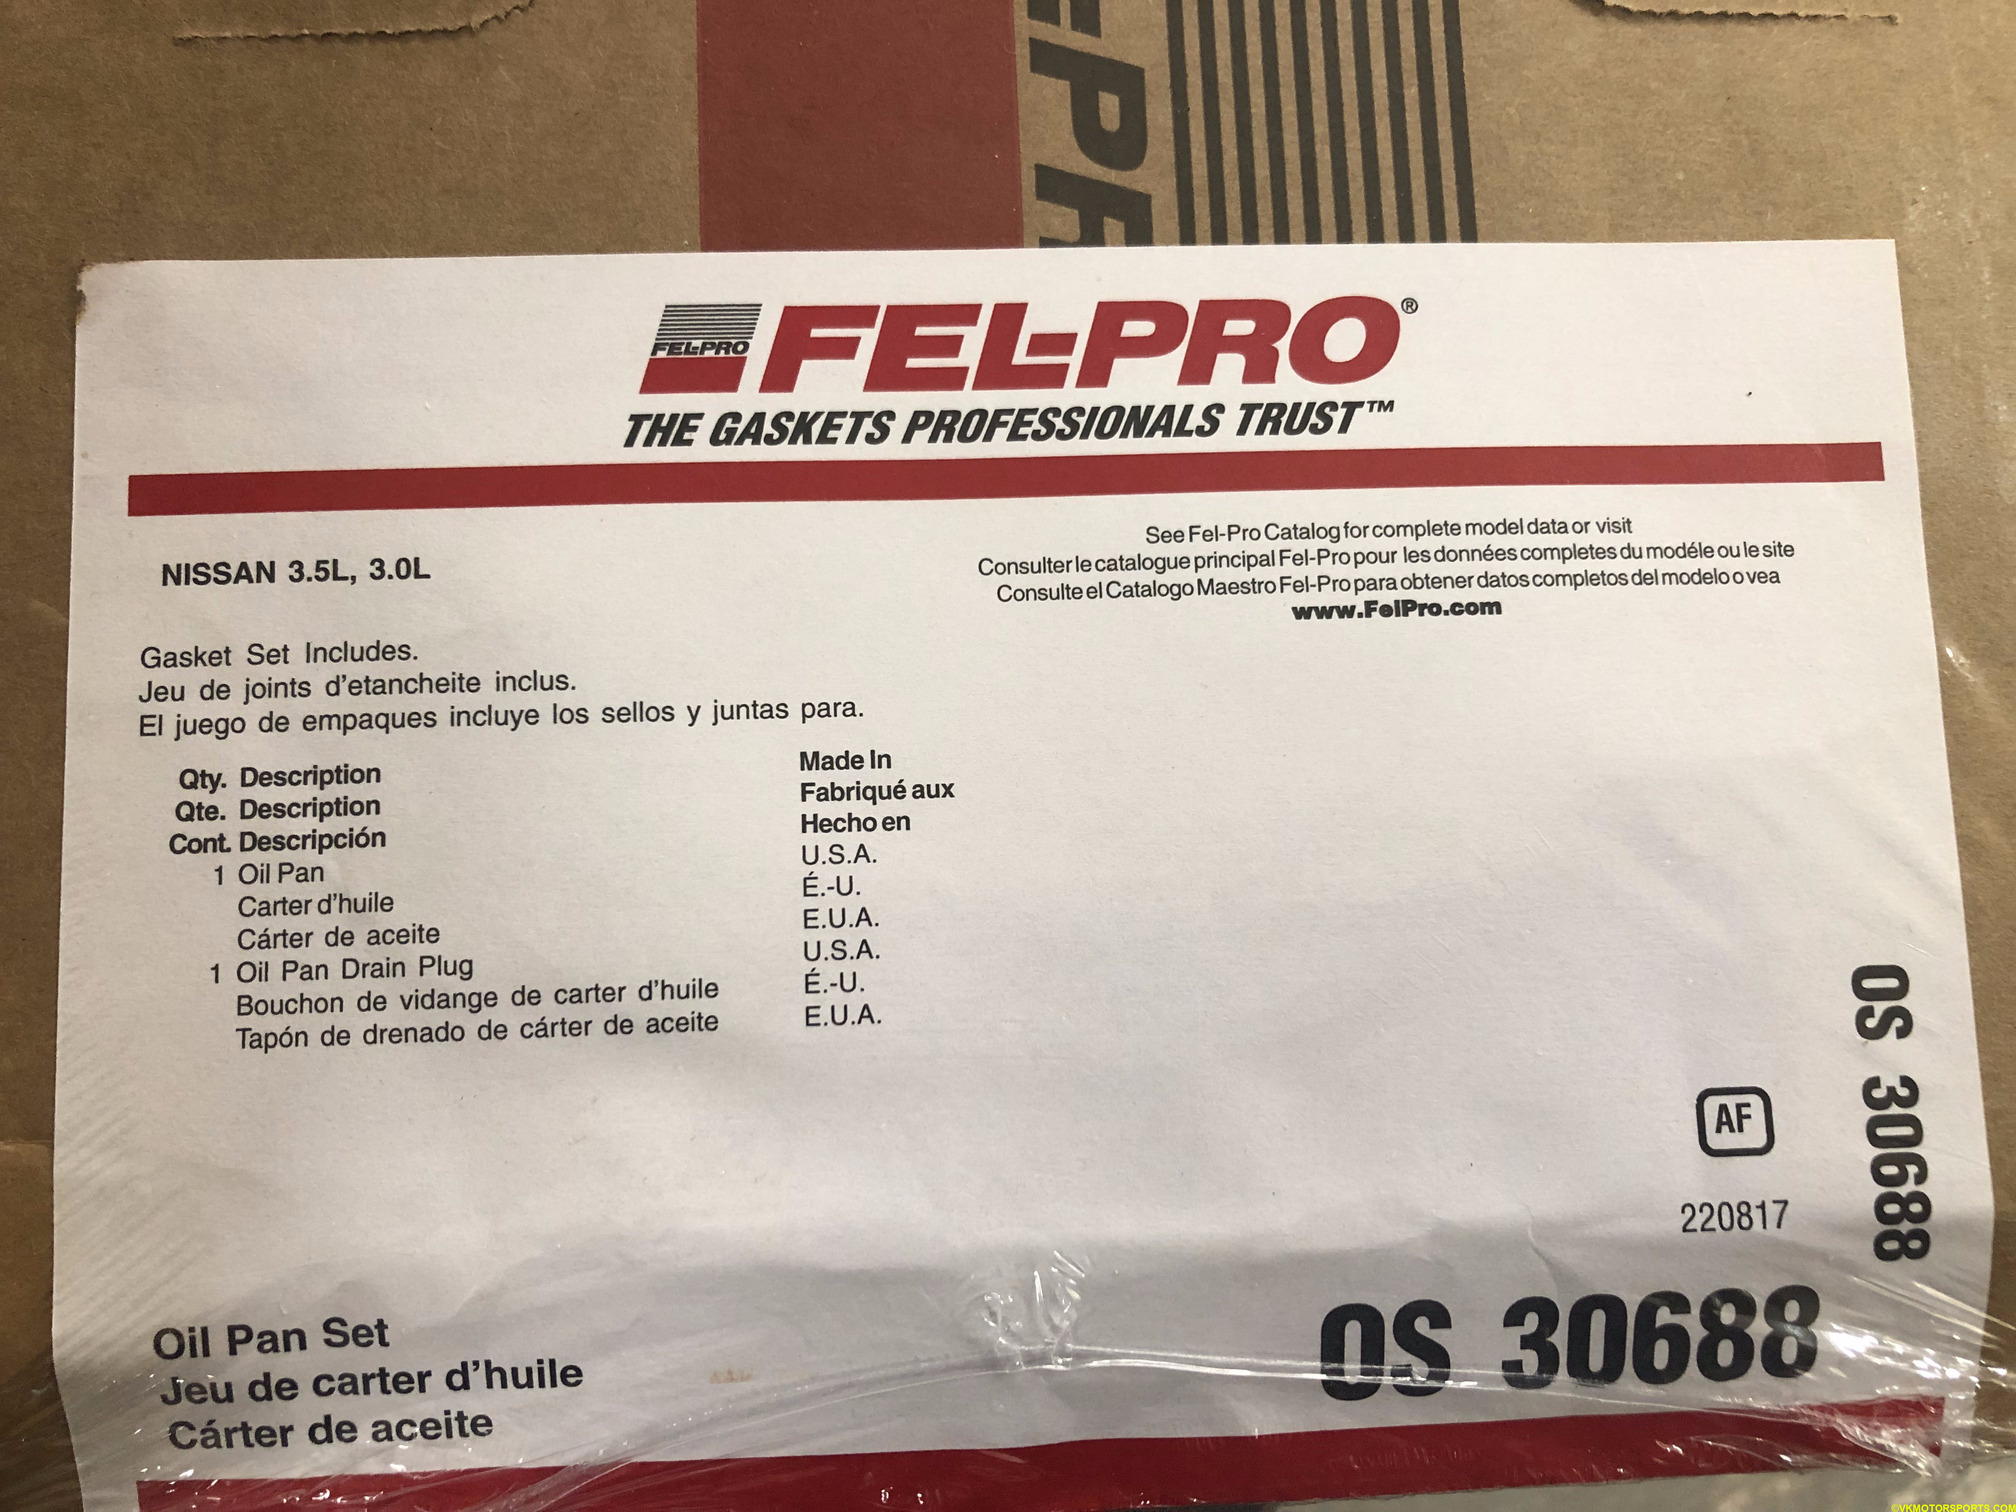 Figure 4. Details of the Fel-Pro OS30688 Gasket
DRAIN THE OLD OIL
CAUTION: The old oil should be considered very toxic, so it is advised to use gloves to do the work.
Step 1: First raise the car on a lift or jack stands or on ramps. Make sure the car is stable when in the air before going under it. Drive the car about 5-10 minutes and then let it cool for about 10 minutes, before you do this so that the engine oil drains faster.
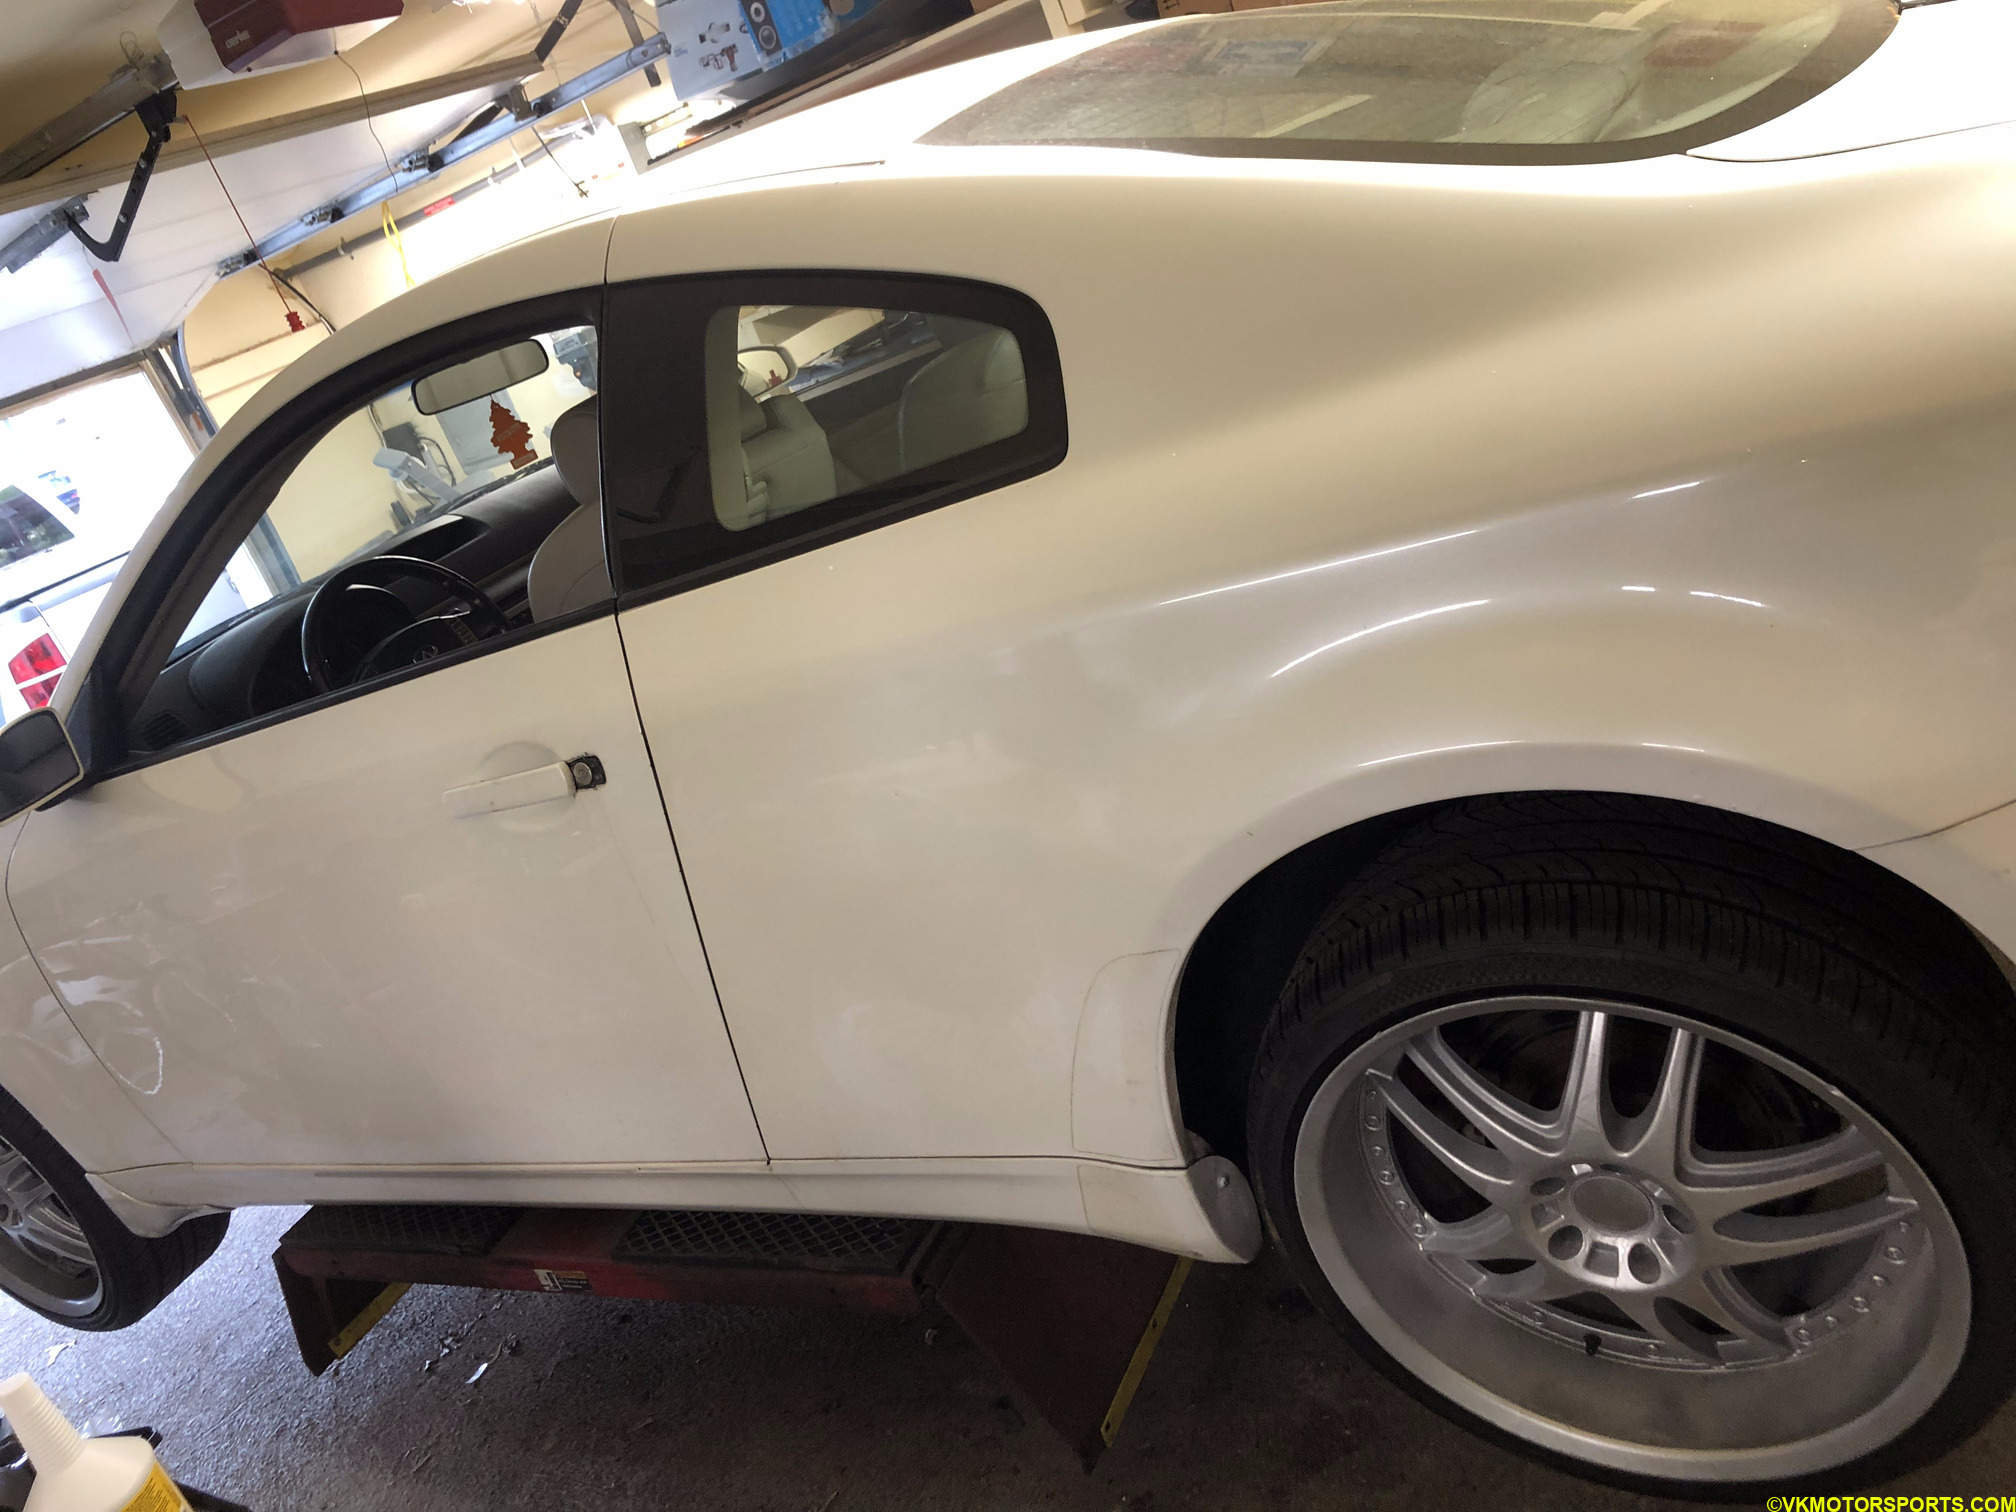 Figure 5. Car is up on our mid-rise lift
Step 2: Using a 14mm socket (Figure 6) open the drain plug which is under the car (shown by the red arrow in Figure 7). Remember to place a container appropriately below to collect the old oil while it drains (Figure 8).
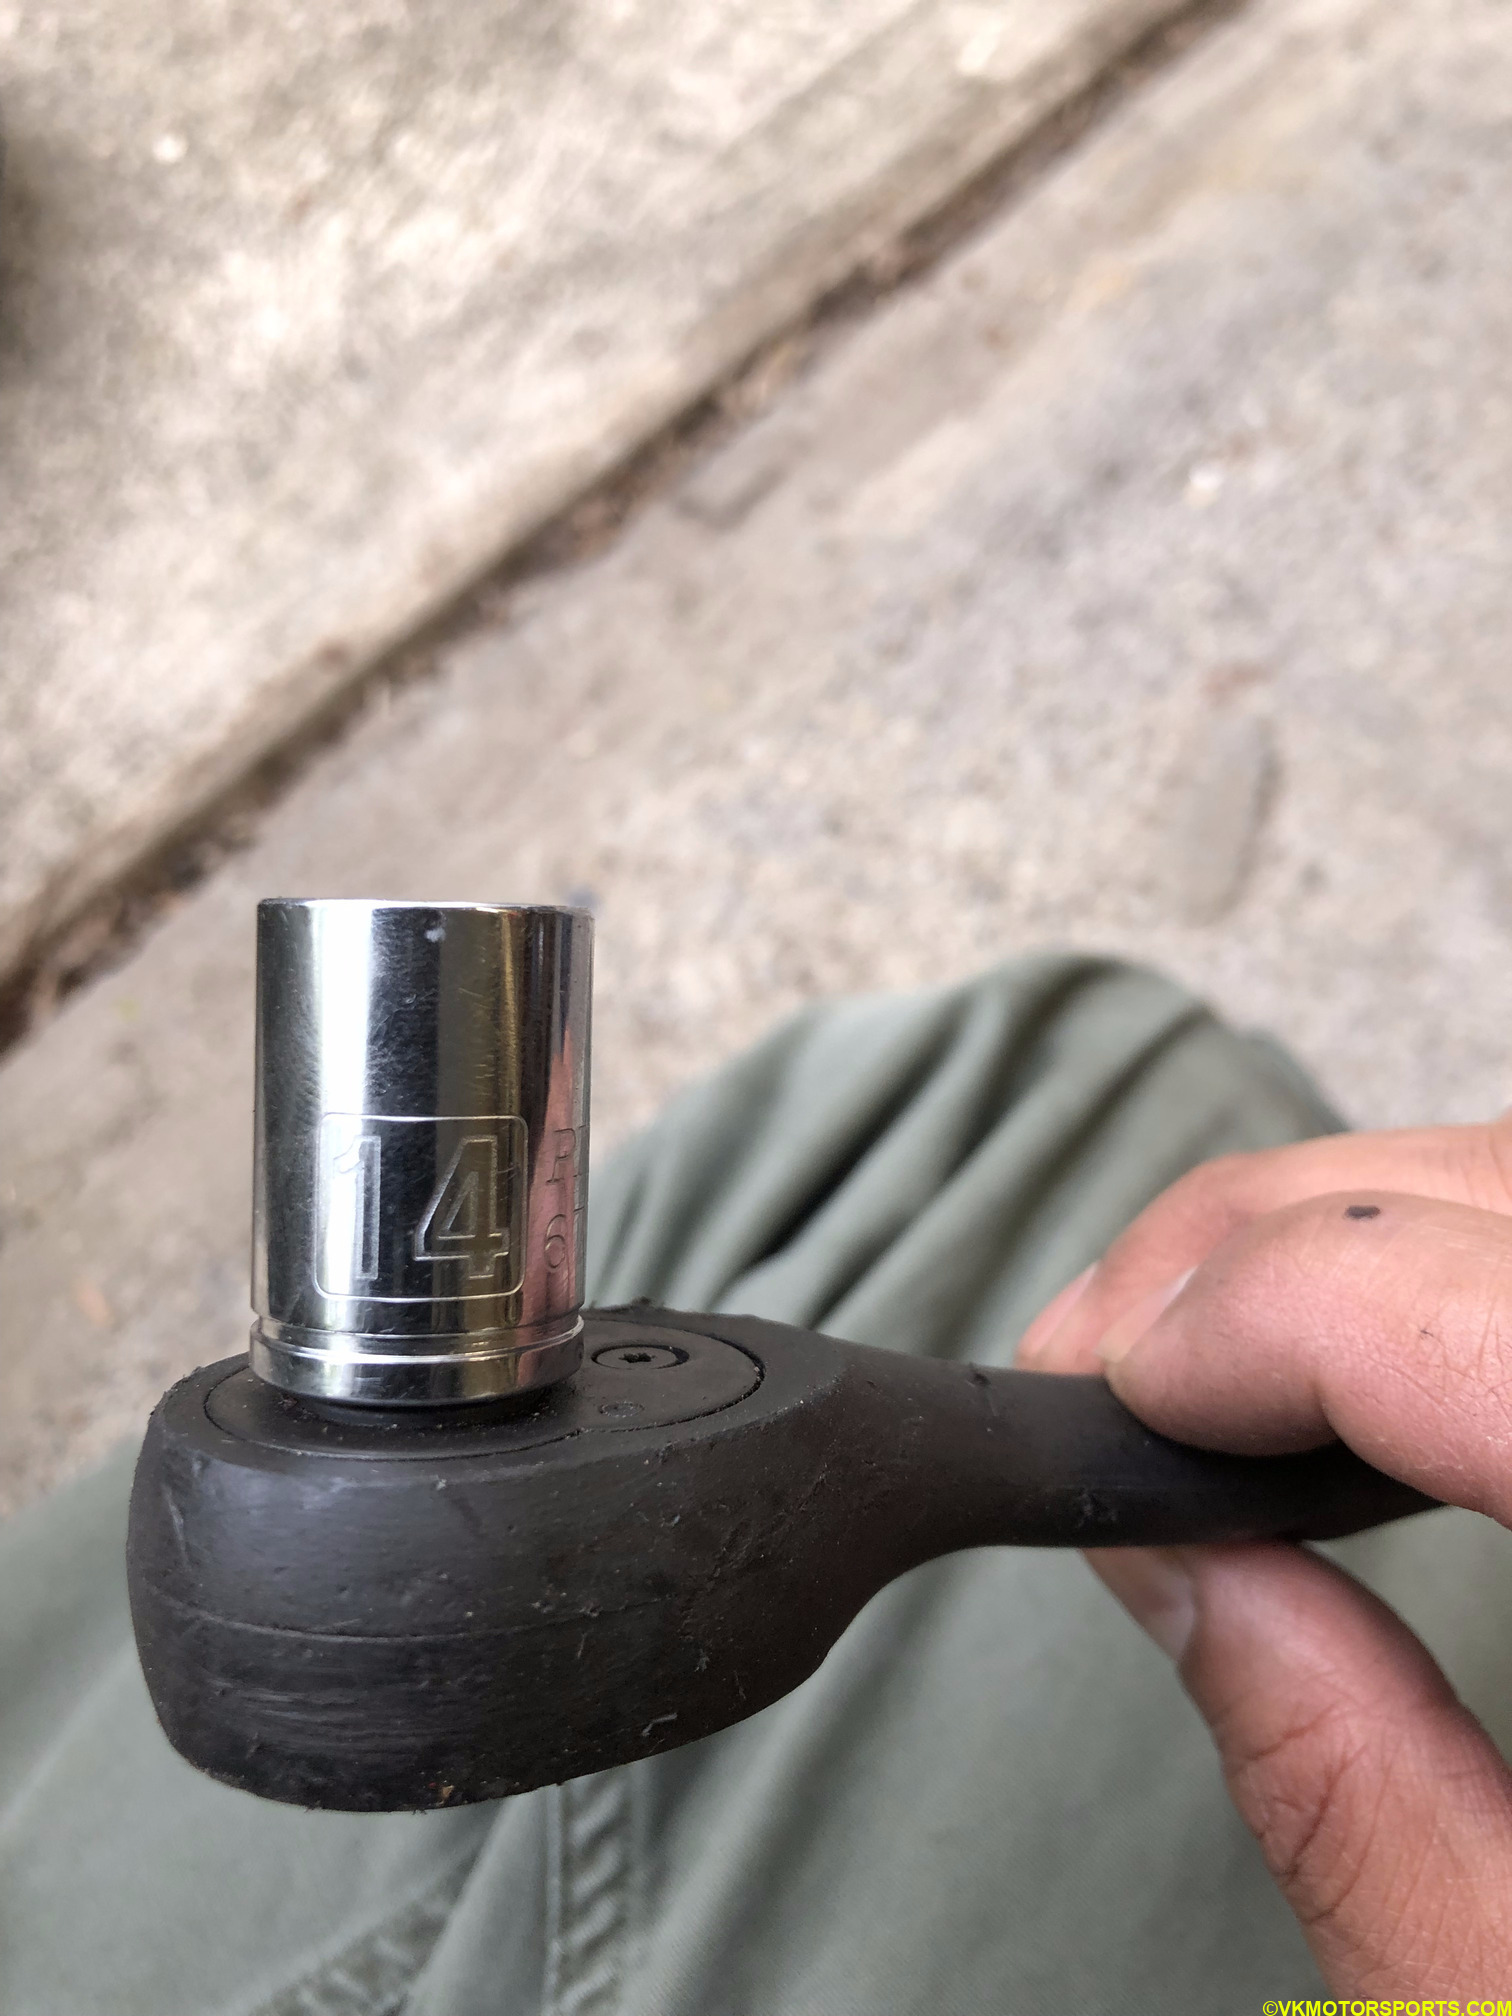 Figure 6. 14mm socket
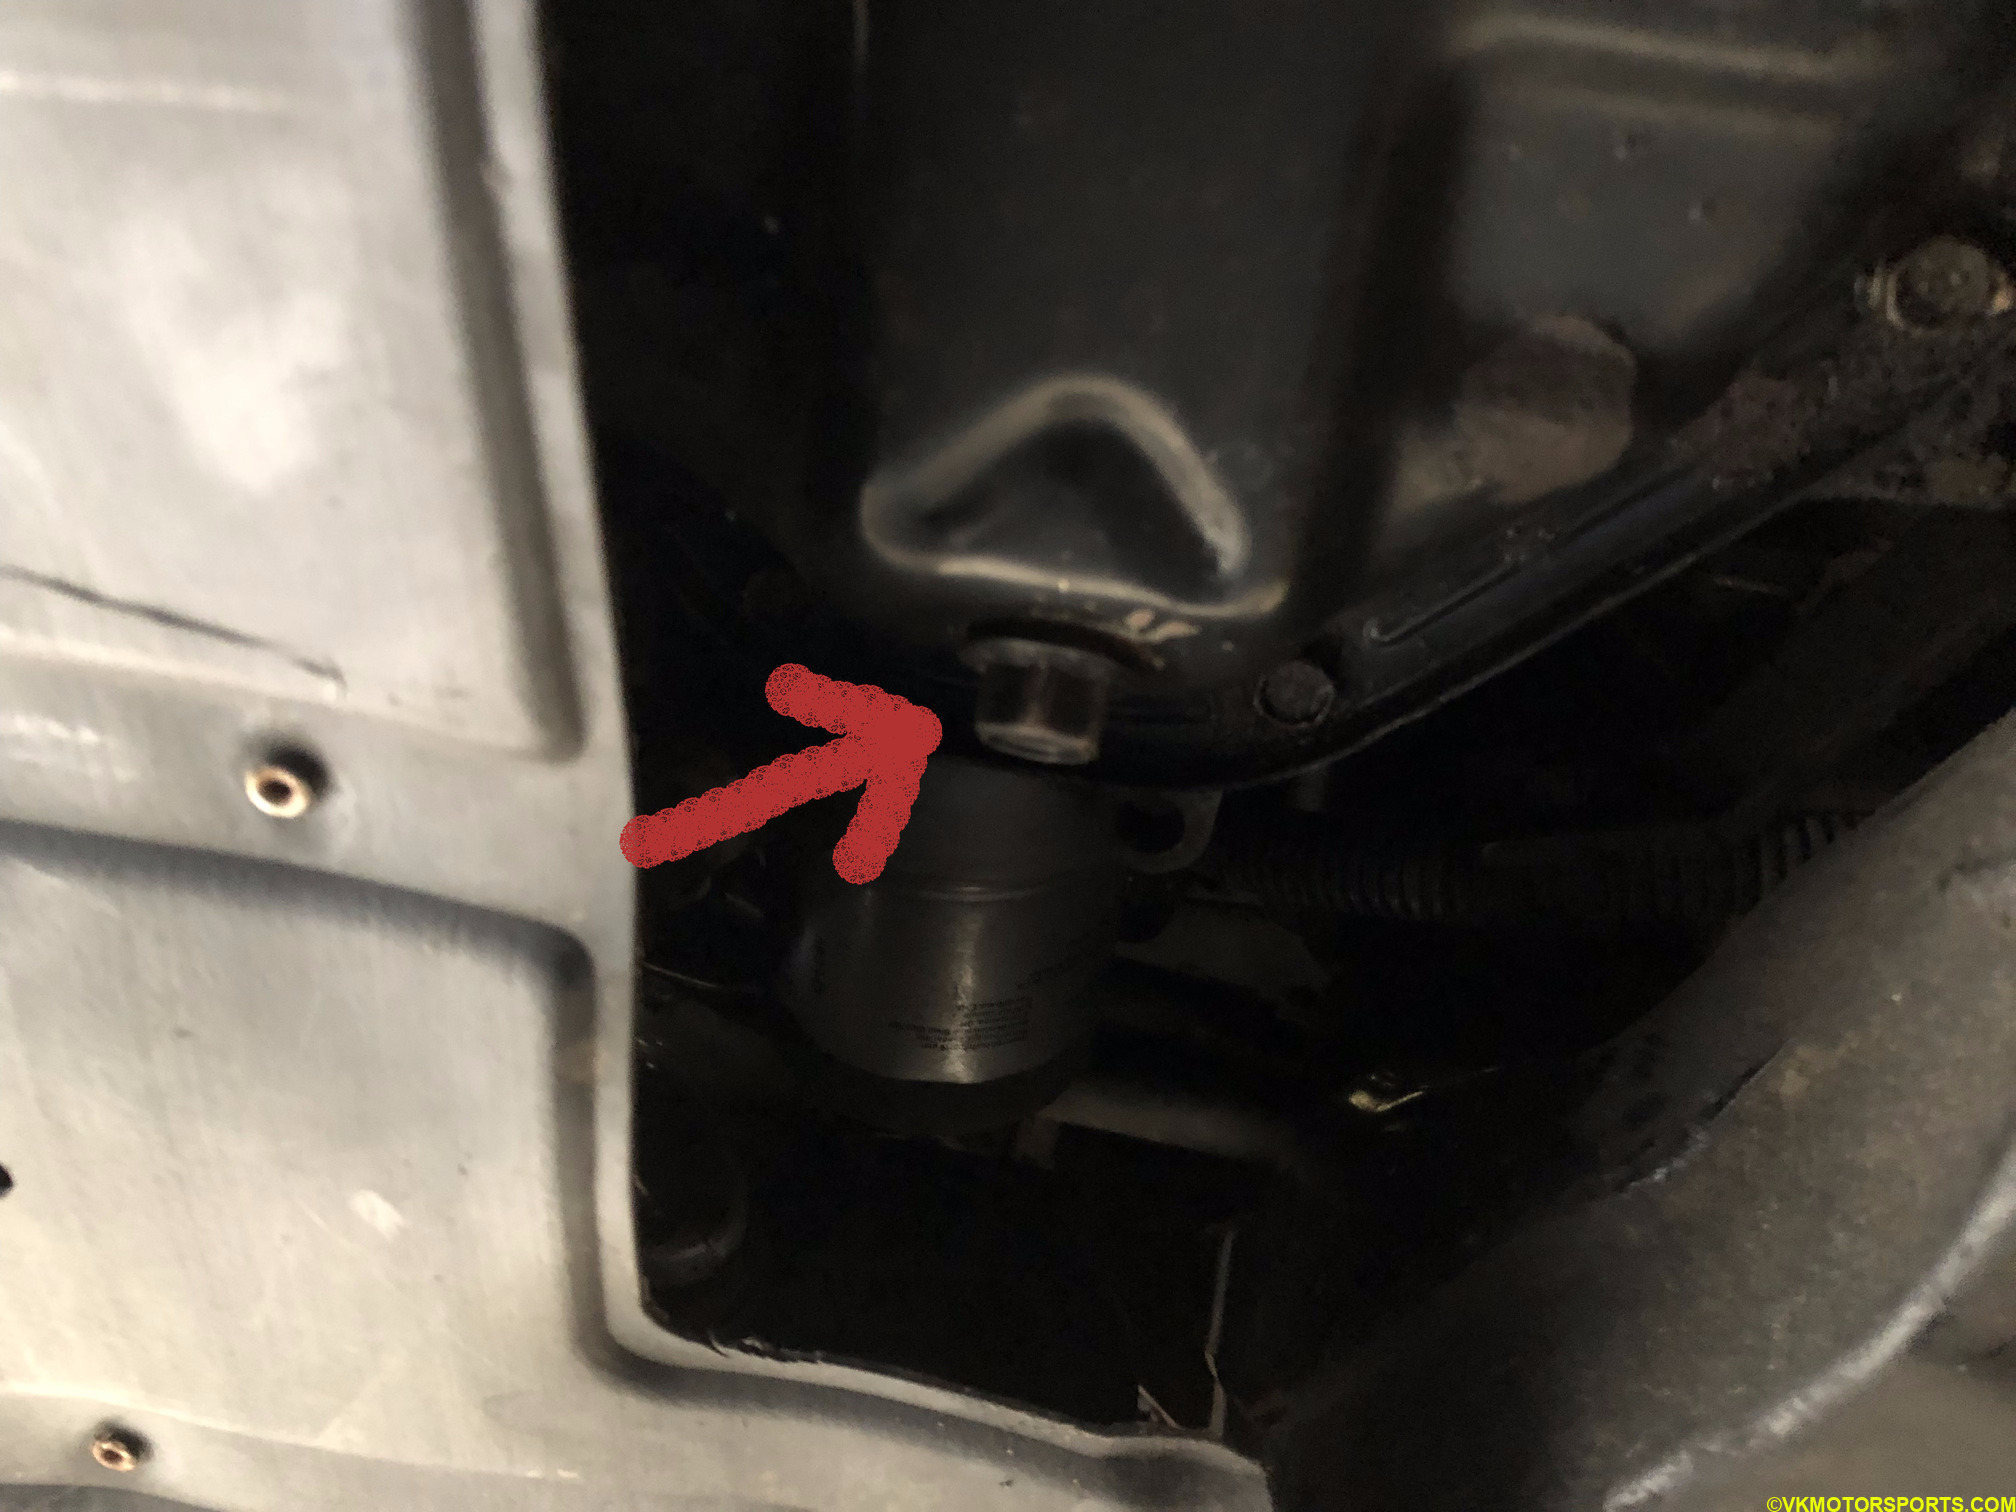 Figure 7. Engine oil drain plug
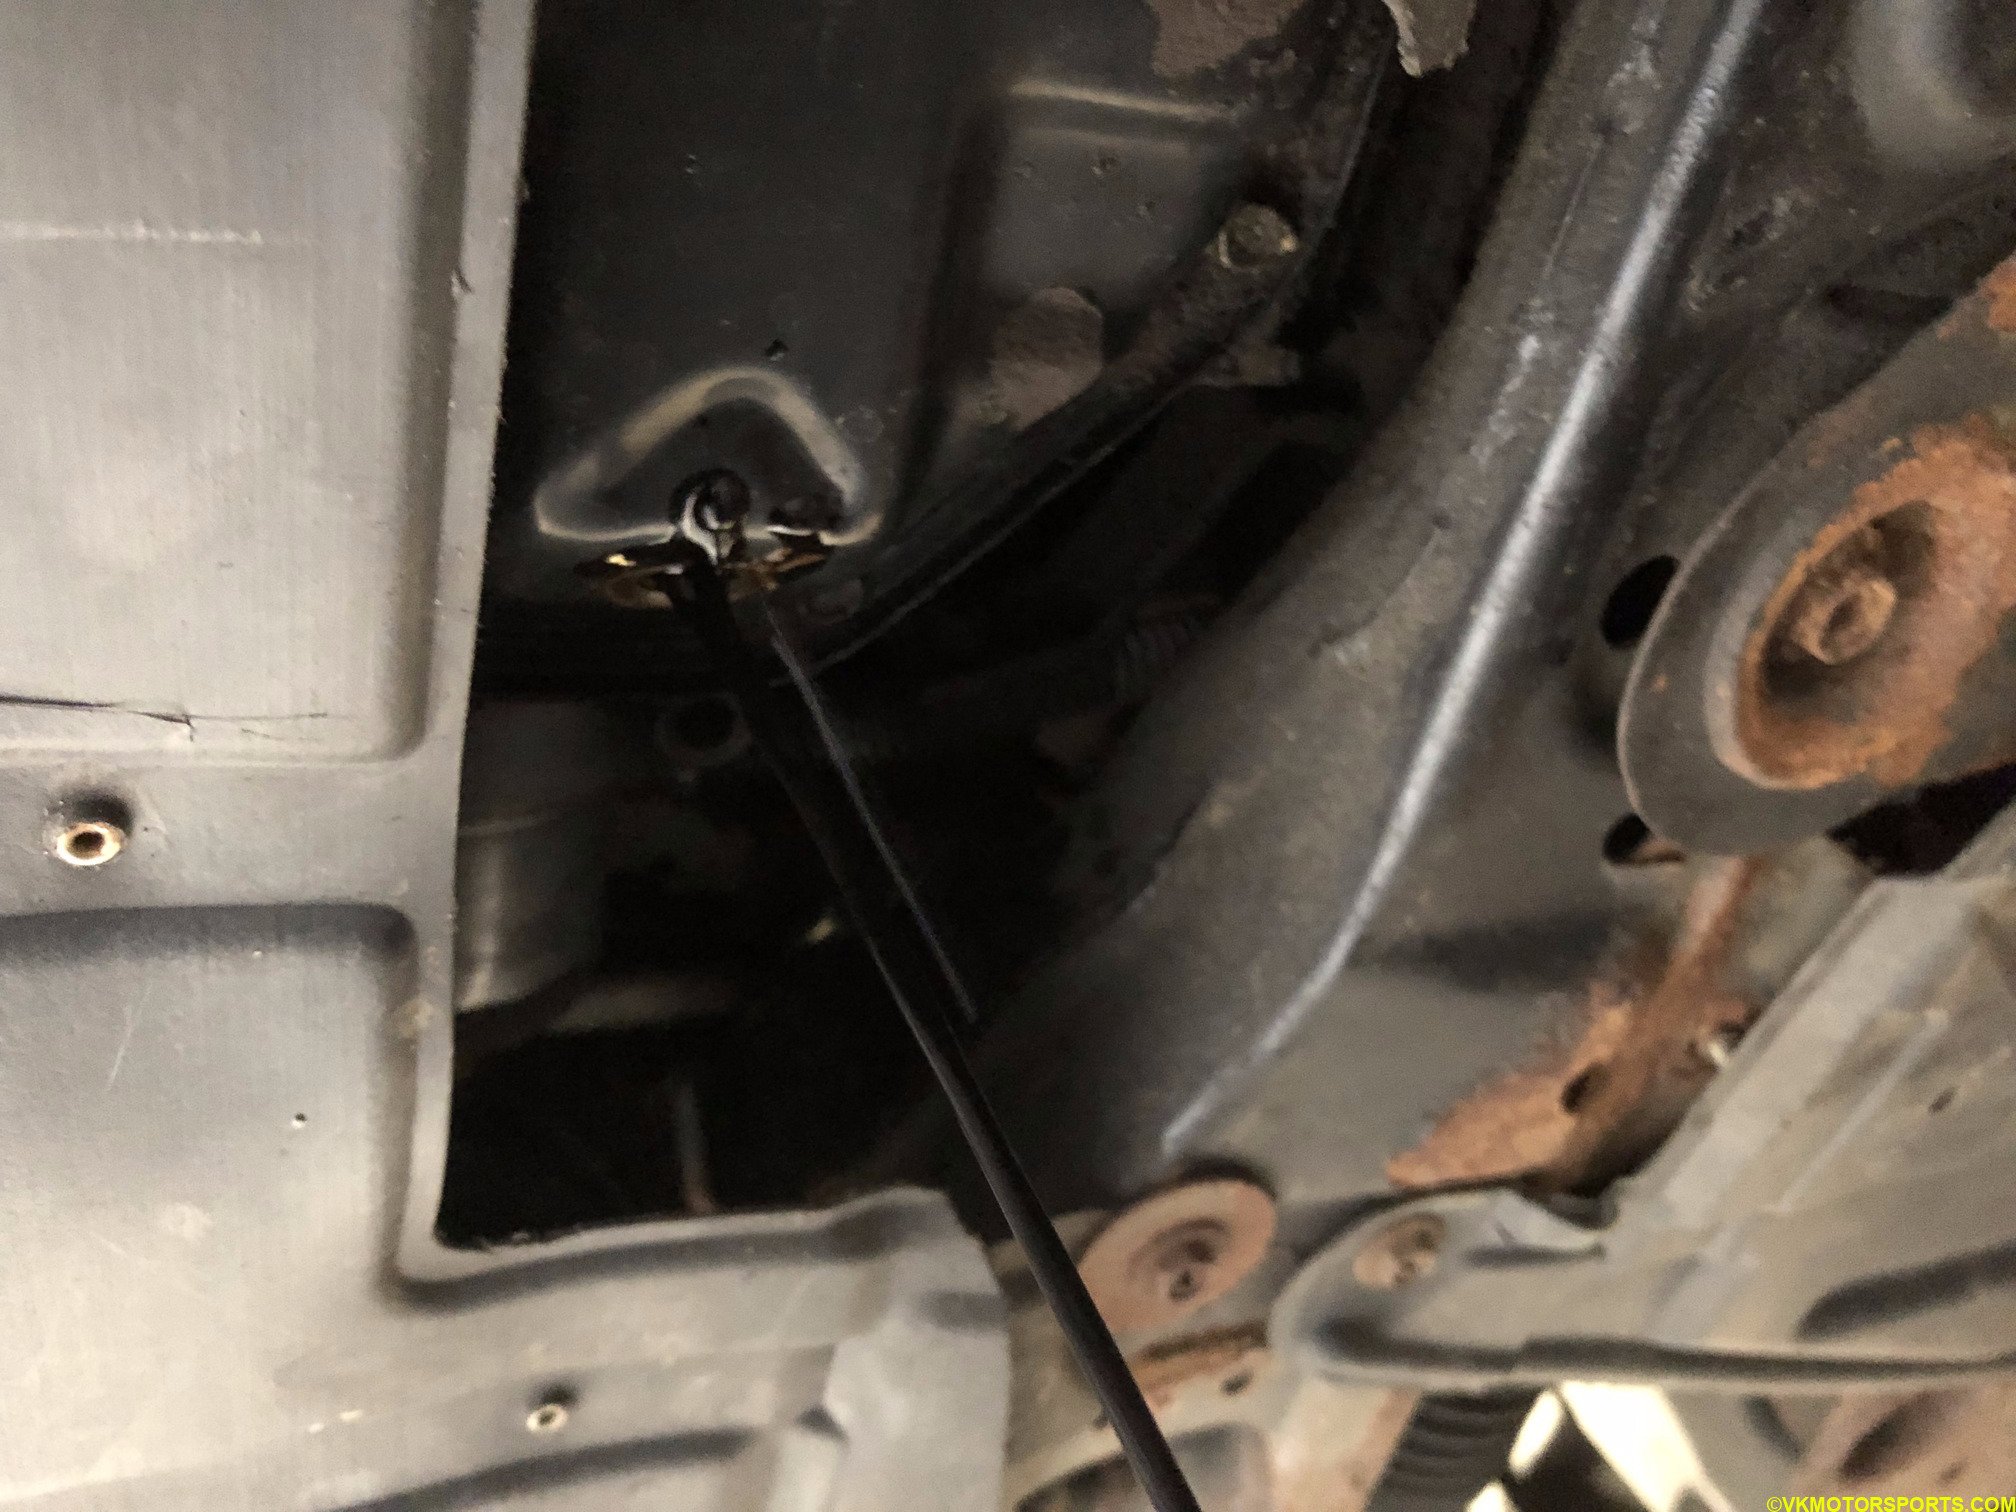 Figure 8. Engine oil is draining
Step 3: Open the inlet cap (Figure 9) in the engine bay for the oil to drain faster. Oil drains out in about 10-15 minutes. Close the cap once the oil has drained.
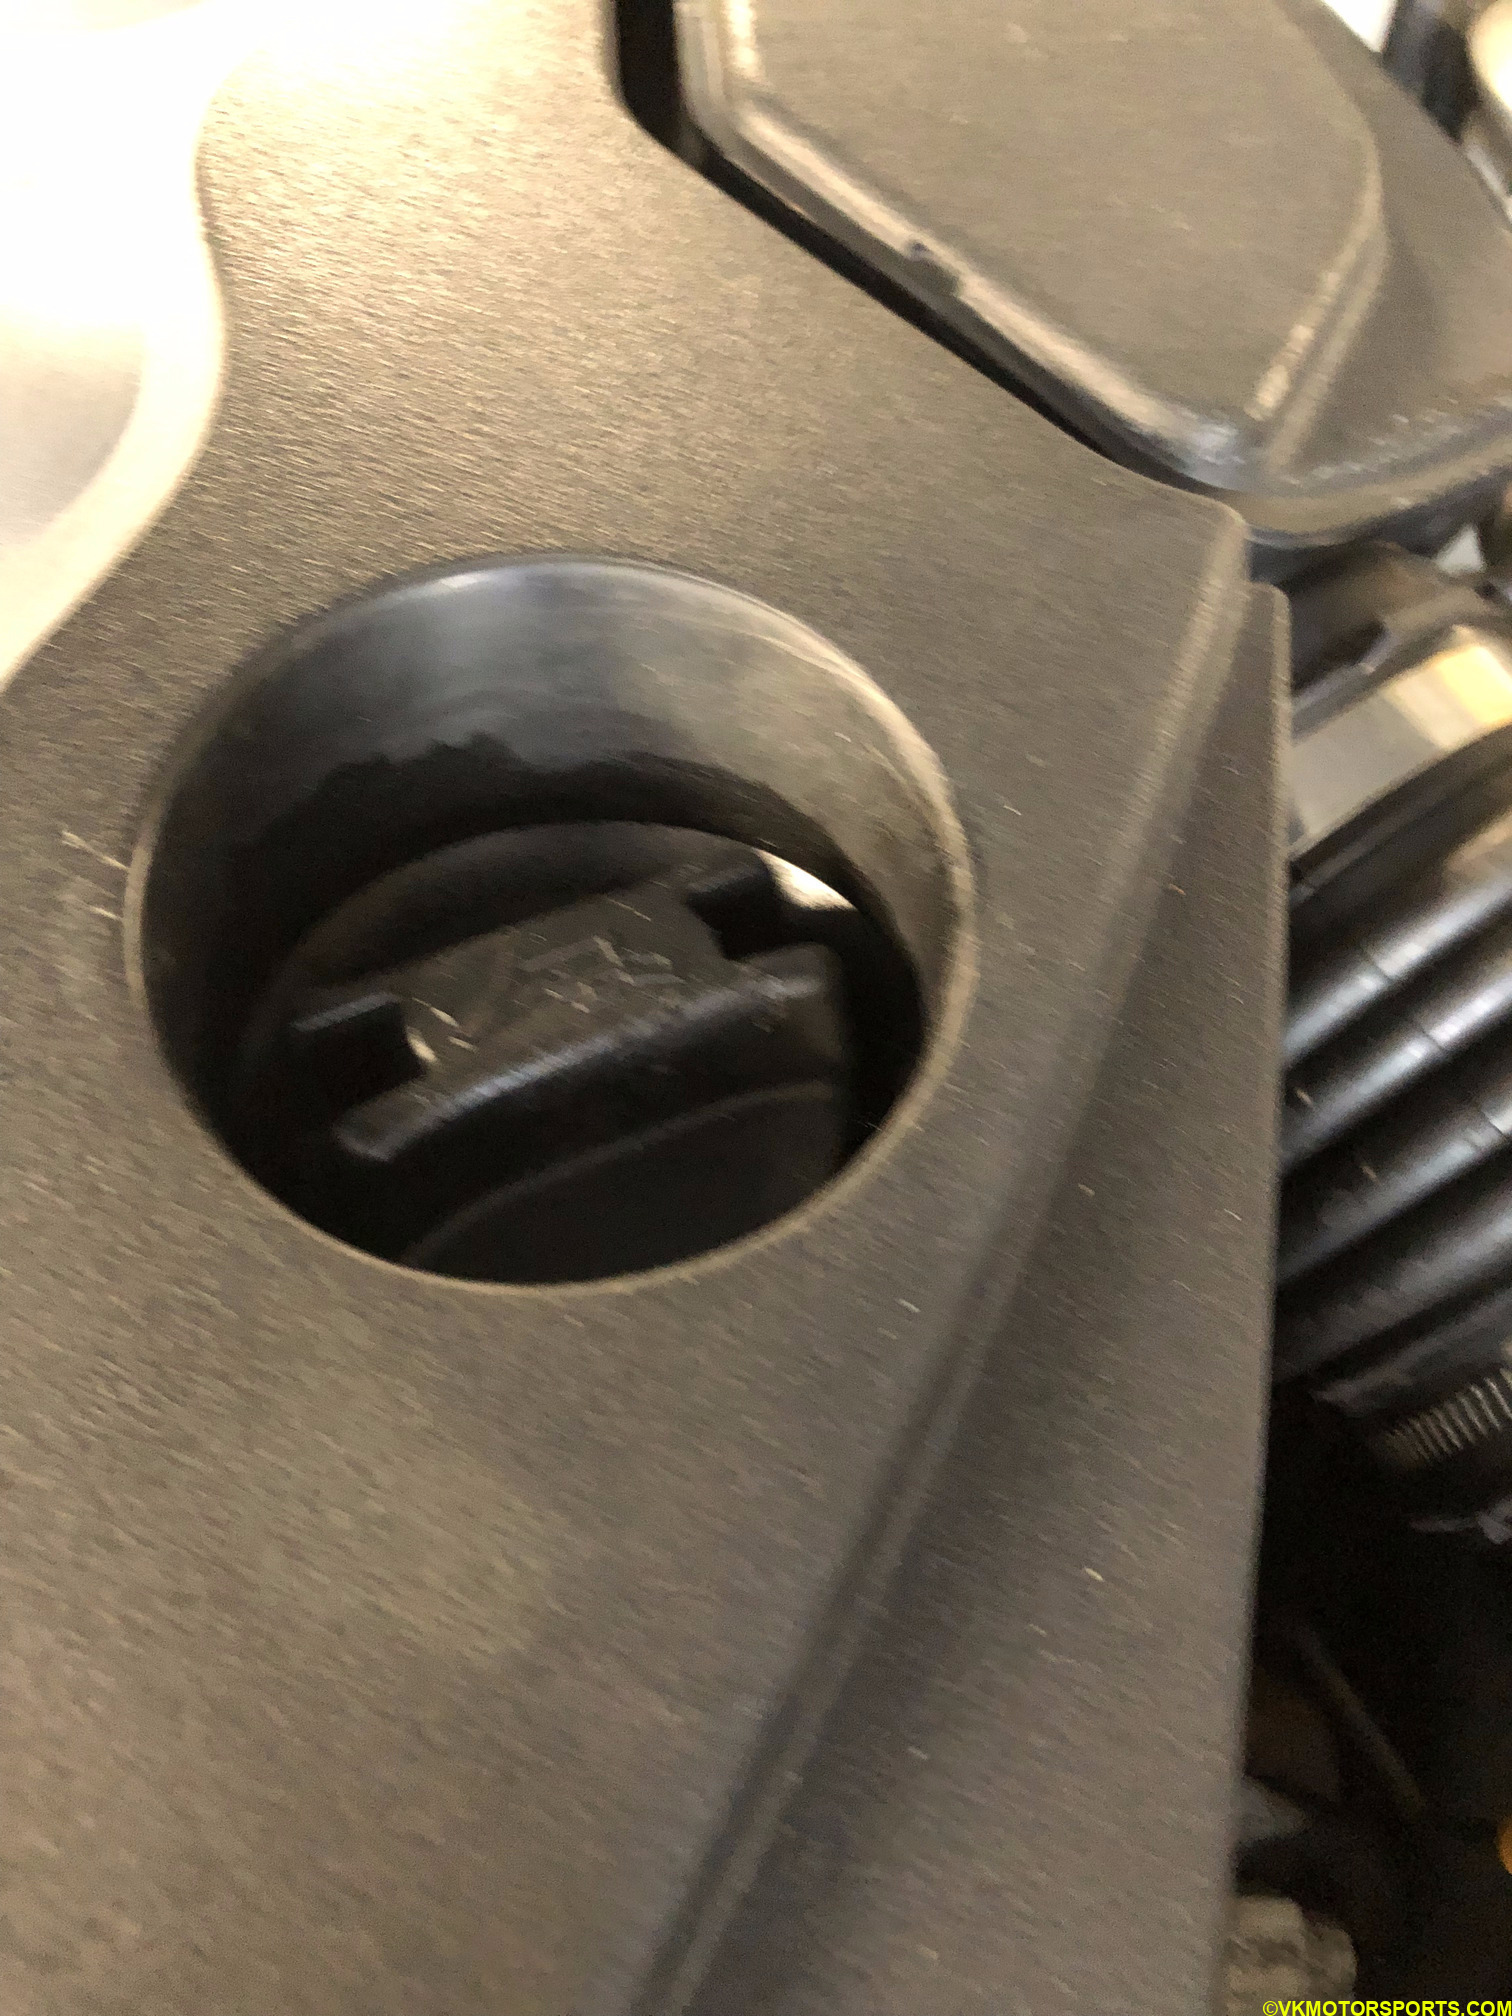 Figure 9. Open the engine oil inlet cap
Step 4: Take off the skid plate or plastic splash guard or shroud if you have it, as shown here.
REPLACE OIL FILTER
If you want to replace the oil filter, follow the instructions here as it is the same. Do this before you change the oil pan.
REMOVE OLD OIL PAN
As seen in Figure 10 the oil kept dripping from the area marked by the red circle. This was what drove the need for replacement.
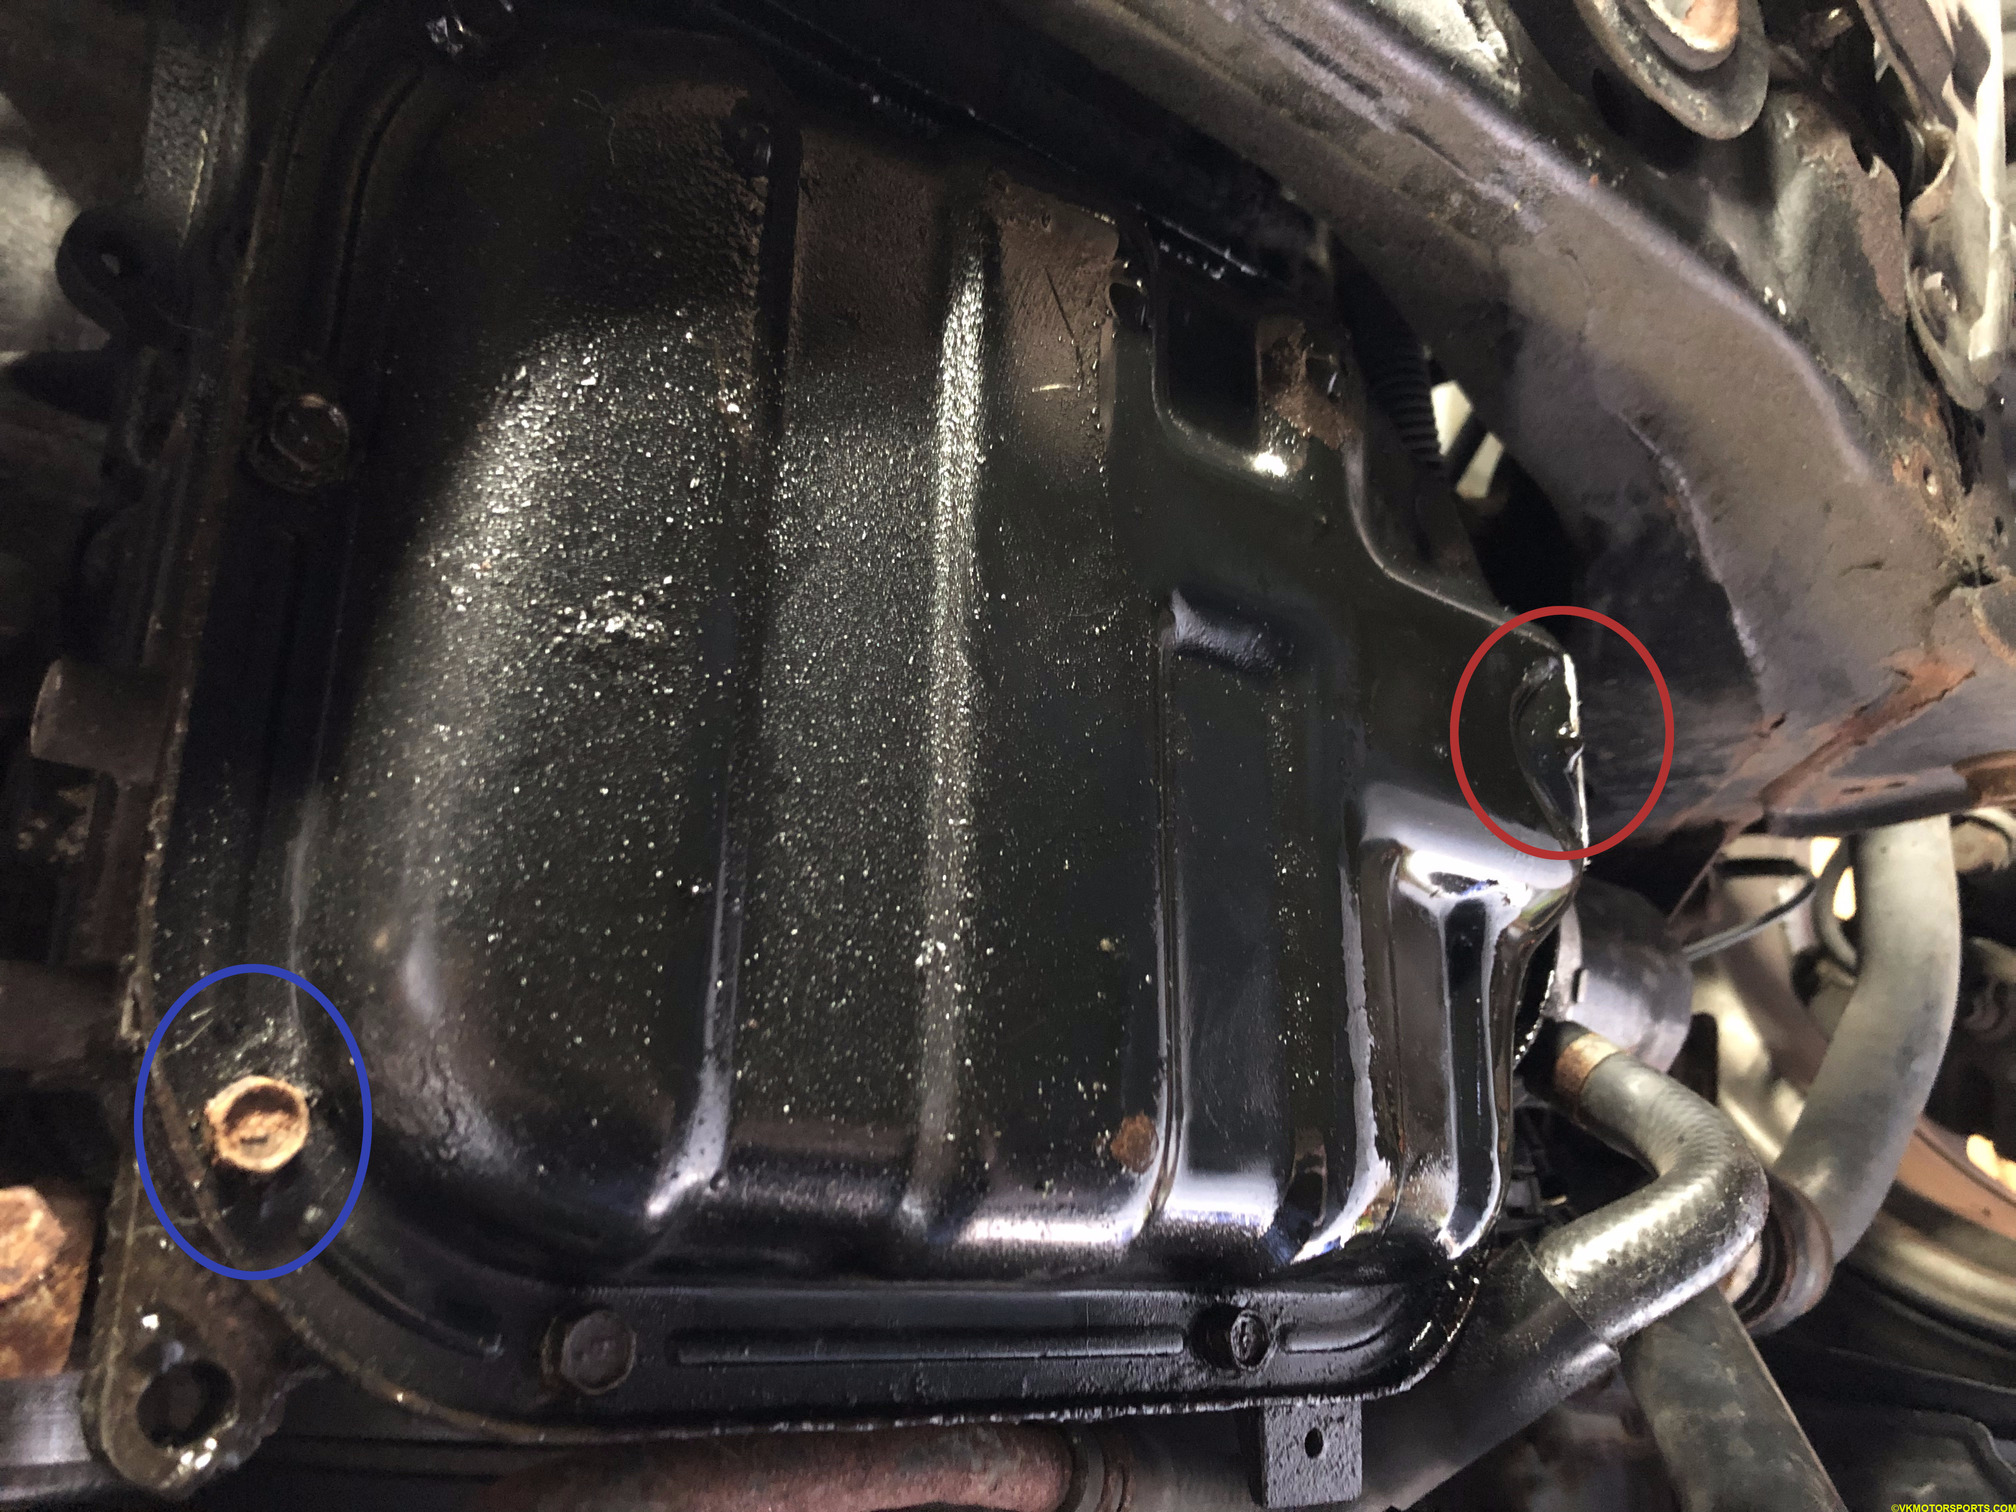 Figure 10. Oil pan leak and the bolts to be removed
Step 1: Remove the bolts (blue circle in Figure 10) using a 10mm socket. The bolts must be removed in reverse of the order as shown in Figure 11 which is from the manual. Once the bolts are removed you will see Figure 12.
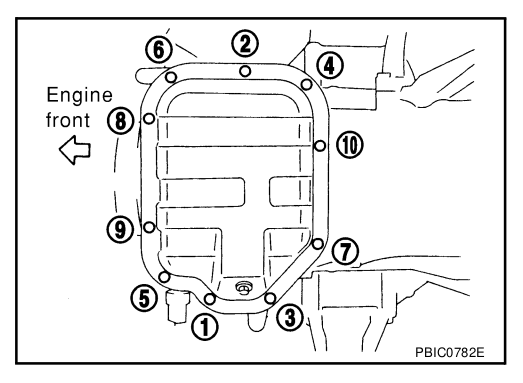 Figure 11. Oil pan bolt order
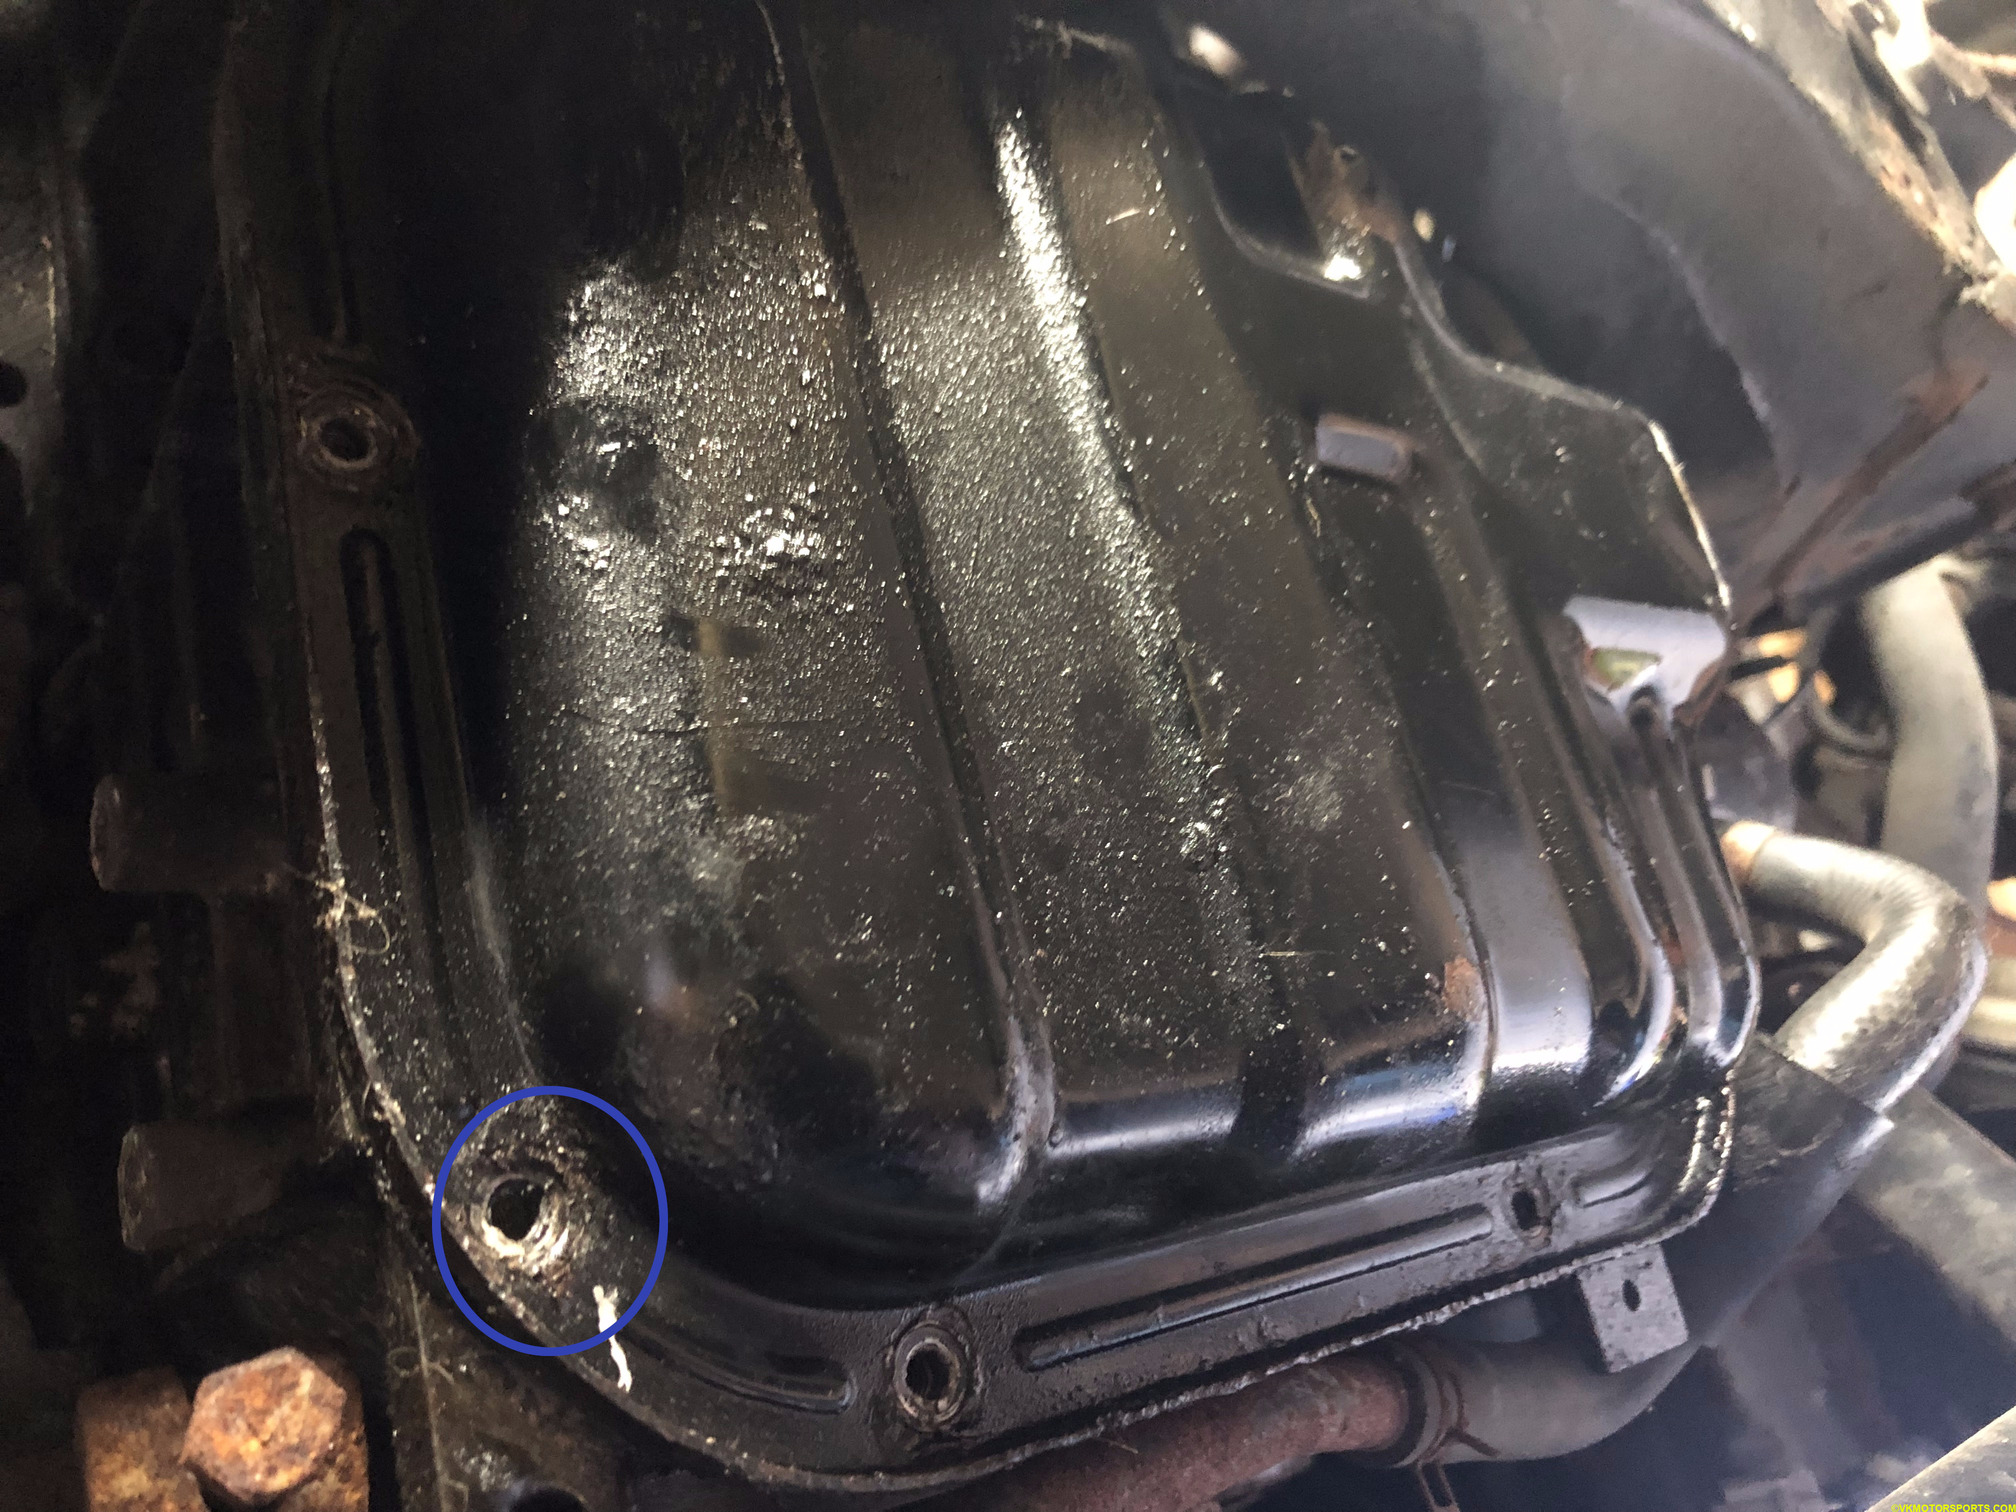 Figure 12. Oil pan bolts removed
Step 2: Using a pry bar delicately pull the oil pan off. For me it came off easily, but that also means the gasket was in bad shape. Figure 13 is what the oil system looks like with the oil pan removed.
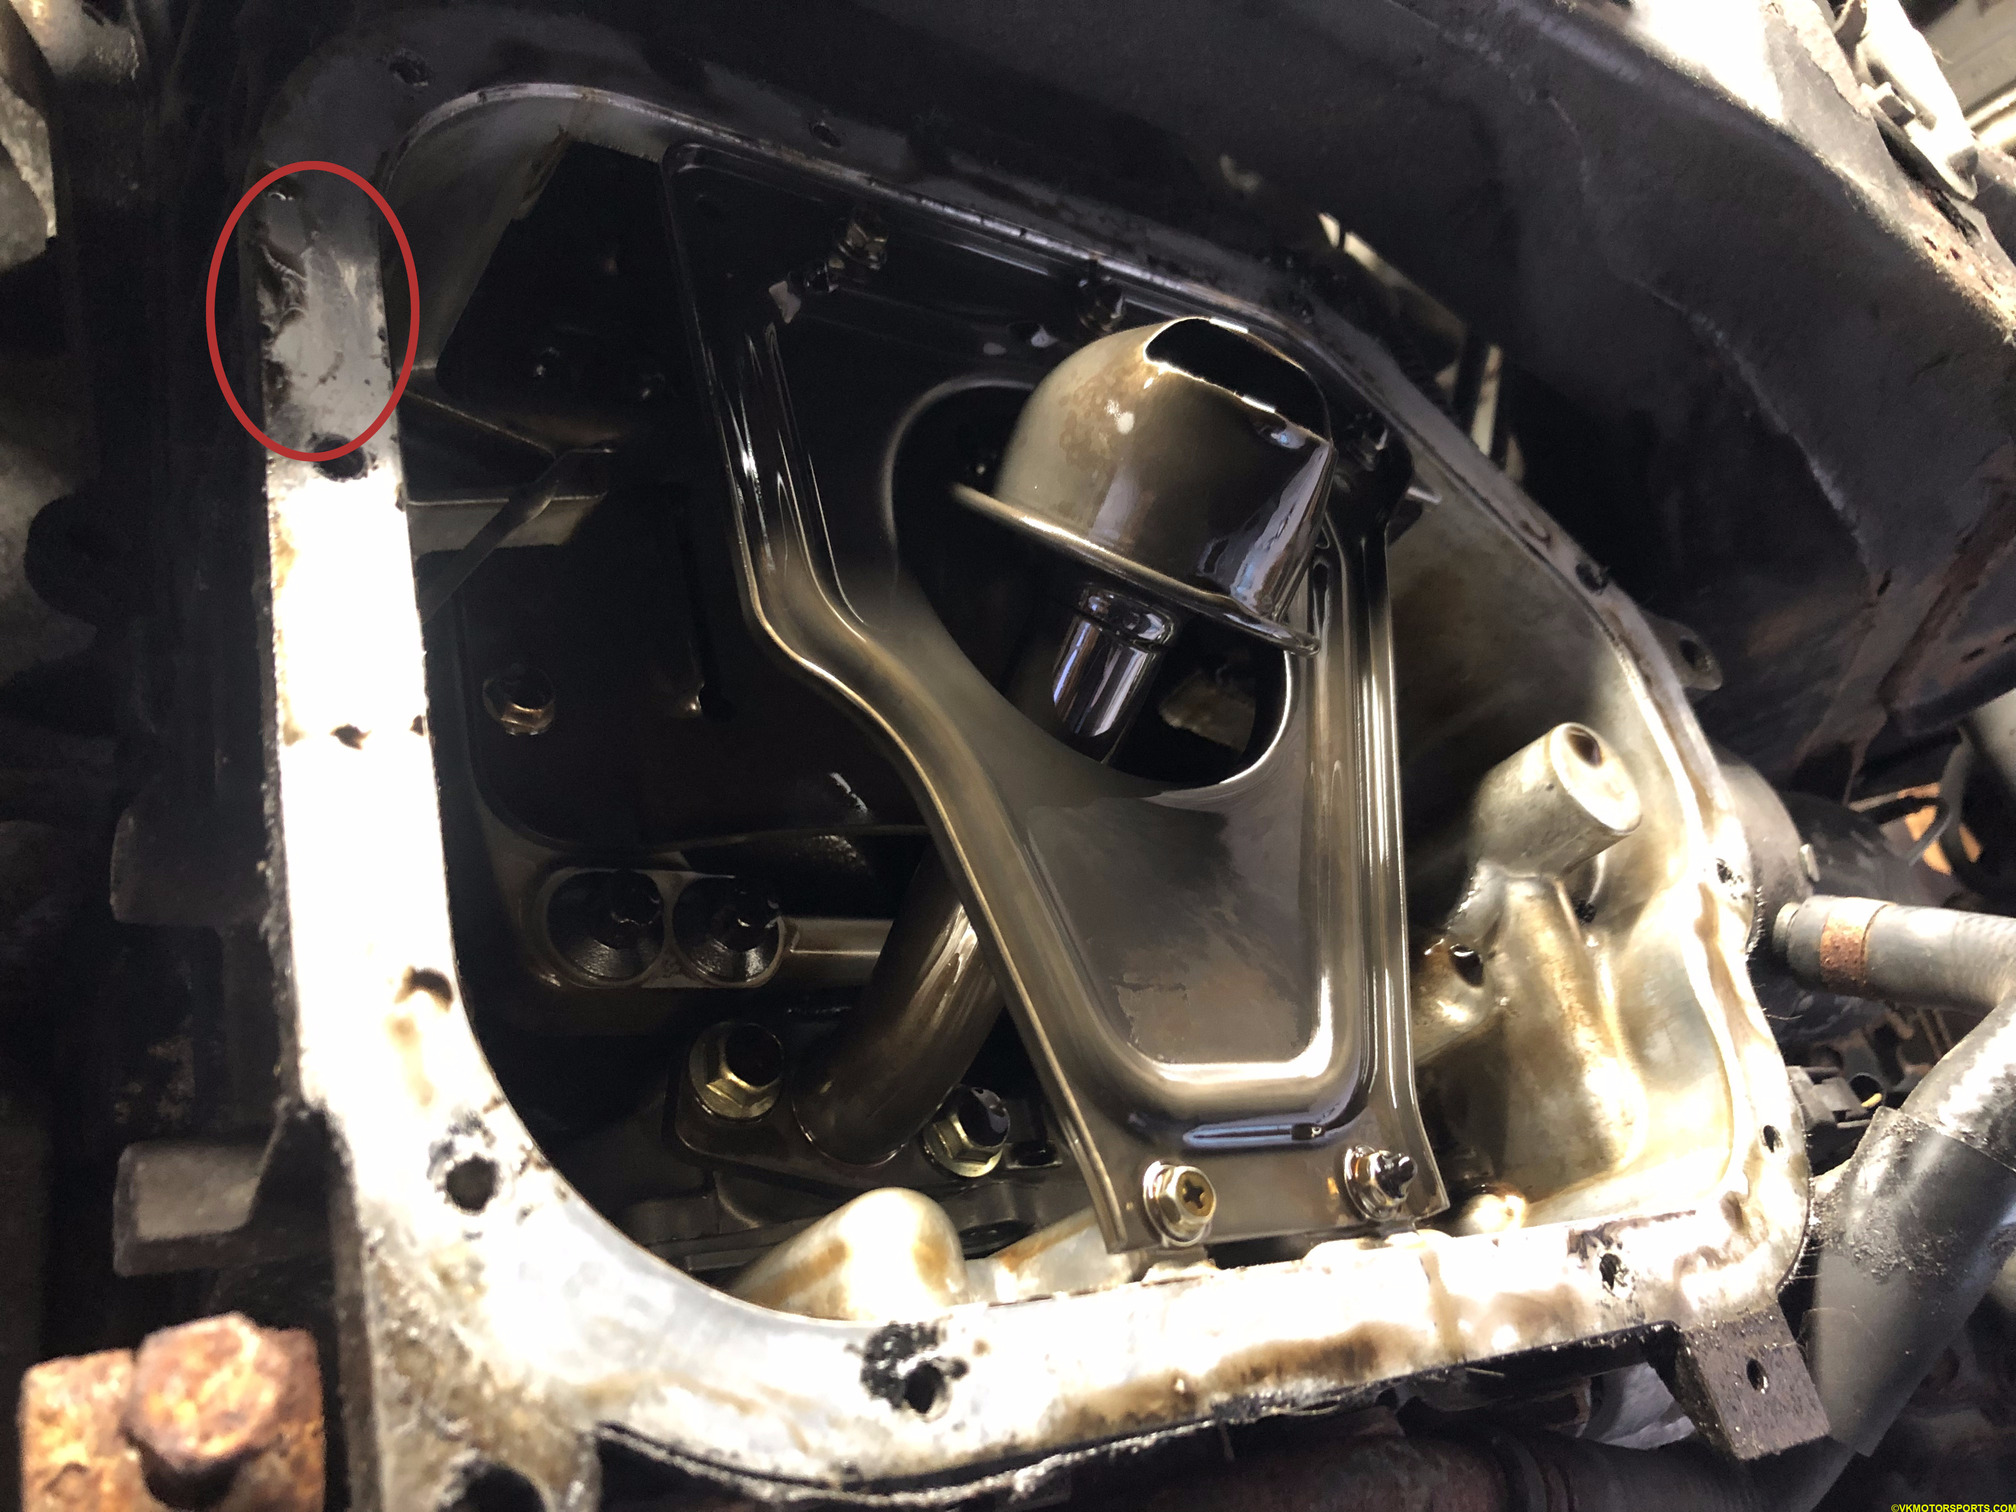 Figure 13. Oil pan removed
Step 3: Now you need to clean the surface of the upper oil pan using a soft scrubber like a dish sponge or a Scotch Brite like pad. First wipe down excess oil using a shop towel and then use the pad.
Figures 14a and 14b show the upper oil pan surface looking clean. Make sure to remove all remnants of the old gasket. You may need to use tweezers to pull old bits out of the bolt holes. Be careful not to scratch anything.
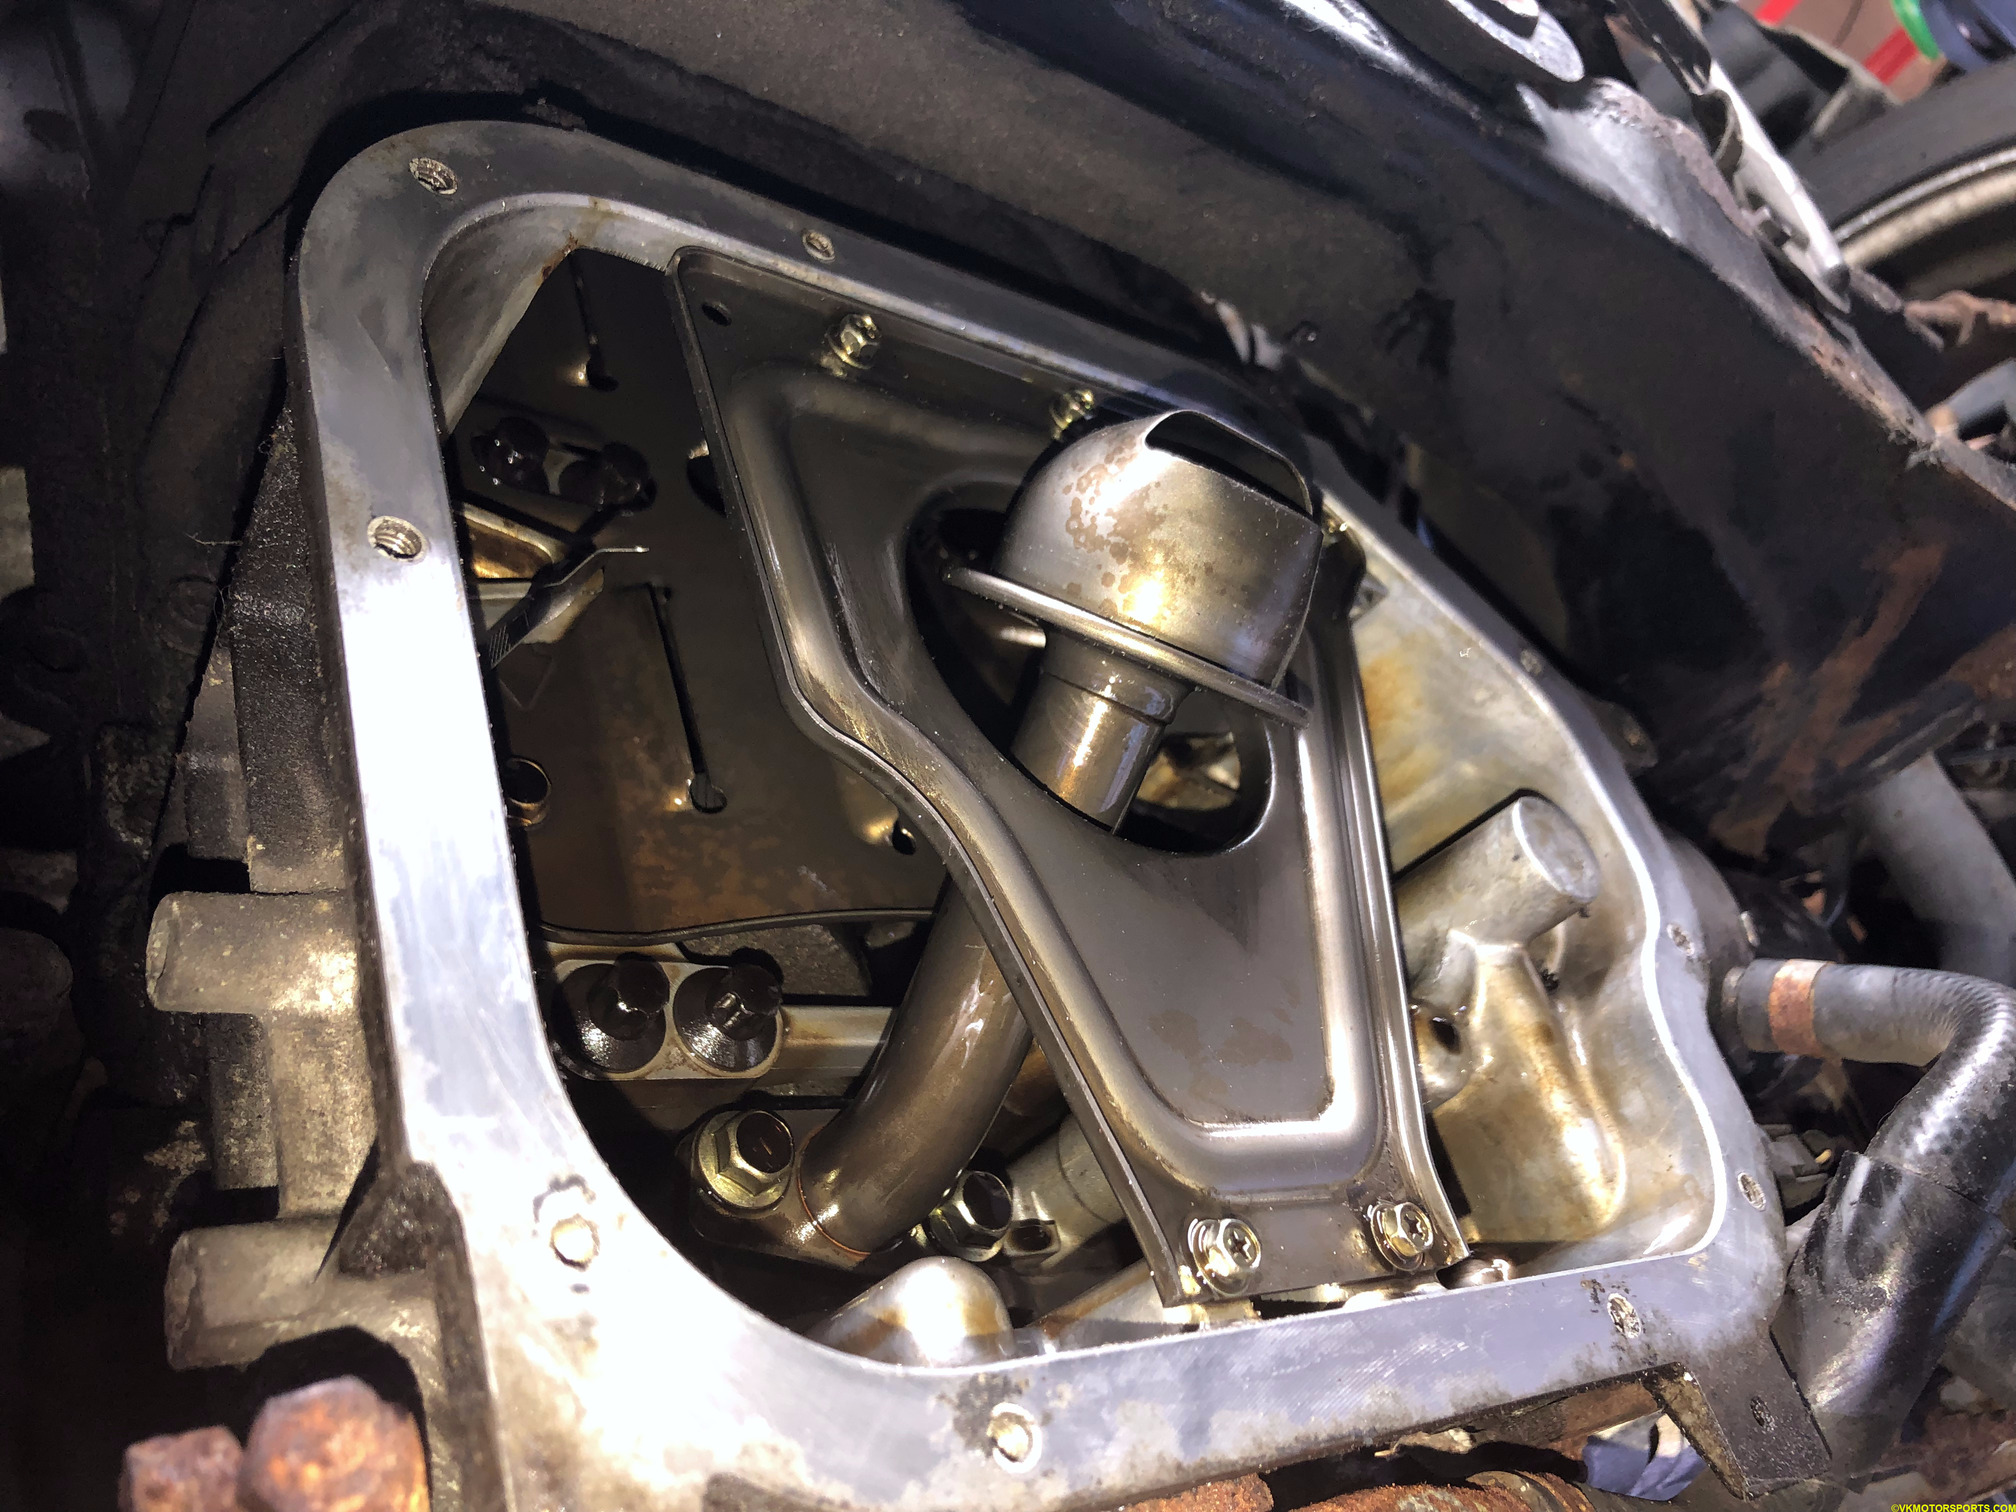 Figure 14a. Upper oil pan surface cleaned
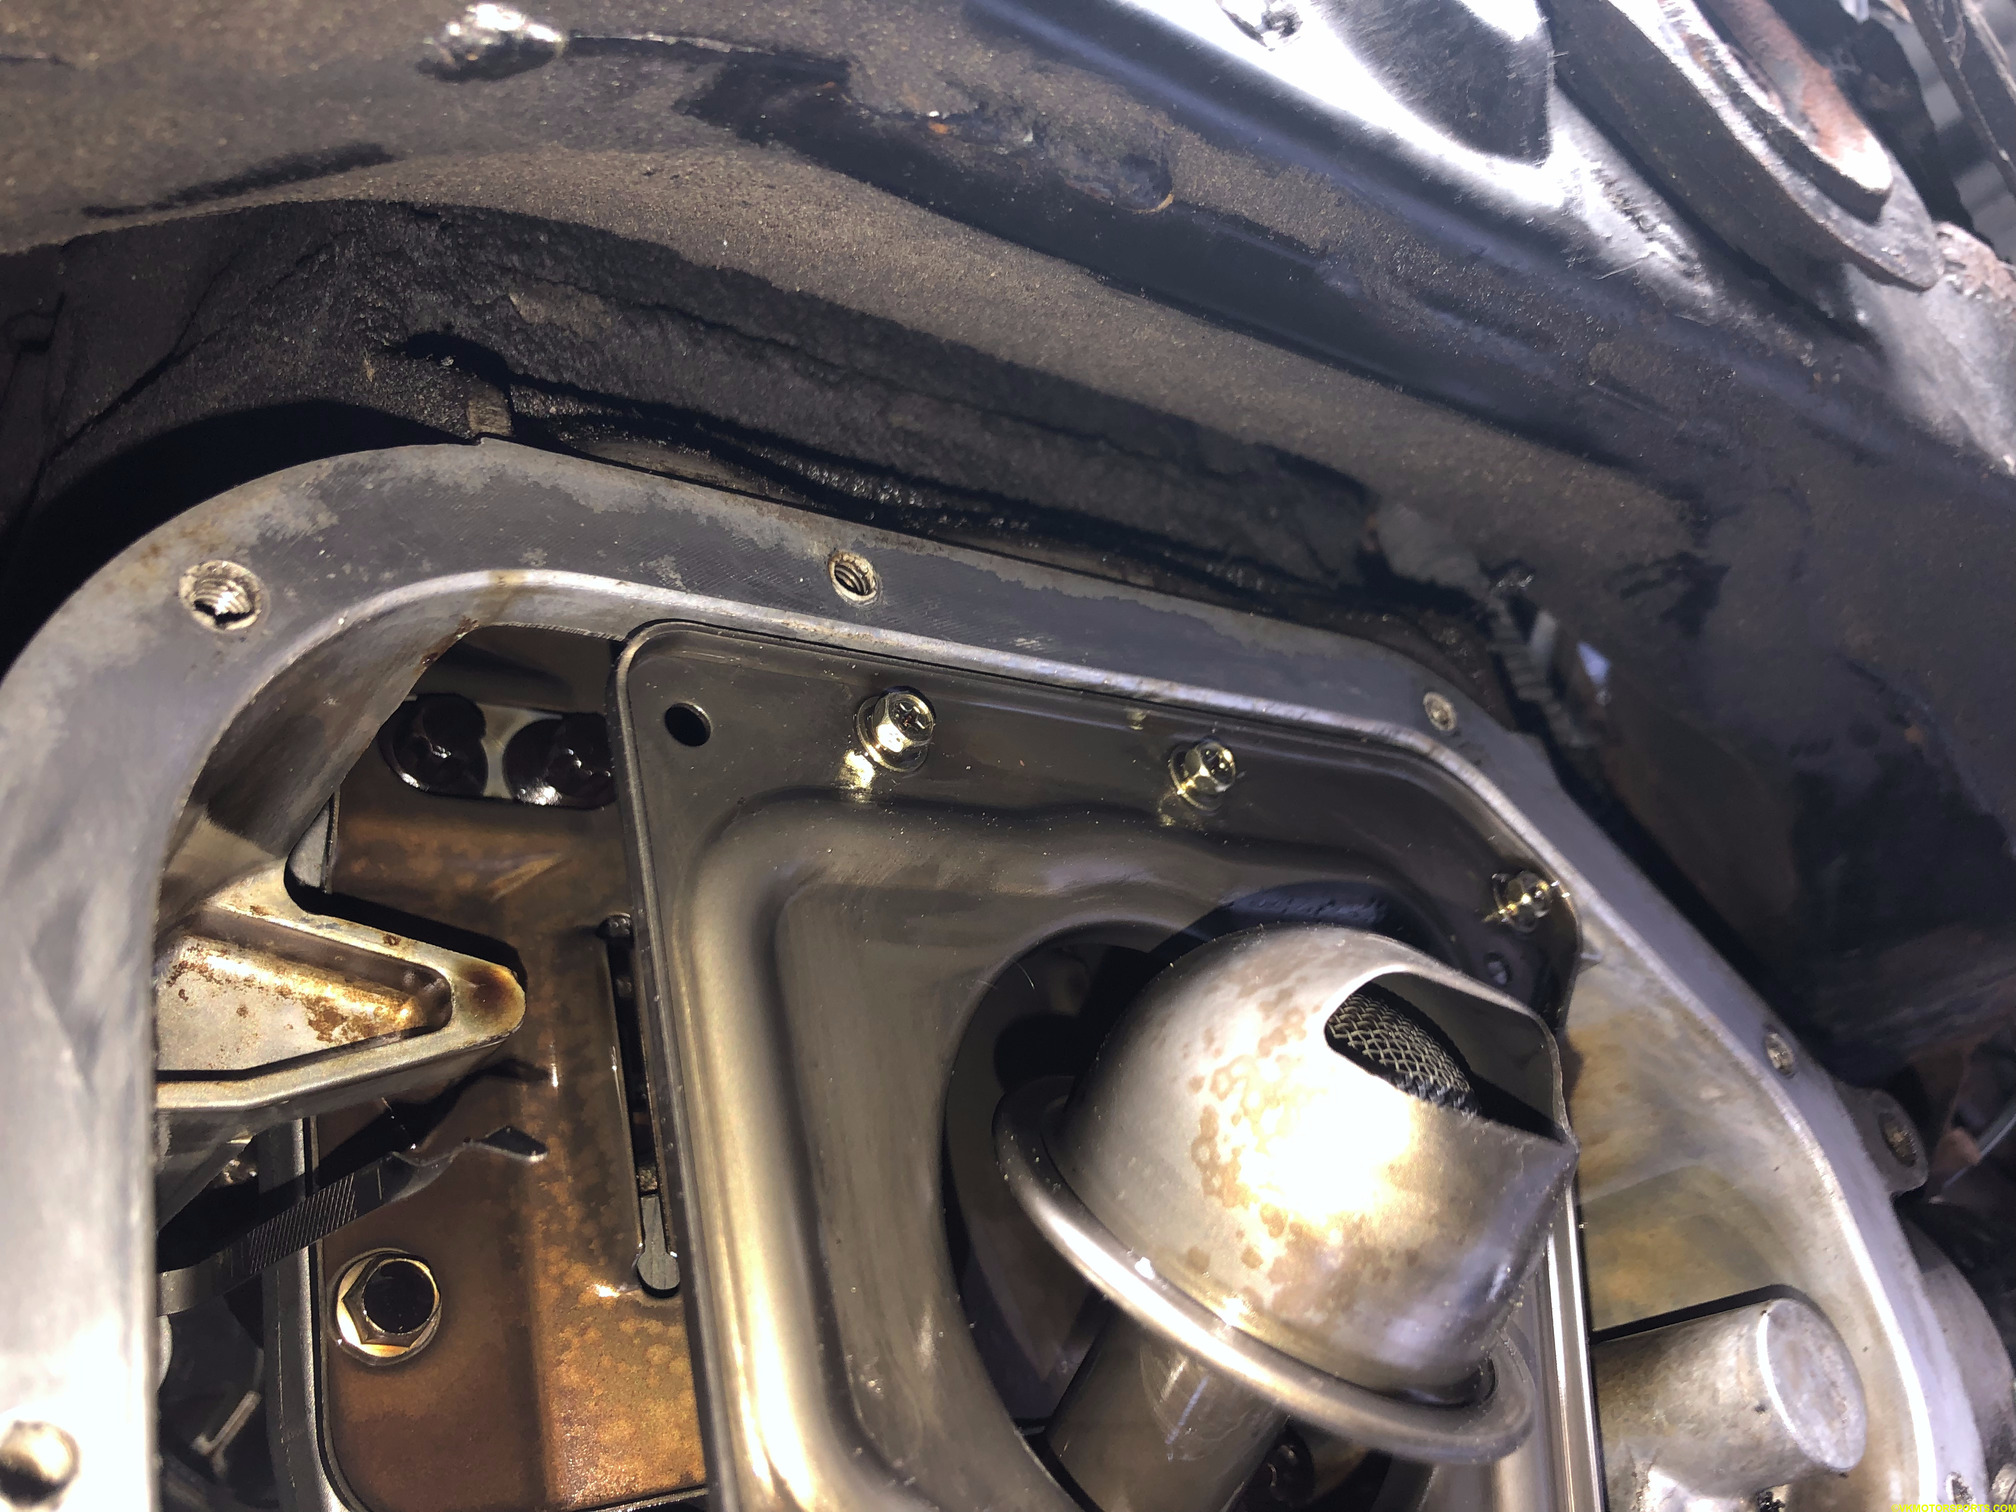 Figure 14b. Closeup of upper oil pan surface cleaned
Step 4: Since we are not using the liquid gasket method, we will be using the gasket and pan as shown in Figure 3. The gasket aligns perfectly with the bolt holes.
Step 5: Now install the bolts by hand back into place using the order shown in Figure 11. The torque values are shown in Figure 15 which is from the manual. I just made sure to tighten the bolts using the 10mm socket so they felt snug, but not overtighten them.
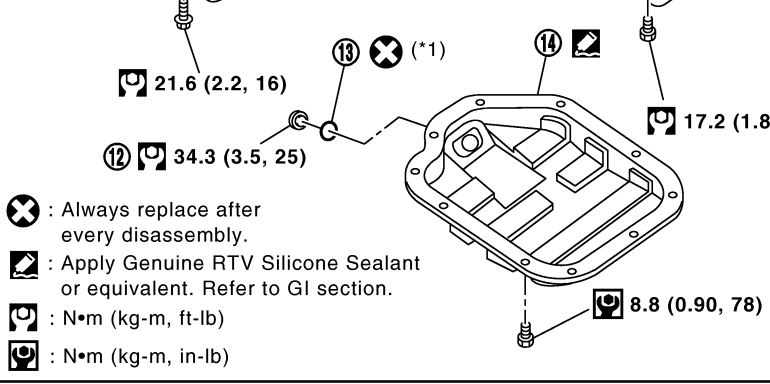 Figure 15. Breakdown of the lower oil pan gasket with torque values
Step 6: Figure 16 shows the new lower oil pan installed along with the gasket back in place. Now it is time to pour oil back in and check for leaks.
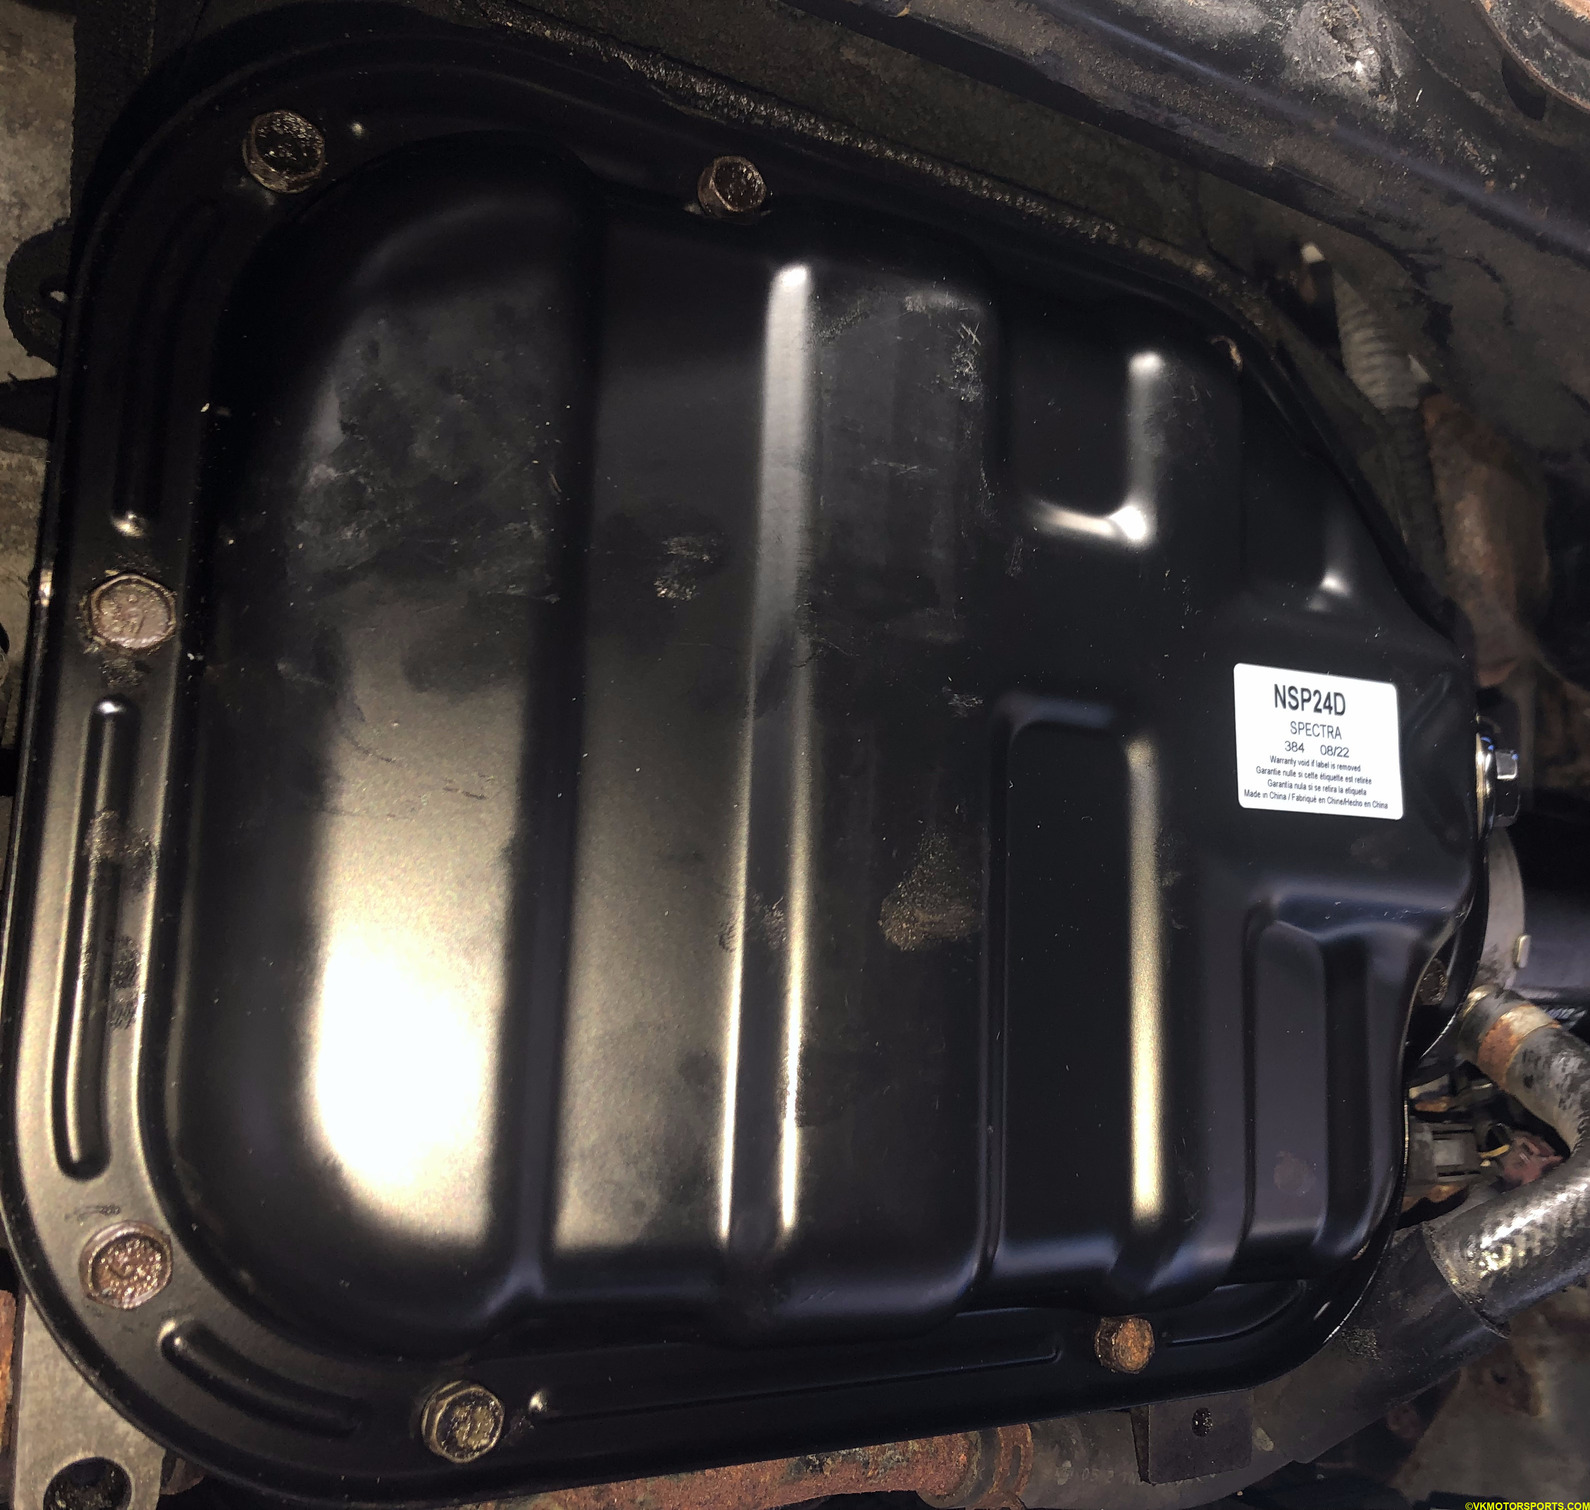
Step 7: Once you have poured in the 5 quarts (US) of oil, close the oil filler cap and check for leaks. Each bolt on the lower oil pan if it is not tight enough will have a slight leak. If not, run the engine for 10 minutes and see if there are any drips. If yes, check the bolts again. Do not overtighten them though.
In my case, the oil leaks had stopped.